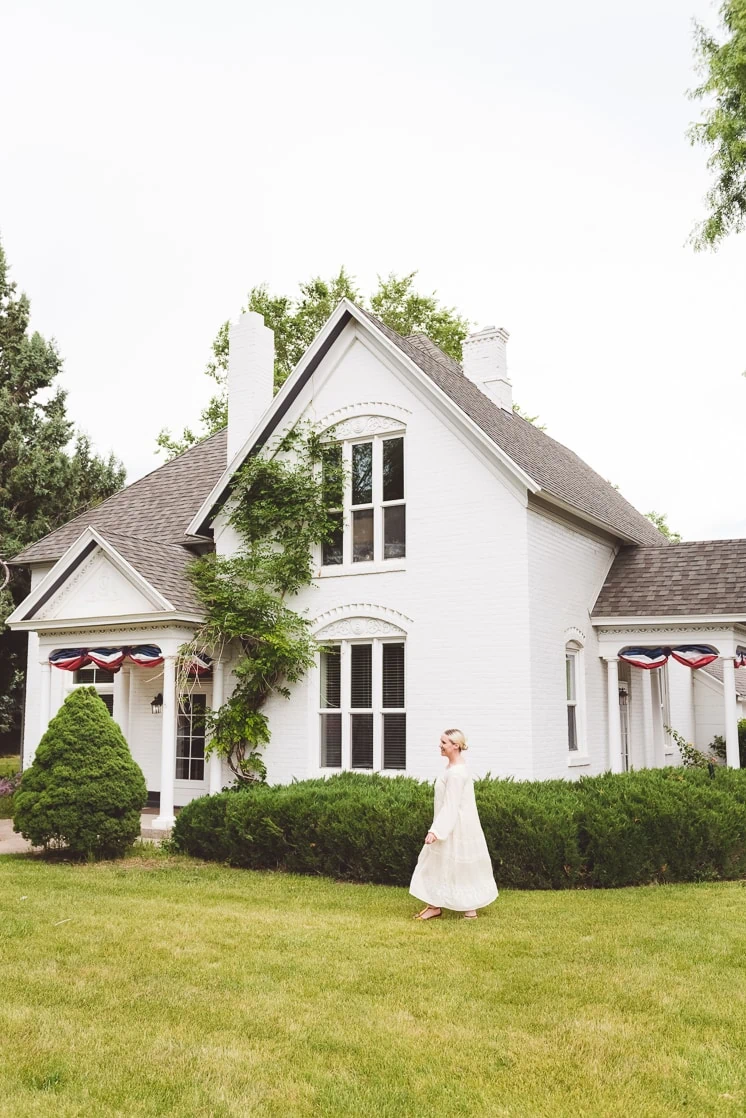
Last week, we were taking our Lars team shots outside on the front lawn of our new studio.
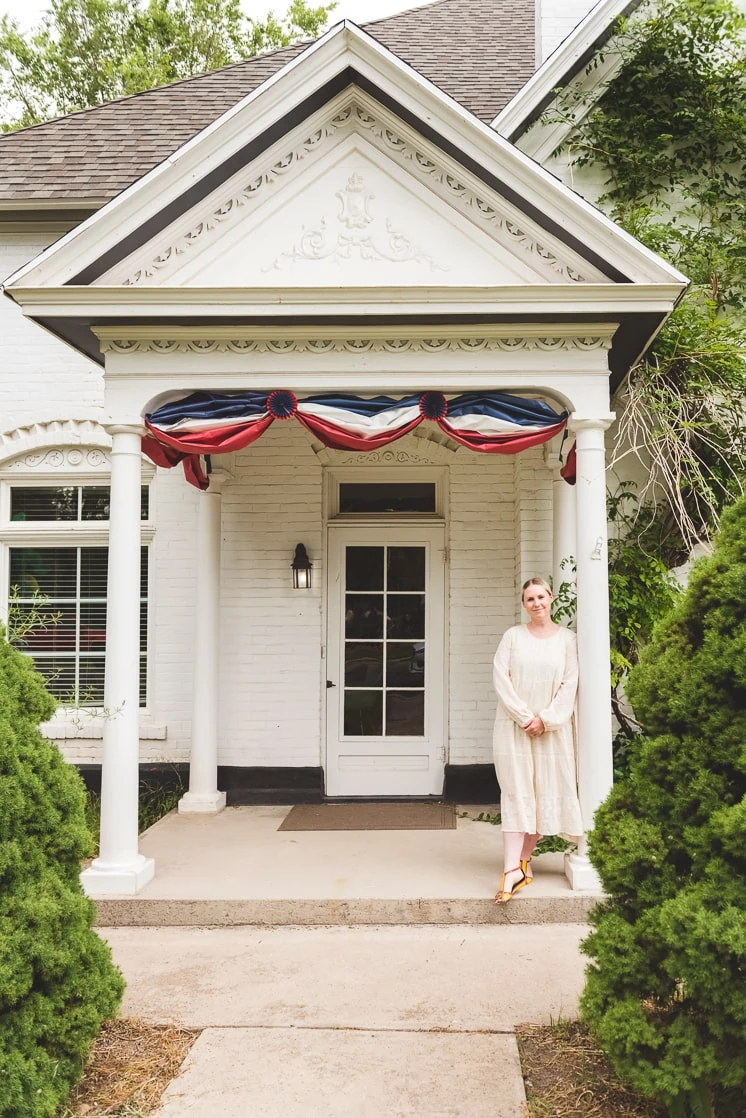
While basking in the sun outside our dreamy white house we realized we might have the white house! No, not that one, but the beautiful white detailing really makes it the perfect spot for some excellent Fourth of July decorations! We’ve been in love with the historical feel of our home even before we moved in, and thought it was finally time we put that to use. It’s the ideal place for some classic decorations, and you can’t go wrong with the red, white, and blue! Kassie, our project manager, mentioned her love of bunting and it was decided. Nothing says the Fourth like bunting on the porch! And in paper? Cheap AND easy!
I mean, you could buy them for hundreds of dollars OR you could make them for $5. The choice is yours 🙂


 DIY Fourth of July Bunting
Materials:
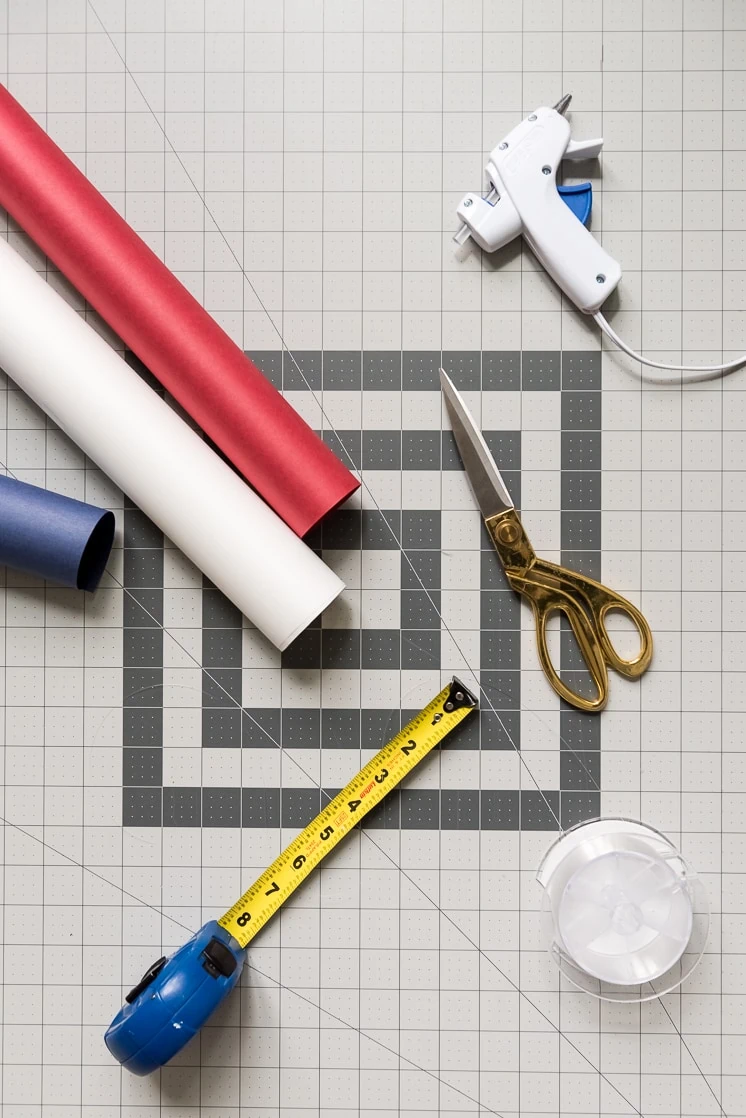
- Red, white, and blue butcher paper (amount varies depending on your measurements, this can typically be purchased at your local party store).
- Measuring tape
- Hot glue gun
- Fishing line
- Sewing needle
- Scissors
- Ruler
Bunting:
- Measure the length of the desired location for bunting. Do a little math to figure out how long each individual section should be.
- Cut the red, white, and blue papers to the correct lengths and widths (the width should be a minimum of 25″ the wider the paper the fuller the section will be). The color you choose to have as your bottom piece should be about 5″-7″ longer than the two colors on top so that it can maintain a bowed shape.
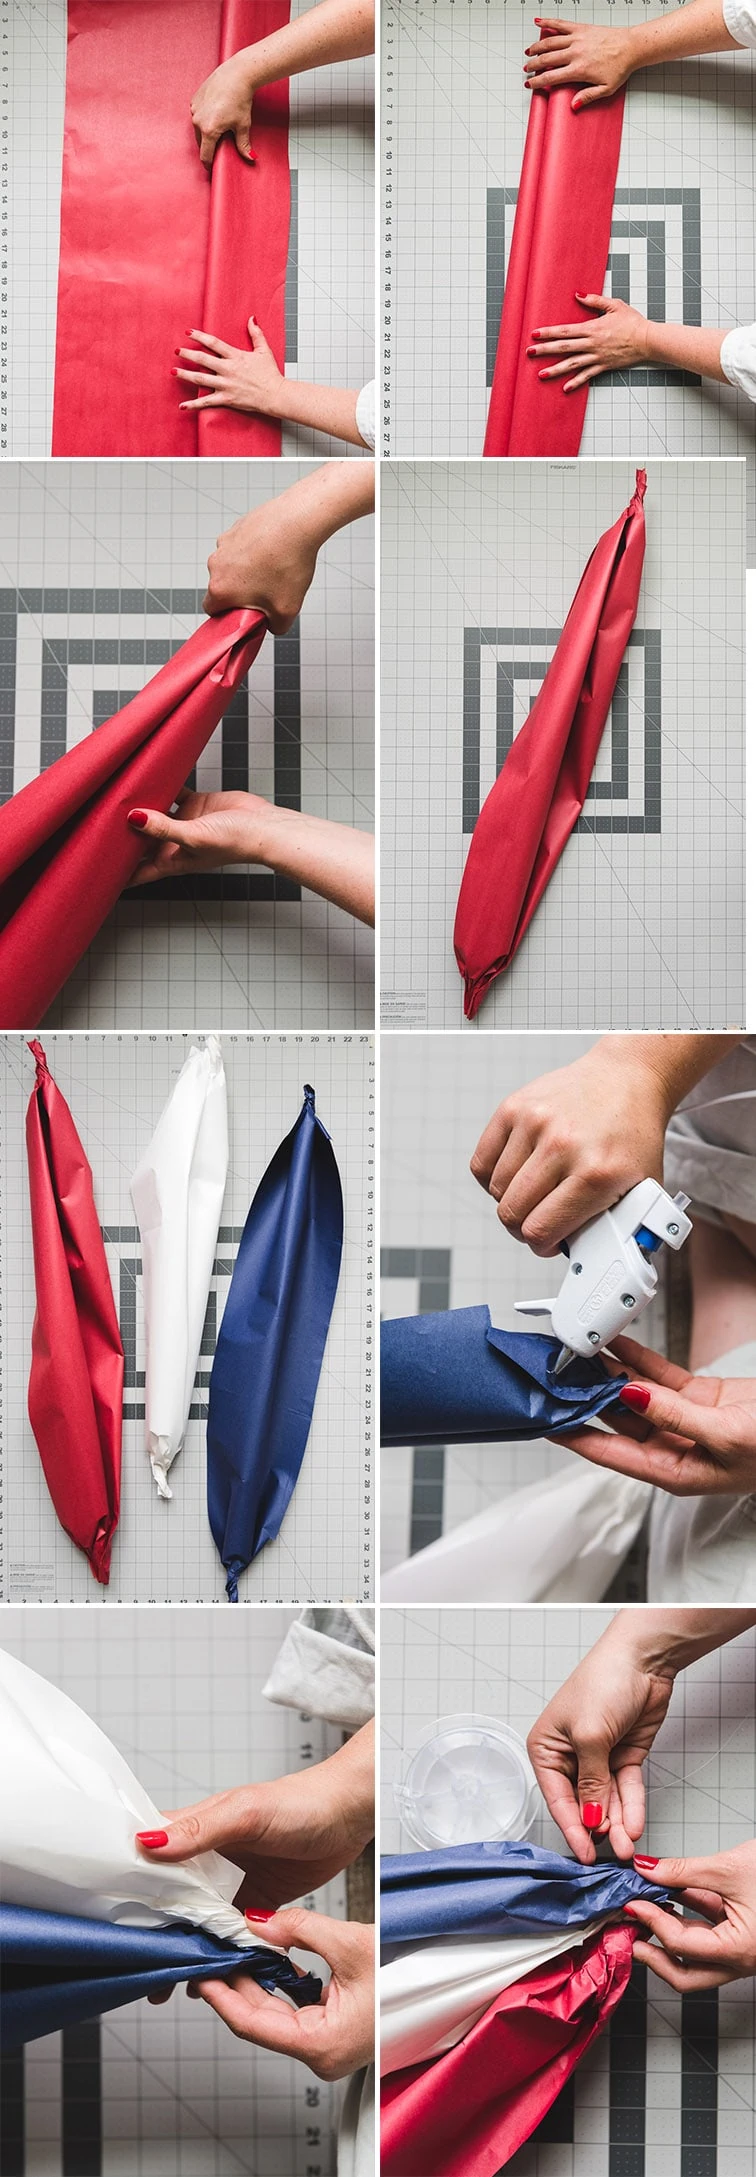
- Gently fold the paper without creasing the folds to create waves in the paper.
- Gently scrunch and twist the ends so it holds its shape.
- Repeat with all the colors.
- Once folded, attach the three colors together using a small amount of hot glue.
- Using a needle and fishing line attach the sections together so they can be hung.
- Attach rosettes to the spots where the sections are connected to hide the connecting pieces for a seamless look!
Rosettes:
- Cut strips of blue and red butcher paper to 25″ long and one color to 2″ and the other to 1.5″, we used red and blue but you can choose what you think looks best!
- Cut a small 1″x1″ square for each rosette.
- Carefully fold the strips at every 1/2″.
- Apply a small amount of glue on the last fold.
- Connect the two ending folds together.
- Push outside edge open while gently pushing the opposite end in.
- Apply a small amount of glue to the paper square.
- Place glued paper square to the back of the rosette so it holds its position.
- Repeat with 1.5″ piece of paper.
- With a dash of hot glue attach the smaller rosette to the top of the large rosette.
We’d love to see your festive homes! Tag us with #LarsMakes when you post them!





 DIY Fourth of July Bunting