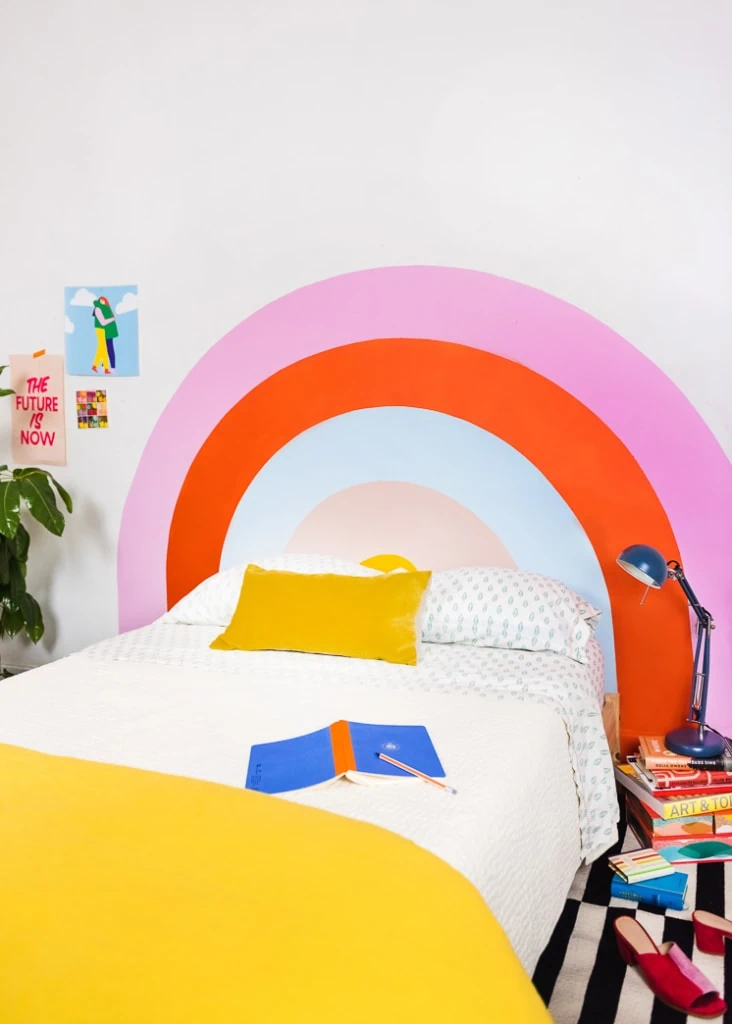
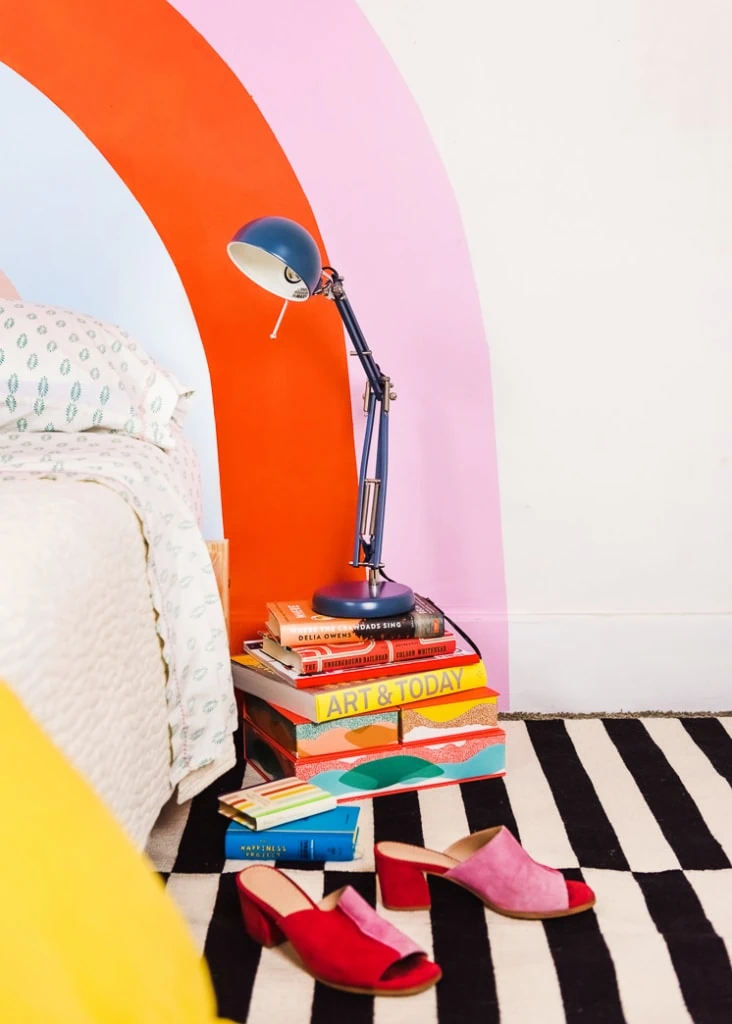
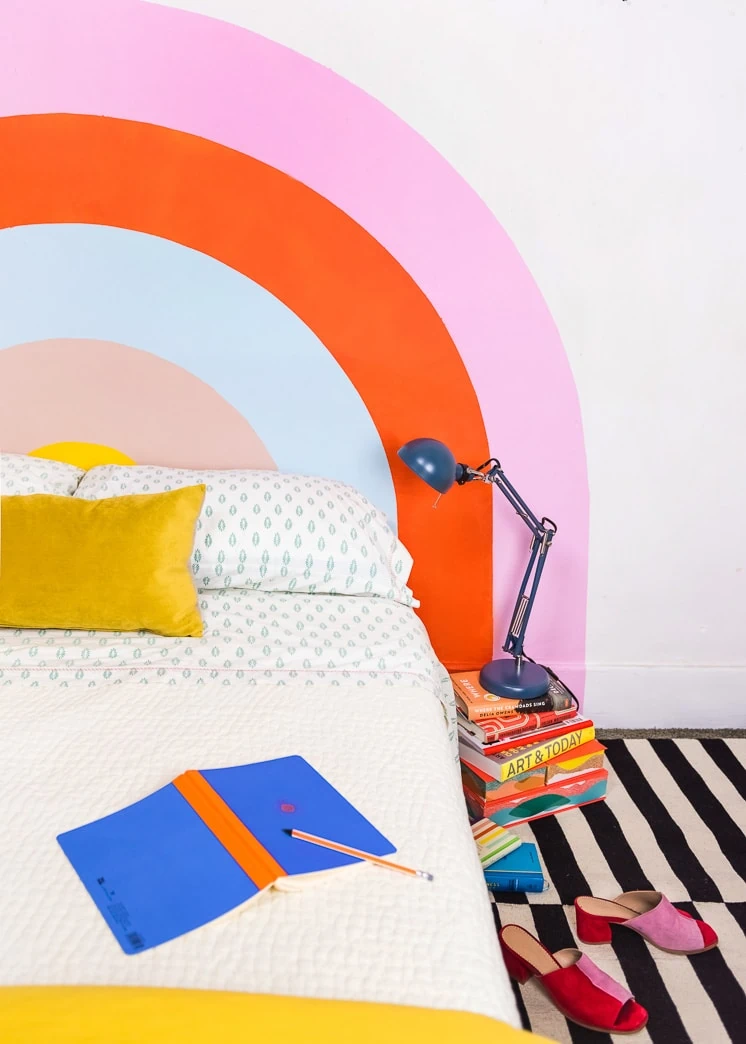
Rainbow season is back in session (let’s be honest, did it ever really go away?). If you know Lars, you know know we love rainbows. The colors, the shape, its joyous nature and the inevitable fact that it’s going to put a smile on your face when you see one pop up in the sky. In fact, we are so inspired by the rainbow that it became the theme of our crafting book, Craft The Rainbow. If you haven’t already, check it out here! Anyway, you get it, we love rainbows. They make us smile and inspire us. They inspire us so much so that we decided our content editor and designer, Sammy, could really use a constant source of inspiration. So we went ahead and painted a big old beautiful rainbow headboard in her room to make sure her creative juices will forever be flowing!
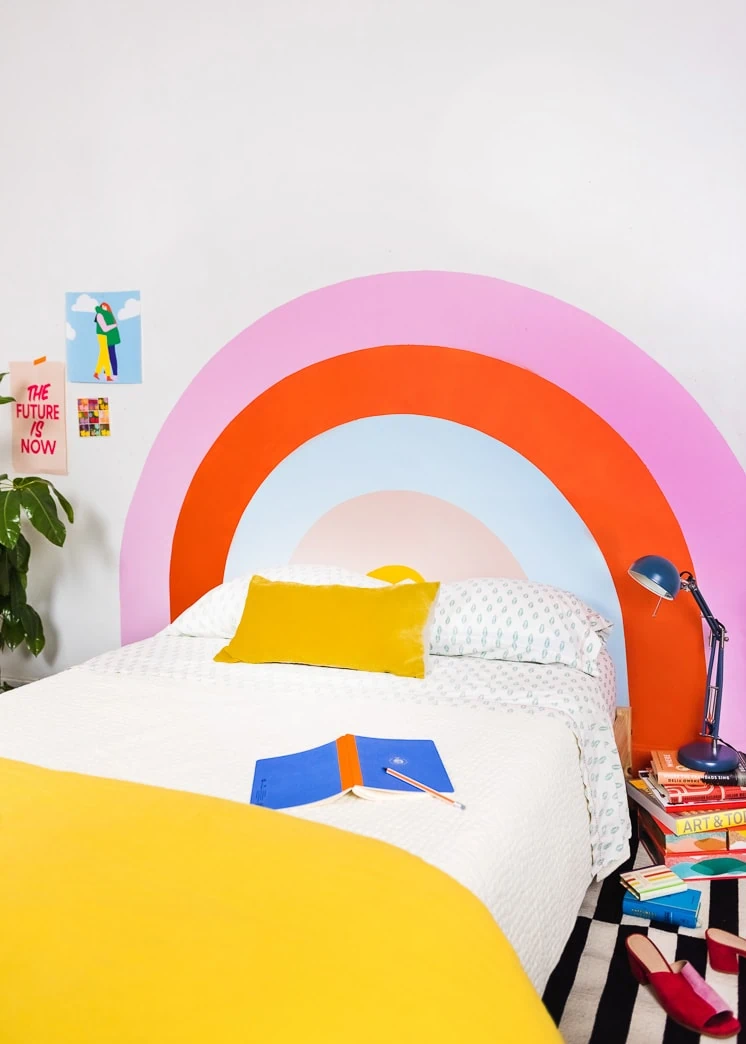
Materials:
-
- Tape Measure
- Paint (we used the smallest size, a little goes a long way!)
- Frog Tape
- Paint Roller
- Tarp
- Paint Tray
- Projector (optional, you can also draw it on freehand)
Instructions:
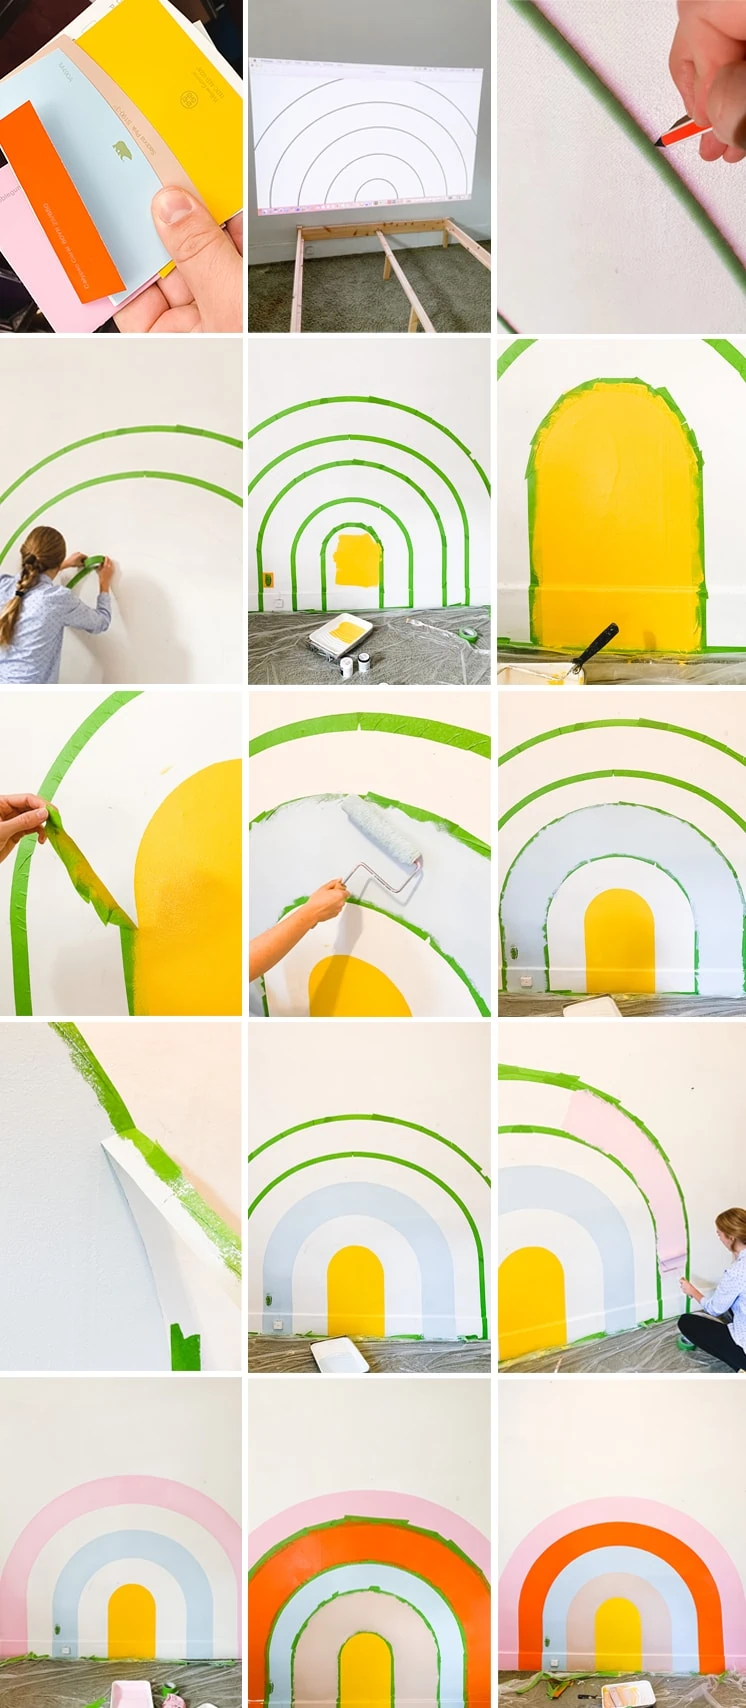
- Decide the shape of the rainbow you would like to paint on your wall.
- Pick a color palette! We chose the colors based on the existing color palette in Sammy’s room to enhance what was already there!
- Measure the width of your bed. We wanted our rainbow to extend further than the sides of the bed, but you can decide what looks best in your space.
- Once you have the shape, color and sizing figured out you can move to the wall where you’re going to paint the rainbow.
- Decide where you want your rainbow headboard to be painted on. (We used the projector for the placement of the rainbow so we could easily adjust the size and location, but you can also draw this by hand to eliminate the projector)
- Once you have decided on the location, draw the lines for the arches of the rainbow.
- In order to get clean lines, you will need to tape off every other color section. Tape off the outermost arch, the middle arch, and the inner arch.
- Pour your paint into the tray.
- Get your roller full of paint and paint the innermost arch.
- Immediately remove tape from the painted arch.
- Repeat steps 10 and 11 with the remaining taped off arches.
- Drying will take about 2 hours. It is important to make sure you allow enough time for the arches to dry so the paint will not pull up the already painted arches. When the painted sections have dried, you can tape off the other sections.
- Repeat steps 10 and 11.
- Allow time for freshly painted arches to dry completely before placing your bed in front of it.
Tips for taping arches:
- When you are taping the top line of the arch you can pull the tape taught so that it can bend a little easier. To alleviate the tension so it doesn’t rip, you can gently tear the side that is not touching the drawn line so the tape lays flat and does not peel up.
- When taping the bottom line of the arch you can gently run the tape up and use your finger to gently guide the tape to fit the bottom of the arch. The bottom line of the arch is much easier to tape and will take less time (and probably be a little prettier) than the top line of the arch’s tape job.
- We like to add some extra tape at the edge of the lines to allow a little room for error in case you get a little ambitious with the roller!
We can’t wait to see your rainbow headboards! Be sure to tag us with #larsmakes so we can see your amazing creations!





Comments