


Now that spring has hit its stride, flowers are popping up everywhere! We were looking for a way to preserve this springtime beauty AND create a pretty piece of home decor, and we’ve come up with the perfect craft for just that! We call it Flower Pounding and it involves hammering flowers into a canvas or fabric, to create a piece of art. Just grab a hammer, and a handful of flowers from your favorite garden, and pound away! The color from the flowers leaks onto the fabric or canvas, and it ends up looking almost like a painting. You definitely will need to pound the flowers way harder than you think you will, so we would recommend taking this project outside to hammer on the pavement instead of the kitchen table.
This also makes a great way to preserve your wedding bouquet instead of drying them and having to keep something big around. Scroll down for the tutorial!
Materials:
DIY Flower Pounding
Flower pounding has become super popular in the past few years and there’s a reason–it’s fun and takes advantage of all the beautiful springtime blooms. Here’s how to do it!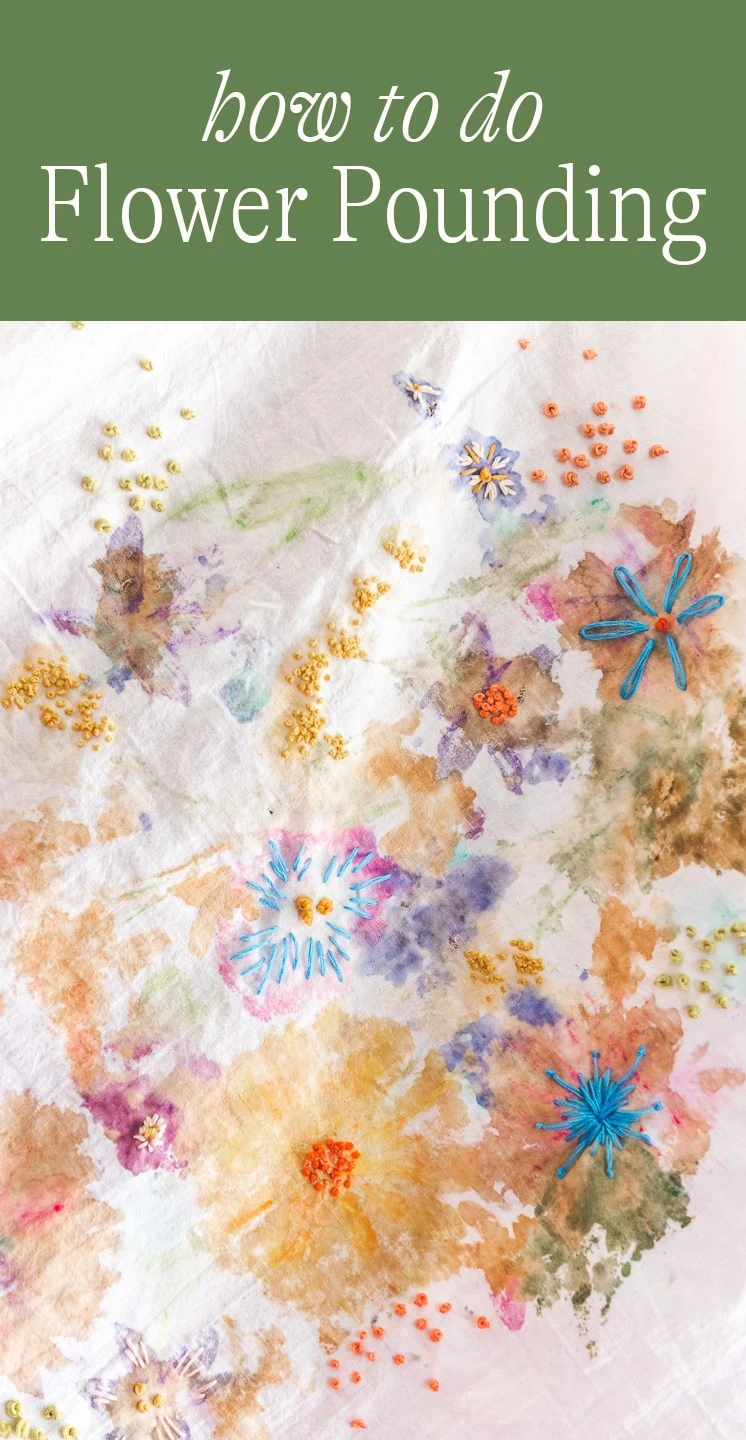
How to preserve flower bouquets you love
This is such a fun craft for those homeschooling kids who are a little older, who can handle a hammer. Try identifying your flowers first to make it educational, perhaps? Arts and Crafts and Botany all in one? Or, you can just get outside and start pounding out the flowers for art! You might want to fill in the flowers a little afterwards as well, and we found that a colored pencil dipped in water worked well on the fabric that we hammered the flowers on.
You’ll want to use flowers with thin leaves and petals, with vibrant colors, to get the best results. Roses, dandelions, and bright daisies all work well.
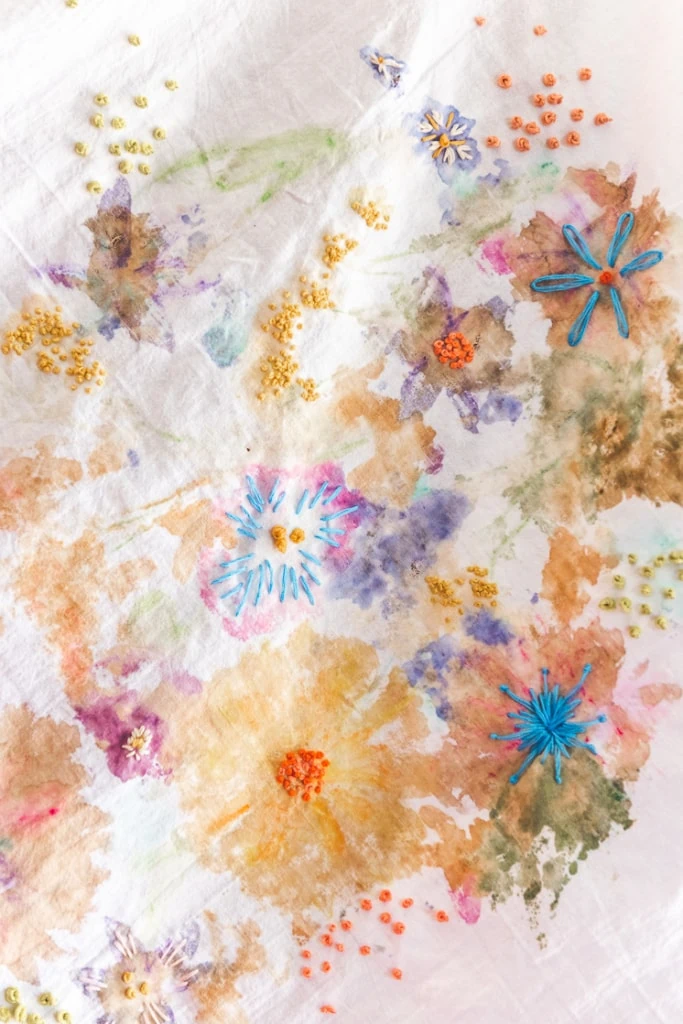
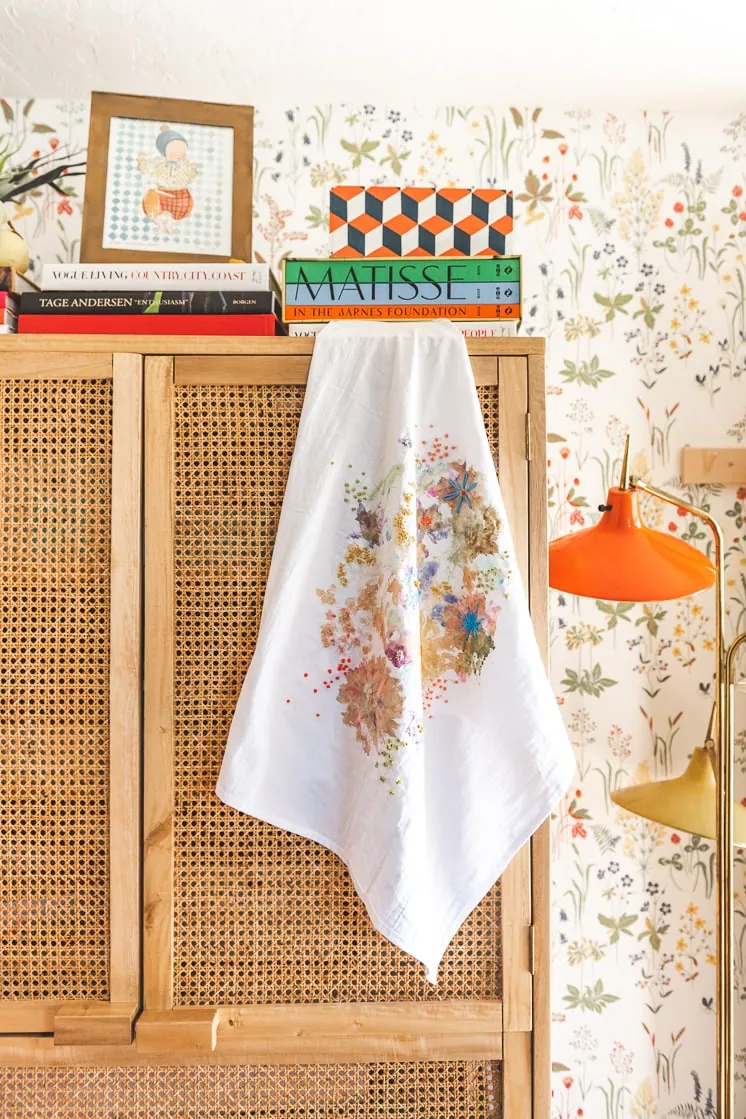
We just love how these ended up, where the color from the flowers seeped into the canvas to look like paint. We added a little Lars oomph by embroidering on top of the pounded flowers, too! This is such an awesome way to preserve flowers too, if you are looking for a way to keep a special bouquet forever.
This can work for single flowers (red roses from Valentine’s Day anyone?) or bouquets with special meaning (Mother’s Day is just around the corner!). You might even want to try the Flower Pounding technique on a wedding bouquet, to turn it into something beautiful to display in your home. Plus, then you get to keep your flowers bright and fresh forever!
Tip: Don’t wash it! The color will come out. Instead, use it as decoration!
Materials:
You can shop the materials in our Lars Amazon shop here
Instructions:
- Take a large piece of cardboard, and lay it on a flat surface. Take the material you want to pound on, such as watercolor paper or white cloth, and tape the back to the cardboard.
- Select the flowers you want to use and arrange them on your pounding material. Ensure the flowers you pick out are vibrantly colored and have thin petals. Roses, for example, are ideal for pounding. Only use the bud of the flower, not any of the stem.
- Take any flowers that have stamens, pollen, etc. and strip them down to just the petals. Keep arranged in bud shapes. Add some thin leaves to your arrangement!
- Tape down your flowers gently with regular scotch tape.
- Take a piece of parchment paper large enough to cover your design. Using heavier tape, such as duct tape, adhere the parchment paper to your cardboard backing.
- Using a mallet or a small hammer, begin pounding! It may be easier to take your soon-to-be masterpiece outside and pound on the pavement or sidewalk. Pound until your parchment paper becomes wet with pigment from the flowers. You will need to pound harder than you thought!
- After checking that your design is what you want it to be, carefully remove tape and flowers from the material you pounded on. Tape a piece of tape and get any excess petals and pollen from off the surface by holding the sticky side down and gently touching the sticky side to the pounded material.
- If you are satisfied with the spread of the flower pigment, iron it on a low heat to set the colors, pounded-side down, on the cardboard. Alternatively, you can spread some of the pigment with a small paintbrush and water before heat setting.
- Touch up your design with some colored pencils or watercolor pencils – Watercolor pencils are fantastic for blending colors, and if you use fabric, are better for drawing onto your design if you dip the tip of the pencil in water first.
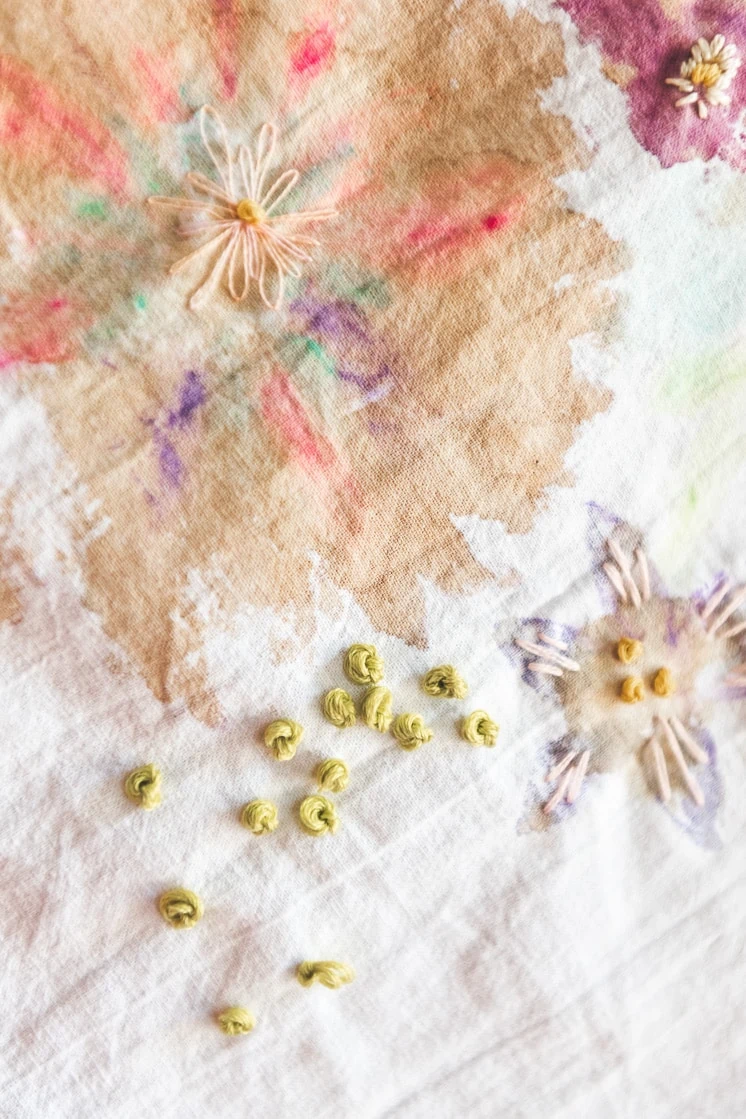
- Finally, embellish however you like! Add some pretty embroidery to your fabric piece, like lazy daisy stitches or French knots, take dried flowers and glue them on, or whatever else you want to do!


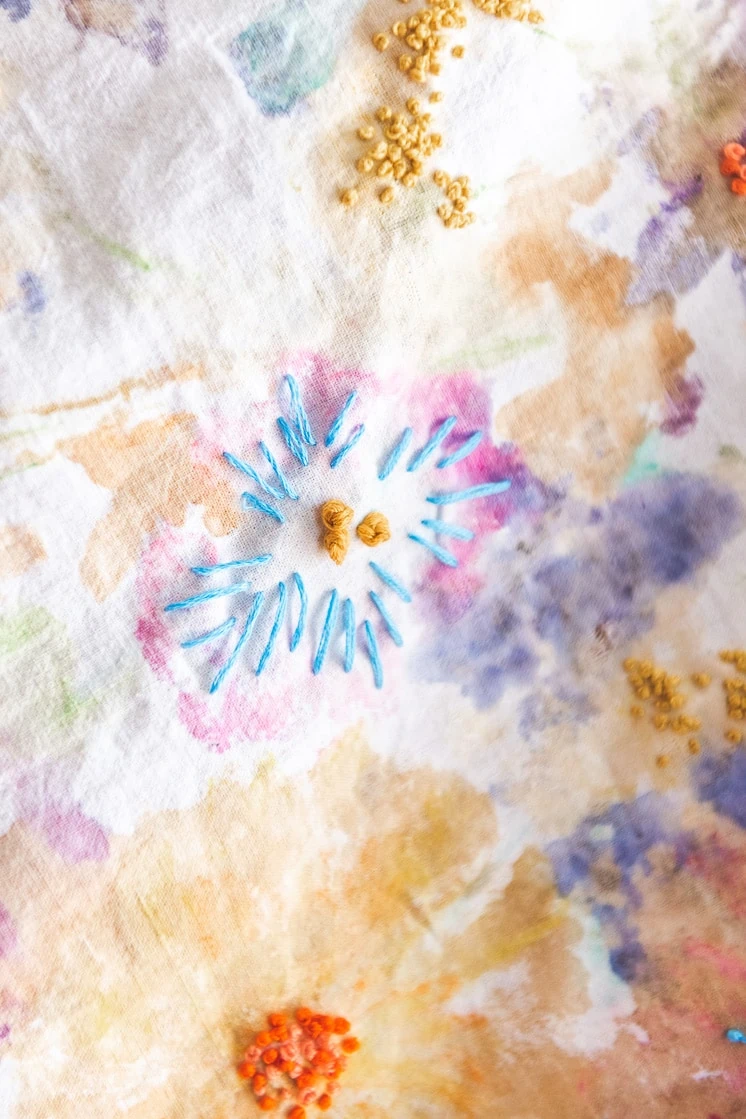
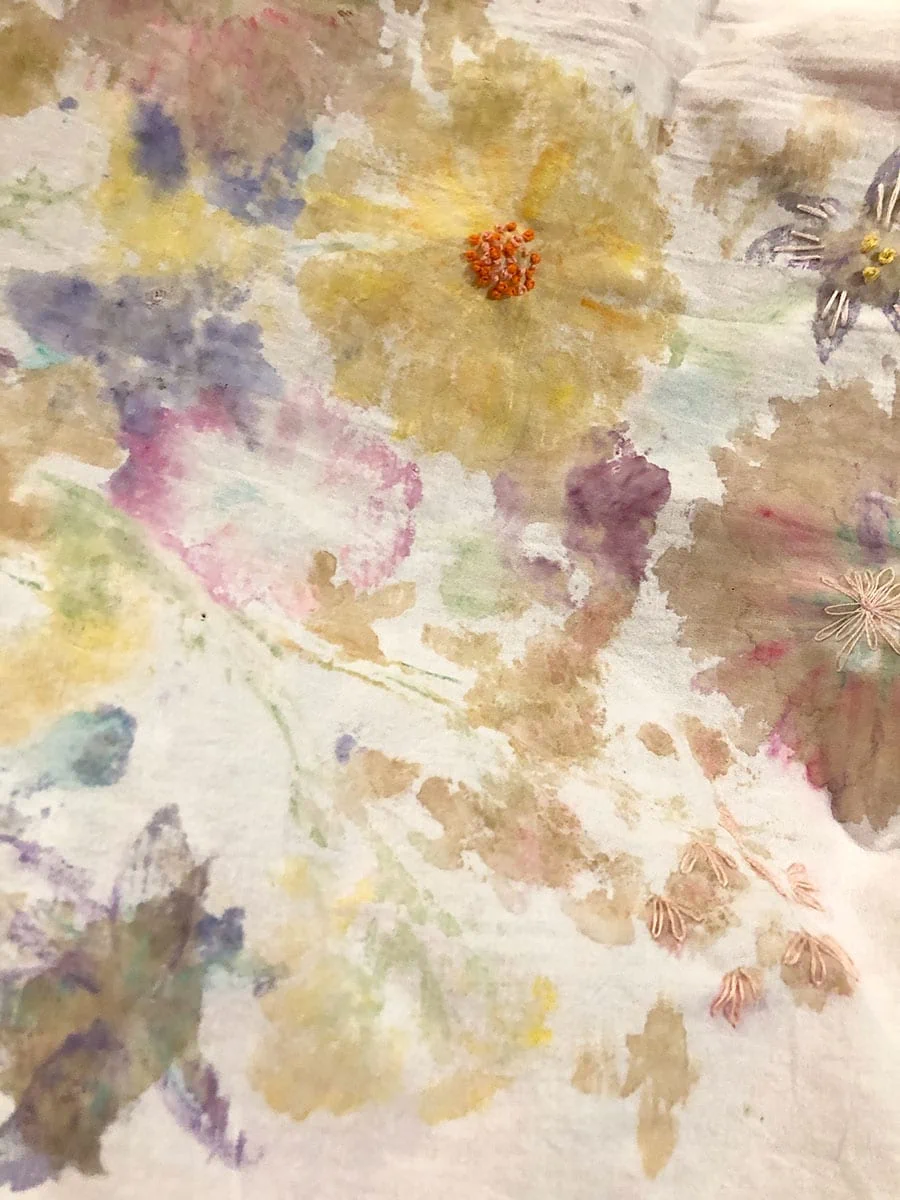
Here’s what it looked like before adding in most of the embroidery details.
Add embroidery onto flower pounding
I felt like we needed a little more definition in the flower pounding so we added in some embroidery. Plus, it added in some beautiful color.
Embroidery tips
Some embroidery stitches used were the following:
- French knots
- Lazy daisy
- Simple line stitches
You can find our guide to embroidery stitches here
Would love to see your masterpieces. Tag us with #LarsMakes of #LarsEmbroidery
Comments