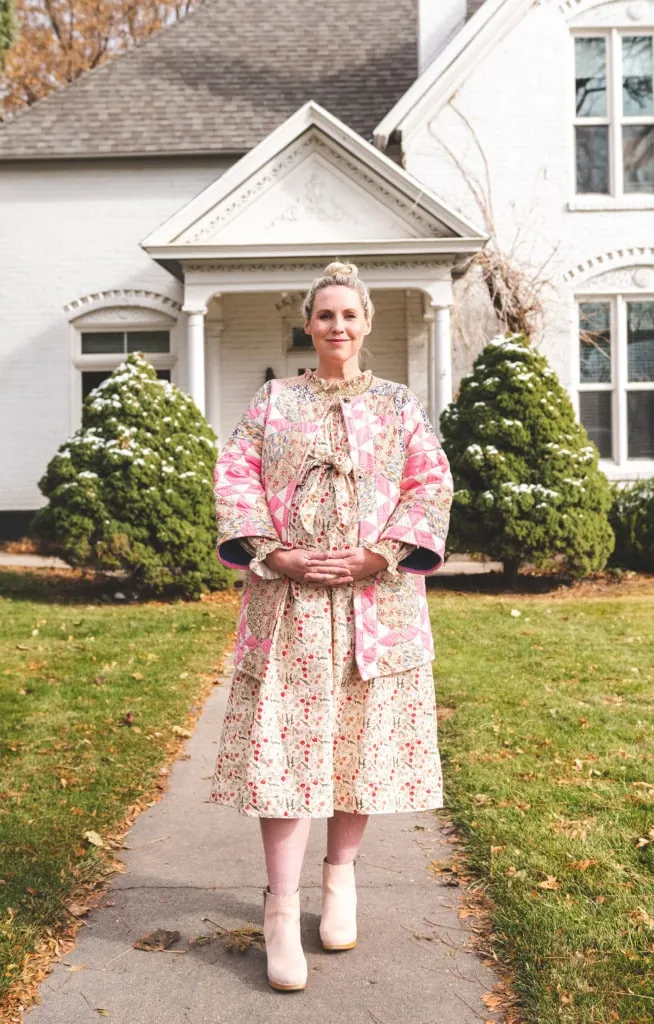
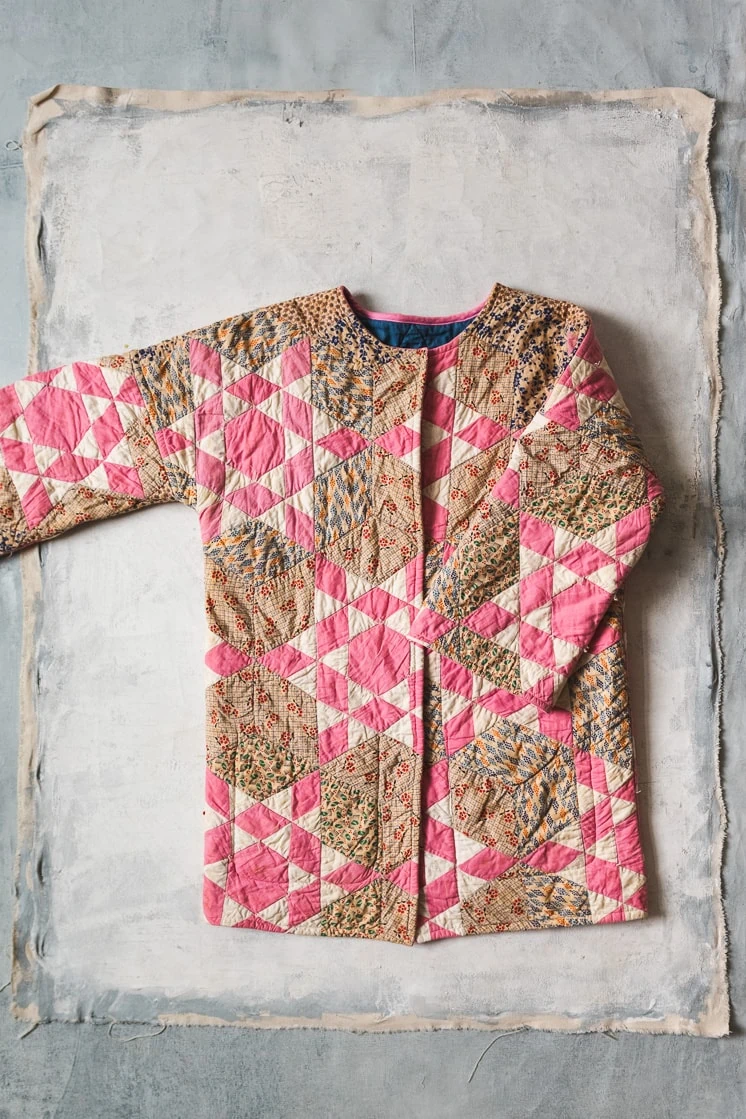
As you know by now, I’ve been crushing on quilted coats for awhile now (see here and here). All of a sudden the traditional quilt becomes sartorial and I’m all about it. There have been a number of awesome companies coming out with their version of the quilted coat and I wish I could snatch up each one. However, they cost a pretty penny! SO, we teamed up with Fiskars to show you how to make one yourself! They have a new range of awesome sewing tools so of course we had to dig in! Here’s everything you need to know to make your own quilted coat!
Materials:
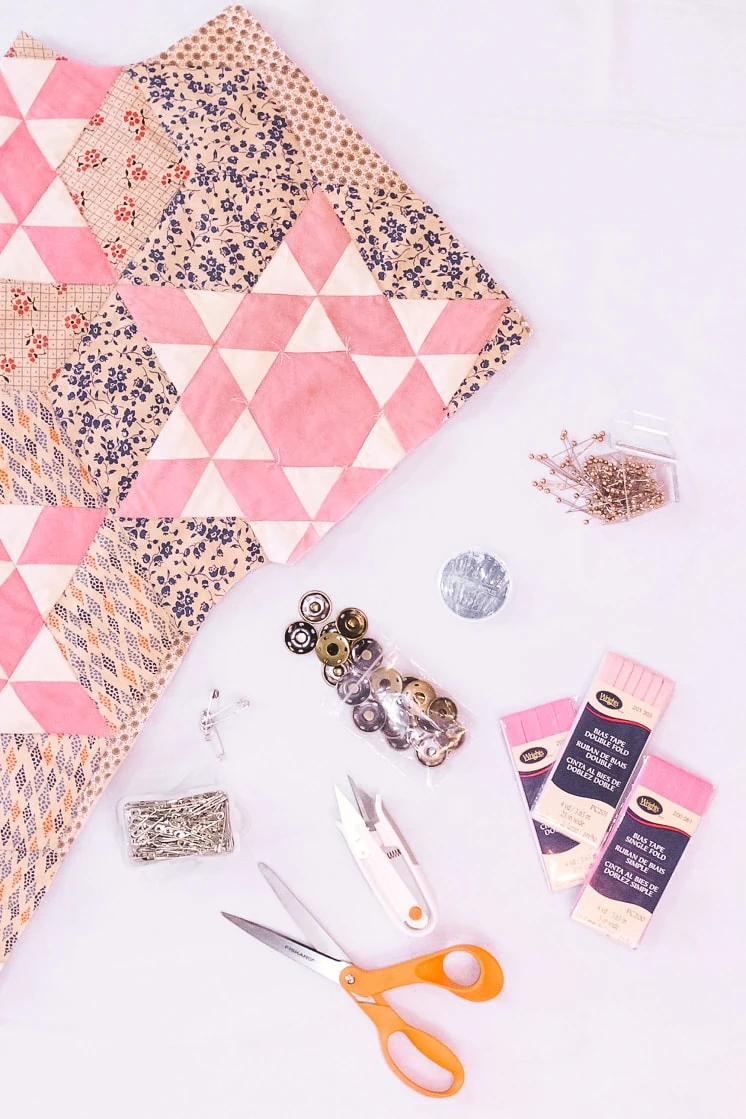
- Quilt (Twin or Queen)
- Pack (4 yards) of ¼” Bias Tape
- 2 Packs (8 yards) of ½” Bias Tape
- Sewing Machine
- 4 - Heavy Duty Snaps
- Matching Thread
- Pins
- Safety Pins
- Fiskars Fabric Scissors
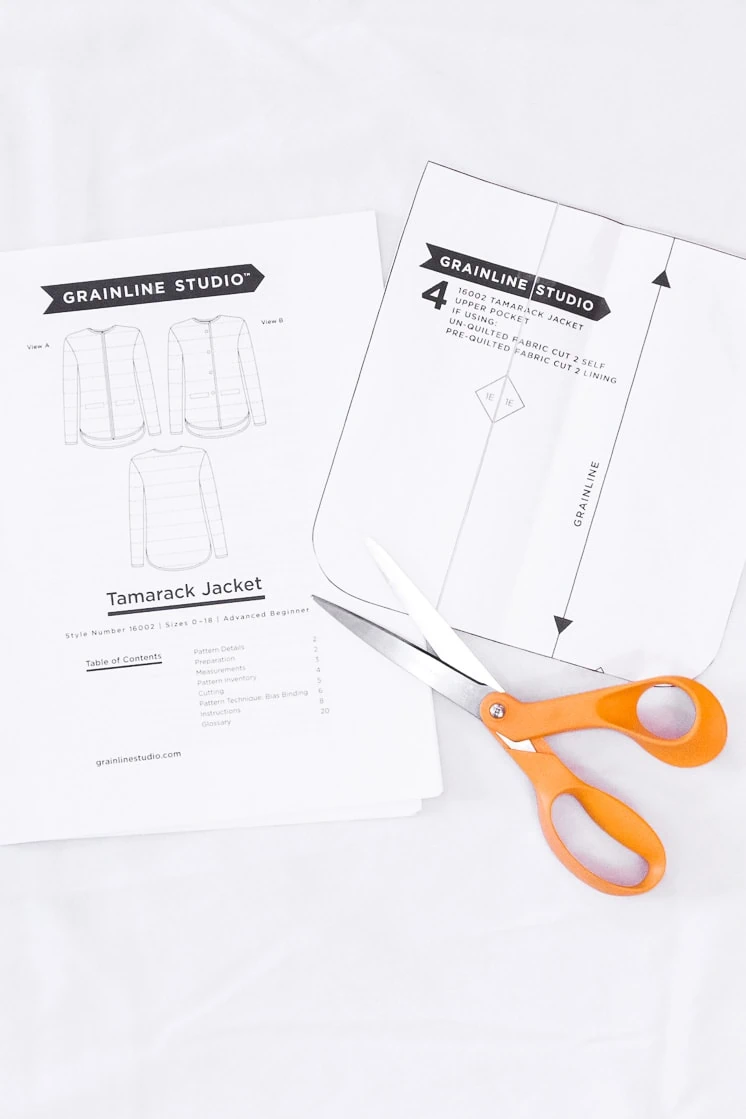
- Fiskars Paper Scissors
- Fiskars Measuring Tape
- Fiskars Thread Snips
- Hand sewing needle
- Chosen Coat Pattern (with a drop sleeve and square hem modification)
- Cotton/Wool/Polyester Batting (Optional; see Tips and Tricks)
- Muslin (Optional)
- Beeswax for Thread (Optional)
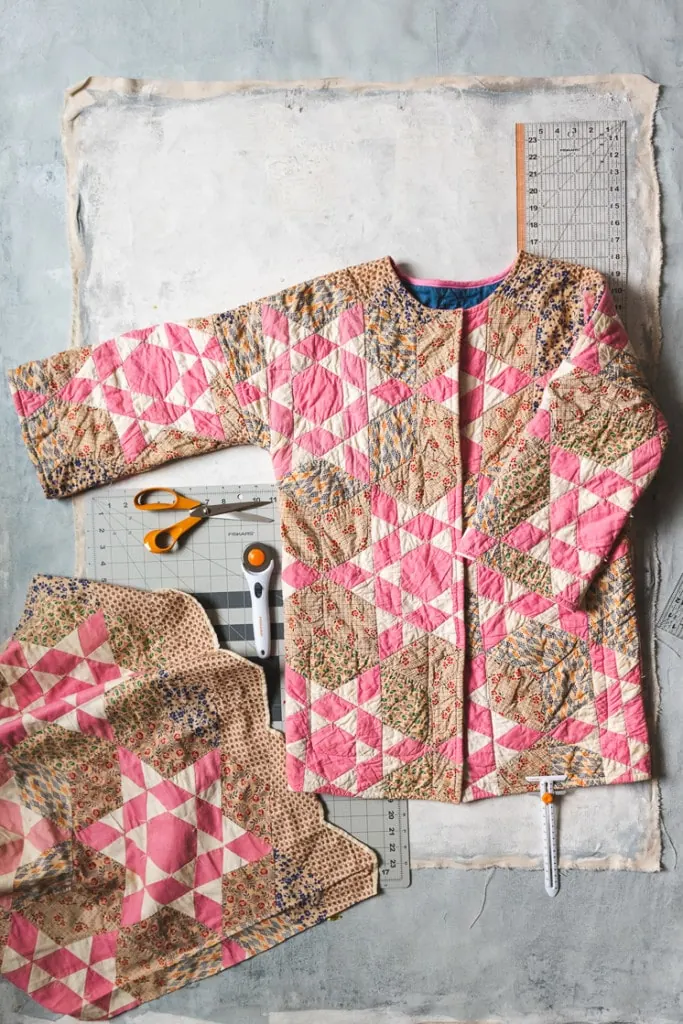
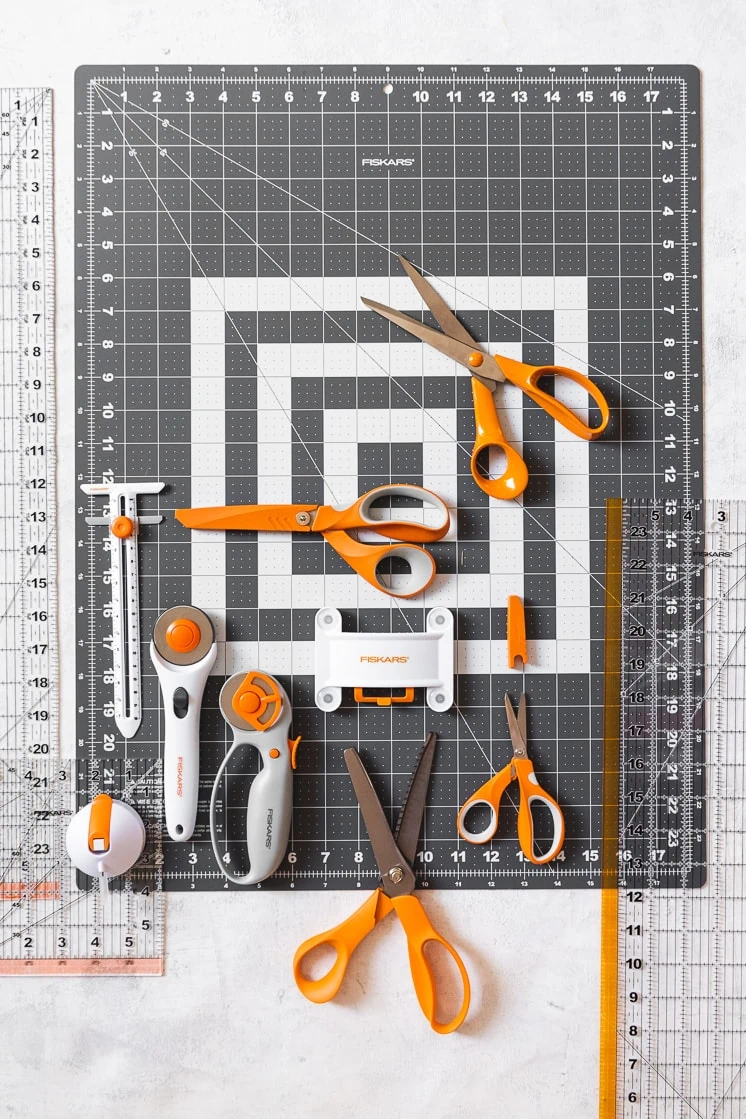
- Fiskars cutting mat
- Fiskars rotary cutter
- Fiskars hem gauge
- Fiskars acrylic ruler
- Fiskars Seam ripper
Everything you need to know to make a quilted coat
Now, I knew I couldn’t make it on my own because I’m very much a novice seamstress and didn’t want this to be “lessons from a fool”, so I reached out to one of my favorite local sewing inspiration sources, Romy-Krystal Cutler of Sew Like Romy, to make it happen. Romy has a knack for knowing the latest and greatest trends and making them her own. I’ve been following her for awhile because she does such a great job. And guess what?! She does it during nap time! Romy will be giving us an expert’s tips on how to get the best results.
Fiskars new sewing tools
We are big fans of Fiskars for all sorts of paper crafts and DIY tools, so we were thrilled to learn that they had a new line of sewing tools too. We got our hands on their classic rotary cutter, and their comfort grip rotary cutter, along with their new Sewing Essentials Set, which includes their classic orange handle scissors (a classic), thread snips, which came in handy for this coat, acrylic ruler, measuring tape, and sewing gauge for accurate measurements, and a seam ripper. It’s so helpful to feel prepared! As nerdy as it sounds, I’m pretty stoked to add the sewing gauge to my arsenal for Paul’s hems!
They also equipped us with seamstress scissors, which cut like BUTTAH! And please note: no one better use them for paper! Do I feel like my mother OR WHAT?!
How to make a quilted coat
Romy did an amazingly thorough job with this tutorial. Let’s go!
How to find awesome vintage quilts:
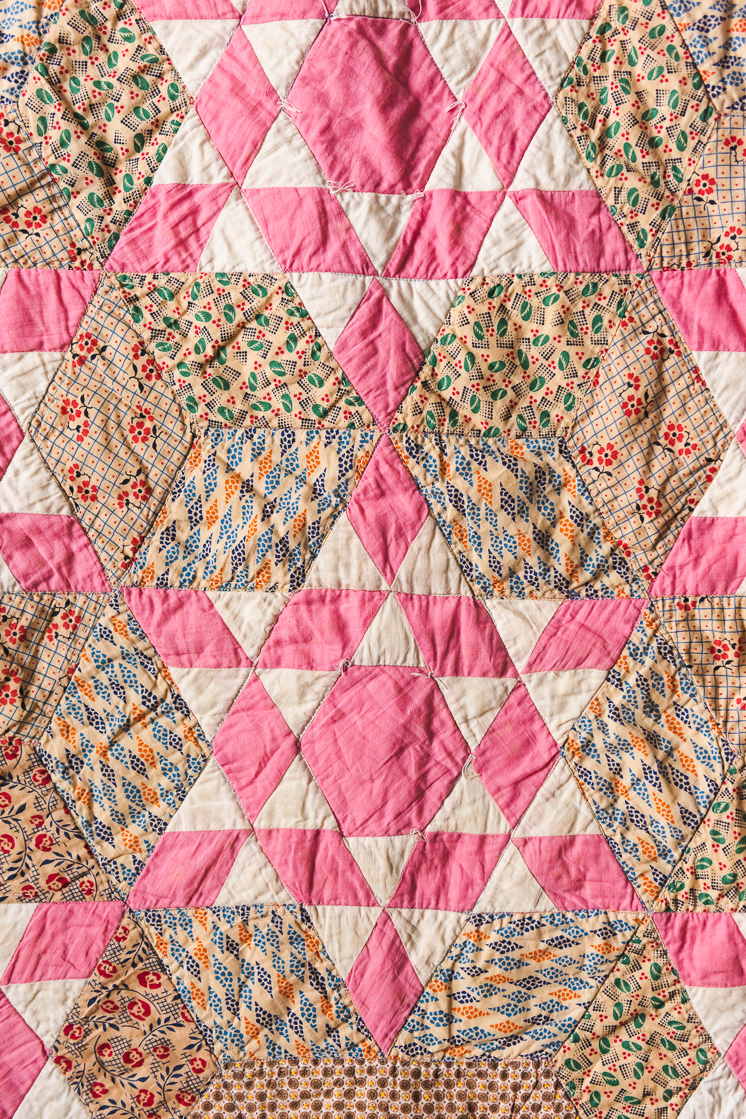
I scoured Etsy, eBay, and Facebook Marketplace for vintage quilts that I loved. If you know the style of quilt pattern, search that term, or search “antique quilt” or “vintage quilt”. You could also search “quilt topper” only as there might be more available there.
Materials:
See above
Buzzwords:
- Bias Tape/Binding: Narrow strips of fabric cut on the bias used to finish edges. Can be bought premade.
- Heavy Duty Snaps: These are to close your coat. They come in two options — Sew-in and heavy duty hardware. The heavy duty requires extra tools to secure them in place.
- Thread Snips: Small, sharp scissors for precision cutting loose threads.
- Muslin: Plain weave cotton fabric, usually sheer. Used for toiles.
- Toile: A test version of a garment in cheap fabric.
- Grade: Trimming your seam allowance to a smaller width.
Preparation:
Not all quilts are the same. Be sure to check that your quilt will fulfill your warmth needs. For this particular coat there was no batting and the back was muslin. If you find yourself in the same position first head down to Tips and Tricks.
Selecting your size. Consulting the finished measurements and comparing these to an existing coat in your wardrobe is a good place to start. If you want to be extra cautious, a toile is an even better place to begin.
Read your patterns instructions and gather all your supplies.
Instructions:
- Measure yourself and determine which size of your chosen pattern you are going to use.
- Prepare your coat pattern pieces and cut them out with paper scissors.
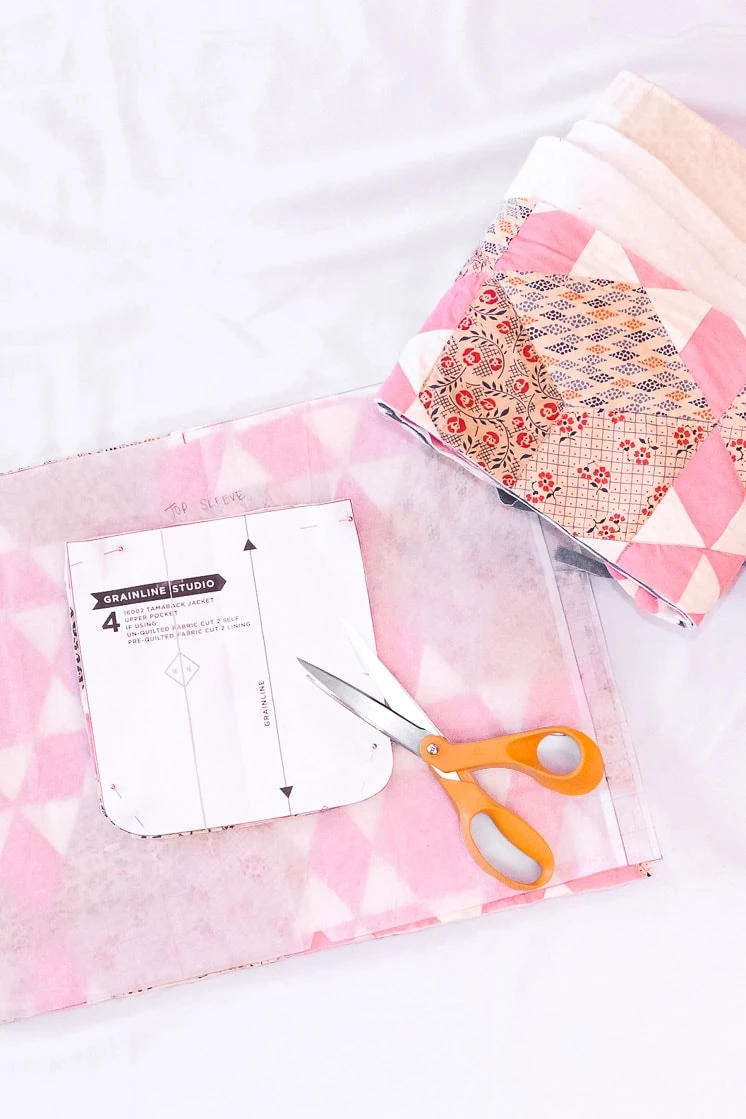
- Lay out your quilt, pin down the pattern pieces, and cut out all pieces for your coat using your fabric scissors. Refer to the cutting layout of your pattern to ensure you have it right before you cut!
- Follow the coat patterns sewing instructions.
- When the pattern states to finish or serge the seam you will be using bias tape to finish the edges.
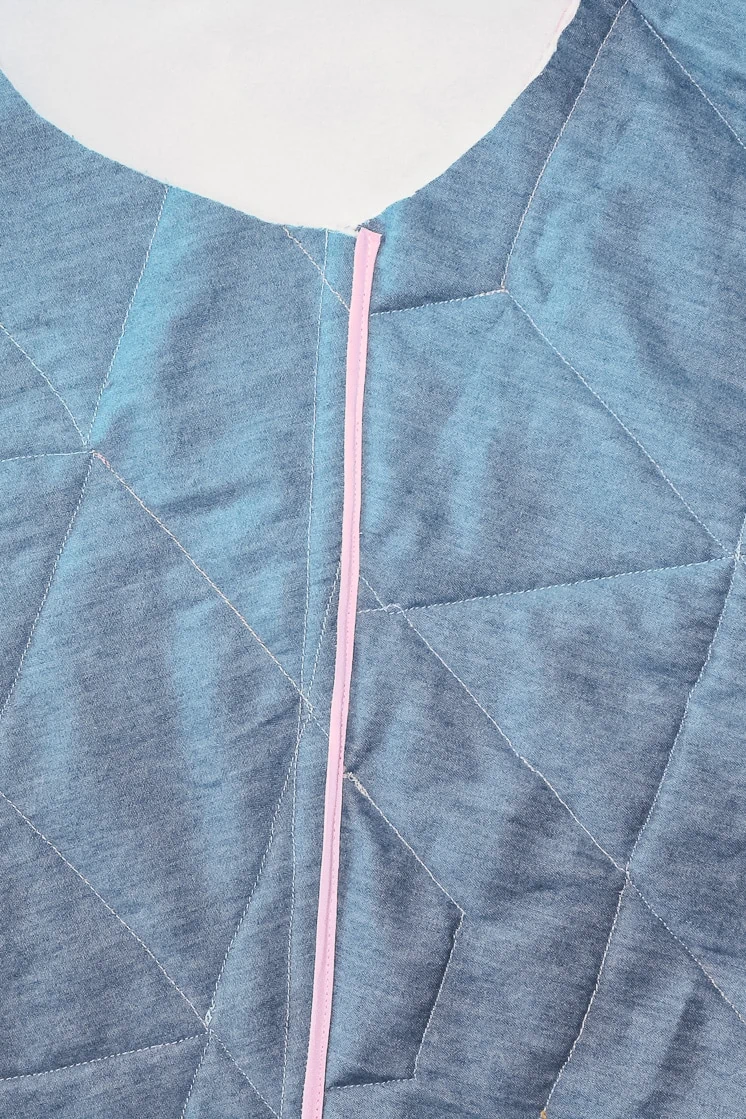
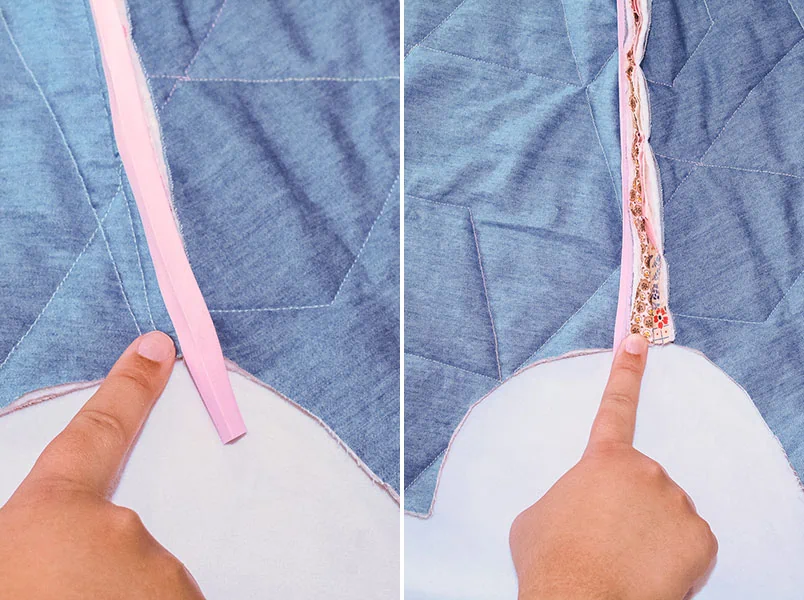
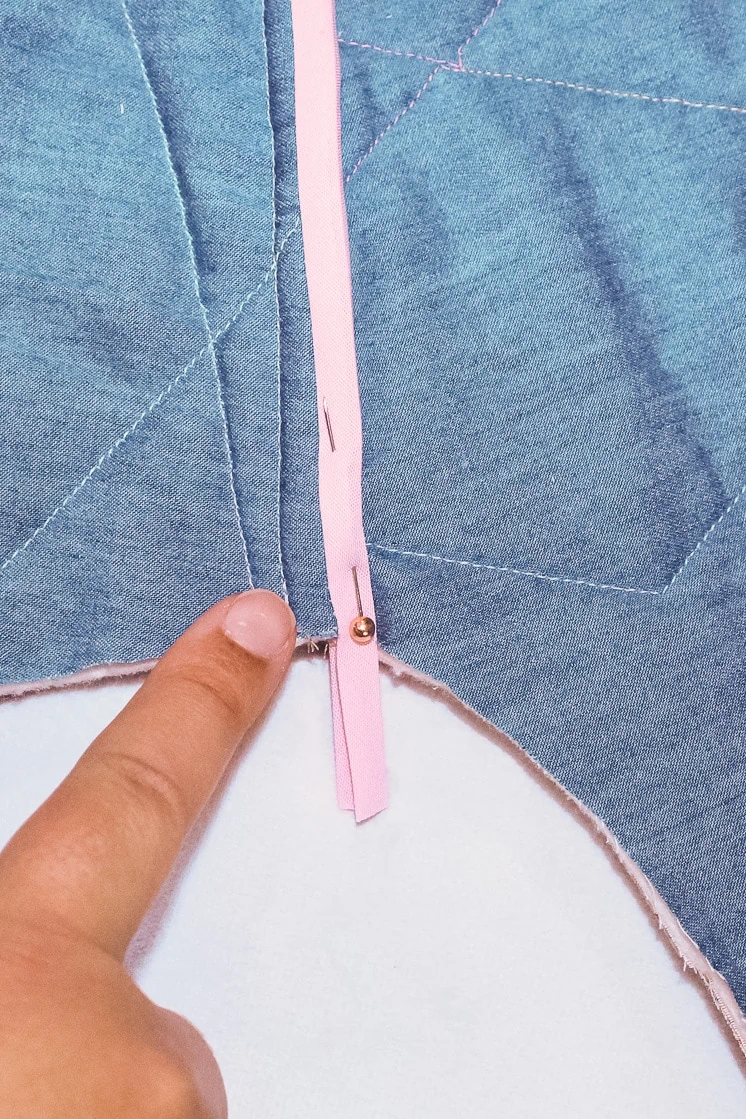
- For the inside seams: Sew the bias to one edge of the seam, fold over. Grade ¼” (cut down) the other seam and then pull over the edge with the bias to one side and sew down.
7. Follow the pattern instructions to bind the edges of the coat.
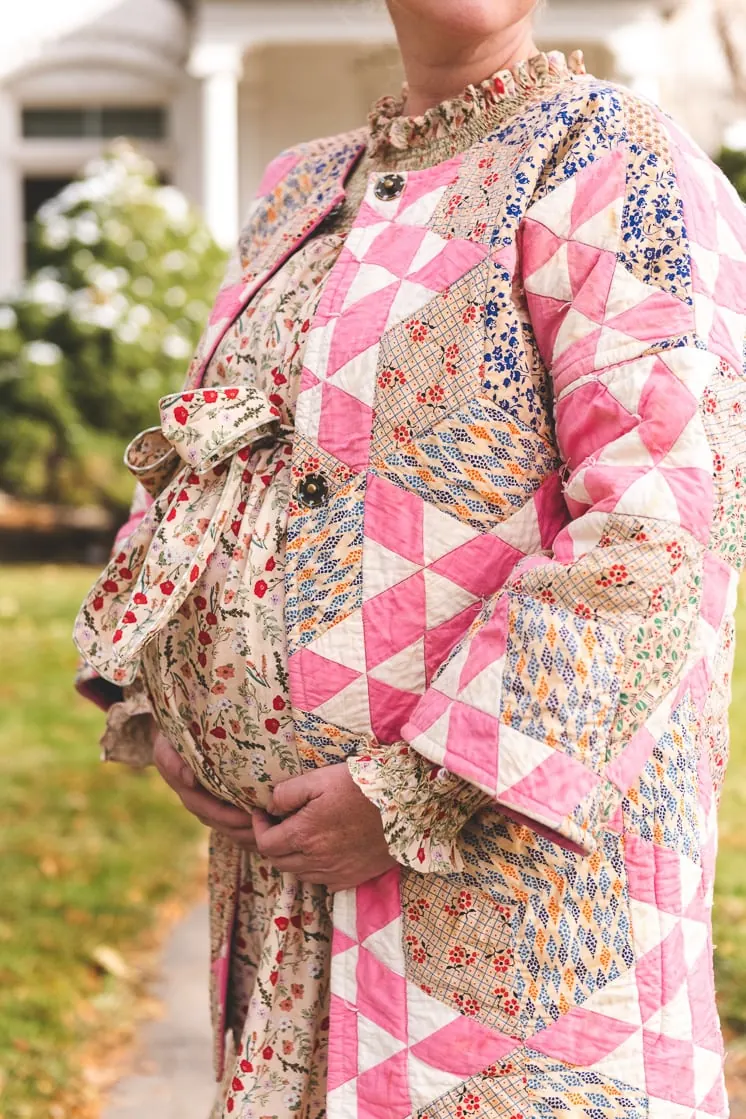
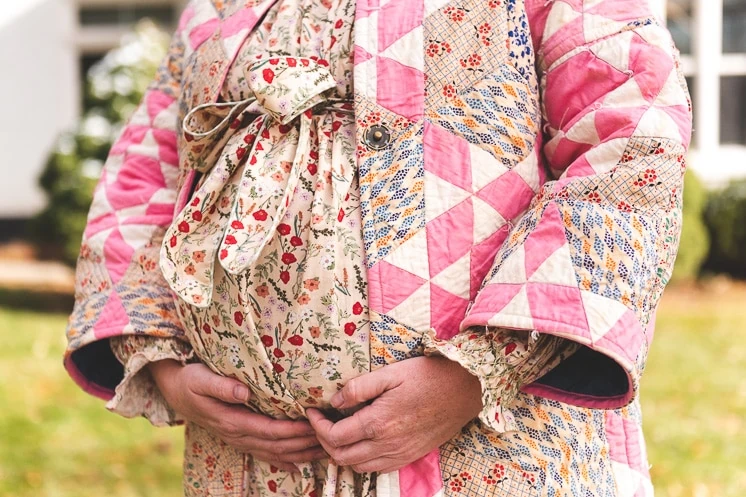
8. Lucky last part: Attach your sew in snaps to the front.
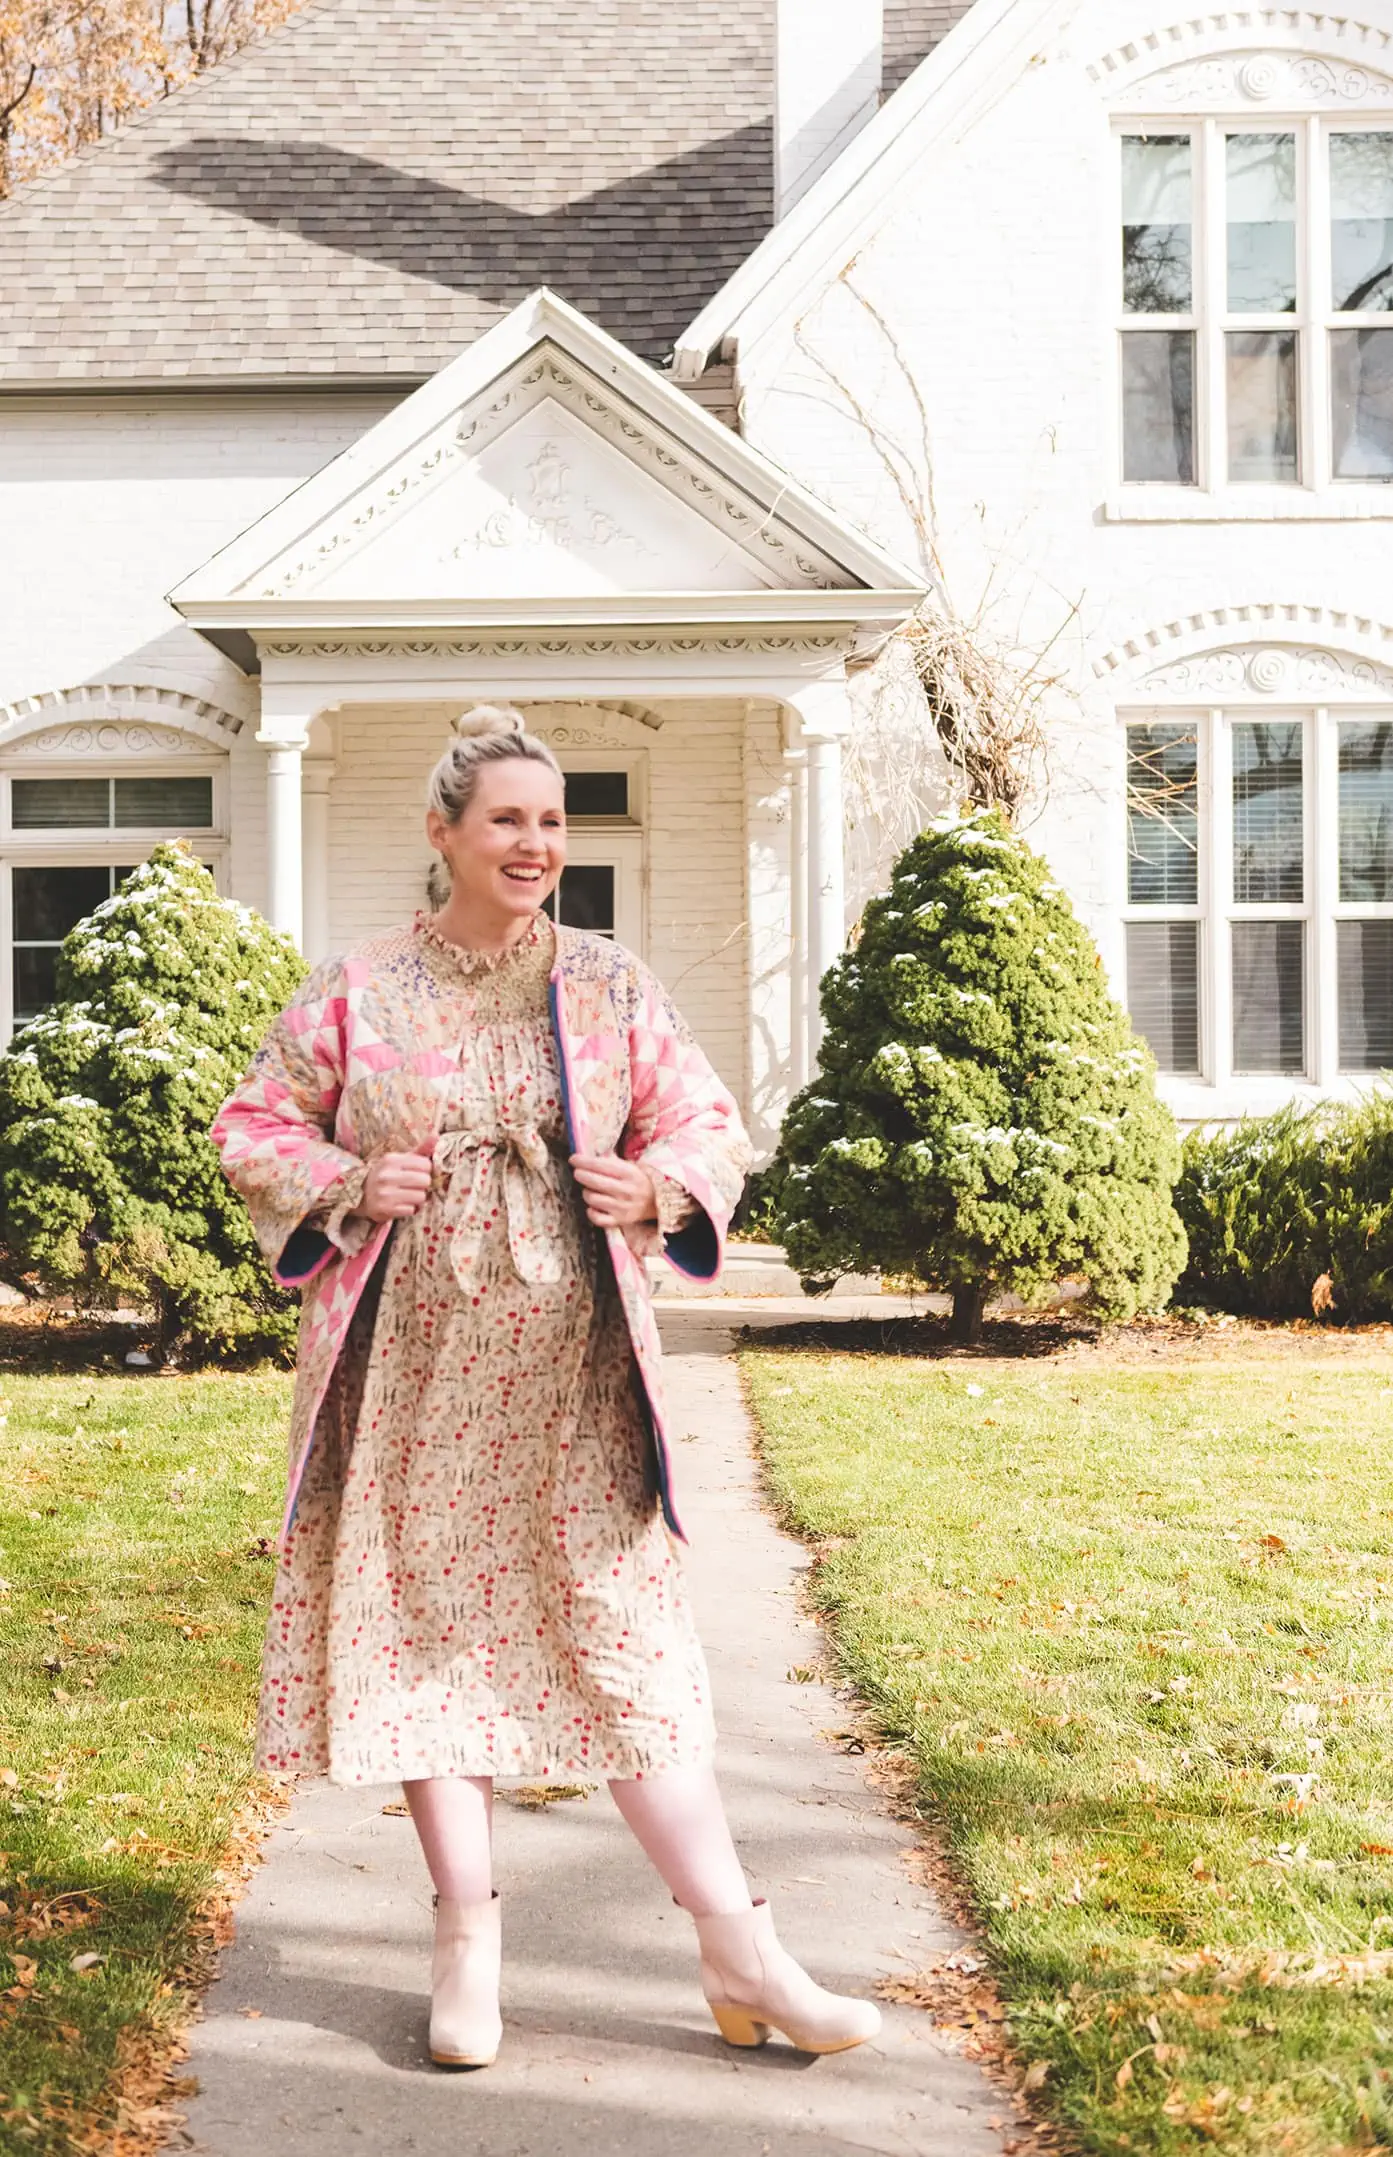
9. Do a happy dance and enjoy your new coat!
Tips and Tricks to make a quilted coat
Pro Tip 1:
The top design of a quilt can come just by itself (commonly called a quilt top). They’re usually cheaper since they weren’t made into a formal quilt. The one used on this project was such a case. To get it ready to turn into a coat the steps are simple, the “fabric sandwich.” To complete this you will need to buy backing fabric and batting. Once you have those on hand you create the layer sandwich: Quilt top on top, batting in the middle and the backing fabric on bottom. Once that’s together secure with safety pins throughout to keep the layers from moving. Using a walking foot and quilting thread, you’re then ready to quilt the pieces together. Best part: the design is entirely up to you so the sky’s the limit.
Pro Tip 2:
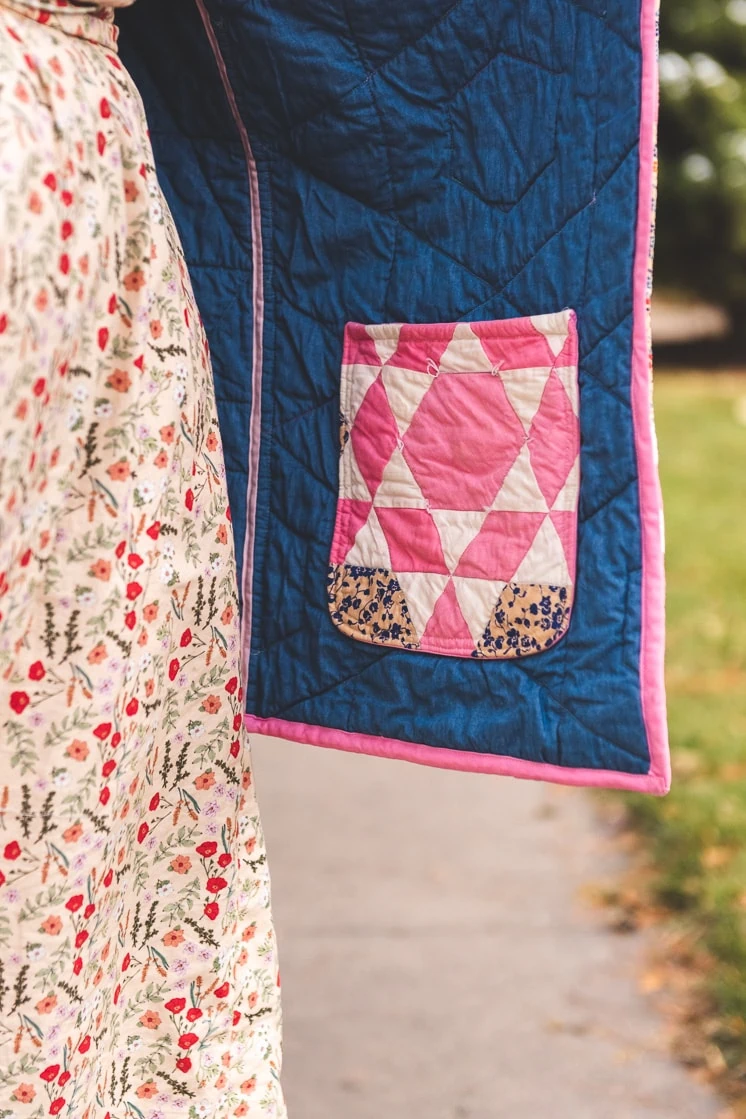
Reversible coats are not only super functional but so fun! Bias tape is your best friend here. Finish one edge with bias tape and fold over the edge. Grade ¼” (cut down) the other edge of the seam and then pull over the edge with the bias tape and sew down. Presto reversible! Just be mindful of your pocket placement and snaps if you decide to do this!
Pro Tip 3:
Hand sewing can seem never ending but it’s made a lot easier and faster with beeswax. This helps strengthen and stabilize the thread and prevent tangling and shedding. A great investment for the long run with any hand sewing.
Pro Tip 4:
Try on your coat before you add your snaps/buttons. The placement of these on patterns are recommendations but that doesn’t necessarily mean it will suit your body. Try it on and mark where you want your snaps for the best fit.
Thank you, Romy for your expertise. I hope you all have a good experience making your quilted coat! Please show us the results with #LarsMakes!
This post is sponsored by Fiskars. Thank you to our brands who allow us to make beautiful, original content for you!


Comments