Materials:
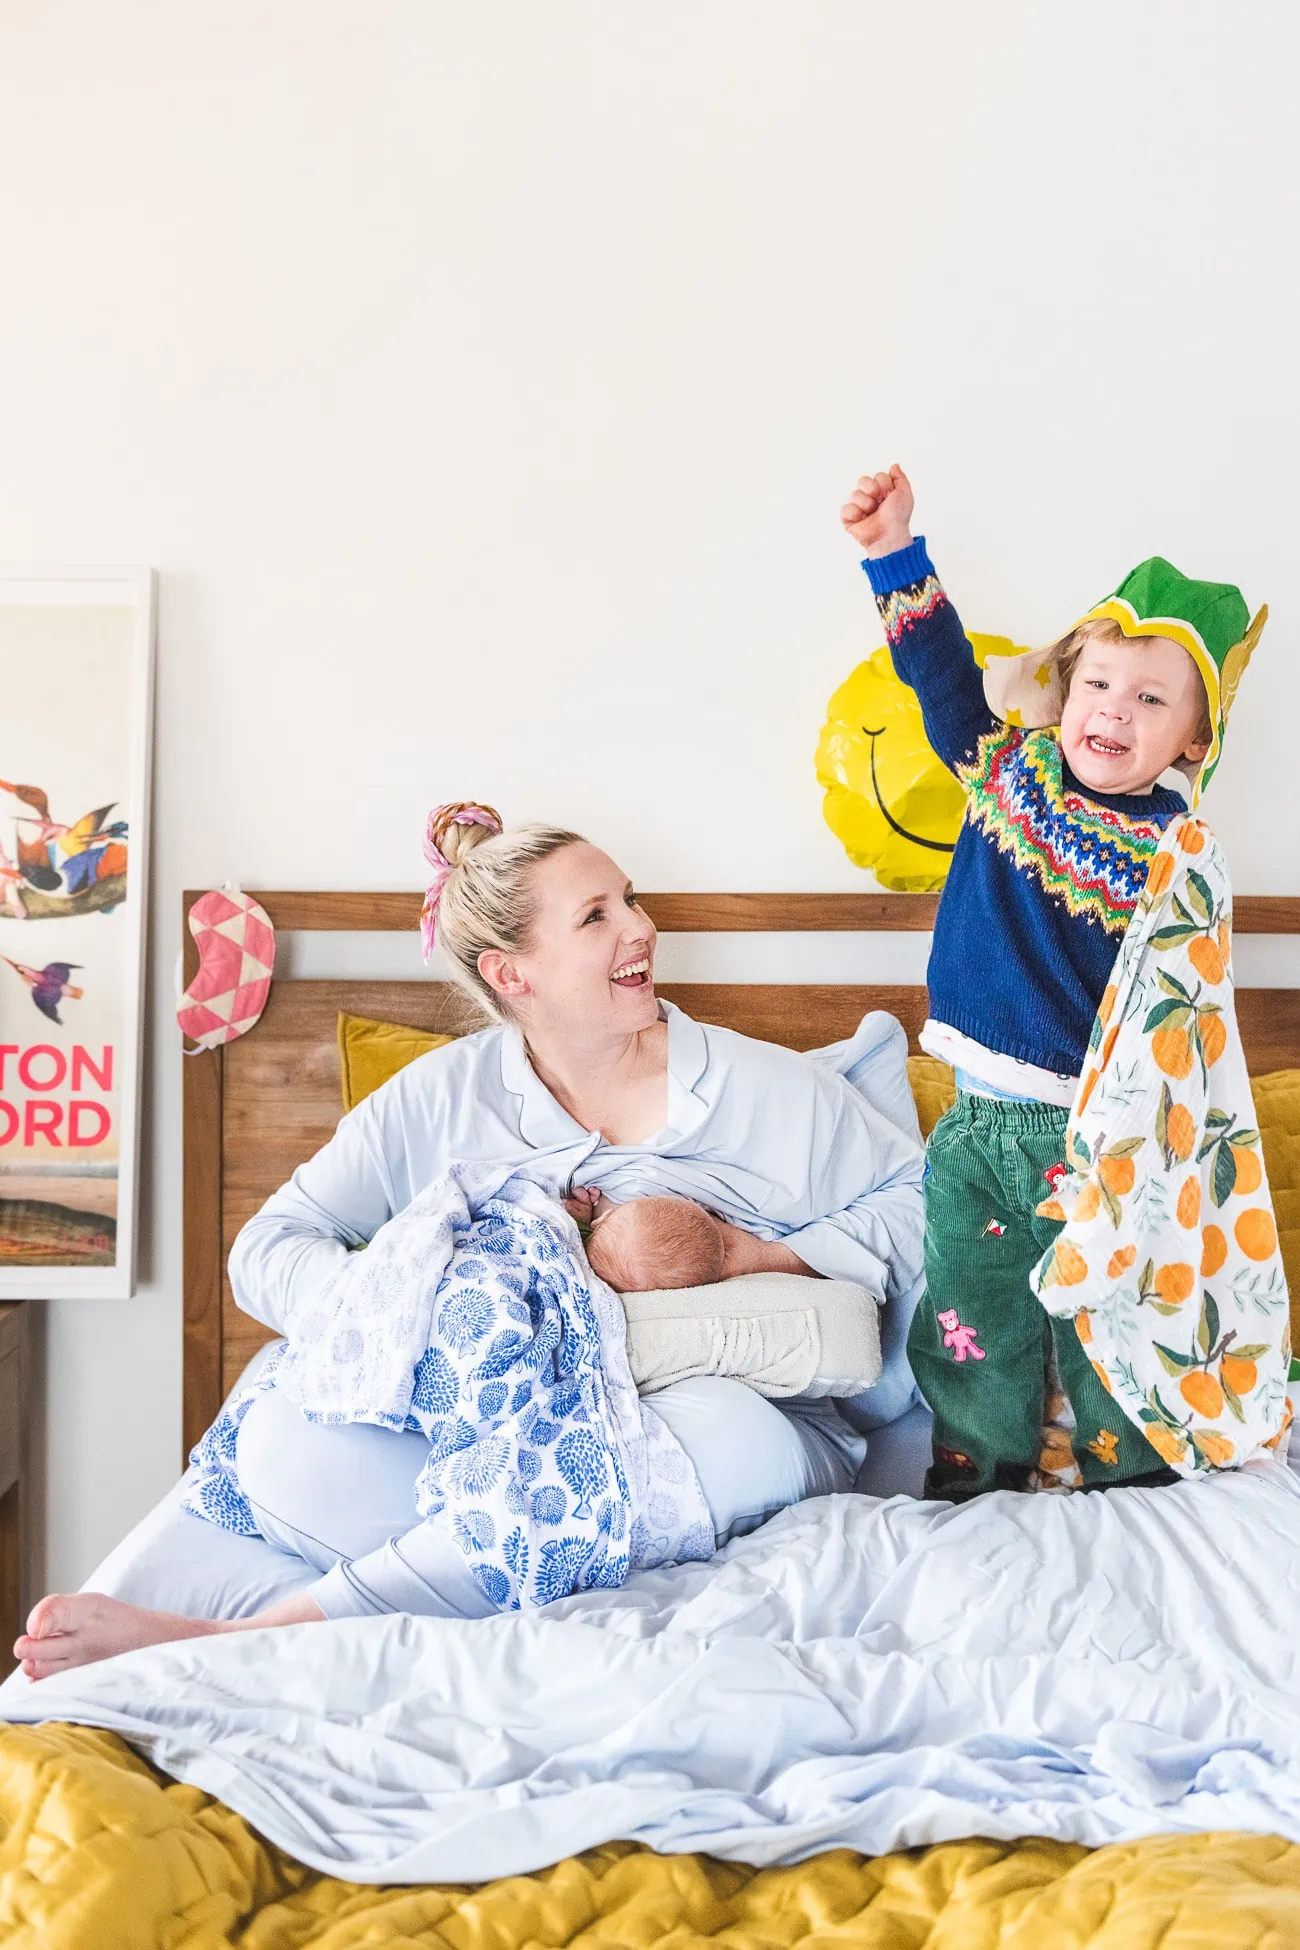
You all know that, up until recently, my Lars uniform was a puffy, flowy dress in any color or pattern I could find. I lived in dresses! In any weather or circumstance, I would never fail to don a dress. However, since welcoming Felix into the world and moving the Lars office into my home – I must admit, I have found a new uniform of choice. LOUNGEWEAR. Who knew I would ever become a loungewear gal?! NOT ME! Ha!
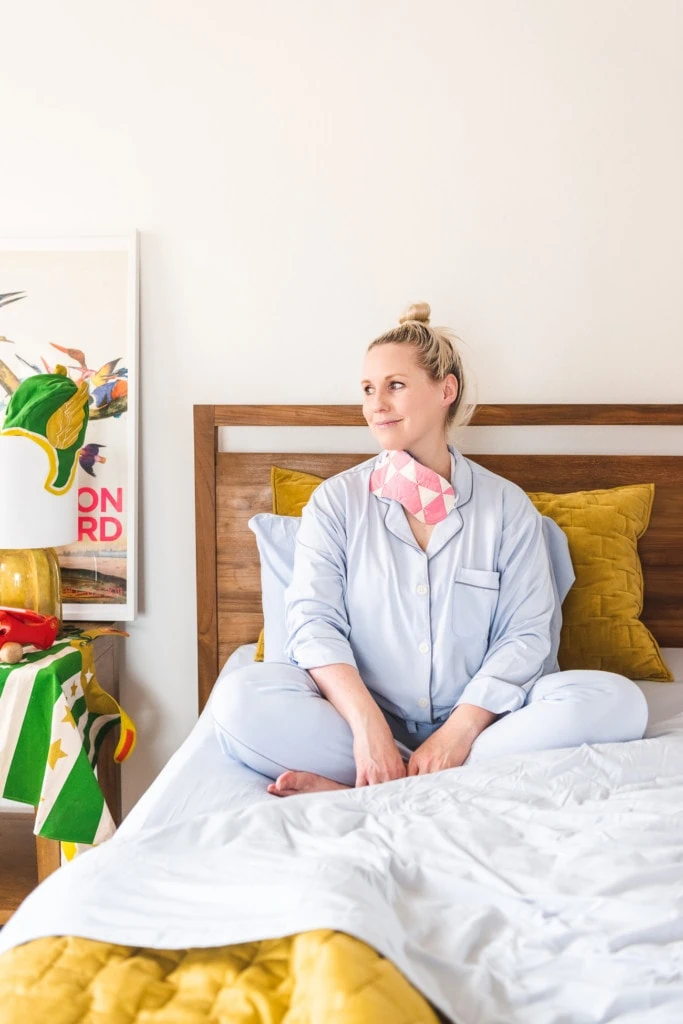
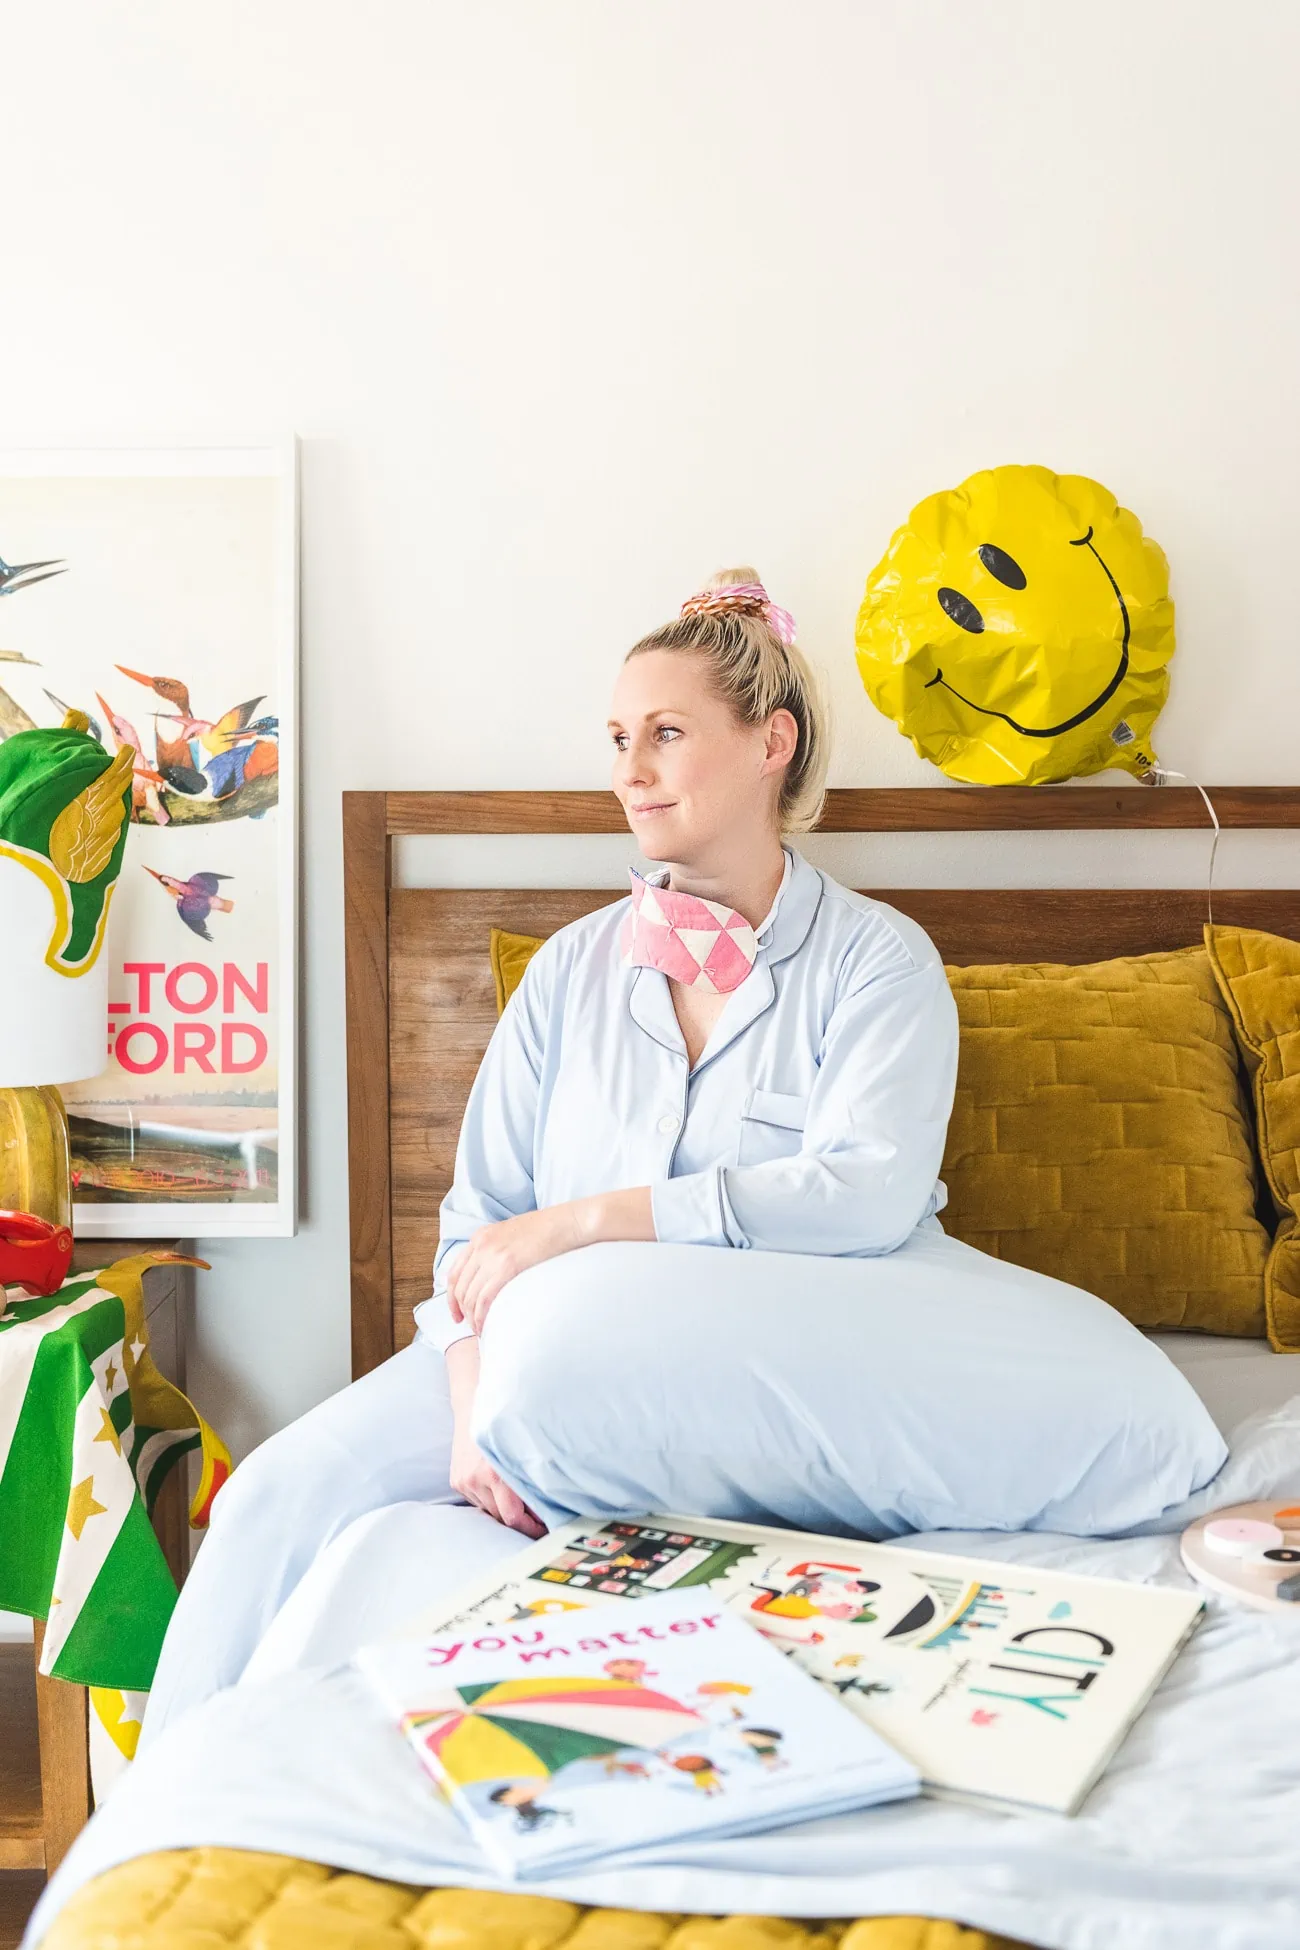
In fact, this new obsession of mine has taken over my wardrobe so completely that most days I find myself sliding into full-on pajama territory. I basically wear the same thing night to day…and then night again. But honestly, I’m not even mad about it. The latest addition to my PJ drawer is this set from the Sleepy Jones + Purple collaboration. When my favorite sleepwear brand and mattress company put their minds together to create a new pair of PJs, you just know they will be the most comfortable item in your closet.
How to Complete The Ultimate Cozy Look
My favorite part of these new Sleepy Jones + Purple Pajamas? THE STRETCH. I could go on and on about the stretch. Especially when my time is currently spent feeding Felix and working at the same time (somehow?!). I feel stretched thin, so of course I need my loungewear to feel stretchy too. They truly provide the all day comfort I have been longing for.
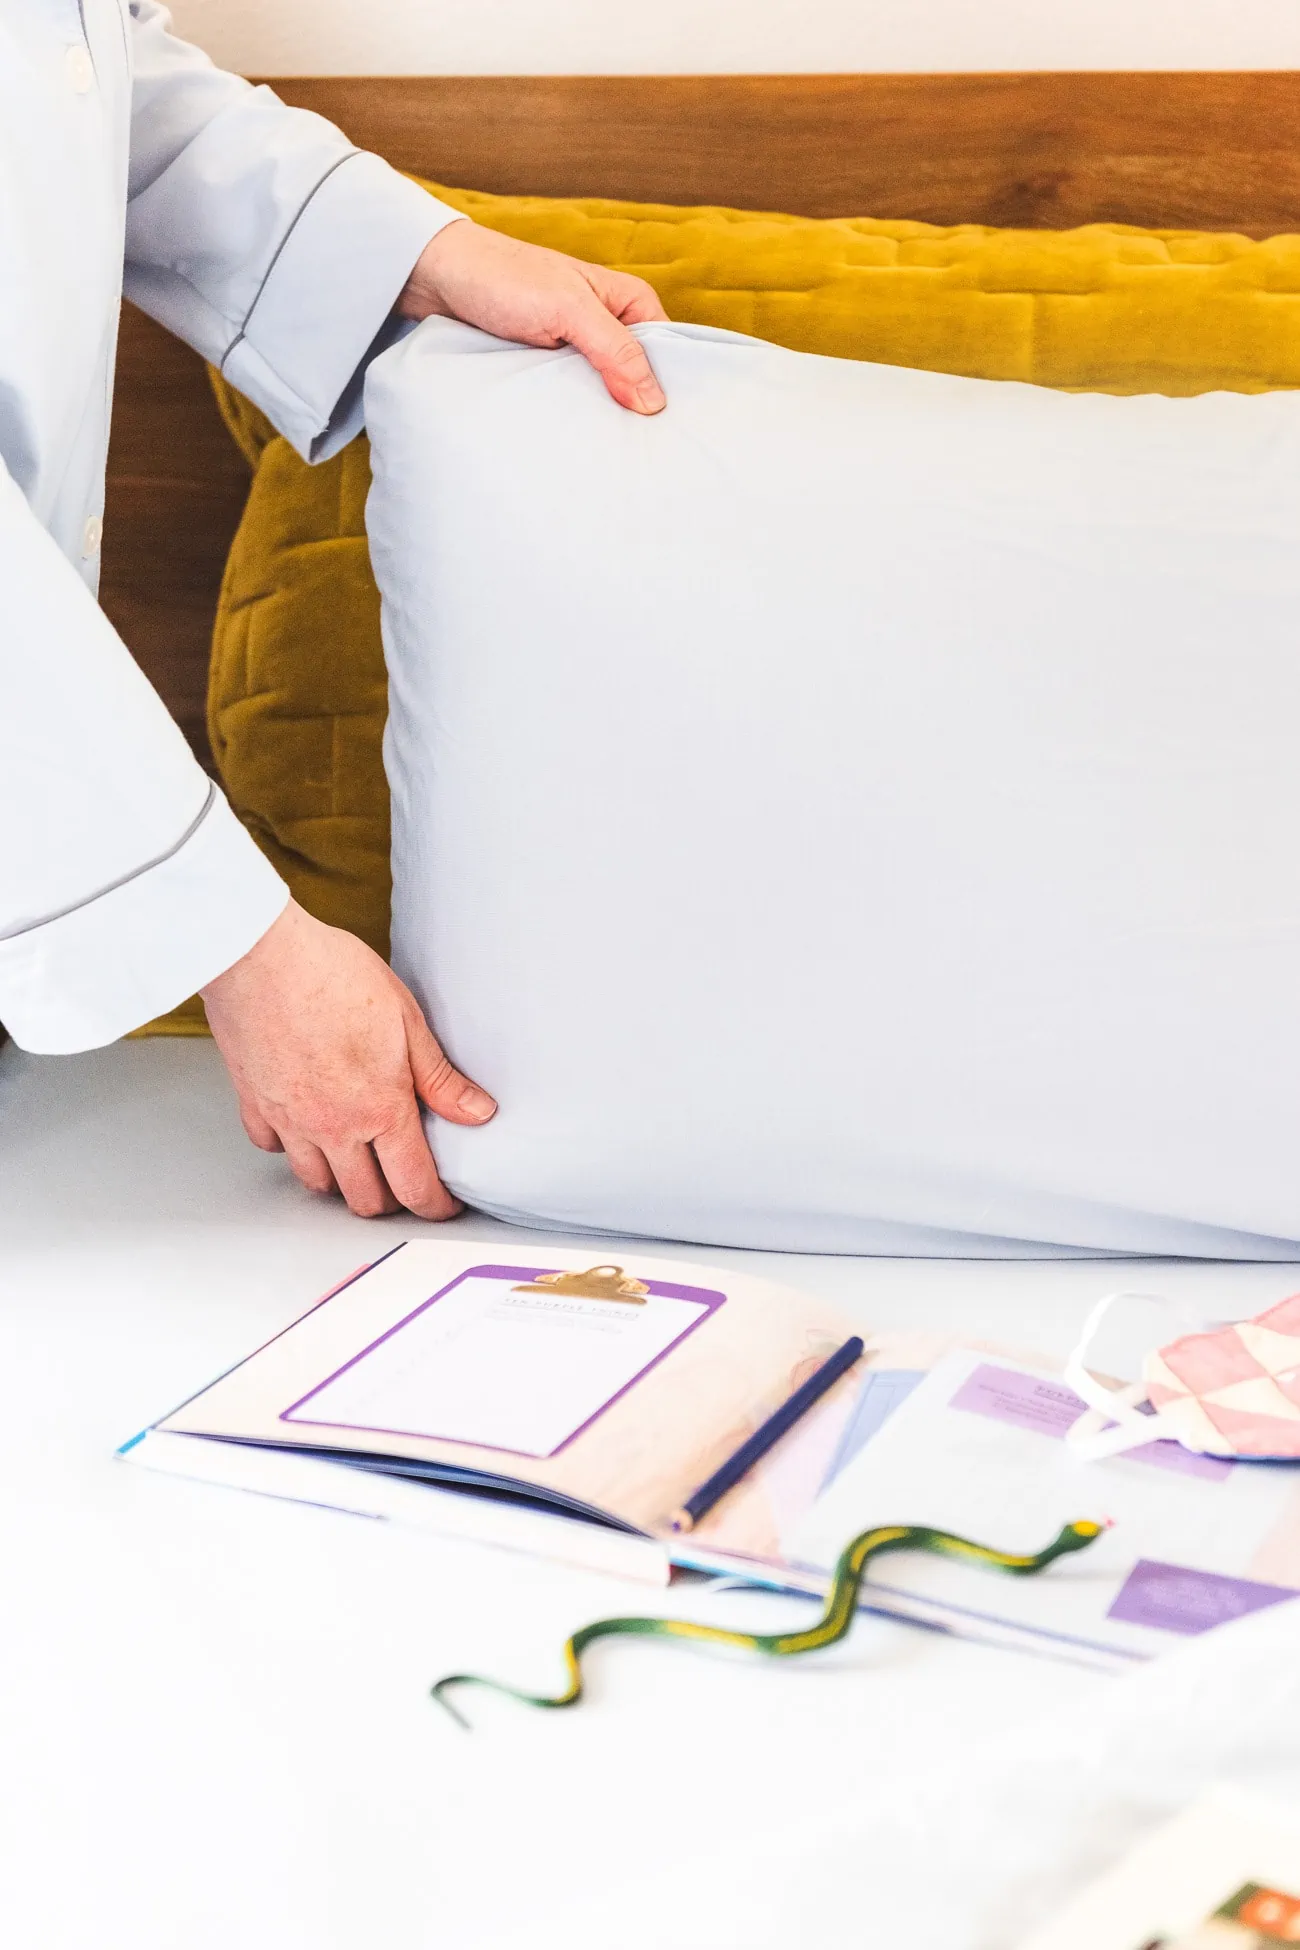
I do need to tell you now though, ordering your own pair of Purple PJs is a fluffy, soft, and slippery slope that will inevitably lead to a full Purple bedtime set up. And that is where I find myself now, wearing my new pajamas, surrounded by new Purple SoftStretch Sheets, and Harmony Pillow. But can you blame me? “Stretch” and “harmony” are suddenly my two favorite words, especially to describe my sleeping situation.
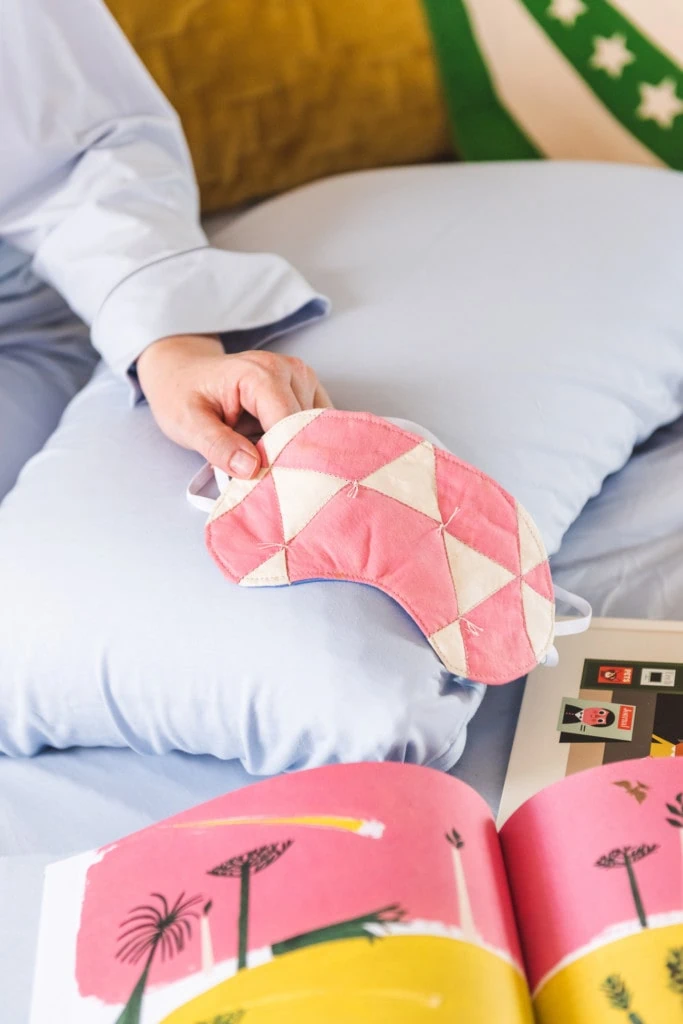
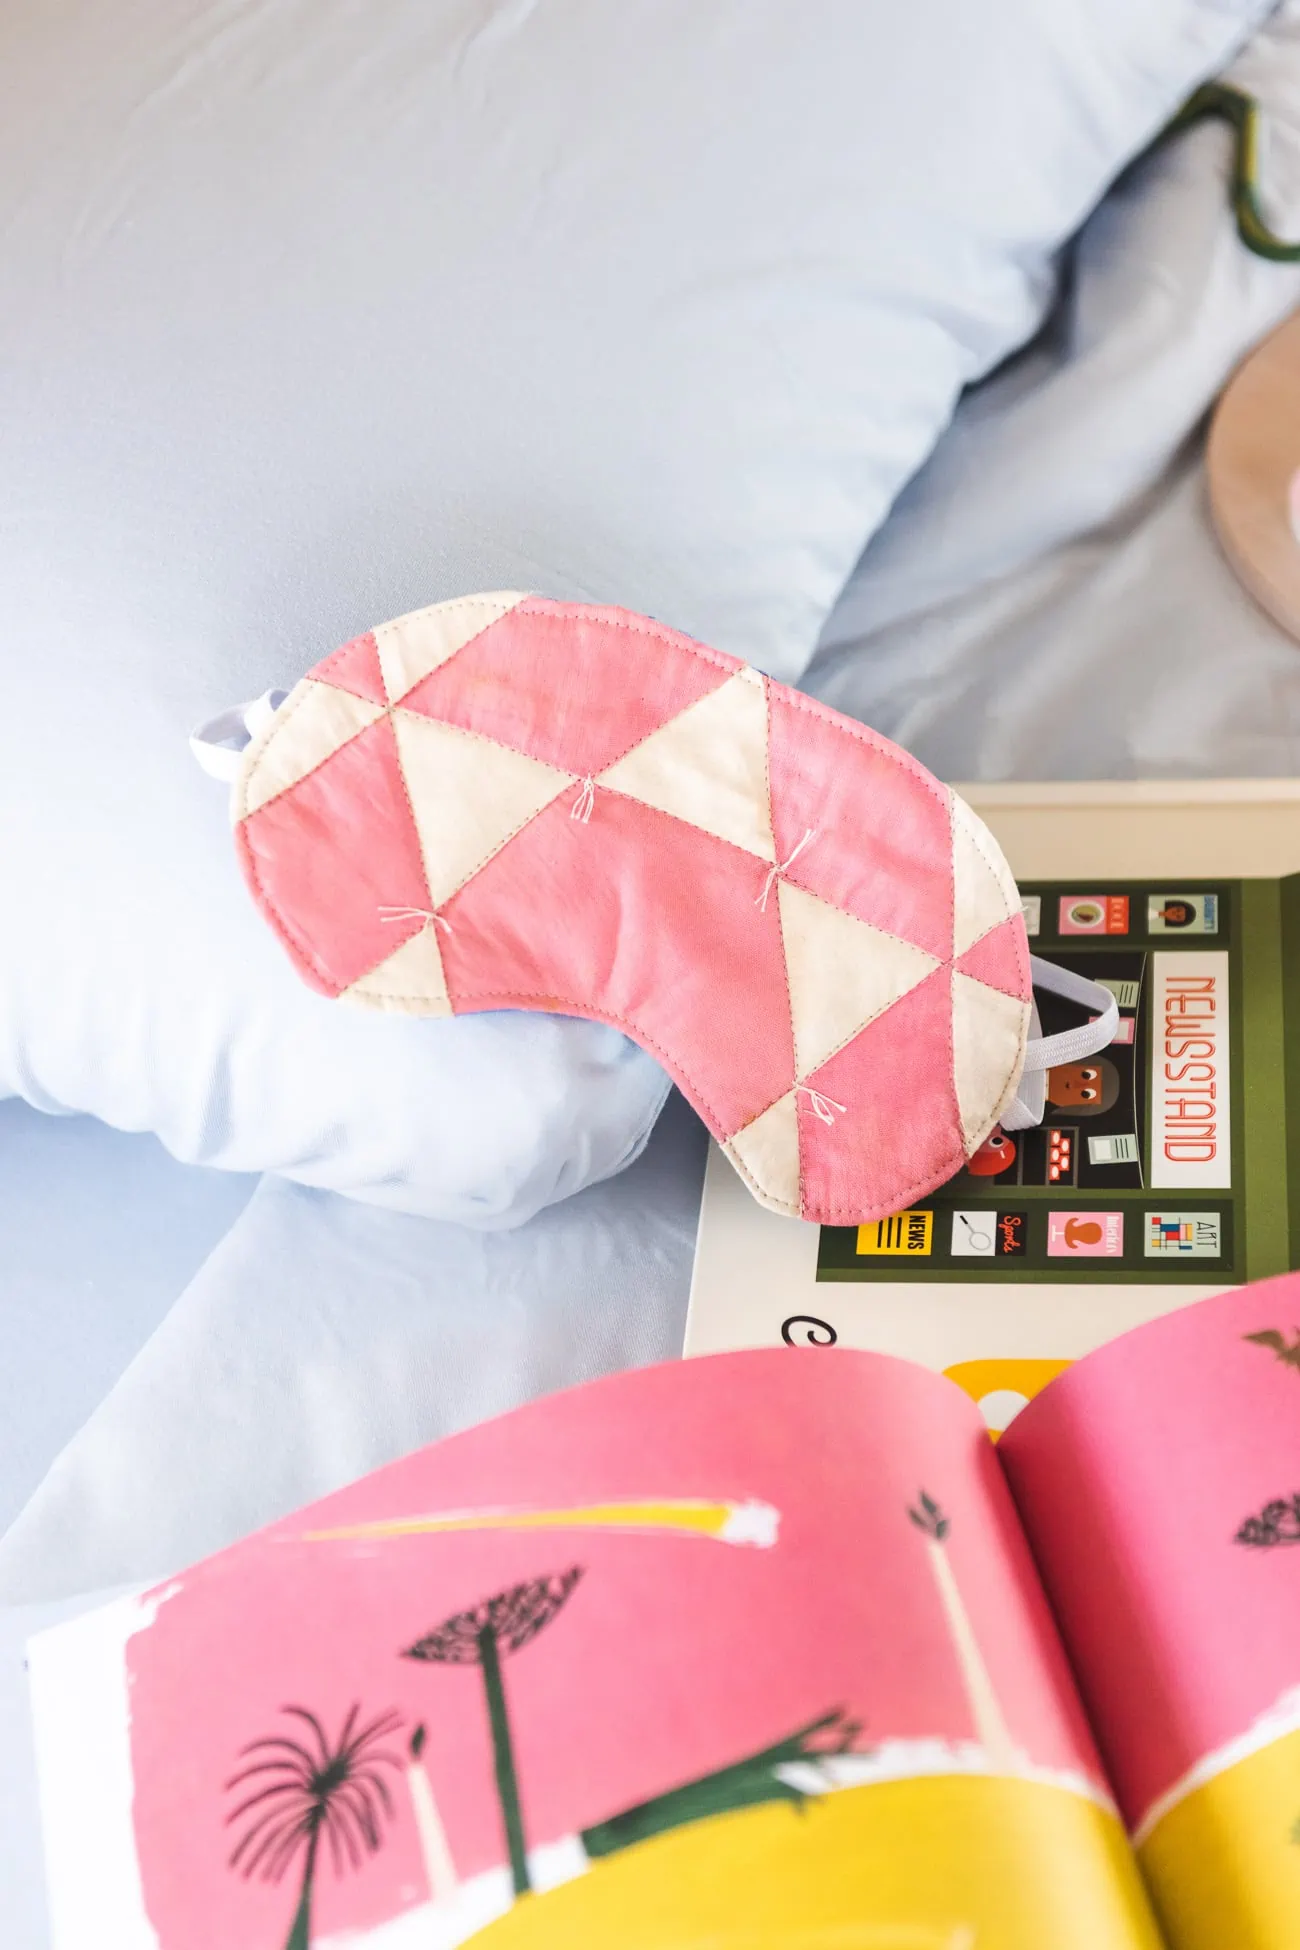
To complete my night time routine, I decided to add a DIY Sleeping Mask to match my new stretchy goodness made from a quilt (remember our quilted coat tutorial?!)! I am already dreaming of the endless good nights of rest I’ll be getting now and perhaps you might benefit from it as well!
DIY Quilted Sleeping Mask
Items made from quilts (like the now popular quilted coat) is the new black and so I had to try my hand at it. It helped that I had scraps leftover from when Romy made mine. Turns out, it makes the coziest sleeping mask (and you better believe I’ll also be turning it into a face mask!)
Supplies:
Sleep mask template, Quilt/top fabric, .25 yard satin fabric, .25 yard cotton batting, 2 12 inch lengths of .25 inch wide elastic, thread, scissors, sewing pins, fabric pen/pencil
Instructions:
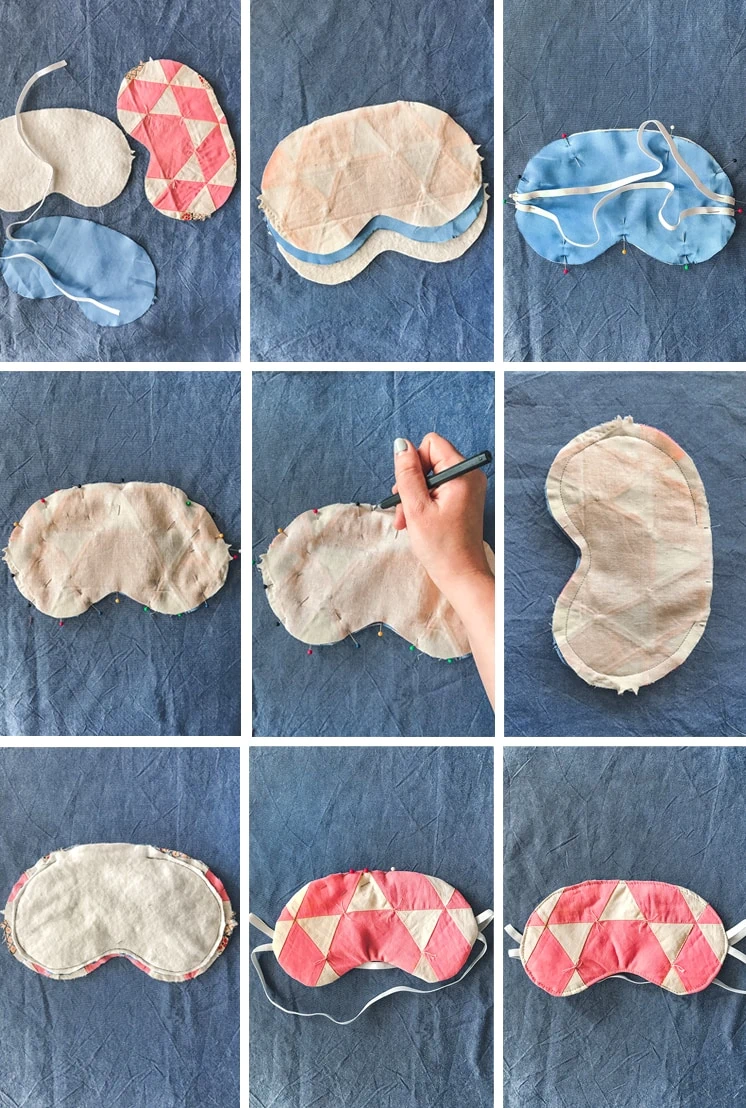
- Print and cut out your template. Make sure that your printer settings are set to print actual size.
- Trace your template onto your quilt or top fabric, your satin, and your cotton batting. Cut these out.
- With the front of the satin facing up, place the satin on top of the batting and pin in place. Pin the two strips of elastic to the satin/batting layer with the ends lining up where the triangular markings on the template are. Make sure that the elastic isn’t twisting and that they don’t cross.
- With the front facing down, pin the quilt piece to the satin/batting layer. You now have a sleep mask sandwich with batting on the bottom, then satin facing up, then elastic, then your quilt piece facing down.
- Mark two places at the top of your mask about three inches apart where you will start and stop the stitching. You need to leave this space so that you can flip your mask inside out.
- With a seam allowance of 3/8ths of an inch, sew around the outside of your mask.
- Grade this seam by cutting the batting layer closer to the seam. This makes it so that the outside of your mask doesn’t have such a bulky section around the perimeter.
- Flip your mask inside out from the space you measured out in step 5. Now the end is in sight! You should have satin in the back and your quilt facing forward, with elastic to hold it to your face.
- Gently iron your mask with the satin side down. When you do this, fold the raw edges from the hole under so that they blend in with the rest of the perimeter. Pin in place.
- Topstitch around the outside of the mask. This is where you will close the hole you left to flip it inside out.
- Following the seams in your quilt, stitch in the ditch to quilt together your layers. Trim all your threads, snuggle up in bed, and start snoozing.
Get Cozy
Once your DIY sleeping mask is complete, pair it with your own Sleepy Jones + Purple PJs for ultimate coziness.
This post was sponsored by Purple. Thank you for interacting with this content, your support helps us create even more project tutorials and artful resources for you and your family. Thank you!


