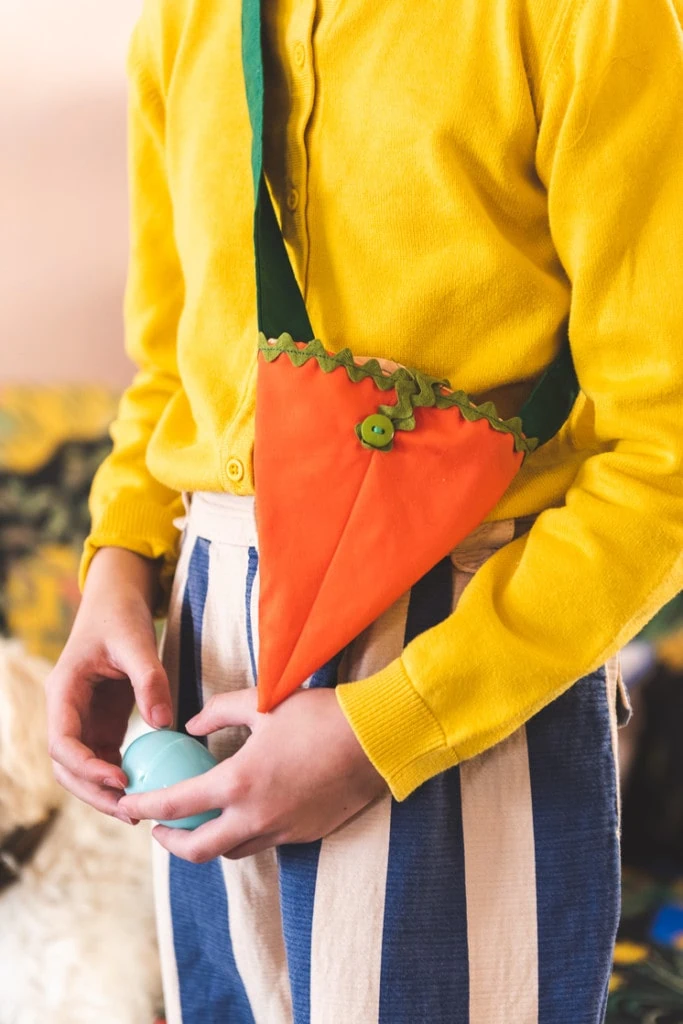
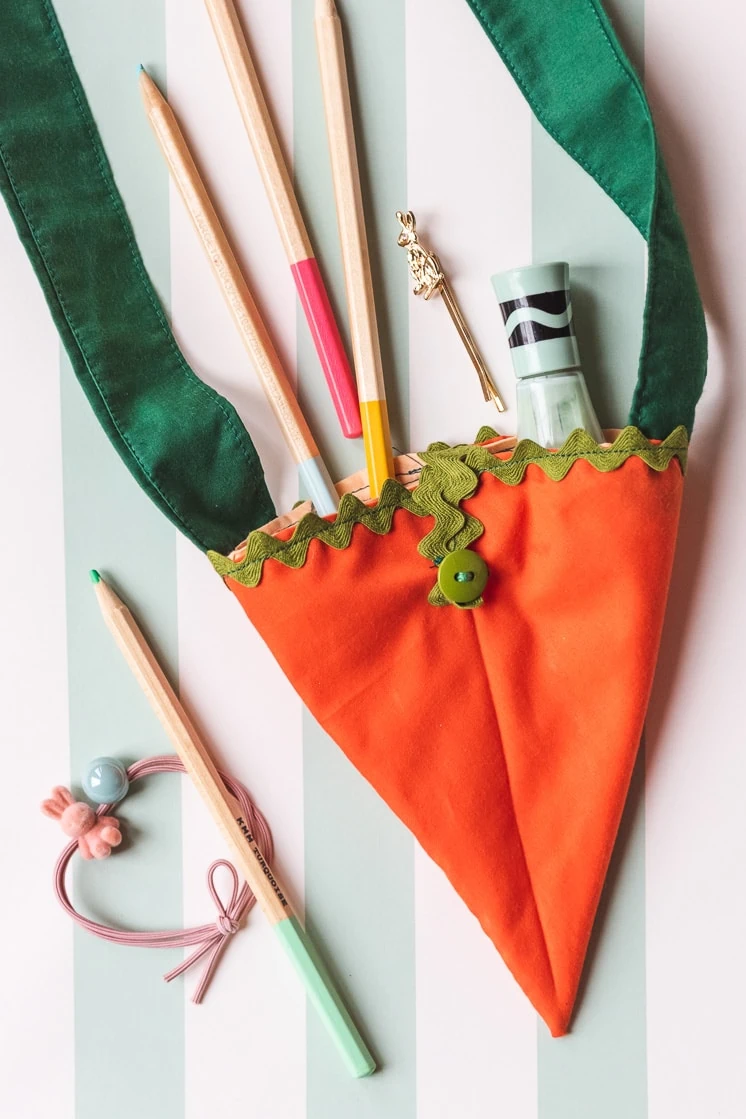
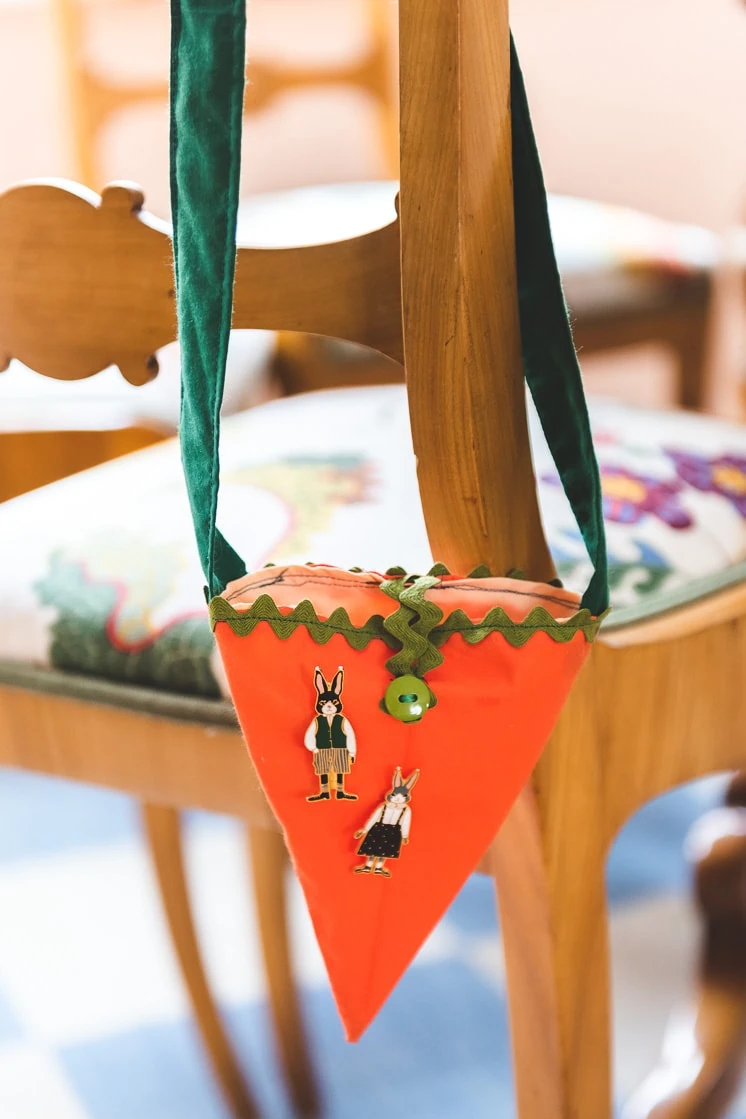
We have a fun sewing project in preparation for Easter! You can use it as an alternative to baskets, and its compact shape and foldable quality makes it ideal for storage and reuse. We love that it’s unlike any store-bought bag, and the fact that you can customize its color, fabric, size, and length makes it extra special. This is an easy sewing project and quick to piece together. Follow the steps below to make a customized carrot bag for your little one this Easter!
Materials:
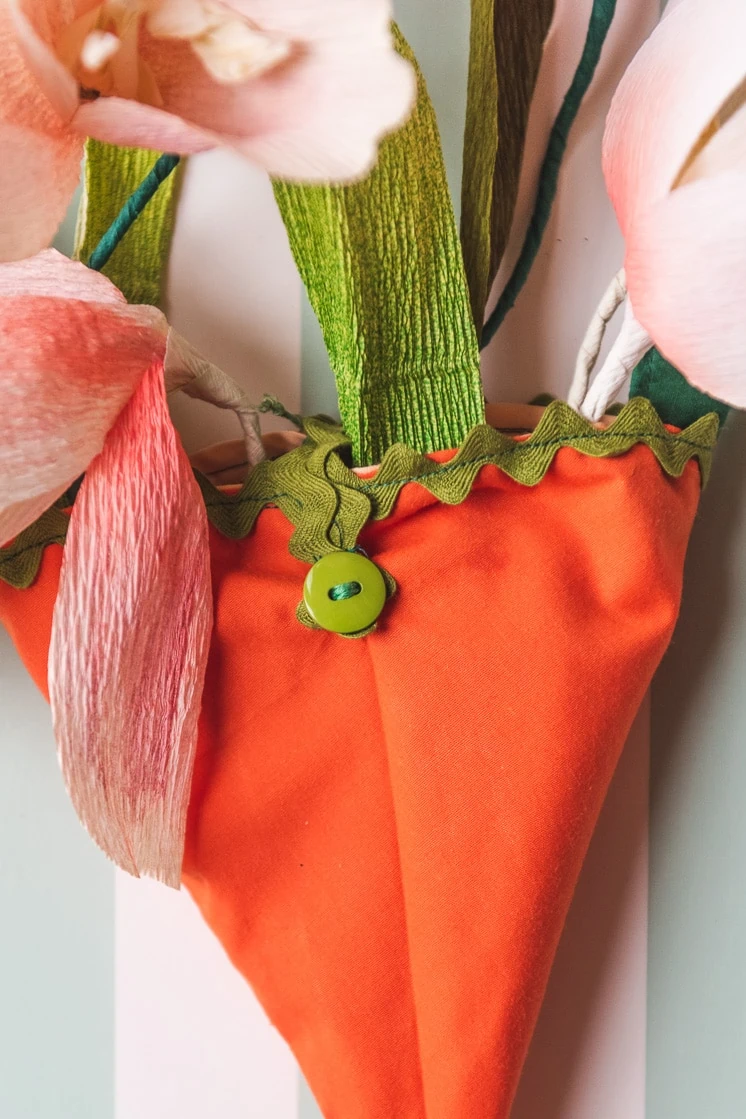
Make Your Carrot Bag
Supplies
Carrot shoulder bag pattern, ¼ yard orange fabric (if you want to make the inside of your bag a lighter color like we did, you will need an additional ¼ yard of your contrasting fabric, but if you want the inside and outside of your bag to be the same color you will have plenty of fabric with ¼ yard), ¼ yard green fabric, matching thread, green medium rick rack, a safety pin, 1 green button, sewing pins, sewing machine, a hand sewing needle
Instructions
- Print the carrot shoulder bag pattern from our shop. Note that on page 2 of the pattern you will tape the two rectangles together to form one longer rectangle. This is the pattern piece for your strap.
- Place your pattern on the fabric and cut out your fabric pieces. The carrot bag body piece will be orange and the bag strap piece will be green.
- Take care to cut the strap piece on the fold of your green fabric. This means that your fabric strap is twice as long as your pattern piece or four times longer than the individual rectangles you first cut out.
- Fold a carrot bag body piece in half so that the straight edges meet. Pin and sew, then repeat with your second carrot bag body piece. You now have two cone-shaped pieces.
- Iron the seams so that they lie flat.
- Turn one of your cones right side out. This will be the outside of your bag. The other cone, which has the seam facing out, will be your bag’s lining.
- Put the lining inside the outside piece of your bag. It helps if you use a dowel or pencil to push the lining in so that the cones are nicely nestled together.
- Pin the lining and outside together so that they don’t shift too much.
- Fold and press the top of the lining down about ½ an inch toward the outer fabric, then fold the outer fabric down about ½ an inch toward the lining. Move around the top of the carrot, folding the two layers toward each other and pinning as you go.
- Set your carrot bag body aside.
- Make the strap! Fold and press your long green rectangle in half with the long sides touching.
- Sew a long line down the strap. It will now be a long tube.
- Attach a safety pin to one end of your strap/tube. Thread the pin through the tube, turning it right side out. Remove the pin.
- Press your strap flat.
- Topstitch the sides of the strap about ⅛ of an inch in from the sides. The strap is finished!
- Slip the ends of the strap into the space between the lining and outer bag fabric of your carrot bag body and pin in place. Make sure that the two ends of your straps are spaced out so that they lie directly across from each other.
- Cut a length of rick rack about 5 inches long and fold it in half. Leaving enough space for a button to go through, sew a line across the rick rack loop. The goal here is to make an opening that is big enough to fit your button but not so big that it just flops around.
- Slip your rick rack loop between the layers of bag fabric at the halfway point between where the strap will attach to the bag. Pin this in place, too. Note that in the step by step photos provided, I had already sewn the bag layers together before I put the rick rack loop in. Because of this, I had to unpick a few stitches to get it in. Oops! Do what I say, not what I do!
- Sew around the top of the perimeter of the bag. This sews the bag layers together and attaches the strap and the rick rack button loop. You’re getting close!
- Cut a length of rick rack 14 inches long. Pin this around the top of the bag. At the end, a little bit will overlap. Fold a little bit of the overlapping trim under and secure with a pin.
- Sew the rick rack trim down around the perimeter of the bag.
- Fold down the rick rack button loop and mark where the button will be.
- Thread the hand sewing needle and attach your button. Your carrot bag is ready to wear!
Show us the fun things you put in it with #EasterWithLars.


