
I’ve been looking to add in more traditions into our Easter celebrations with my kids and I think I found a perfect one that we’re going to start this year!
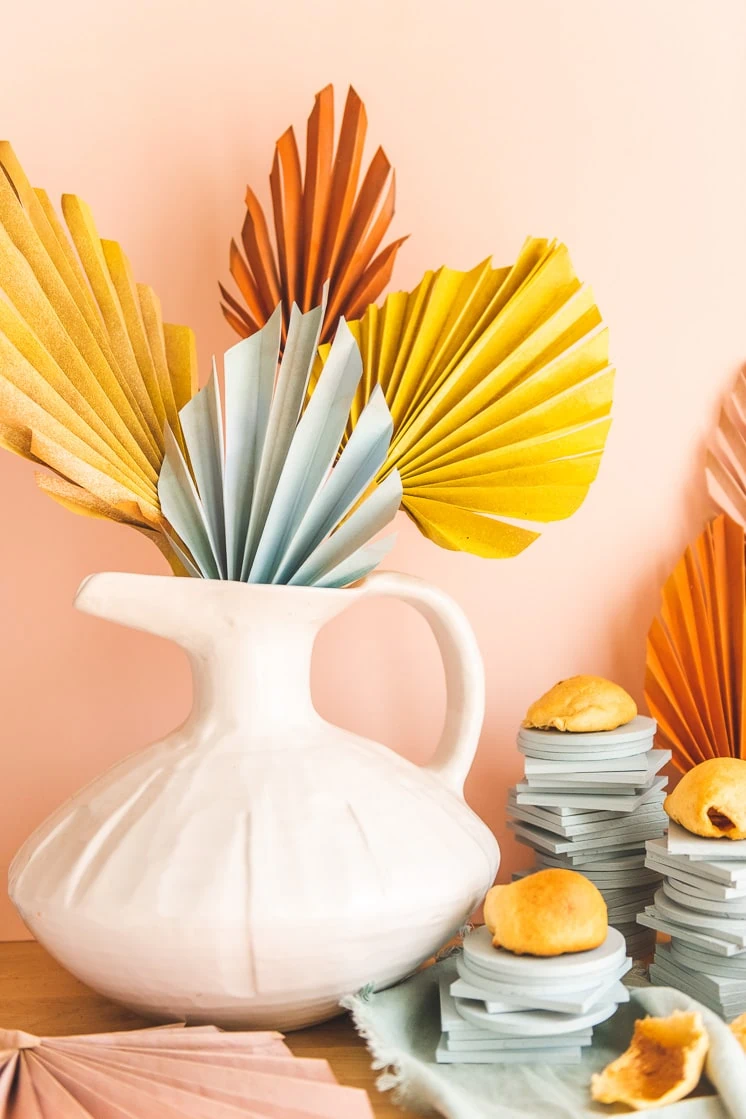
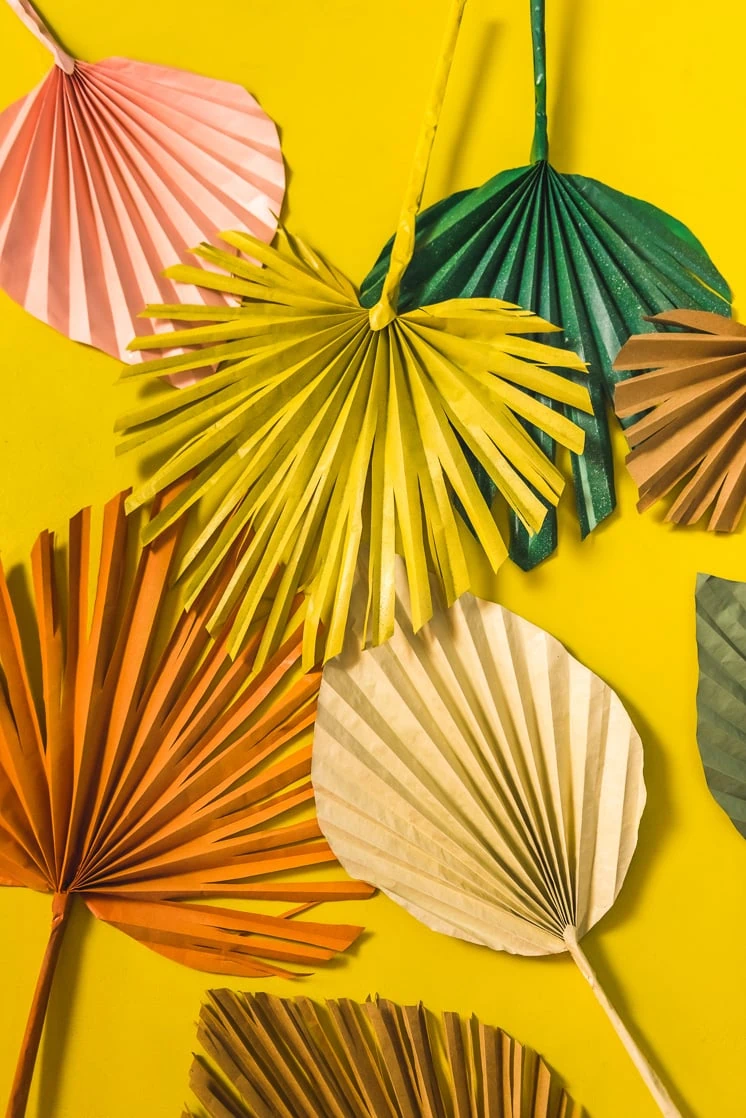
Since ancient times, palm trees and palm leaves have symbolized triumph and victory. They were often depicted on coins and important buildings and customarily used on festive occasions as kings and conquerors were greeted with palm branches strewn before them and waved in the air. On Palm Sunday, decorate your tables with these palm leaves to begin Holy Week. You can make it a Palm Sunday project with your kids and spend time to tell the story of why we celebrate Easter!
We’ve paired up the craft with a Palm Sunday treat that Hailey from our team used to make–Resurrection Rolls. Ha! See below to learn how these came to be!
Materials:
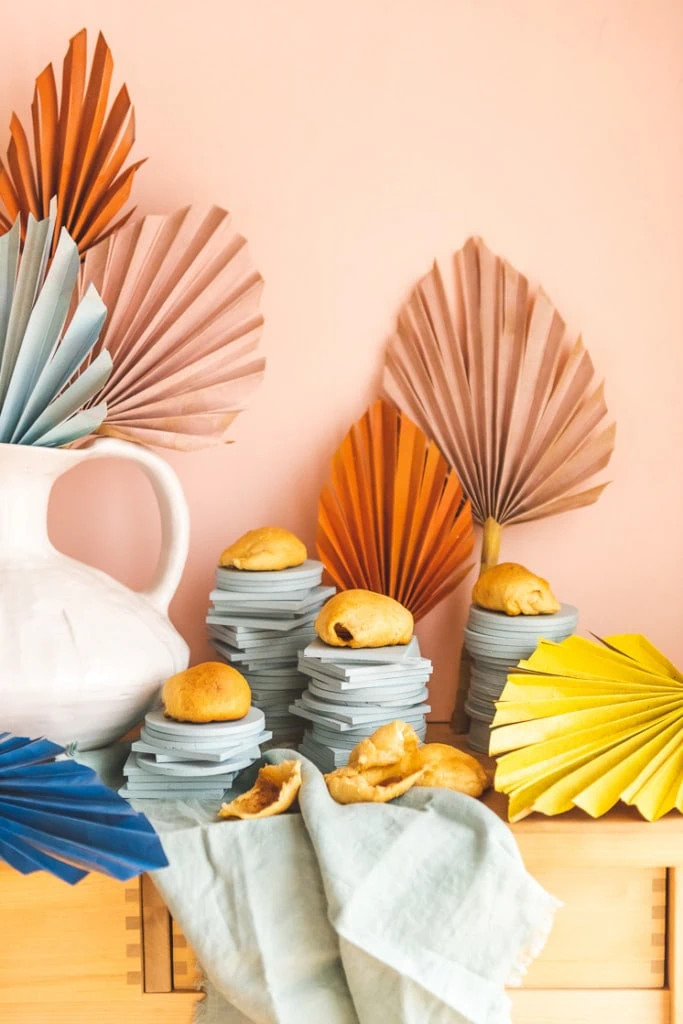
Palm Sunday lands on the fourth and final Sunday of Lent marking the beginning of Holy Week. When Jesus entered Jerusalem as part of his journey to the cross, crowds cheered and waved palm branches. They also laid the leaves across the road to welcome him. Little did they know how things would pan out in just a few days! But the solemn events of Holy Week remind us of the triumph in the end. Palm branches have long been symbolized for victory and peace; therefore to celebrate Palm Sunday, we have revamped our DIY paper palm leaves so that the victory leaves can set the tone for your Palm Sunday table. The symbolic nature of the leaves will remind everyone of this triumphant occasion and you can prepare the leaves ahead of time as a Palm Sunday craft.
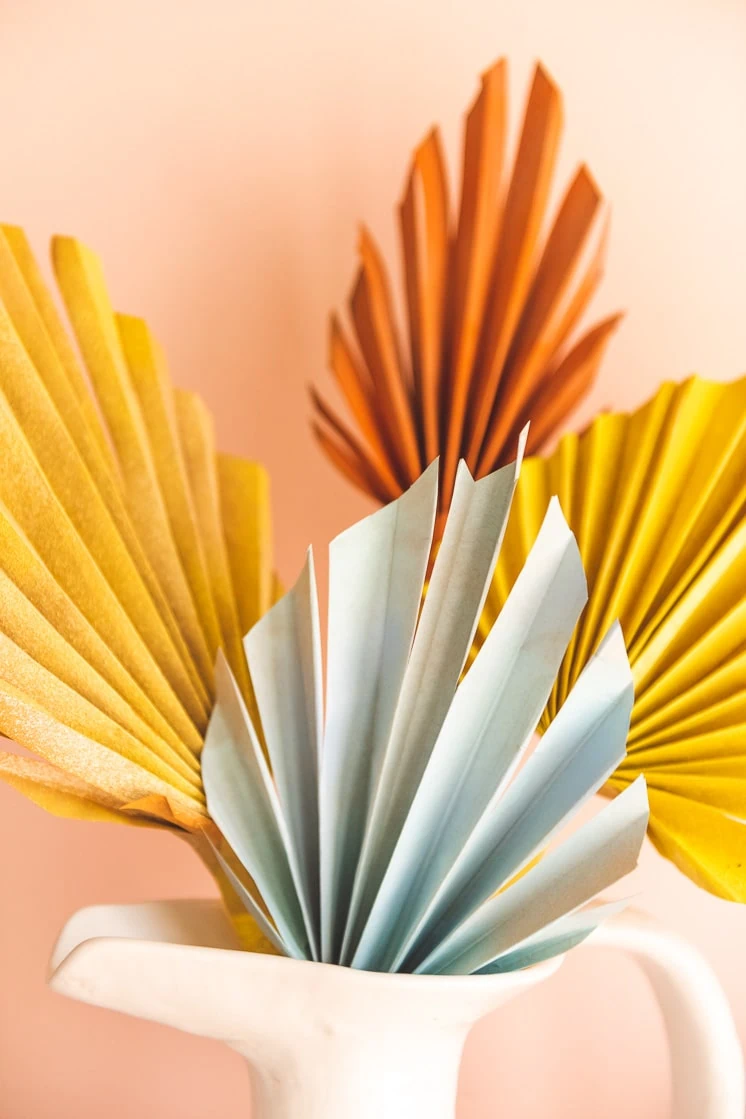
How to make your Paper Palm Leaves
To make our Palm Sunday craft this year, we used our past paper palm leaves tutorial and just made them smaller! You can see that past project here.
Supplies:
- Brown butcher paper
- A pair of scissors
- Palm Leaf Template + Stem Template (on our shop)
- Glue gun
- Scotch tape
- Lollipop sticks
- Spray paint
- Acrylic paints
Instructions:
- Trace out your leaf template and cut it out. (We have formatted the the template to cut up to 8.5×11. However, the leaves that we made for our tablescape were smaller. To accomplish this you can use the template and size down by hand or send it to print at a smaller scale.)
- Fan your leaf shape: start from the middle fold, choosing one side of your teardrop-shaped leaf to begin making even smaller folds, helping your leaf get that pretty fanned palm look. Repeat on the other side. (you can use a scoring tool to help you get sharper folds)
- Color your leaf: before connecting your leaf to the stem, you’ll want to paint it to make sure it gets an even color throughout. BEFORE PAINTING be sure your creases are defined! Then flatten out your shape again, just enough that you can get an even coat of paint on it. Paint and let dry for 1-2 hours! We used spray paint.
- While your leaf is drying, make the petiole stem!
- Use petiole stem paper cover template (once again this can be sized down on the computer or sized down based off the printed template, or up if you want to make larger palms like did here!)
- Fold your stem along the dotted lines on the template.
- You should be able to make a long pyramid-looking stem now with your paper! Hot glue the extra 4th fold to hold it all together (leave the extra 2-3 inches at the top unglued).
- Paint your petiole stem to match the leaf!
- After your leaf is dry, follow your original creases to re-fold your leaf into its fan shape
- Take a lollipop stick and place it inside of the most middle crease of your leaf, only a few inches from the bottom. Hot glue it in place.
- Cut diagonally from the leaf to the stick to take the excess off of where the leaf meets the stick (refer to photo).
- Tape the very bottom together to keep the shape of the leaf fanned and the stick secure
- Slide your petiole stem paper cover over the lollipop stick (the 2-3 inch extra end first.) Allow those 2-3 inches at the top to cover the very bottom of the leaf. Also cover the area where your leaf is glued/taped to your stick. Finally, hot glue the top in place.

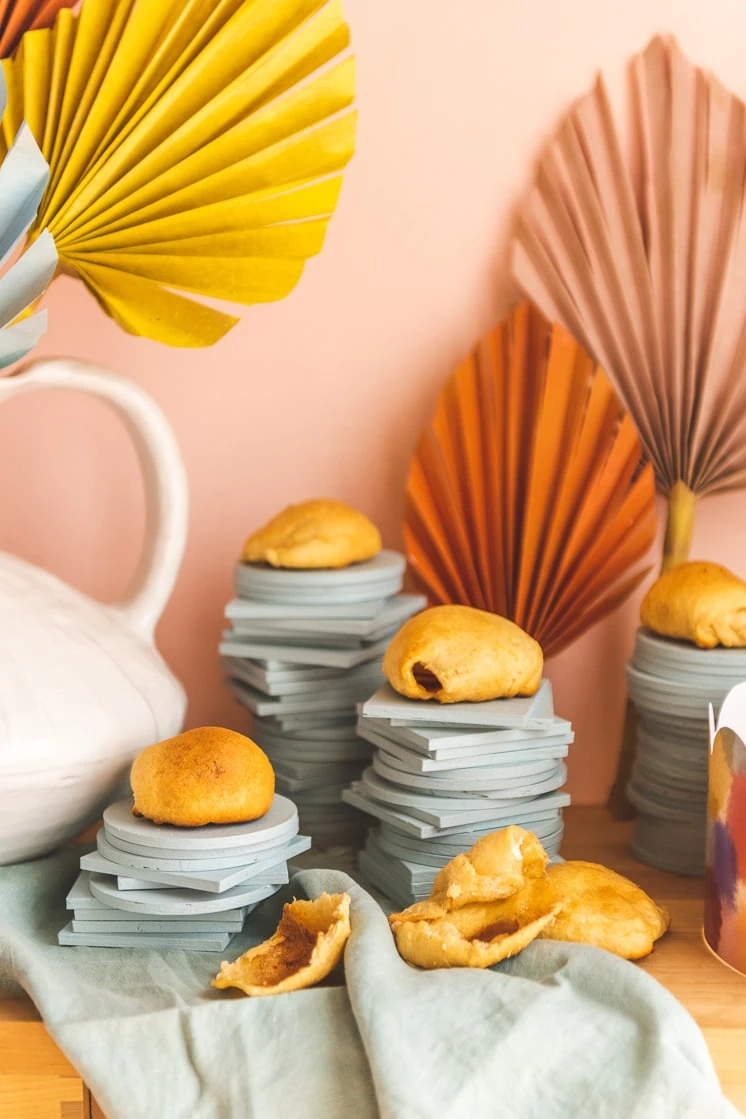
Resurrection Rolls Recipe
To complete our Palm Sunday craft and tablescape, we added this yummy recipe and family tradition from our Project Manager, Hailey! Her mom would make them every time at this year.
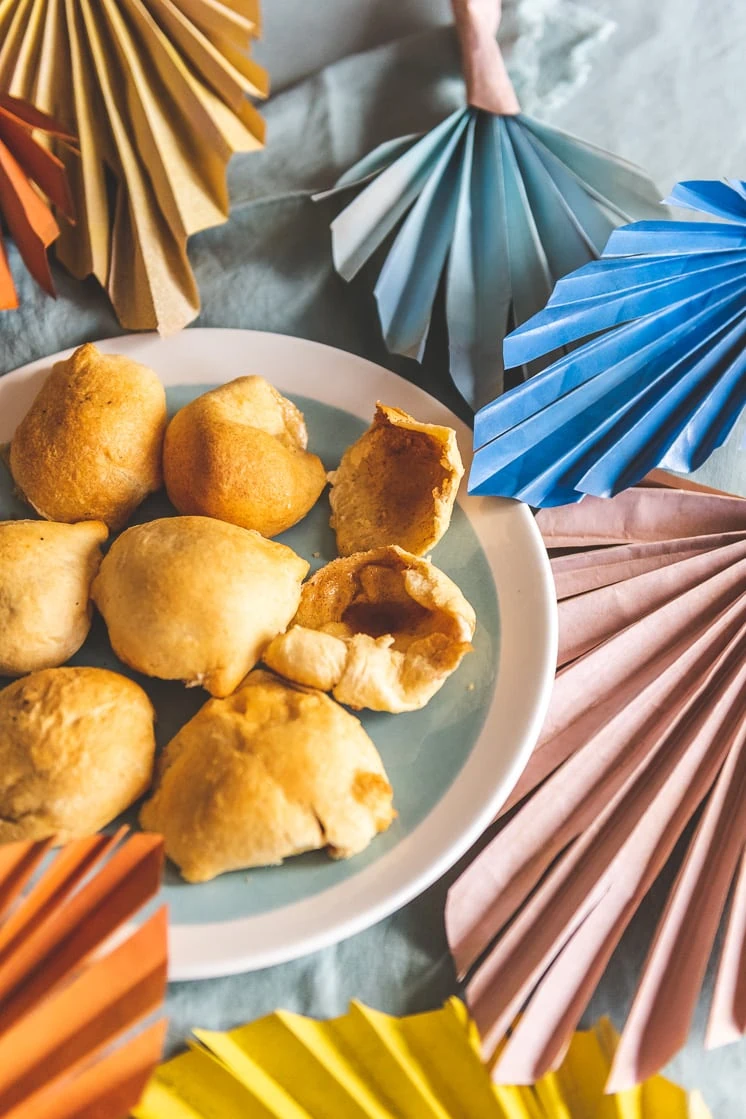
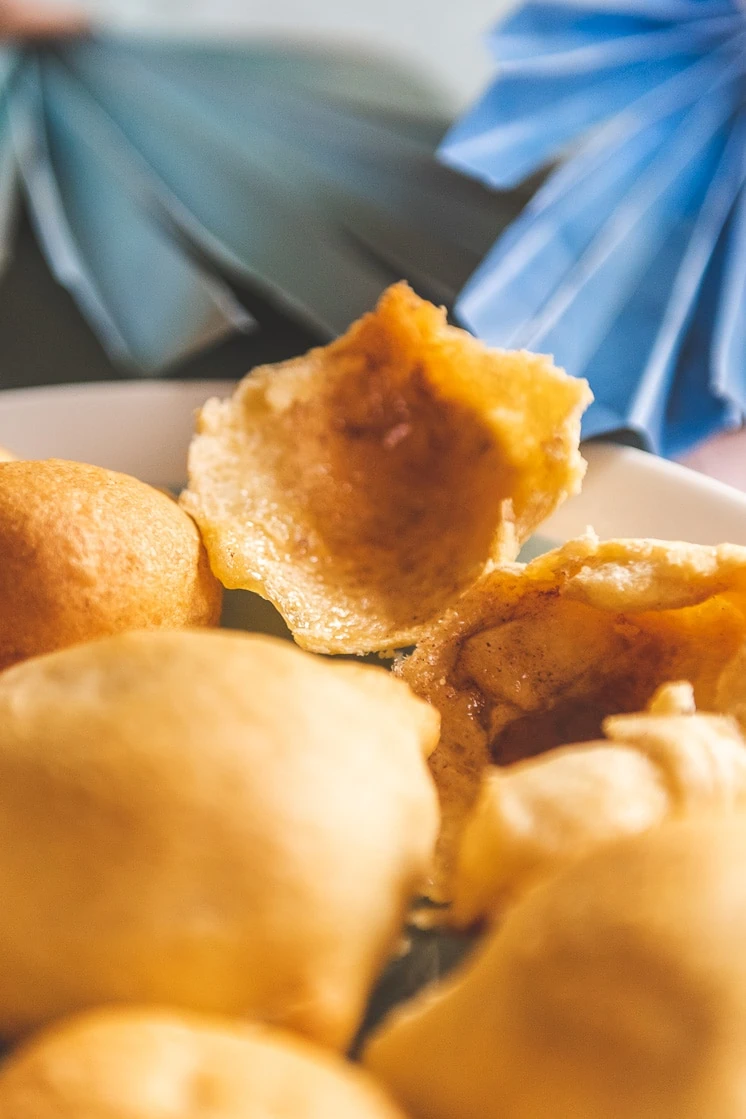
“Resurrection Rolls have been a yummy tradition for years in our family. They’ve easily become the tastiest, and easiest Easter morning breakfast. They’re essentially buttered marshmallows wrapped in crescent rolls. As the rolls raise, the marshmallow melts out and leaves the roll hollow and empty. This is a great way to teach young kids about the Easter story of Jesus being resurrected and his tomb left empty. The best part is, you only need a handful of ingredients. See below!”
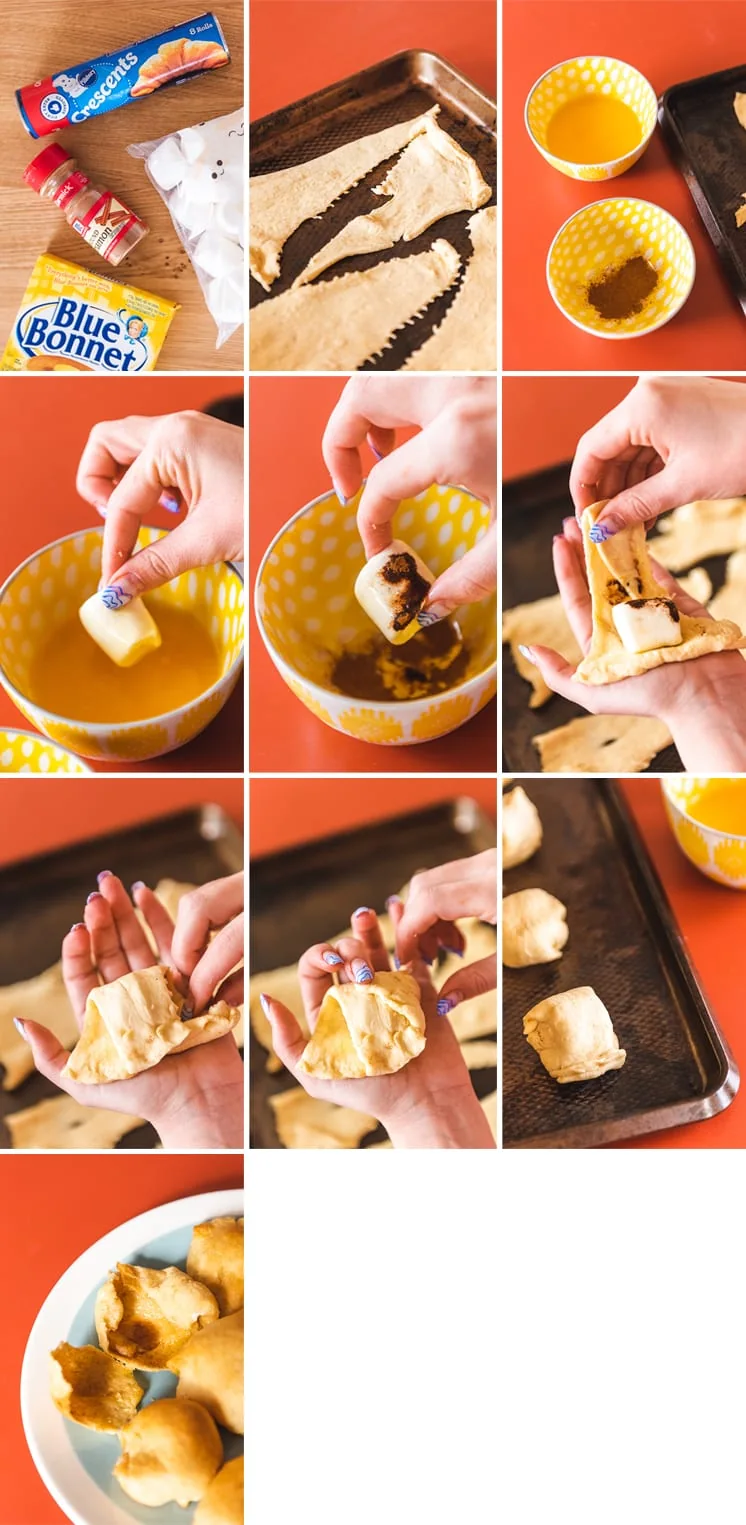
Ingredients:
- 1 stick of butter or margarine
- 1 tube of crescent dough
- Bag of large marshmallows
- Cinnamon or cinnamon sugar
Instructions:
- Melt butter in one bowl
- Mix cinnamon sugar in another bowl
- Open the crescent dough and lay them flat on a cookie sheet
- Grab a marshmallow, dunk it in melted butter, roll in cinnamon sugar
- Place the dunked marshmallow in the middle of the dough and pinch the dough around it
- Place about 3 inches apart from each other back on the cookie sheet
- Follow baking instructions on dough packaging and bake
When you finish our project, display the leaves on your brunch tablescape and enjoy time with your family as you celebrate and remember Palm Sunday.