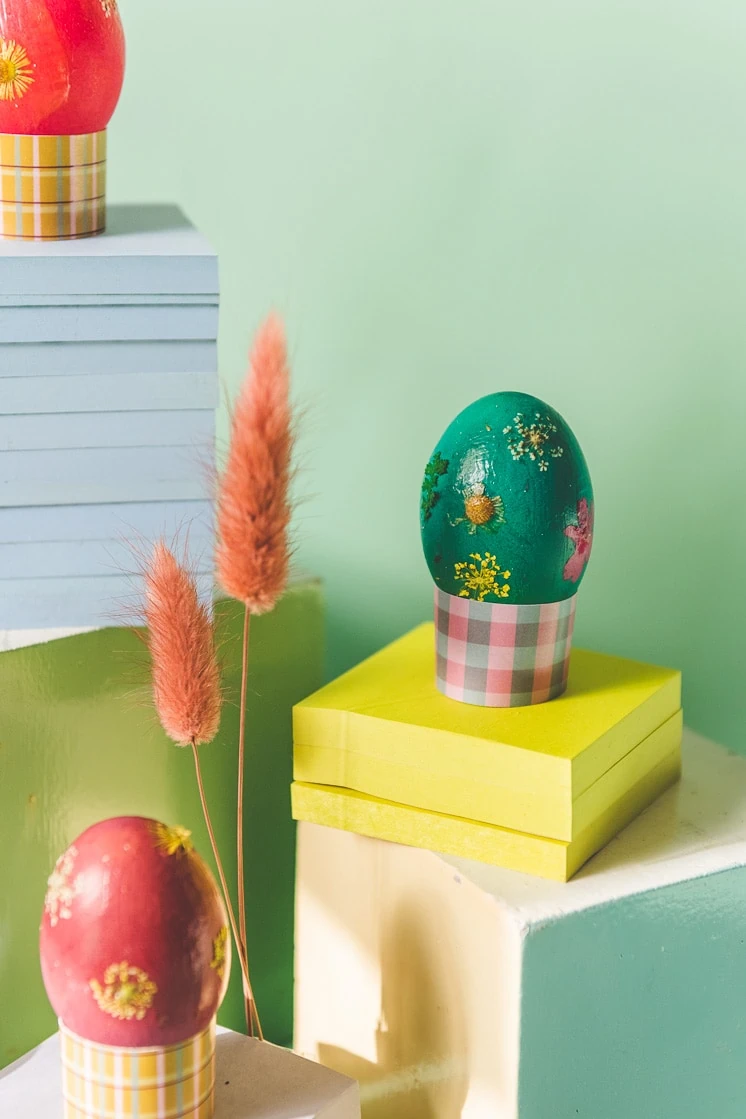
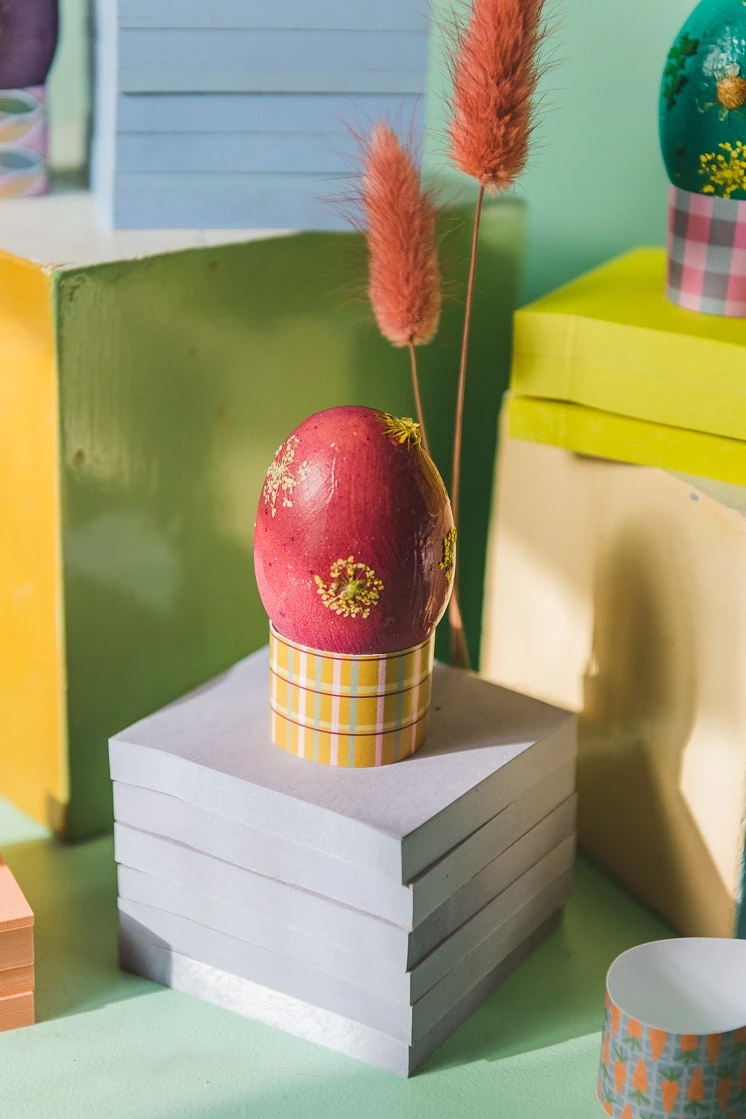
Using pressed flowers to decorate dyed Easter eggs is a simple way to elevate the traditional dyed method. In the past you may have tried our painted eggs with botanical flowers. If you haven’t, be sure to check them out here. This year we want to show you how to decorate Easter eggs with pressed flowers. They are easy to assemble and once they’re finished drying, the flowers on the eggs will create an elegant centerpiece for your table.
Read below for the full tutorial!
Materials:
It doesn’t take much to switch up traditionally dyed eggs. You can paint flowers on them, create a unique color scheme, and even learn the Pysanky egg decorating method to advance your skills to a whole new level. This year we are using the pressed flower method that is simple and easy to make. Even your child(ren) can help make these unique dyed Easter eggs! Can you imagine how creative children could get with their designs? I can’t imagine anything less than amazing! They too will be in awe when they see the finished works of art. You could also take the opportunity to gather some small leaves and flowers on your next walk around the neighborhood to press at home. As Easter draws near, the pressed leaves and flowers will be ready for decorating.
How to make your dried flower Easter eggs
Supplies
eggs (white or brown eggs both work–white will give you more pastel colors, while brown will give you more vibrant hues), white vinegar, water, liquid food dye, glass cups for egg dying, pressed dried flowers, mod podge, a paintbrush, printable Easter egg holders
 Instructions
- Hard boil your eggs. You can do this however you’re used to, or if you need a refresher you can look here.
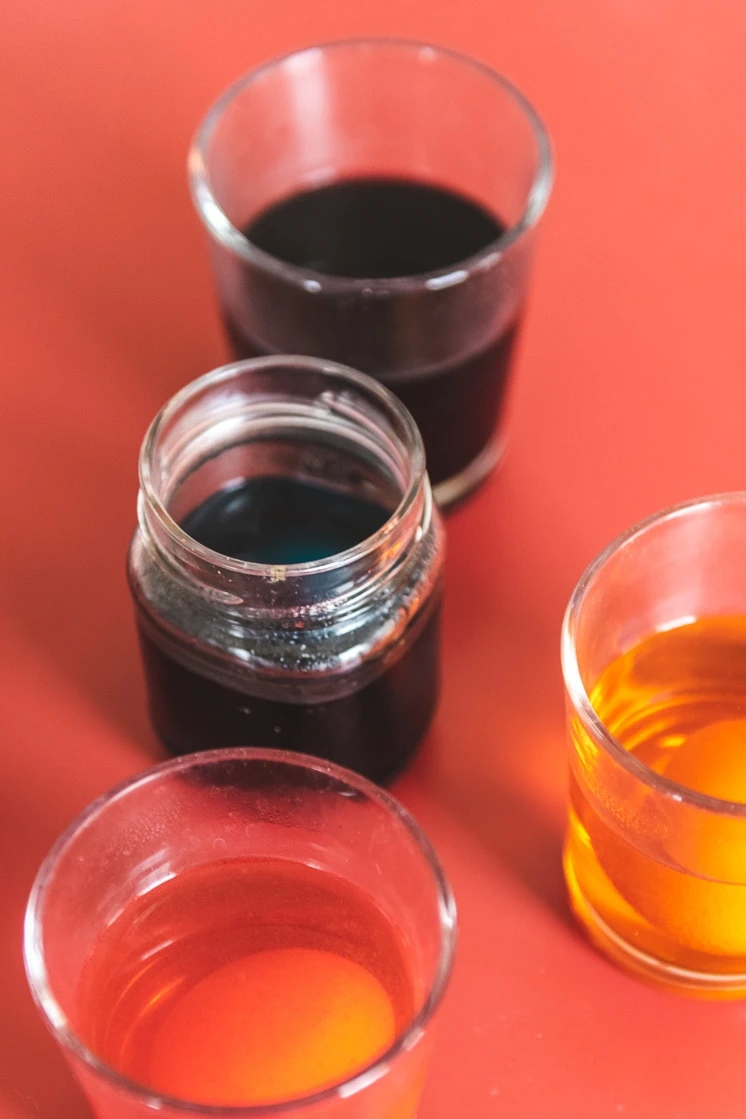
- Make your egg dye. Add 20 drops of liquid food dye, 2 tablespoons of white vinegar, and about half a cup of warm water to your glass cups. Make a different dye bath for each desired color.
- Gently lower an egg into each dye bath and let it sit for 5 minutes. Take your eggs out of their dye bath and dry them.
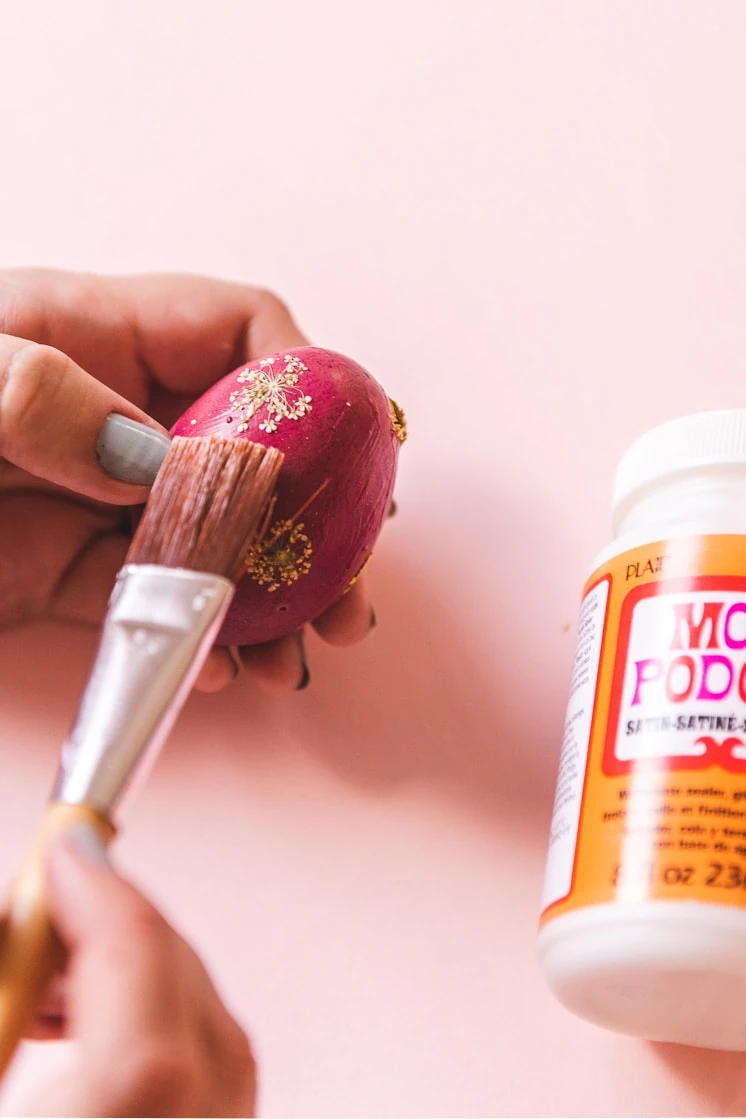
- With a paintbrush, apply a thin layer of mod podge to to a place where you would like a flower on your dried egg. Be careful not to scrub the egg with your paintbrush when you do this or the dye will lift and mix with the glue.
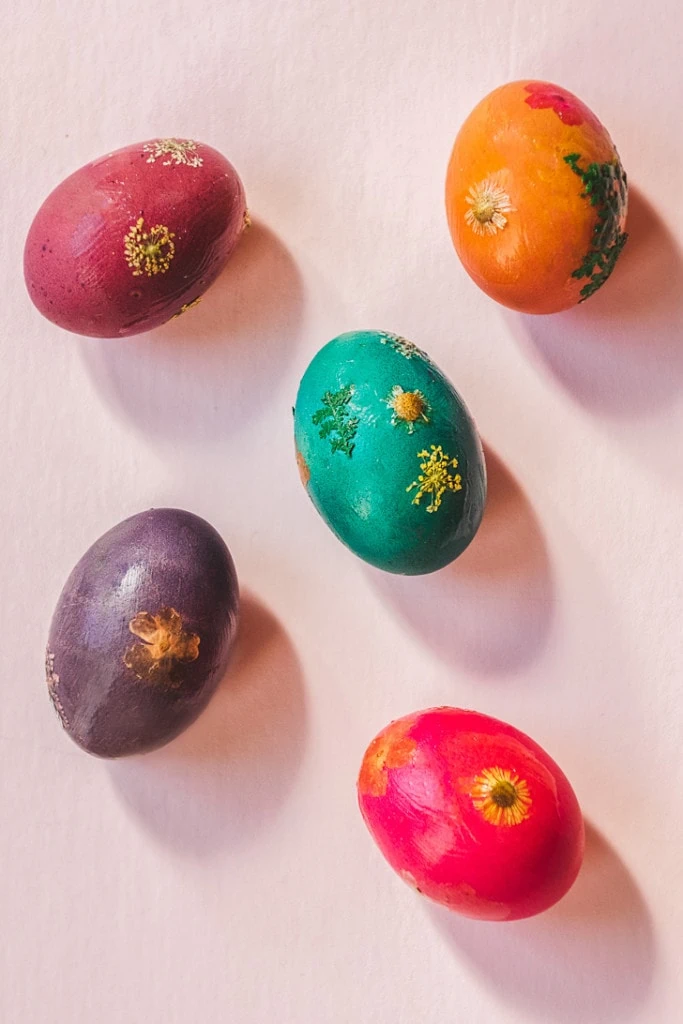
- Place a dried flower on the mod podge and let it dry. It is easier and less messy to apply just one or two flowers to an egg at a time (leaving a dry section of the egg for it to sit on while the mod podge dries), so while one egg is drying you can add flowers to your other eggs.
- When the flowers are dried onto the eggs, go over each one with another thin layer of mod podge to seal them in.
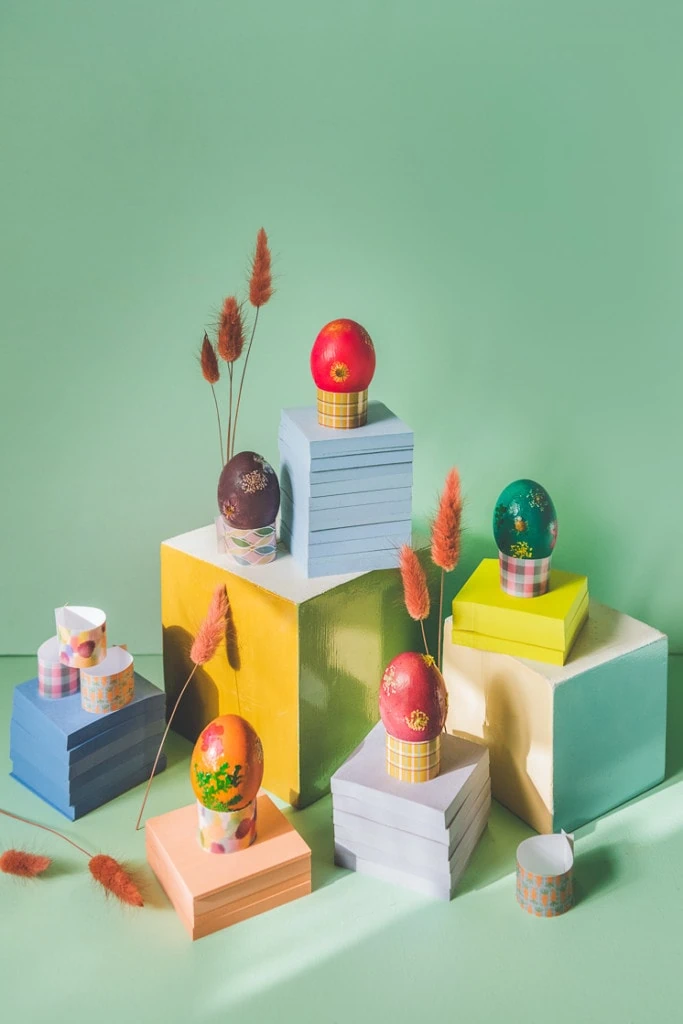
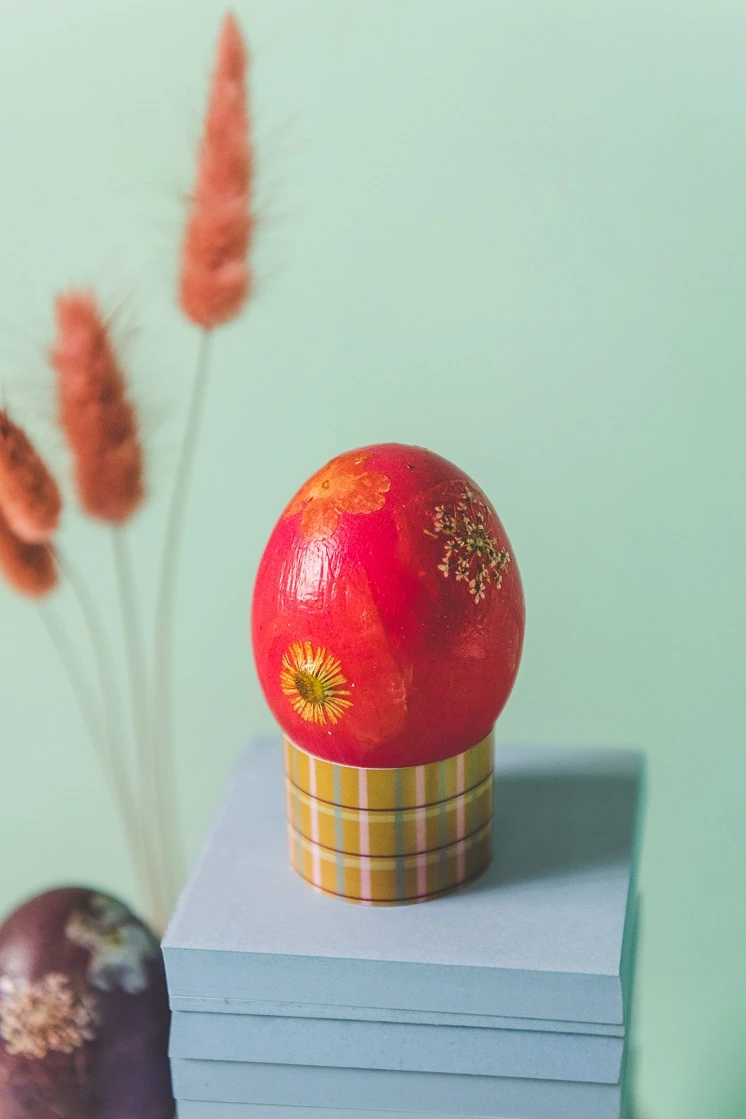
- Let the mod podge dry, and set the table with your gorgeous, unique dyed easter eggs!
