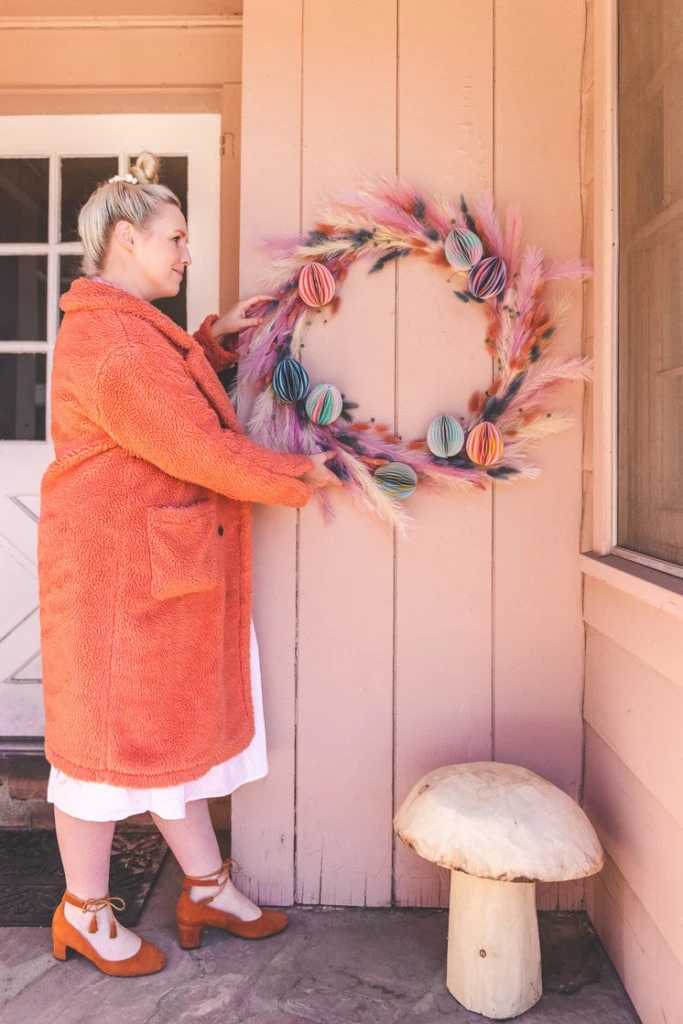
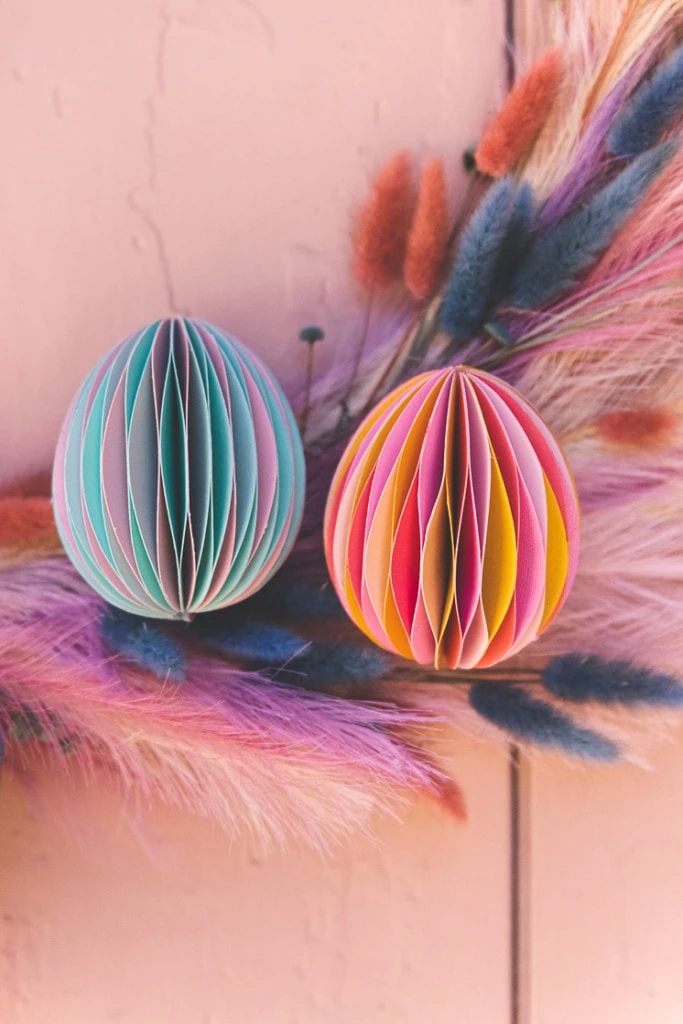
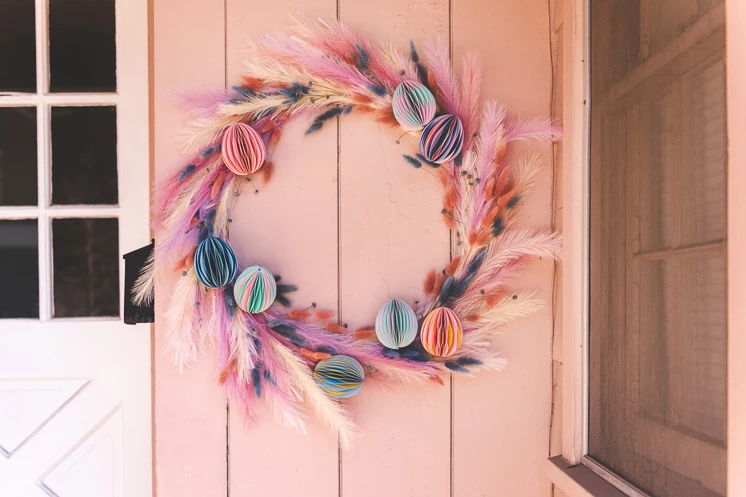
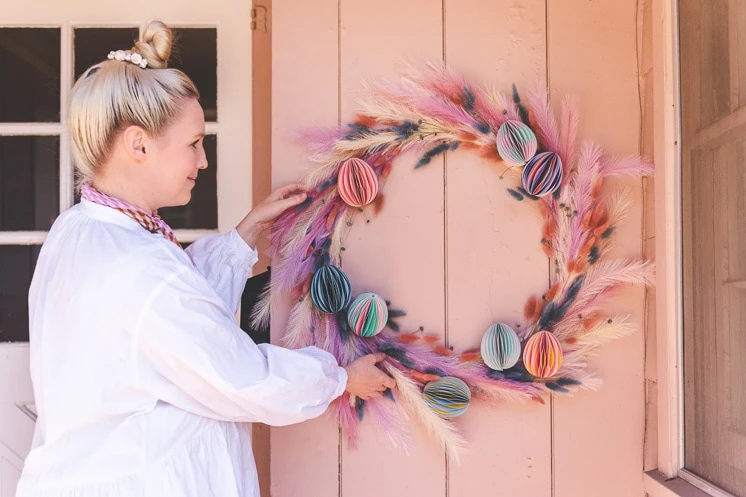
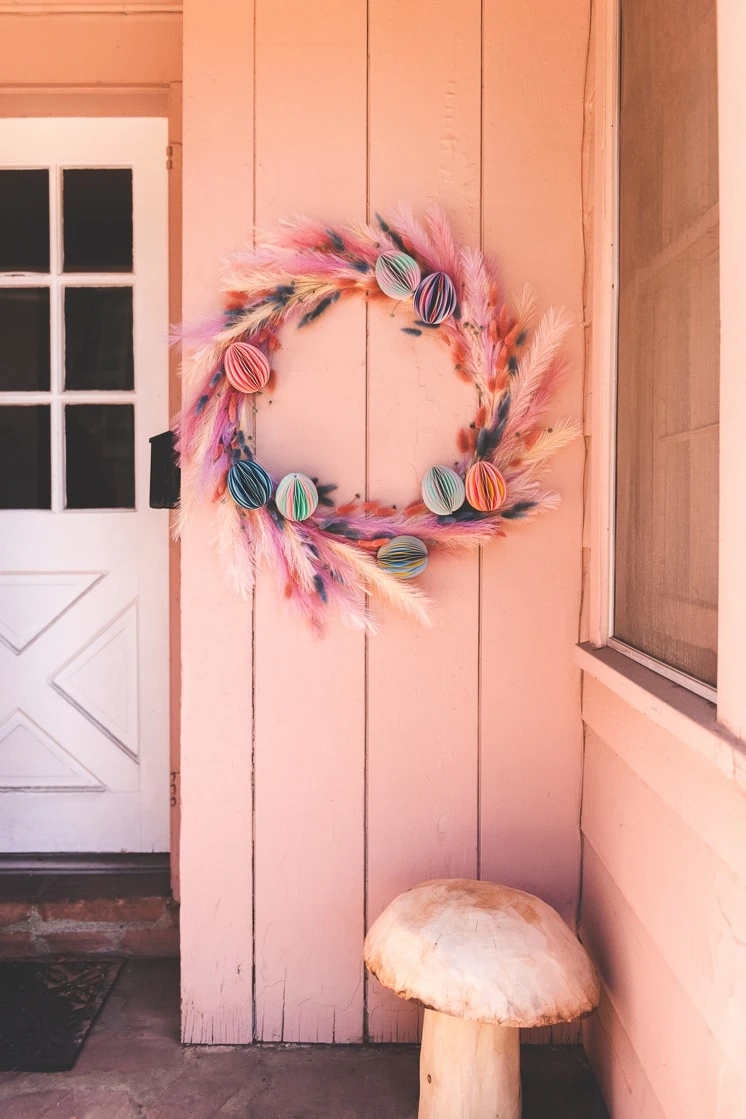
Do you remember the honeycomb Easter eggs I made a few weeks ago? I originally made them for a sponsored project that I have been dying to share with you, and it’s finally time! This Easter wreath has been elevating my whole home since I put it on the door.
Materials:
As you know, Paul and I bought a house last year and it has been a major project. We sprinted to get it move-in ready (i.e. floors, bathrooms, and a kitchen) then slowed down the pace of our renovations. Turns out that having a baby and moving studios didn’t leave me with a lot of extra time for finishing touches! Ha! Even though things aren’t finished inside, having something beautiful and polished when I walk up to the door makes me smile when I walk up to my home.
Dried Flowers to Last For Years
The unexpected materials in this wreath make it really stand out. I used dried and artificial flowers for an Easter wreath that will last for many Springs to come, then I made honeycomb Easter eggs with the pattern from our shop. All together it makes such an elegant and fun Easter wreath that will brighten up the entrance to your home (which is probably more finished than mine!)
Make your Floral Easter Wreath
Materials:
For this project you will need assorted dried artificial flowers. We used these ones: Assorted lagurus bundle (in both colors), slate blue button bundle, wispy pampas (in peach and yellow), wispy pampas (in purple and berry). You will also need Honeycomb Easter eggs (find the pattern here), a wreath form, floral wire, wire cutters, a hot glue gun, glue sticks, and floral tape.
Instructions:
- Make your honeycomb Easter eggs according to the instructions in the post.
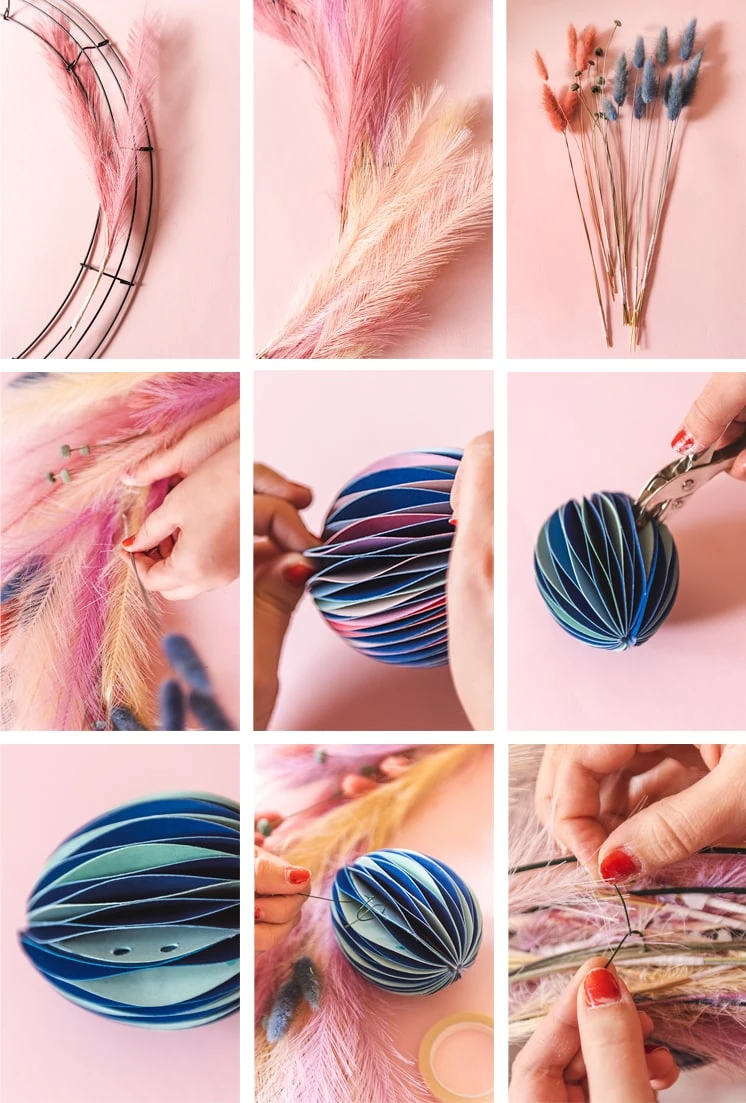
- Deconstruct the wispy pampas boughs into individual feather-like pieces.
- Attach the pampas stems to the wreath form with floral tape. Spread out the colors so that they are distributed evenly throughout the wreath and make sure that you keep all the stems facing the same direction.
- Prepare your dried flowers. Take the bundles out of their plastic sheaths and trim or break the stems so that they are 8-12 inches long. With floral tape, secure groups of 2-4 flowers together.
- Repeat step 4 with each individual kind of dried flower.
- Now you have a fluffy, feathery wreath and a lot of tiny dried bouquets. Space the tiny bouquets out around the wreath and attach them to the wreath form with hot glue.
- It’s time to attach the honeycomb eggs! With your hole punch make two little holes in one of the egg’s pleats.
- Thread a piece of floral wire through the holes. Poke the ends of the wires through the wreath and then twist together to attach the egg onto the wreath form.
- If the egg is still wobbling around, punch another hole in a pleat and secure it to the wreath form.
- Repeat steps 7-9 for each egg (we used 8 eggs).
- Find a place to display your Easter wreath and smile at it whenever you pass.
If you make this project I would love to see it! Tag us with #EasterWithLars.


