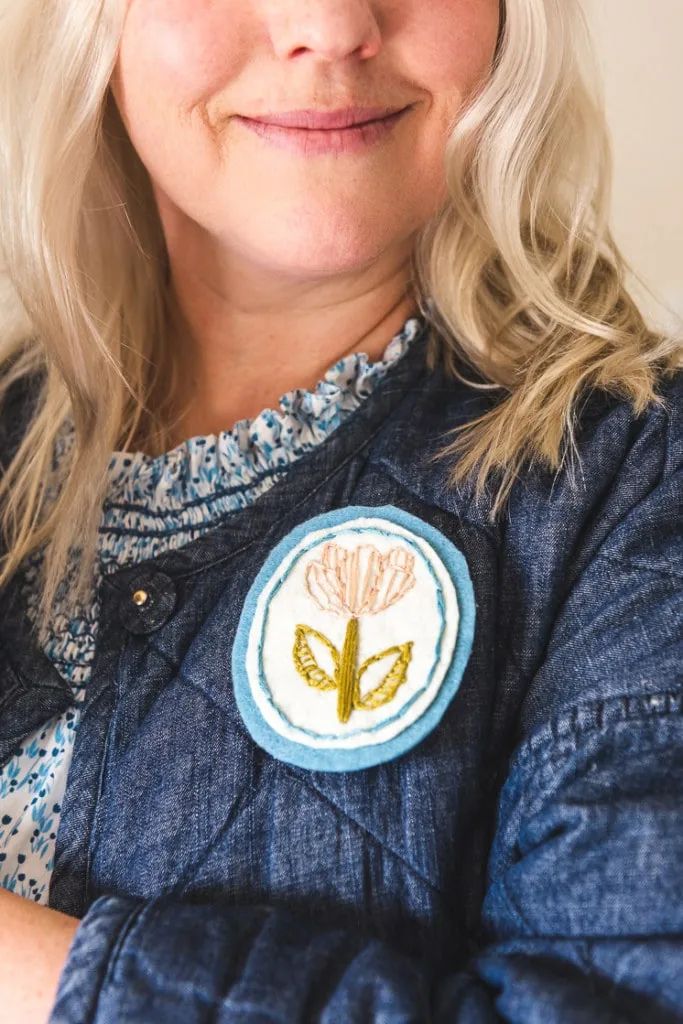
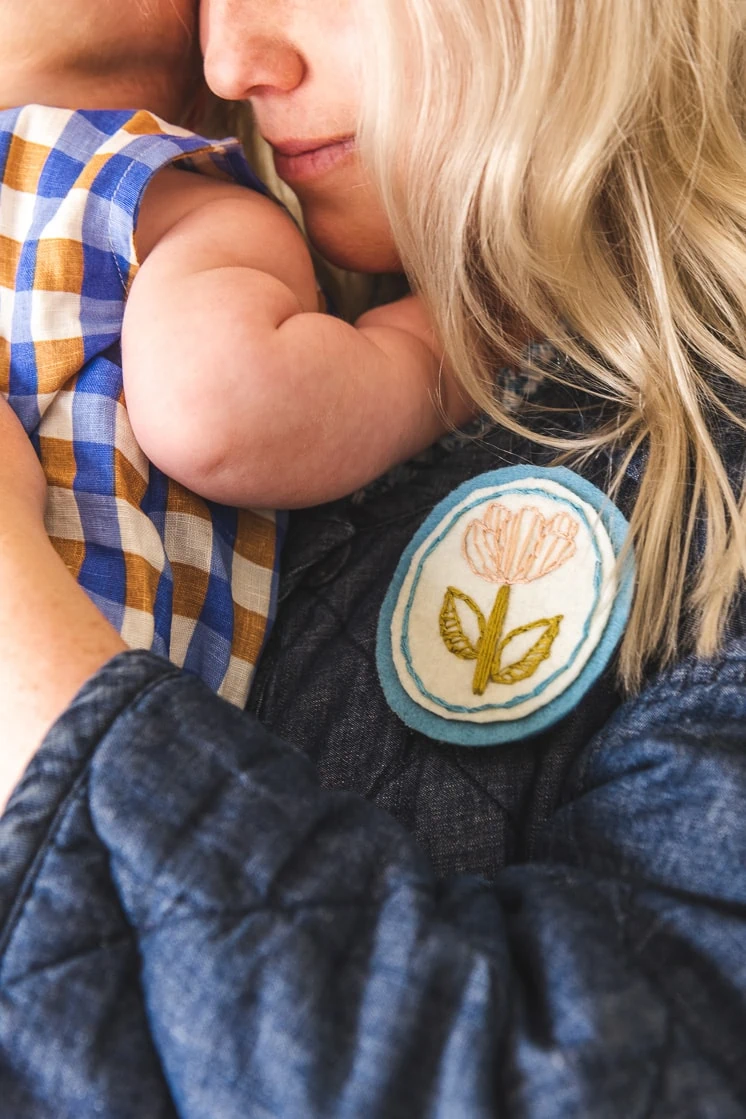
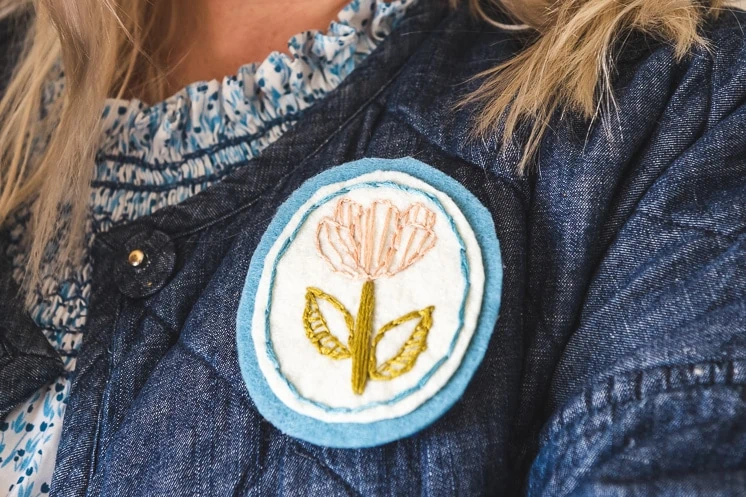
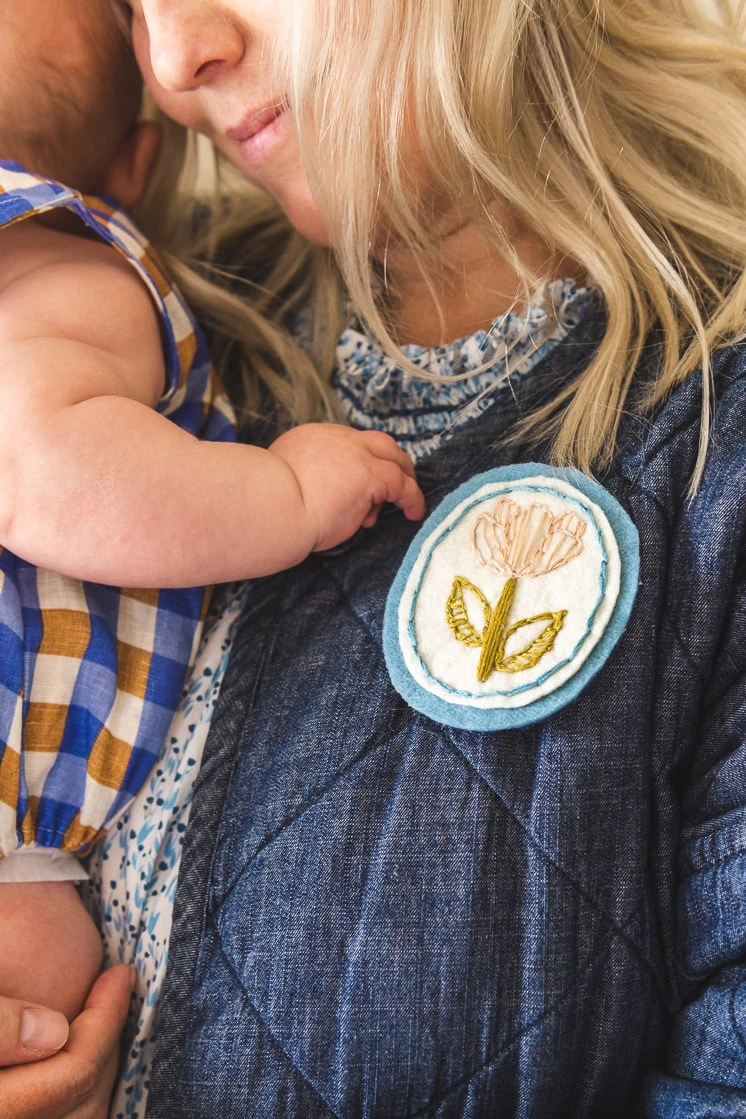
Sitting down to embroider a floral brooch for your mom is such a great way to get ready for Mother’s Day. Making a handmade gift gives you time to think about your mom (or grandma, or aunt, or sister) so you can write a thoughtful card to go with it! Check out the instructions to know how to make your own.
Materials:
I love giving handmade Mother’s Day gifts. Taking the time to make a gift by hand makes it all the more personal, and no one deserves that more than moms!
Mother’s Day Shop
Have you looked at our shop lately? There are so many lovely additions this spring, and we even have a whole Mother’s Day collection! Check out beautiful ceramics, earrings, and cards, as well as other templates for handmade Mother’s Day gifts (including this brooch!). Right now if you use code MOTHERSDAY at checkout, you’ll even get a free PDF download for a card.
Embroidered Floral Brooch
If you’re looking for embroidery tips and tricks, check out our ultimate guide to embroidery. You can also look at our I Voted embroidered brooch for more inspiration!
Supplies
You will need our Embroidered Floral Brooch Template, felt in a few colors, scissors, a needle, embroidery floss in a few colors, embroidery transfer paper, a glue gun, hot glue sticks, and a brooch back bar pin.
Instructions
- Download, print, and cut out the Embroidered Floral Brooch Template.
- Use the largest oval as a guide to cut out two pieces of felt for the brooch back.
- Use the smaller, line-drawn oval to cut out one piece of felt (I used cream).
- With your embroidery transfer paper, transfer the line drawing of the flower and the oval around it to your smaller felt piece.
- Use a few small dots of glue to attach the smaller felt oval to one of the larger ones. Take care not to put glue under where you will need to embroider.
- With your needle and embroidery floss, embroider the flower pattern onto the felt. Having both layers of felt here makes your work sturdier.
- When you have finished embroidering the flower, stem, leaves, and an oval just within the edge of the smaller piece of felt, tie a knot in the thread and cut it off.
- Use hot glue to attach the second brooch back piece of felt to the embroidered ones. This will also cover up all your knots and any strings that are left over.
- Glue the brooch back bar pin to the back of your embroidered work and hold it to secure. Alternatively, you could skip the glue here and attach it carefully with your needle and thread. If you do this, just make sure that you don’t sew all the way through to the front of your embroidery–just get the back layer!
Your embroidered floral brooch is ready to gift (or wear). If you make one of these or another handmade Mother’s Day gift, I would love to see it with #LarsMakes. Happy Mother’s Day!
Other Handmade Mother’s Day Gifts
Check out these blog posts for more great project ideas:
Photo Transfer Dolls for Mother’s Day


Comments