Everything they tell you about fixing up a house being lots of hard work is true: working on our house has been happening in stages. When we first bought it almost a year ago (time flies!) we knew that we had our work cut out for us.
If you know me, though, you know I love a project. While it’s certainly no walk in the park to design and fix up a house (don’t even get me started on the basement bathroom disaster), it’s also very exciting to have a blank slate, and I couldn’t reach all my greatest home design goals with my friend and designer, Meta Coleman.
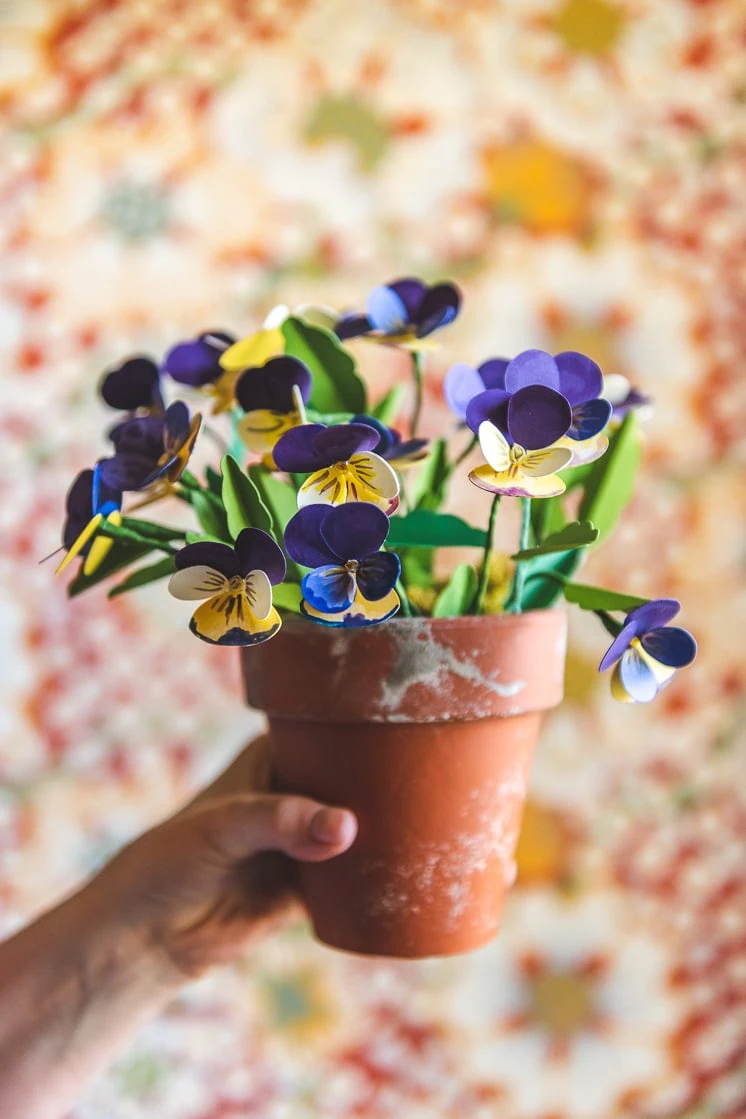
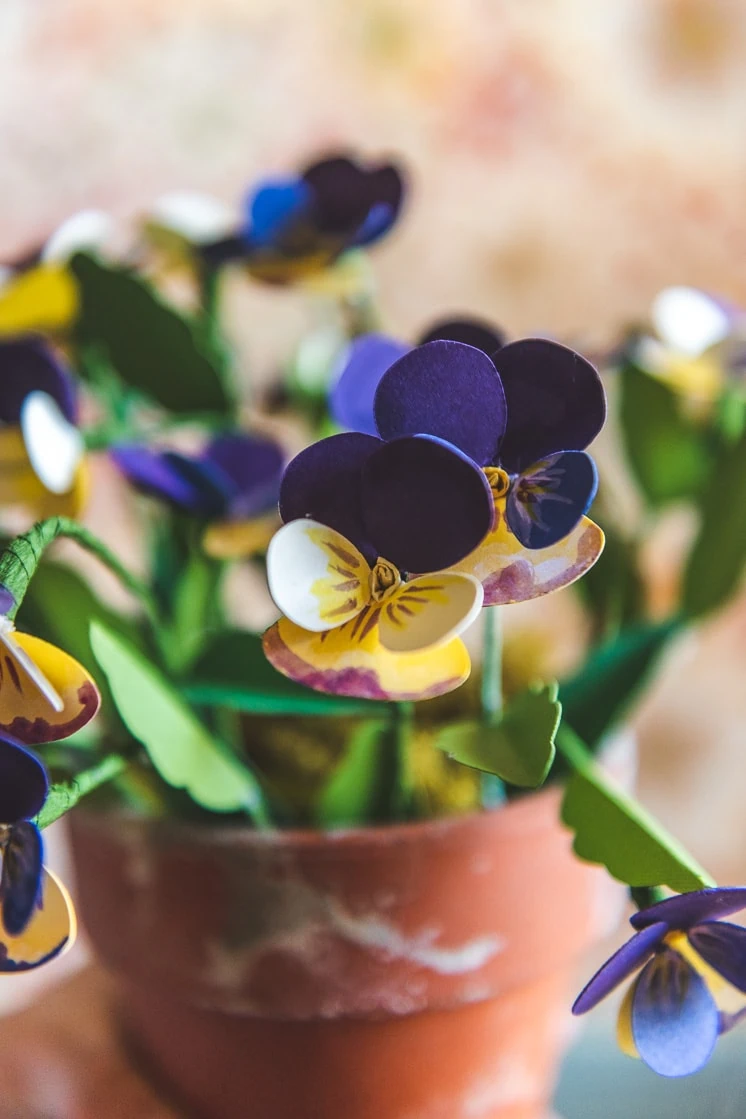
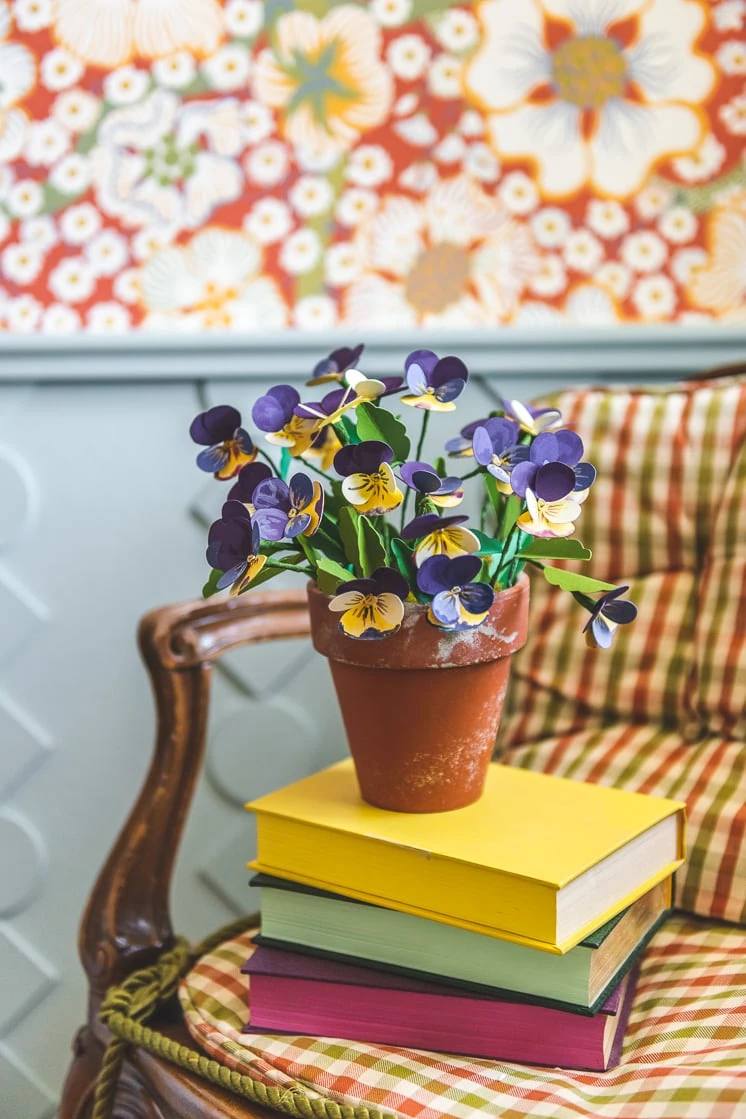
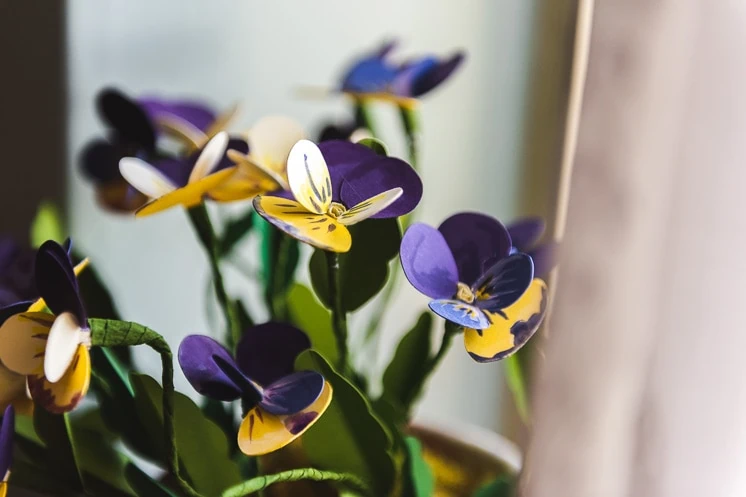
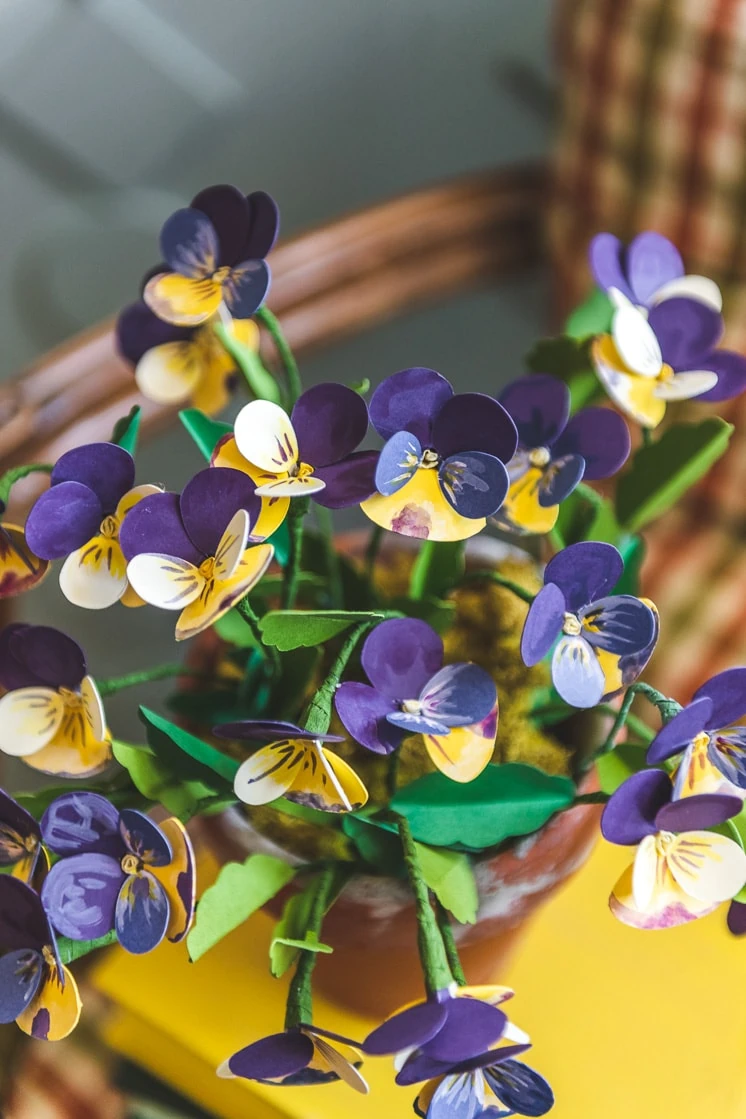
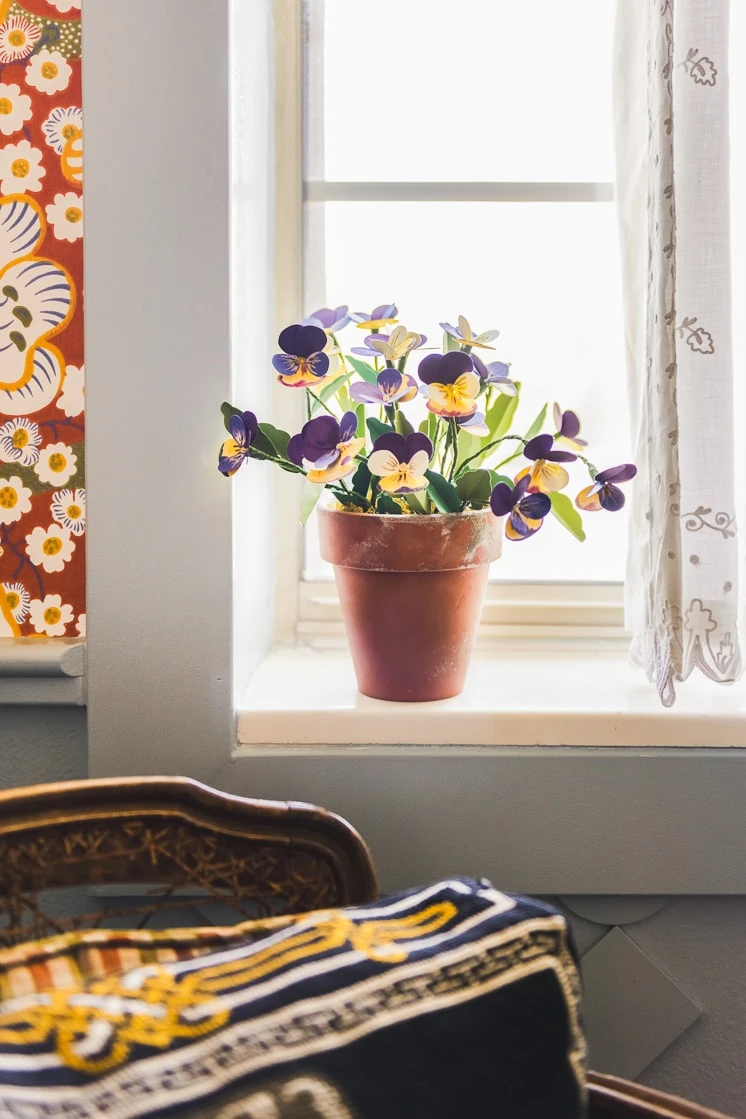
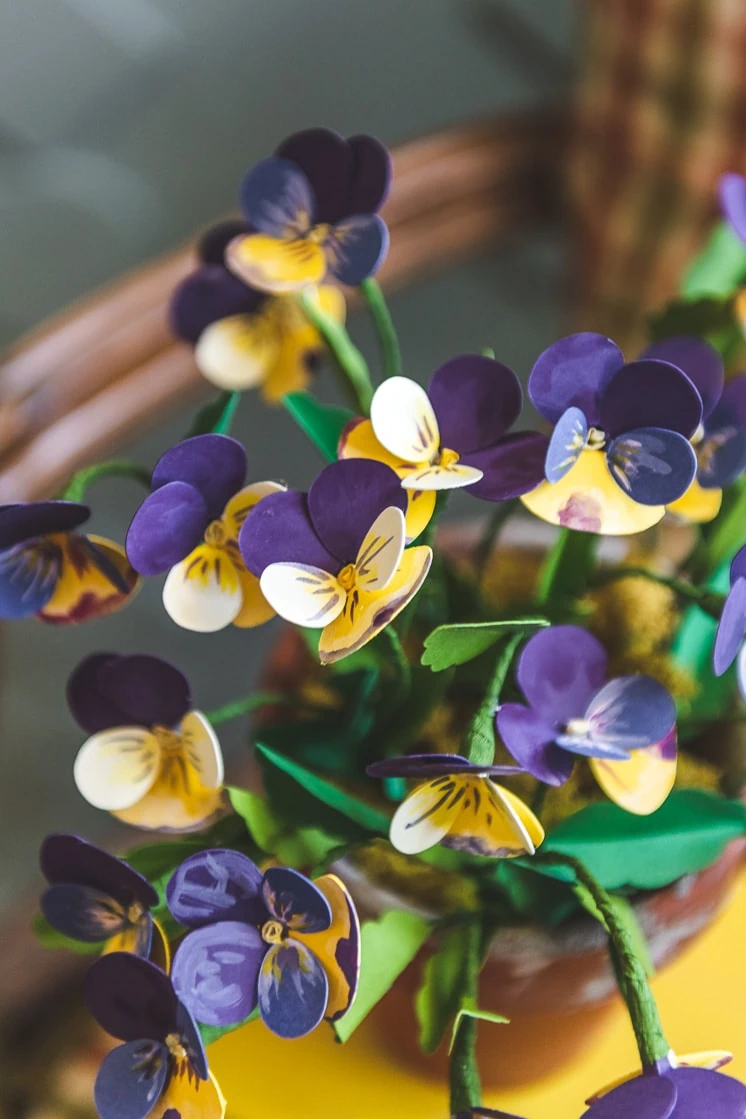
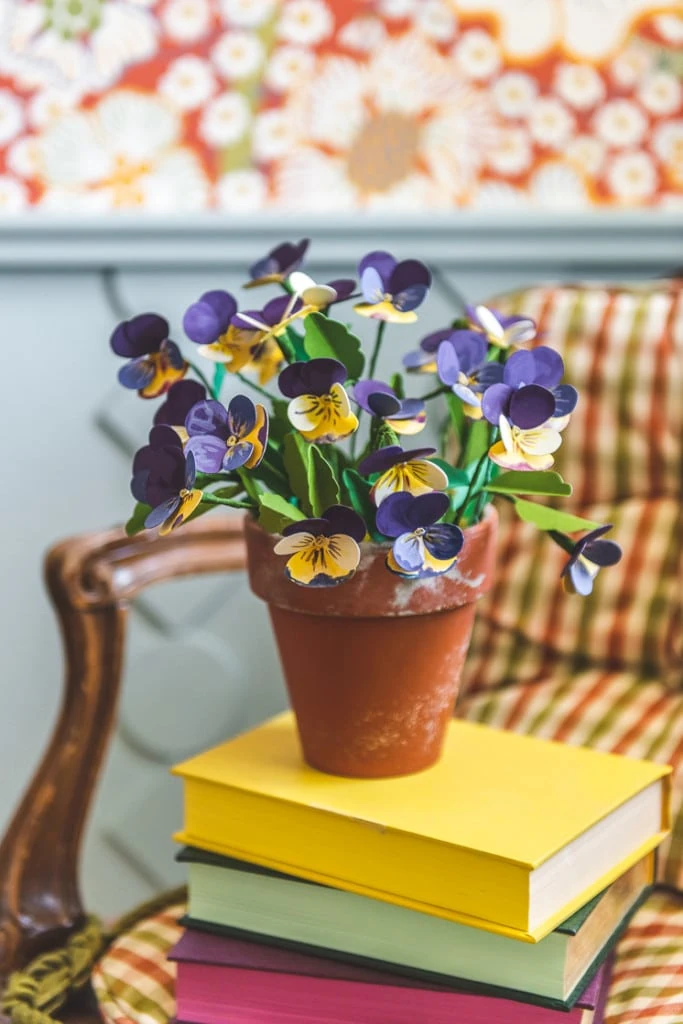
I’m to the point where most of the house is functional, which means that now I get to start really having fun with some finishing touches, like these paper pansies for the windowsill!
Materials:
- Paper Pansy Template
- purple cardstock
- yellow cardstock
- cream cardstock
- blue cardstock
- green cardstock
- scissors
- a paper cutting machine (optional but VERY helpful!)
- 22 gauge floral wire
- a glue gun and hot glue sticks
- green crepe paper
- yellow crepe paper
- purple paint
- white paint
- yellow paint
- a fine-tipped paintbrush
- floral moss
- a planter
- pebbles (to weigh down your planter)
I made these paper pansies for my bathroom windowsill, and they add such a sweet touch to this space. I never thought that I would want to spend all my time in a bathroom, but the joke’s on me! Between the wallpaper, the custom wainscoting I designed, and all the little touches that are coming together, this bathroom is quickly becoming one of my favorite spaces! Ha!
The full bathroom reveal is still forthcoming, but this post has some sneak peeks! You can get a good idea of what the final product with be in this blog post.
Don’t Be A Pansy!
Did you know that pansies are super hardy? I don’t know what people were thinking when they started calling wimps “pansies,” because these flowers are so tough that they can bloom from fall all the way to spring! That’s right—not only can they survive cold winters, they sometimes even send out new flowers during the harshest, coldest months. This is one of the many reasons why they’re a favorite for both seasoned and novice gardeners. They’re also such a classic, vintage-looking bloom.
Johnny Jump Ups are a miniature variety of pansy that I just can’t get enough of, and they were my inspiration for these paper pansies. And remember this planter and flower pot roundup? This project would be great with so many of the gorgeous planters from that post.
While I was making paper pansies I kept humming Golden Afternoon to myself—remember that song from Alice in Wonderland? Well, I guess this is a nice little welcome to the month of June! After all, “You can learn a lot of things from the flowers most especially in the month of June!” Unlike the flowers from Alice in Wonderland, though, these paper pansies are guaranteed not to call you a weed and kick you out of their home.
Make Your Own Paper Pansies
Materials
Our paper pansy template, cardstock (purple, yellow, cream, blue, and 1-2 colors of green), scissors, a paper cutting machine (optional), 22 gauge floral wire, hot glue sticks and a glue gun, green crepe paper, yellow crepe paper, purple paint, white paint, yellow paint, a fine-tipped paintbrush, floral moss, a planter, pebbles. I know it seems like a lot of materials, but you probably have lots of them on hand. I even got pebbles from my garden!
Instructions
- Cut out your petal and leaf shapes from construction paper. If you have a Cricut or other cutting machine, this would be a great time to use it (and our template will make it super easy!)
- Cut strips of green crepe paper ⅓ inch tall and 7.5 inches long, with the grain running so that the strip can stretch to be extra long. These will be the stems. Cut .5 inch squares out of yellow crepe paper for the flower centers.
- Cut your wire to lengths of about 6 inches.
- Stretch the flower center crepe paper. Glue a line down the side of it and attach your wire.
- Fold the top of the crepe paper over the wire, then roll it up and secure with glue.
- Fold all the long petal spikes down. The petal spikes will attach to the flower center.
- Put a line of glue onto the folded top petals and attach them to the flower center, overlapping the petals slightly.
- Glue the smaller side petals onto the flower center on either side of the top petals. Place them so that the petals sit above the top petals.
- Glue the wide bottom petal onto the flower center. Place it so that it sits below the side petals.
- Fold all your leaf pieces in half to mimic a central leaf vein and fold the long leaf spike down.
- Put a dab of glue on the underside of the petals. Attach the end of along green stem strip to it and wrap it around the base of the flower, securing with more dots of glue.
- Keep wrapping the stem strip around the wire, adding dots of glue every little bit. When you are a few inches from the bottom of the stem, glue a leaf spike to the wire stem. Wrap your stem strip around the leaf spike, secure with glue, and continue wrapping the stem.
- To add variety to your flowers, vary the number of leaves on each stem from 1-3.
- When you get to the bottom of the stem, trim away any excess stem strip and secure with glue.
- Paint the flower petals with accents of white, yellow, and purple.Congratulations! Your flowers are all done!
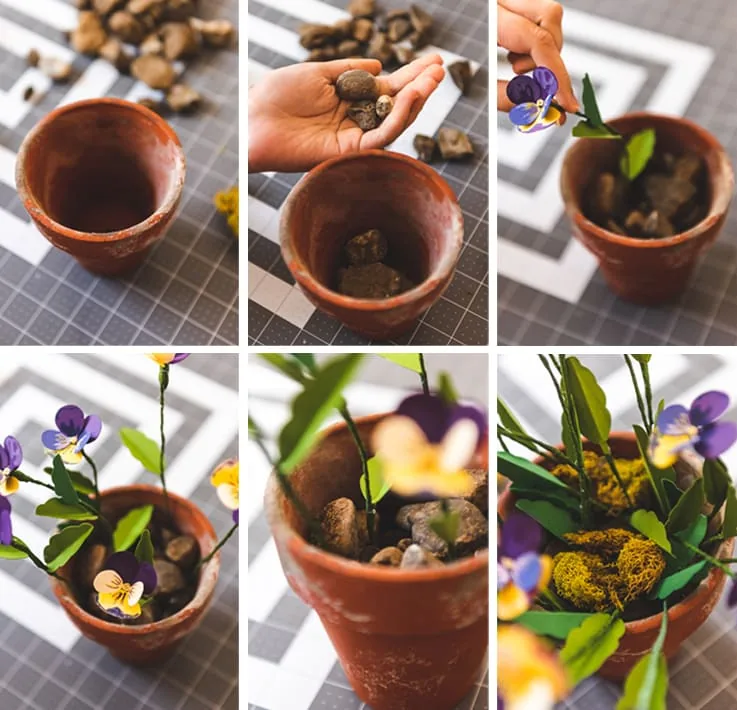
- Fill a planter or pot about 75% full of clean rocks or gravel (if your planter has a hole at the bottom, cover this up with tape or a piece of paper first so that you don’t dribble pebbles whenever you move it).
- Arrange your johnny jump ups in the planter, using the pebbles to hold the flowers in place.
- When you’ve added all your flowers, cover the rocks with floral moss.
- Place your planter full of johnny jump ups somewhere that they will make you smile, and enjoy!
More Inspiration
If you like this project, take a look at all these other paper flowers from over the years.
My renovation journey really is, well a journey! You can see my other bathroom’s glow up here, and I’m so excited to keep showing you projects from around the house. Follow along with more renovation projects and house inspiration here, and let me know all your tips for renovating a house!
Look for the Paper Pansy template in our shop and show us your creations with #LarsPaperFlowers.


