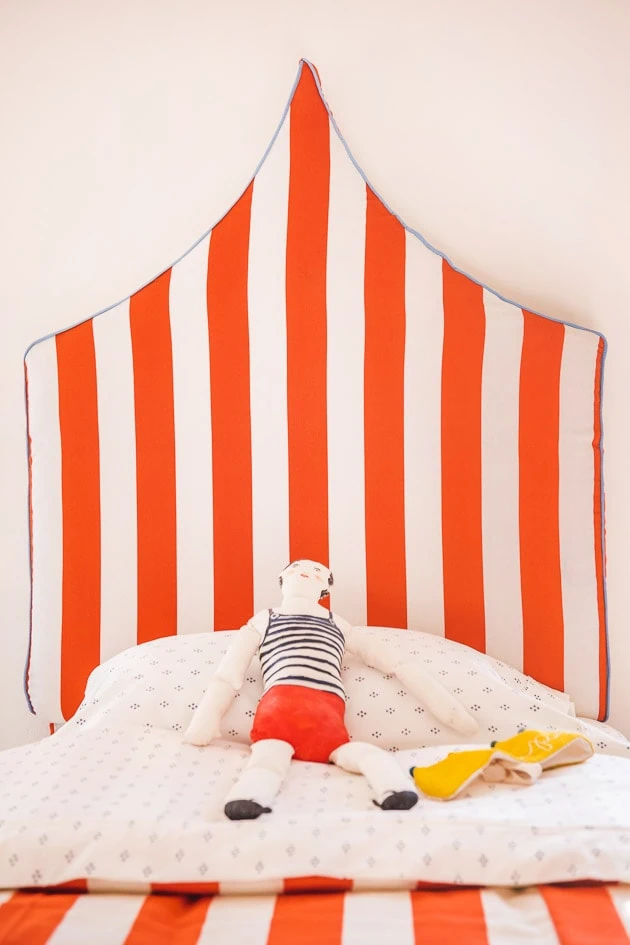
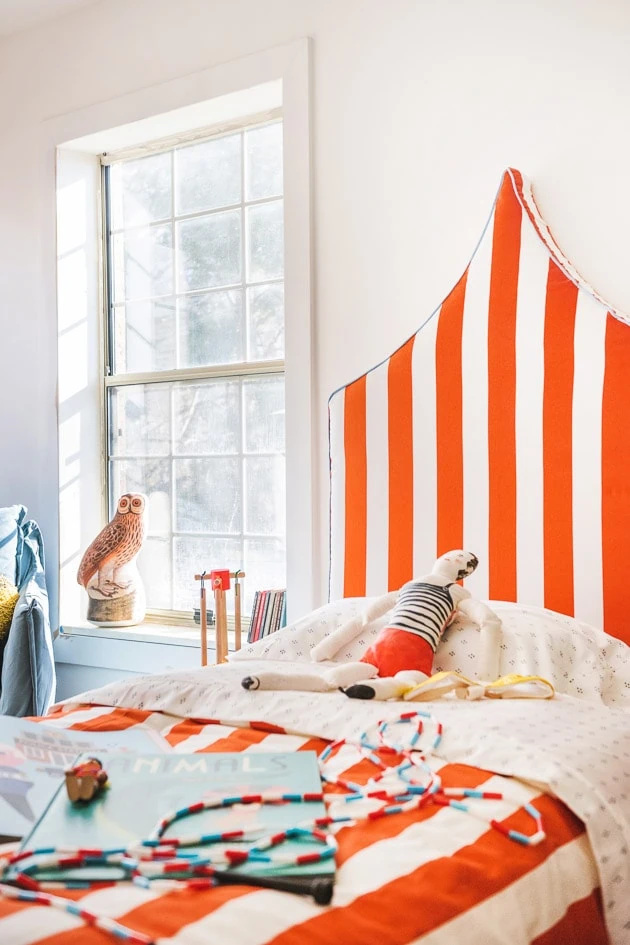
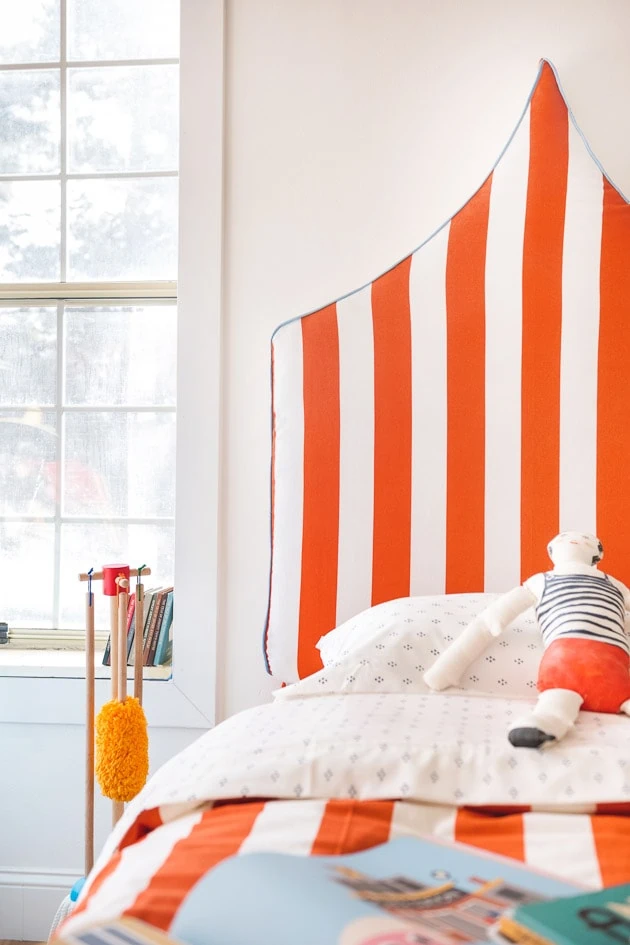
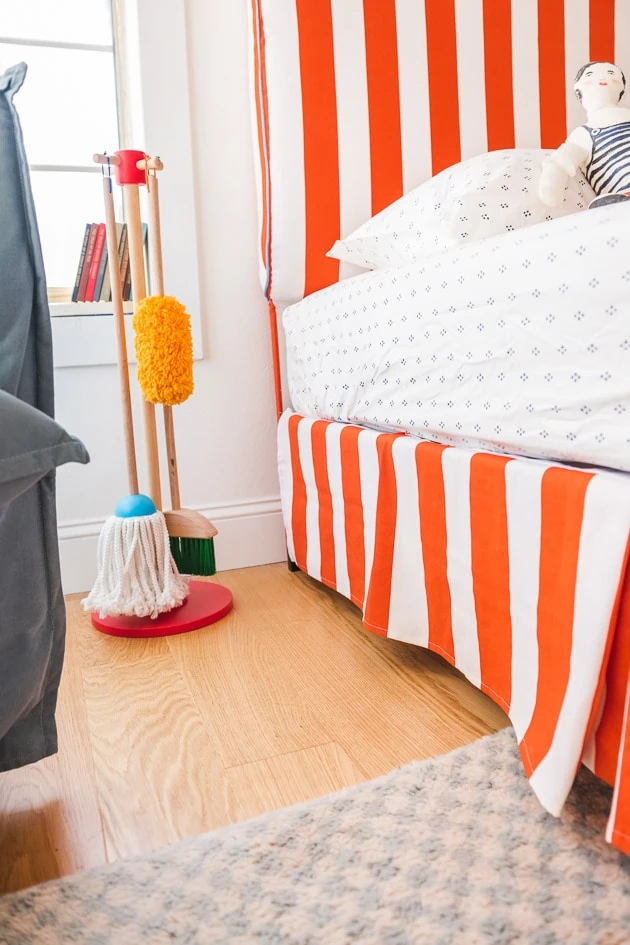
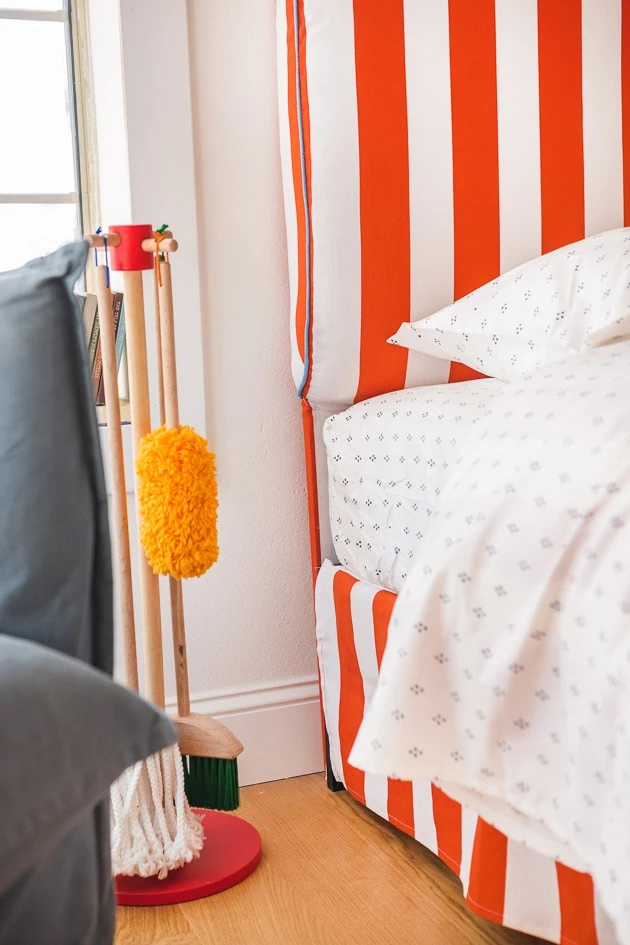
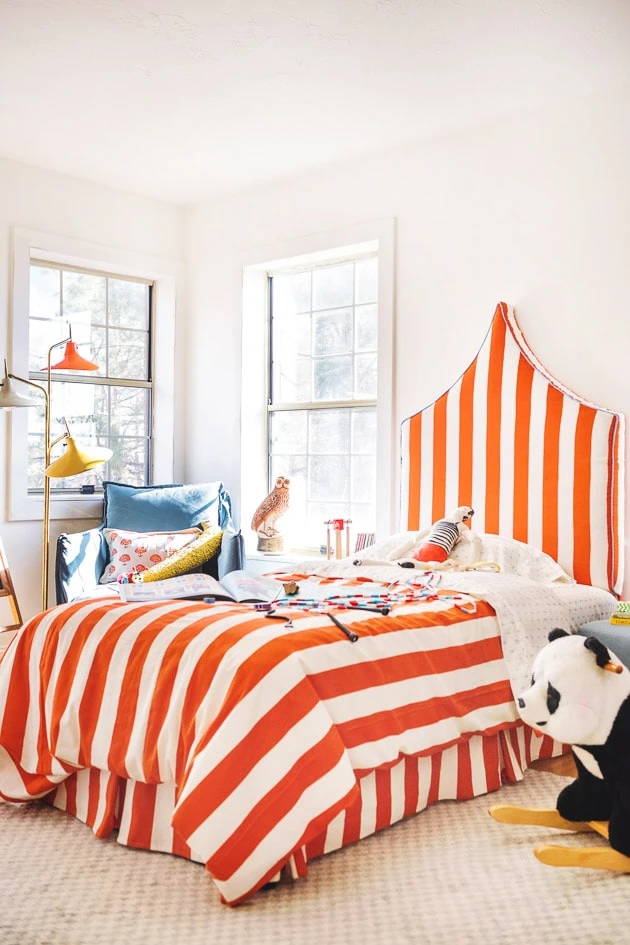
As many of you know, we are in the middle of some serious home renovations. We’re slowly moving from room to room, and every time we finish a project I get so excited to share it with you! Today’s big reveal is Jasper’s new big boy bed. As soon as I saw the fabric I knew I wanted a statement headboard so yes, we did a DIY headboard along with a DIY bedskirt, and DIY duvet cover. And guess how much it cost?! Read below!
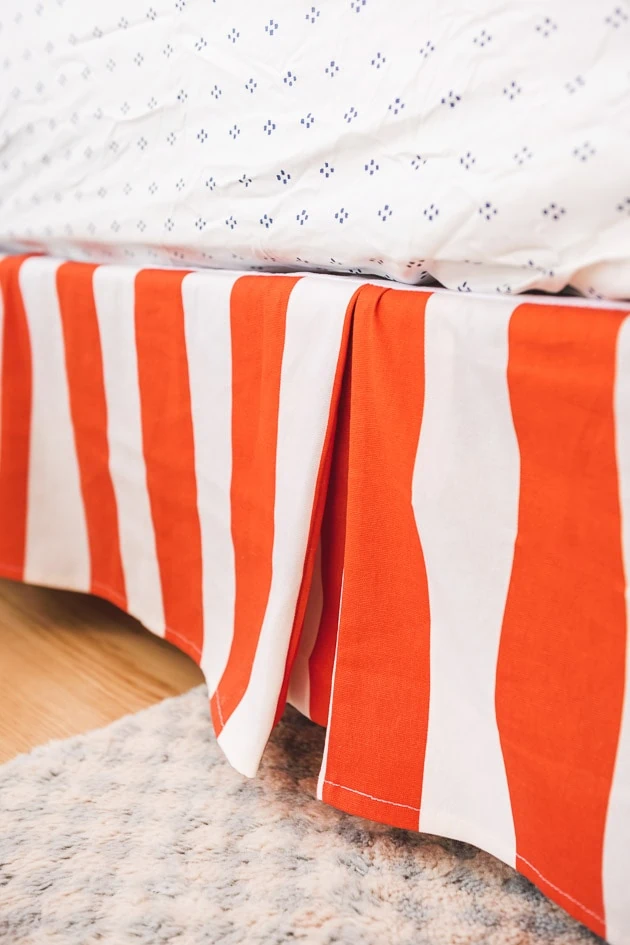
As you can see we also DIYd the duvet cover and bed skirt. Here’s how!
Materials:
- Waverly Inspirations fabric (we used 2 bolts, which is 16 yards total)
- Thread
- Plywood (for headboard understructure)
- Quilting batting
- Staple gun (for upholstery)
- Sewing machine with regular and zipper foot
- 1/8" cord for the piping
- Bias tape (we used blue)
- Standard twin-size duvet
- jigsaw or handheld router (to cut headboard shape)
- Thick, foam piece (the size of the headboard)
View this post on Instagram
Jasper’s New Bed
First, I have to say that this was more of an undertaking than I had anticipated, and I definitely can’t take all the credit. I had a lot of help from the amazing members of team Lars. Carrie, our designer/maker, and Hailey, our project manager, both took on the challenge to design and sew the bedskirt and duvet cover, and I was thrilled with the result. A special shout out also goes out to my brother in law, Tanner, for helping me tackle the challenge of that tricky, atypical headboard and doing such a splendid job.
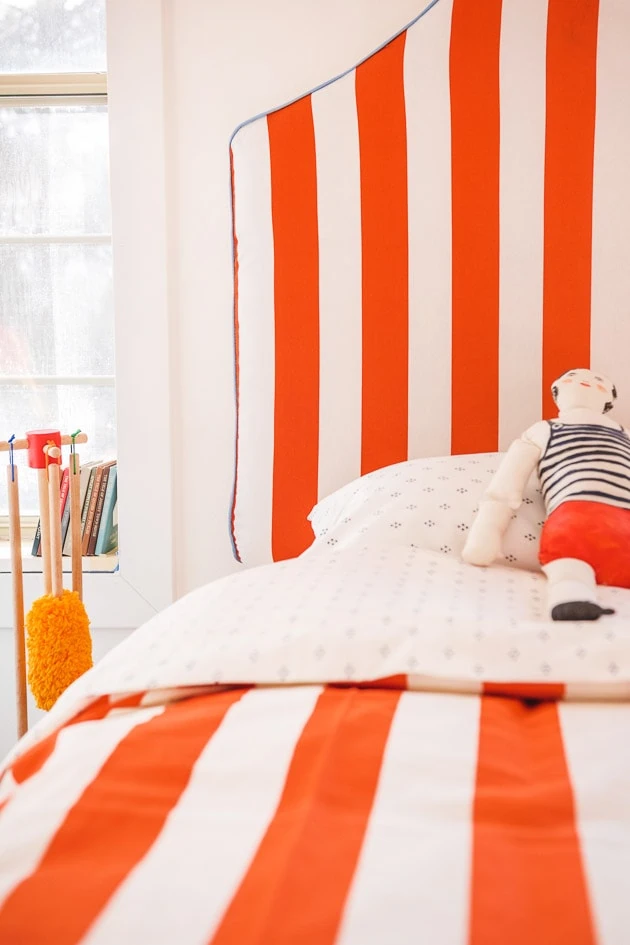
It’s amazing what a good bedspread and headboard will do to spruce up a room and make it feel complete. The decision to cover the headboard, duvet, and underside of the bed was definitely driven by the desire to have something distinctive, loud and eye-catching, but also appropriate for a child’s bedroom. It needed to feel cozy, fun, and warm, and the cabana stripe did just the trick for Jasper’s new bed!
I had been challenged by Waverly Fabrics to make something from their collection at Walmart and it was so easy because they have a wonderful collection of stripes and toiles. It was just hard to narrow it down! AND, the fabric is $3.99/yard so all the fabric for the headboard, duvet, and bedskirt cost less than $60! The plywood cost about the same price (lumber right now, amiright?! With the foam, bias tape, and batting it came to about $150 total for everything.
How to recreate Jasper’s new DIY headboard
We had so much fun designing Jasper’s DIY headboard. It was hard to narrow it down! I knew I wanted something I had never seen before so Gwen sketched out a bunch of designs. She sketched one out and that was it–a circus tent-inspired shape that paired SO perfectly with the fun, striped, cabana fabric we chose. With some patience and a little effort, we feel totally confident in your ability to make this children’s bedspread work! The trick is accurate measurements. Let’s do this!
Prepping the materials for a DIY Headboard
Fabric
- Pre-wash the fabric you’ll be using for the duvet cover. It’s probably not necessary to wash the headboard fabric, as you won’t really be removing it later to wash it again, anyway. You can decide if you want to pre-wash the bedskirt fabric, but it’s probably not the end of the world if you don’t.
- After the fabric is washed in warm water and dried on a low heat setting in the dryer, iron or steam out the wrinkles. This makes the measuring process much easier. Don’t forget to get the wrinkles out of the fabric you didn’t pre-wash!
DIY headboard
If you’re not familiar with upholstery, this might be the trickiest part of recreating Jasper’s new bed, but you can do it! We’ll walk you through it.
Prepping the understructure
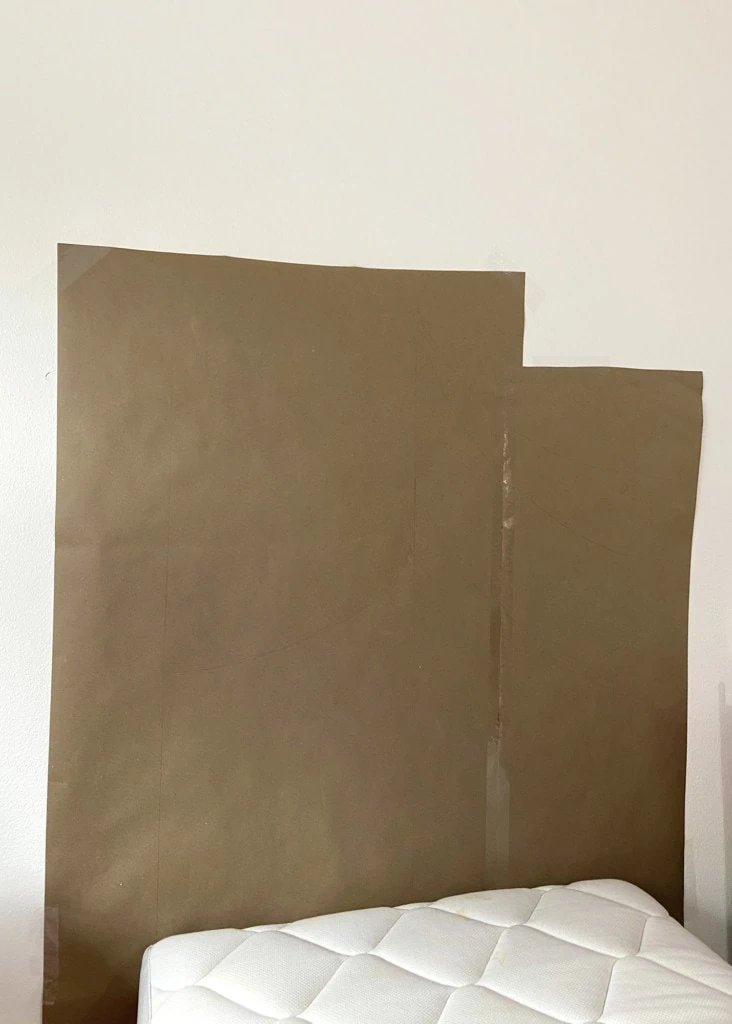
- First, use butcher paper to make a template for your headboard. Use the mattress and bed frame as a reference so you get the dimensions right.
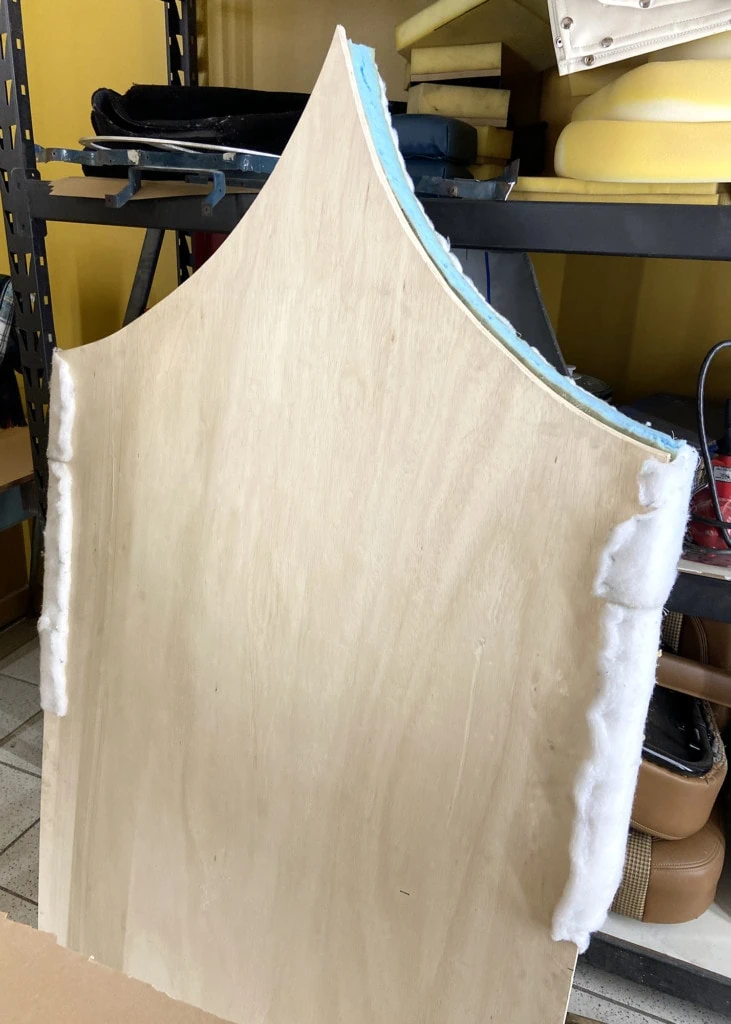
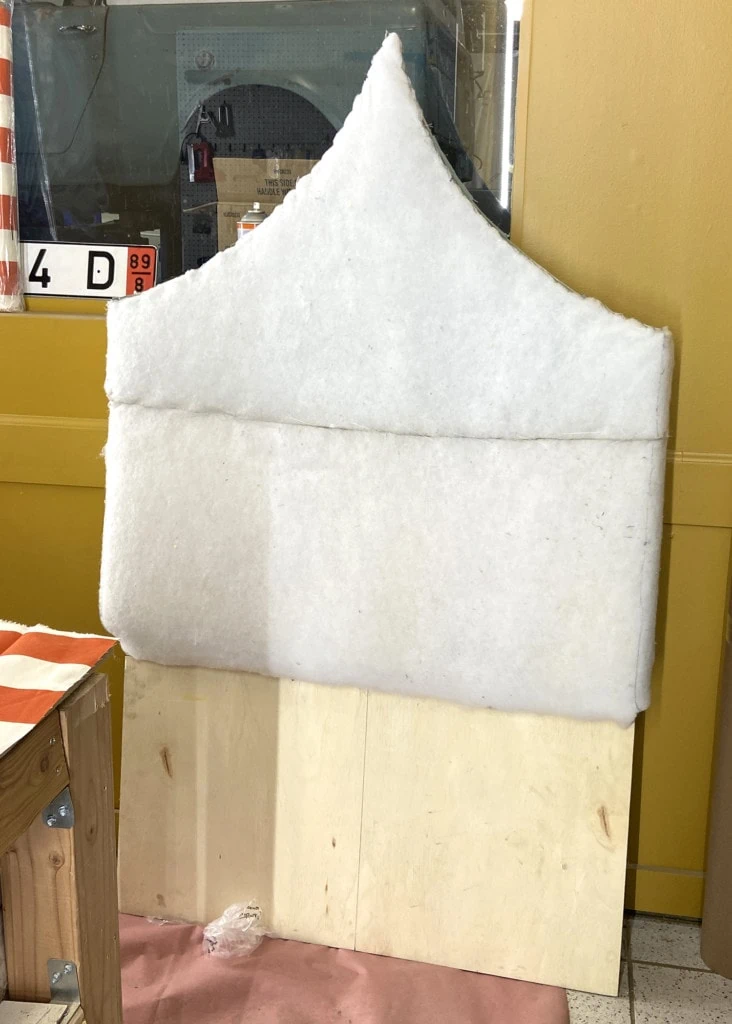
- Using a jigsaw or handheld router, take your piece of plywood and cut out your desired shape for the headboard. The full width of the headboard should be the same width as the short side of your bed.
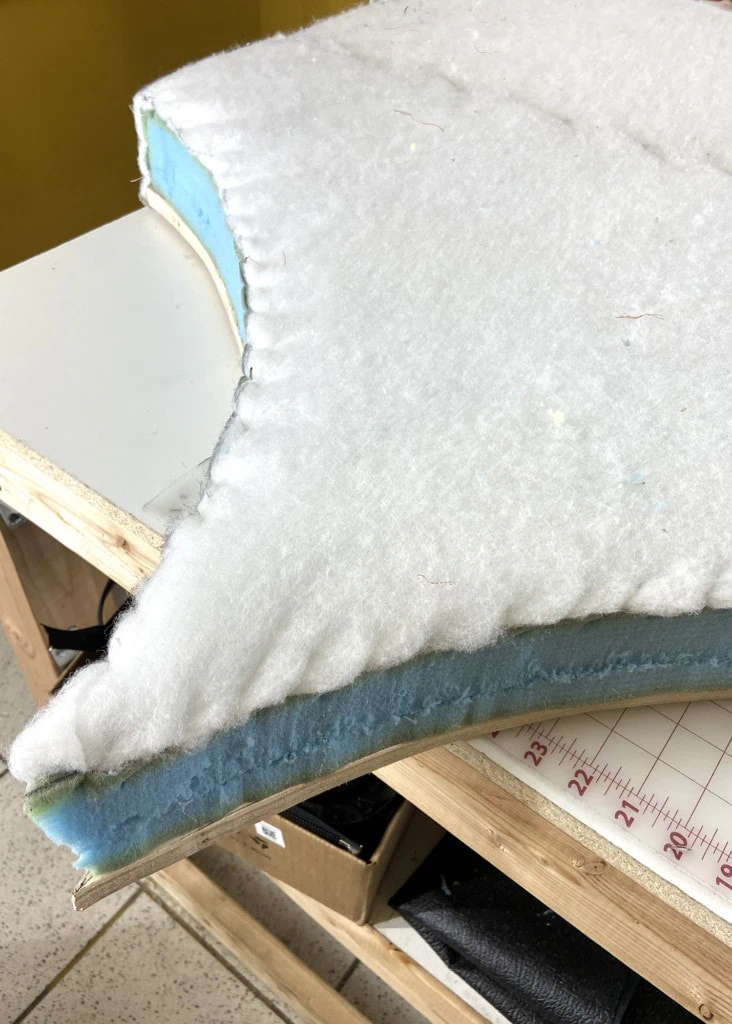
- Cut out the thick foam piece (it’s a camping foam from Home Depot) into the same shape as the plywood. The bottom of the foam should rest right above the mattress when set up right.
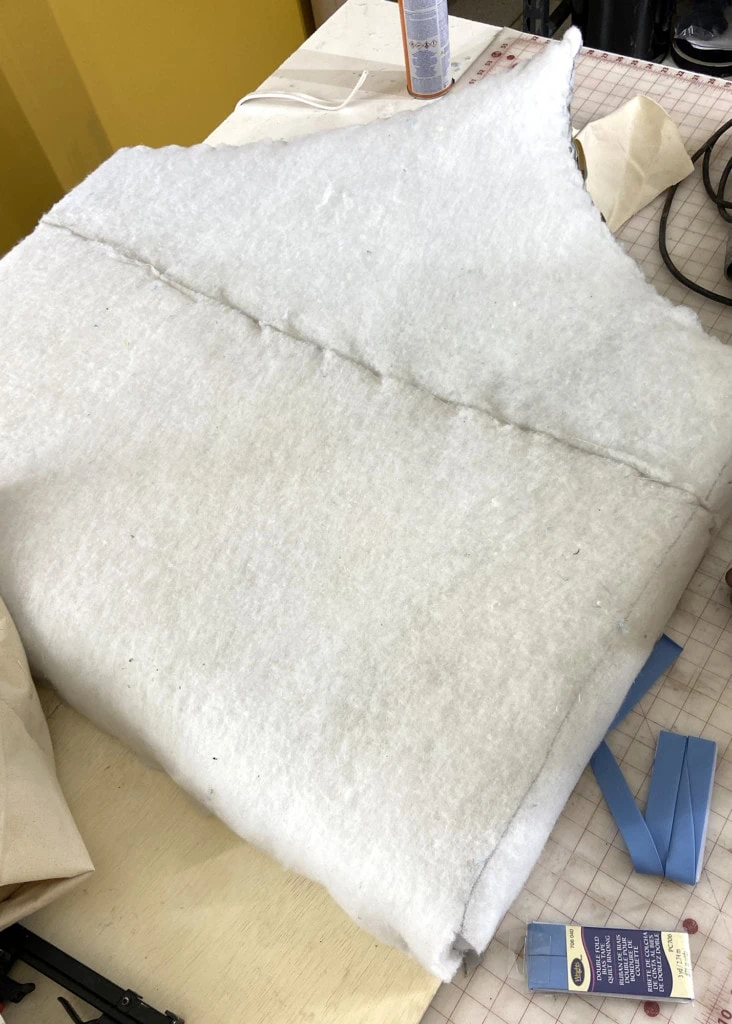
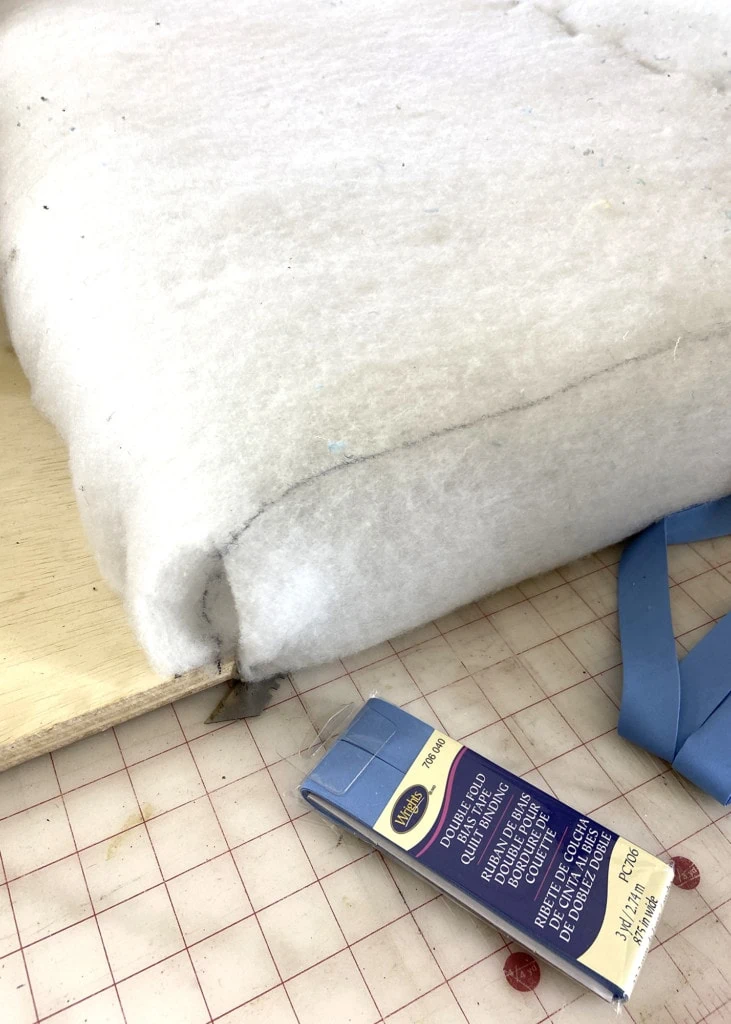
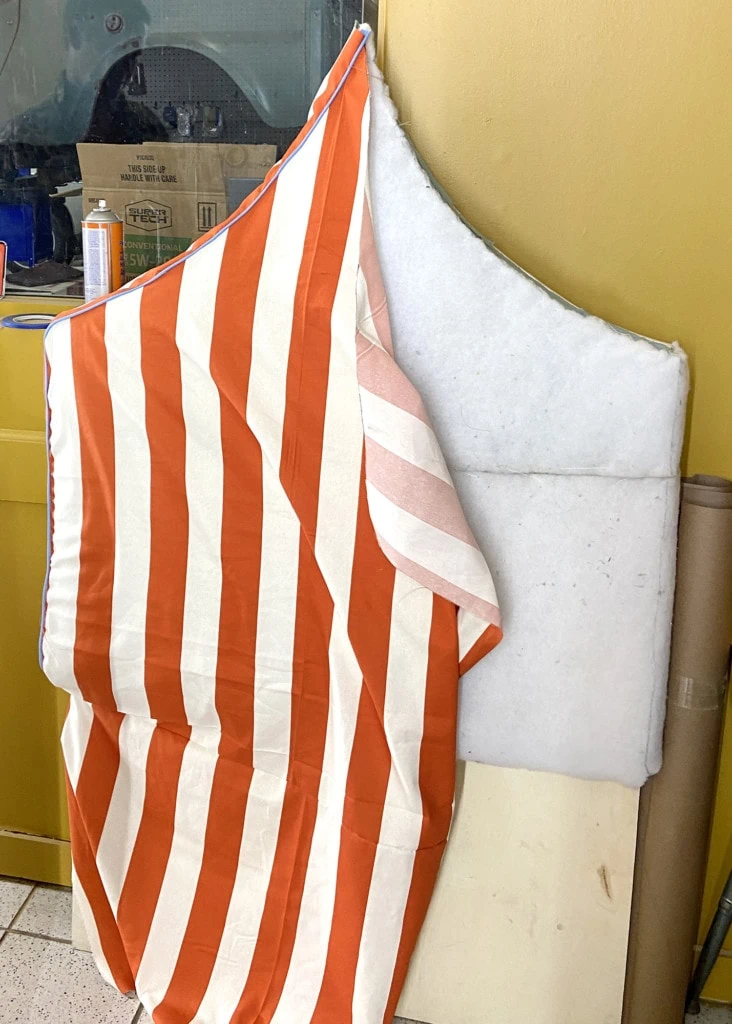
- Using quilting batting, wrap the portion of the headboard with the foam and secure with a few staples. Make sure to extend the batting all the way under the foam. We slip stitched it to the foam.
Prepping the fabric for the DIY headboard
- Measure the dimensions of the cut-out, batting-wrapped headboard. You’ll need four sections of fabric: one for the front (this piece will extend from the top of the mattress all the way to the top), one for the thin middle section between front and back, one for the back, and one for the bottom front section below the mattress.
- In your dimensions, make sure to add 1/2 in (or desired amount) of seam allowances to all three sections of fabric.
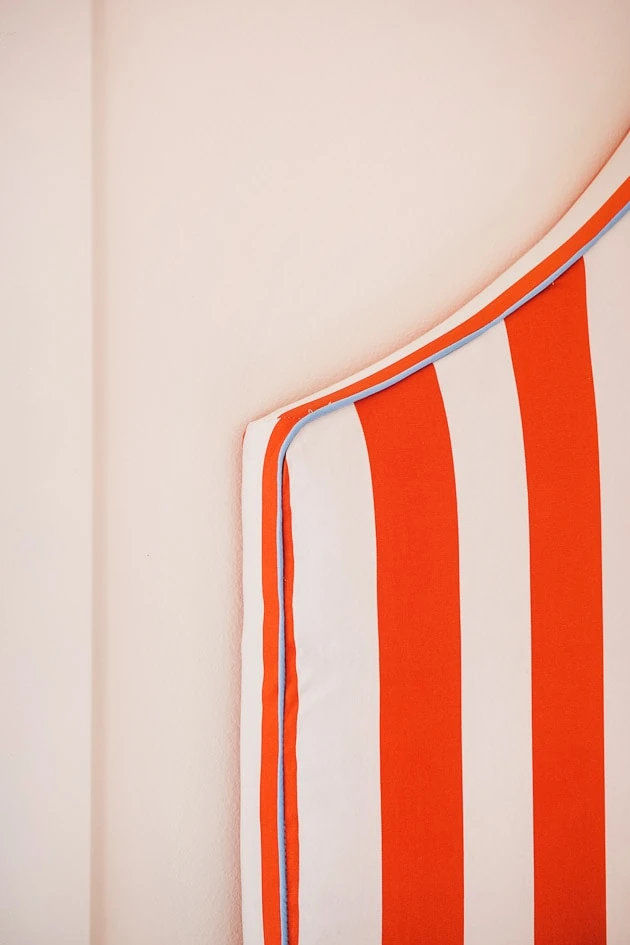
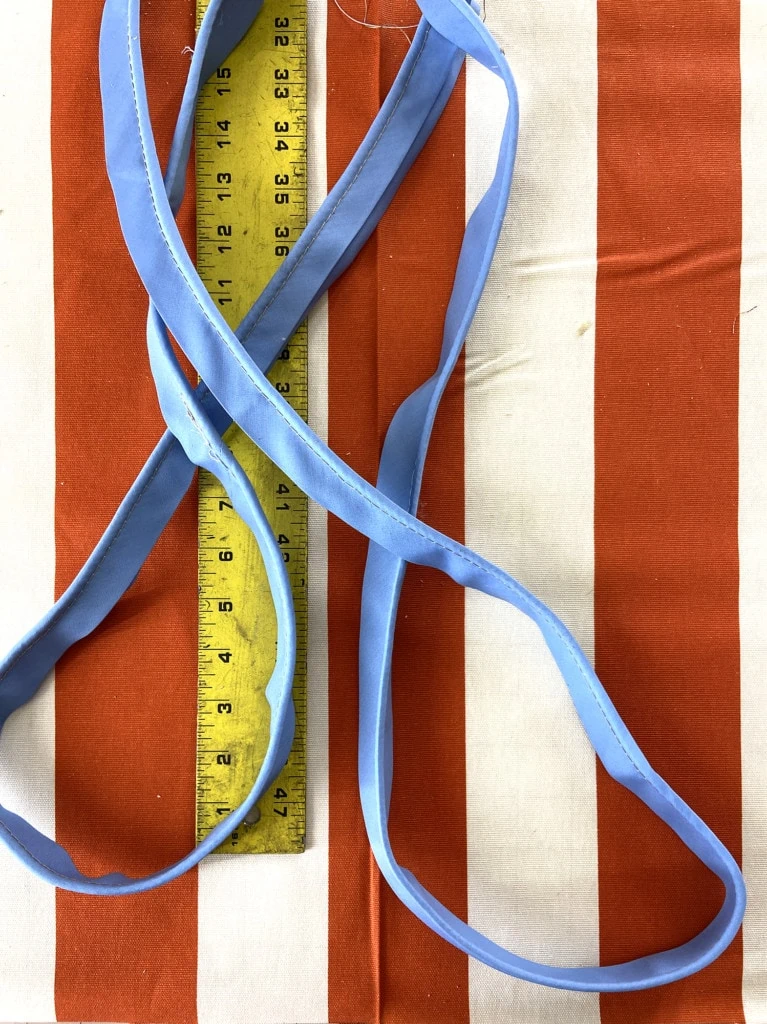
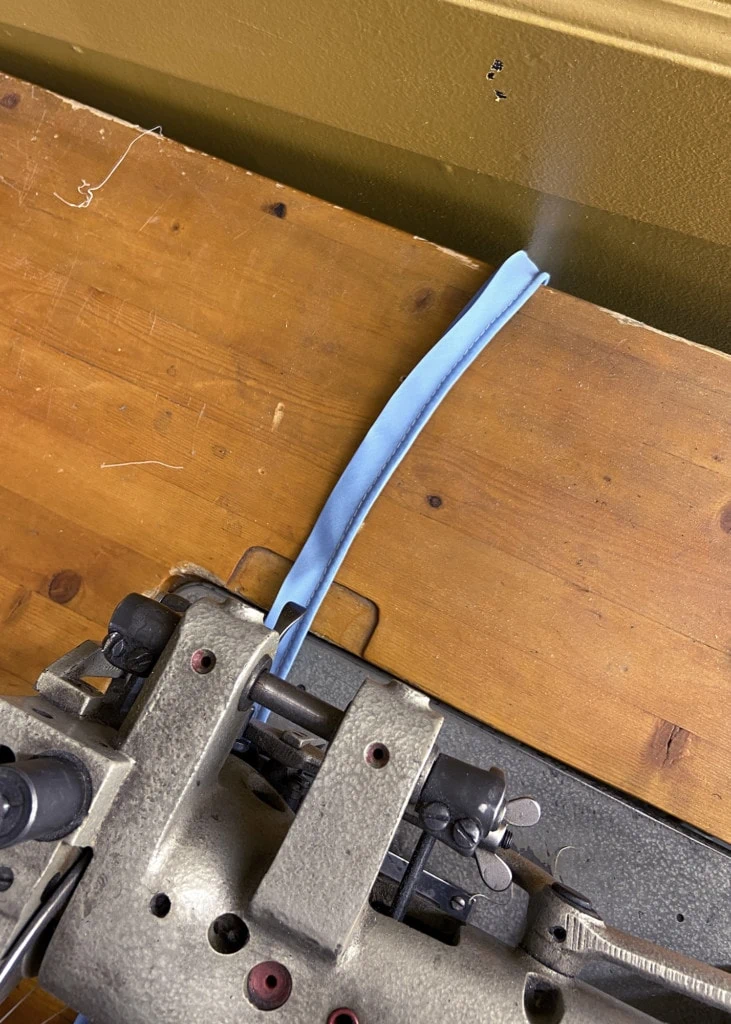
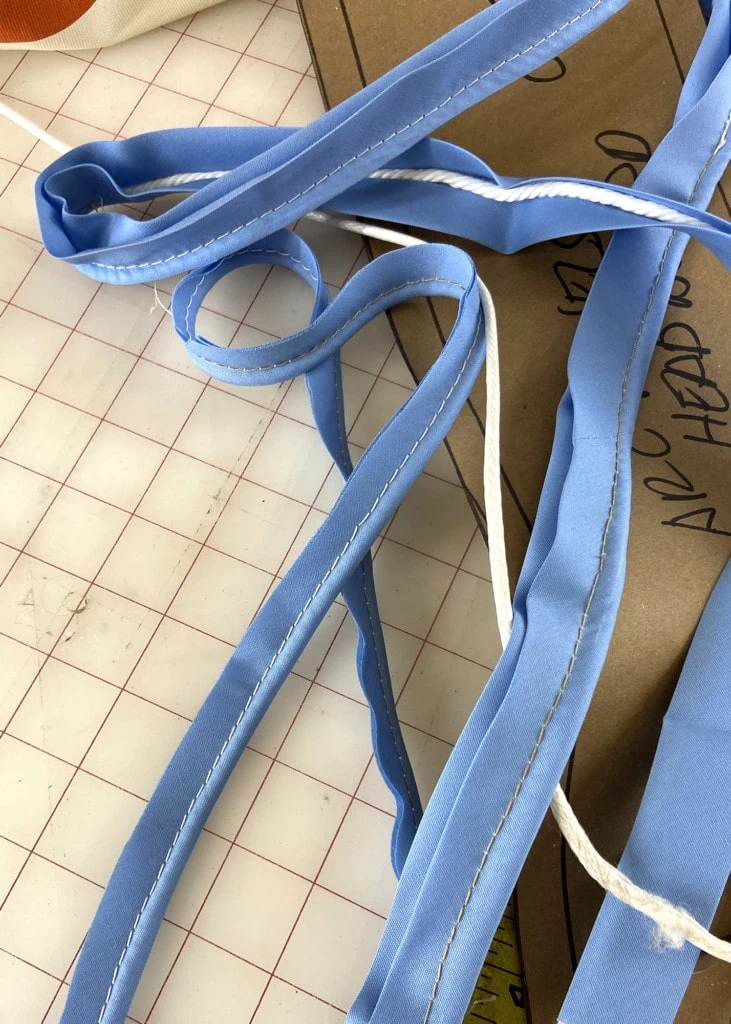
- Now, with your desired color of bias tape (we used a periwinkle blue), make piping to line the front and back edges of the headboard. To do this, take your cord (1/8″ wide is good), and wrap it into the center of the bias tape, wrong sides together.
- Sew along the open edge with a zipper foot so you can get nice and close the the cord.
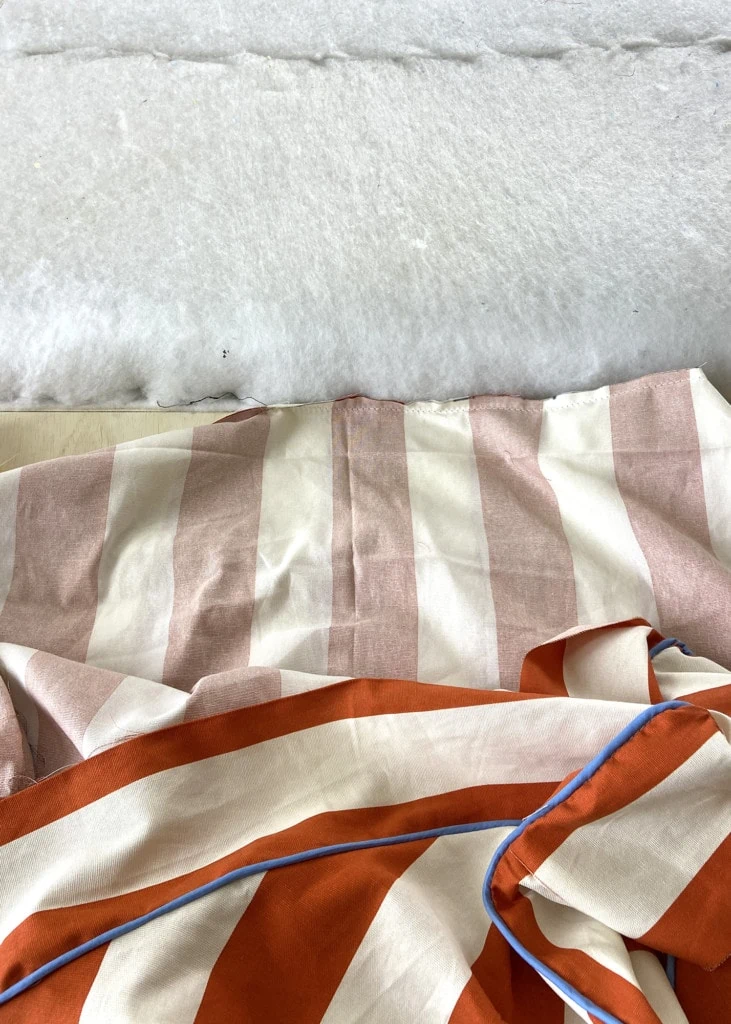
- Next, align the front piece of fabric with the middle section’s fabric, right sides together. As you pin, carefully align the edge of the piping (the edge without the cord) with the edges of the fabric sections, slipping the piping between the two pieces of fabric as you go. Sew in place with a zipper foot, trying to keep as close to the cord as you can.
Assembling the headboard
Now you’re ready to put everything in place!
- To make sure everything is aligned right, line up the point of the fabric with the understructure.
- At the base of the batting on the headboard, staple the fabric in place, making sure to pull it taut.
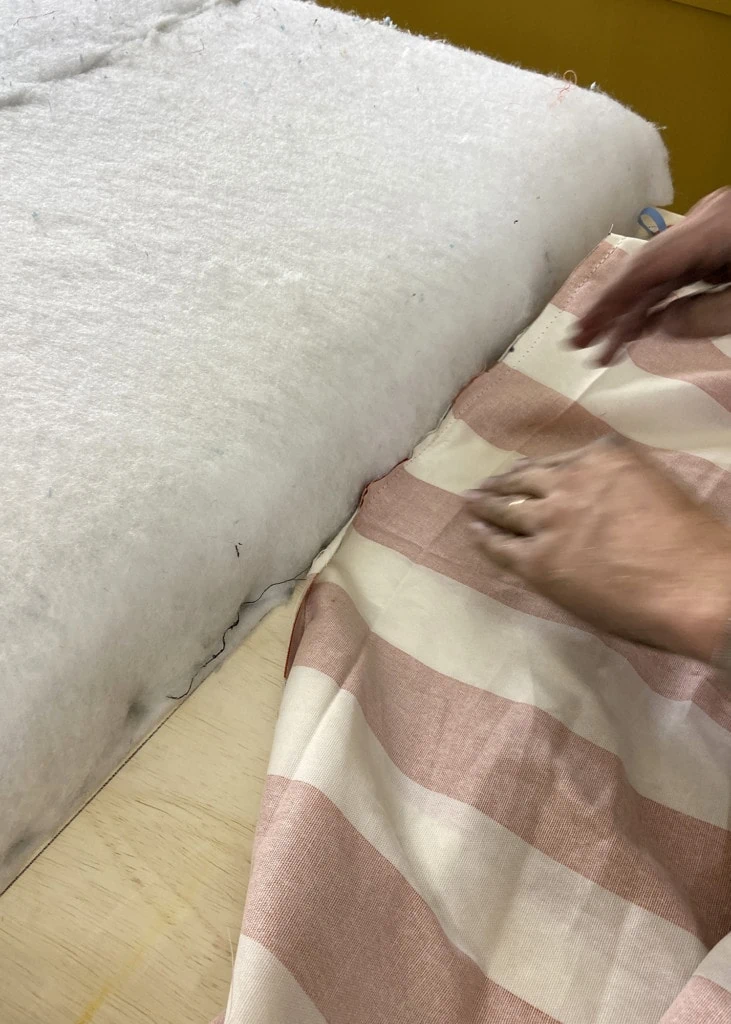
3. Now, pull up firmly and slide the sewn pieces over the front edge of the headboard and pull them towards the back so the corners are nice and taut against the frame.
4. Pull taut at the back and staple in place. Work from both sides and the center evenly to avoid puckering.
5. Now, take the piece of fabric you measured for the back and fold under 1/2 inch. Now line up with the edge of the back and staple in place to cover the raw edges of the front pieces.
6. The headboard is complete! Whew, the hardest part of Jasper’s new bed is done!
Sewing a bedskirt
Taking the measurements
For the bedskirt on Jasper’s new bed, you’ll want to start with measurements. The measurements you’ll use will depend on the size of bed you have, and whether or not you have a box spring. Here’s what you need to do:
- Measure the length, width, and height of your bed frame. If you have a box spring, include the height of the box spring in the total height measurement of the bed frame. For example, if your bed frame is 12 inches tall, and the box spring is 7 inches tall, the total height you’d need would be 19 inches. We didn’t use a box spring, so our dimensions were 12 inches for the height, 74 inches for the length, and 38 inches for the width.
Cutting the fabric
For the fabric, you’ll need a basic, white (or other solid color that won’t show), woven fabric. You’ll also need the patterned fabric of your choice for the bedskirt, duvet and headboard. Here’s how to cut the fabric:
- First, take the plain fabric and cut it into the length and width of your twin bed. Add on 1/2 of an inch to each dimension. For example, since our length was 74 inches and our width 38 inches, we cut a large piece that was 75 inches by 39 inches.
- Next, cut out your bedskirt pieces. This takes a bit of thinking, especially if the pattern on your fabric needs to go a certain direction, like our vertical stripes. To cut out the bedskirt, think of it this way: you need one long piece of fabric that has a width of 13 (the height of the bed frame, 12, plus a seam allowance). For the length, you’ll need a piece that’s the length of three of the sides of the bed (74+38+74=186). You’ll also need to add in the length of four pleats, which are 12 inches each (12×4), then (186+48=234). Then add 1 inch to each end, so you can hem it under. The total length=236 inches.
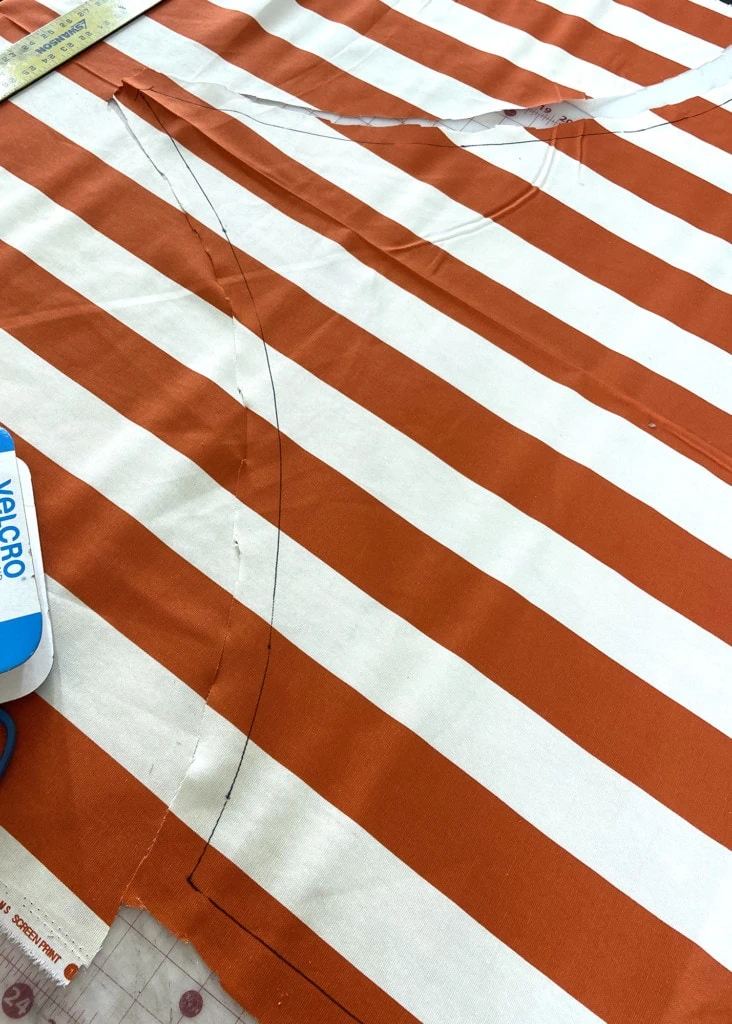
- Now, because we wanted vertical stripes on Jasper’s new bed, we pieced together a bunch of pieces of fabric to get that length (the width of the fabric was definitely not long enough). It will look pretty seamless if you just match up the stripes, making sure to alternate stripe colors when you sew on a new section of fabric.
Assembling the pleats
- the first step in sewing the pieces together is to hem the bottom of the long strip of fabric you’ve already sewn together (roll under 1/2 in, then 1/2 again).
- Hem one end of the large, rectangular piece of fabric. (Again, roll under 1/2 in, then 1/2 again).
- Next, you need to pin the pleats in place. To do this, start from one end of the long strip of fabric and measure in HALF the length of the long dimension (74/2=37). Mark that spot with a pin. Now, keep going in that same direction and measure 6 more inches. Mark that with a pin, then measure 6 more inches and mark that.
- Now, take the two pins on either side and bring them to the center pin to make the pleat. Secure the pleat in place with additional pins.
- Repeat the steps above for the pleat on the opposite end.
- For the corner and center pleats, simply calculate how far over the next pleats need to be, based on your bed’s dimensions. Pin them in place the same way you did the first two pleats.
Sewing the pieces together
You’re finally ready to sew the pieces together! This is really simple:
- To sew the pieces together, line up the raw edge of the long, pleated strip of fabric with the large rectangular piece of fabric all along the border, with right sides together. Sew in place, and finish the raw edge of the underside with a zig zag or serged finish to prevent fraying.
- Done! Now you can go ahead and slip this bedskirt on the bed between the bed frame/box spring and mattress.
DIY duvet cover
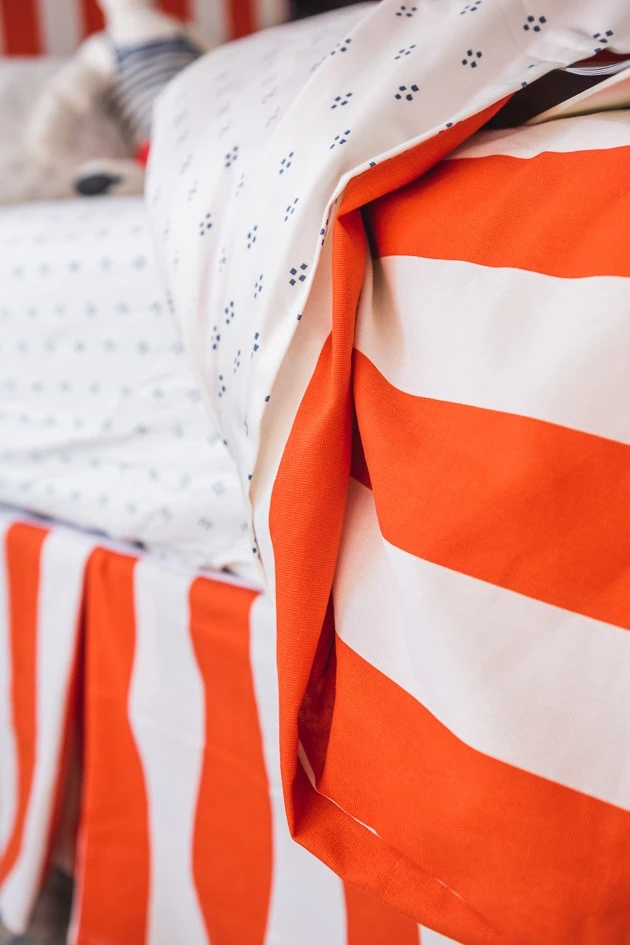
The duvet cover is the finishing touch of the bedspread that really gives it the oo la la! It also happens to be the easiest to make, which is a big relief after that headboard and bedskirt! Here’s how to make a simple duvet cover:
Taking the measurements
- Make sure you have the right size of duvet, then base the length and width off of its dimensions. Our duvet was a standard twin, which was 66″x 86″.
- Leave these dimensions as they are, rather than adding on additional seam allowances. This will make the duvet fit nice and snugly inside of the cover, for a nice, full appearance.
Cutting the fabric
- If you have custom fabric that’s extra wide or made for bedding, you’re in luck! You’ll just need two, big pieces that are both 66″x 88″ (leaving room for extra hems at the bottom, so you can slip the duvet inside).
- If your fabric is like ours was, and is more of a standard width (ours was 44″), you’ll simply need to sew it together to make it wider. Ours has a very subtle seam in the middle that’s hidden because the seam is exactly in line with the stripes.
- Once you have your two pieces cut, you’ll prep them for the rest of the sewing by hemming one short side of each piece.
- Now you’re ready to sew it together!
Sewing the pieces together
- Now, simply line up the edges, both hemmed sides matching up and right sides together, and sew around the three, un-hemmed sides. Backstitch at each end for extra strength.
- To finish the seams, zig zag or serge the edge to prevent fraying.
- If you’d like to, you can add a few buttonholes and buttons to the open end to keep it closed once the duvet is inside.
- The last step is to simply arrange everything and make the bed. Voila!
This bedspread is so cozy and perfect for Jasper’s bedroom, it was totally worth the time and effort it took! We are in love with Jasper’s new bed. We can’t wait to see what you do in your kids’ rooms!
More inspiration
Did you love this tutorial featuring Jasper’s new bed? You’ll probably love these, as well: Felix’s new nursery, our new closet system, before and after master bedroom, and designing our main bathroom.
We’ve got more plans for his bedroom. Stay tuned!


