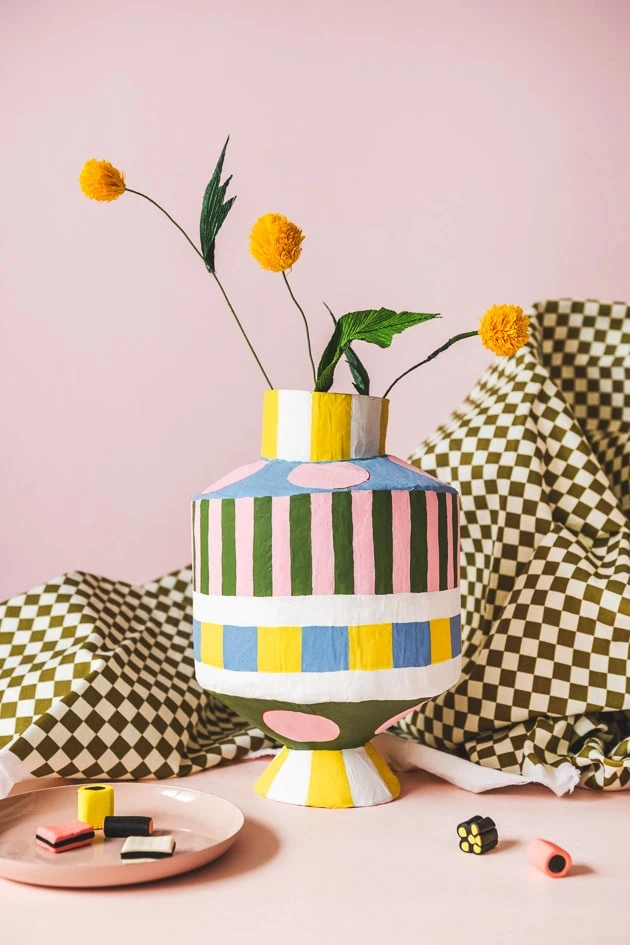
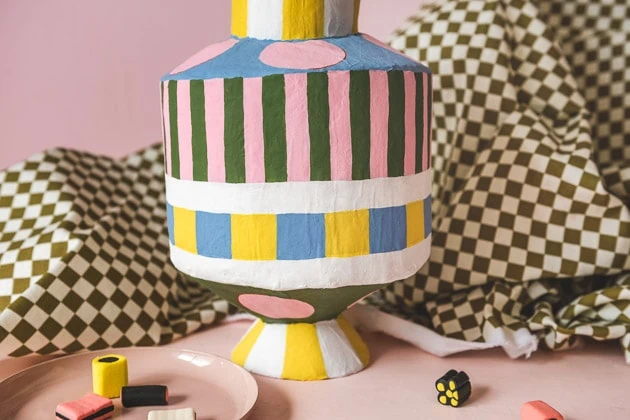
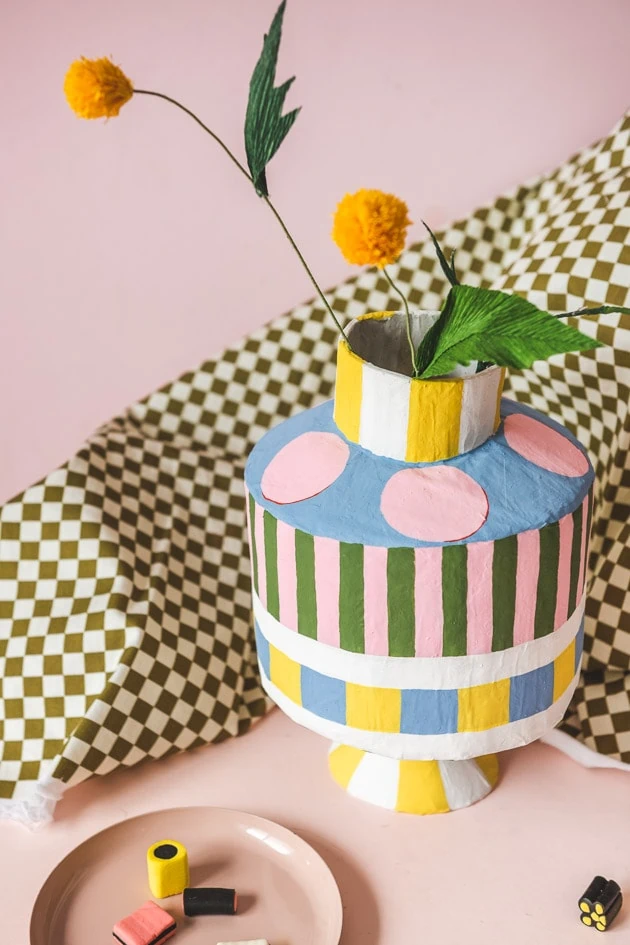
Spring is in full swing! We were feeling in the mood for a new project, preferably something that felt appropriate for the season. Well, we happened upon the perfect DIY spring craft: a papier-mâché vase!
Paper mache, papier-mâché, you know what we’re talking about. I love me a good vase, and papier-mâché is the perfect material to use–most people have everything they need at home already! You can even consider it a way to clean up the planet. You know those old boxes and newspaper you were about to throw out? Use them to learn how to make this papier-mâché vase with us!
Materials:
How to make a papier-mâché vase
Corrie Beth has been making the most amazing papier-mâché projects for years. We are honestly some of her biggest fans. Her creations are so gorgeous, we wanted to try our hand at making our own! Lucky for us, papier-mâché is one of the most versatile materials around. It can be transformed into almost anything, if you’re creative enough to think up how. We love how much a simple vase can add to your home decor. It’s simple and so effective.
Here’s how to make your own:
Prepping your cardboard
Get out your cardboard and scissors! Here’s what to do:
- First you’ll want to download, print and cut out the papier-mâché vase template found here.
- With your templates ready to go, you can now trace and cut out the shapes provided. You’ll also need to cut out two additional rectangles in the following dimensions: 21.75″ x 4.5″ and 2″ x 10″. Tip: It’s helpful to cut out the rectangle pieces so the cardboard fluting (the bumpy middle section) is parallel to the short width. This makes shaping the rectangles much easier.
- You should now have five shapes cut out: three “c” shapes, and two rectangles (one small and one large).
Constructing your understructure
- First, gently shape each piece.
- For the “c” shapes, bring the two edges together so they form a subtle cone shape. Secure with hot glue.
- Next, for the rectangles, bring the short edges together to make cylinders. Secure with hot glue. Note: For each piece, shape as you go by bending every centimeter or so in the desired direction.
- Now hot glue the individual pieces together, using the diagram in the template as a reference.
- Once everything is glued and the glue is cool, cover the entire thing in a layer of masking tape. This will make the surface nicer when you start to attach the papier-mâché.
Making the paste
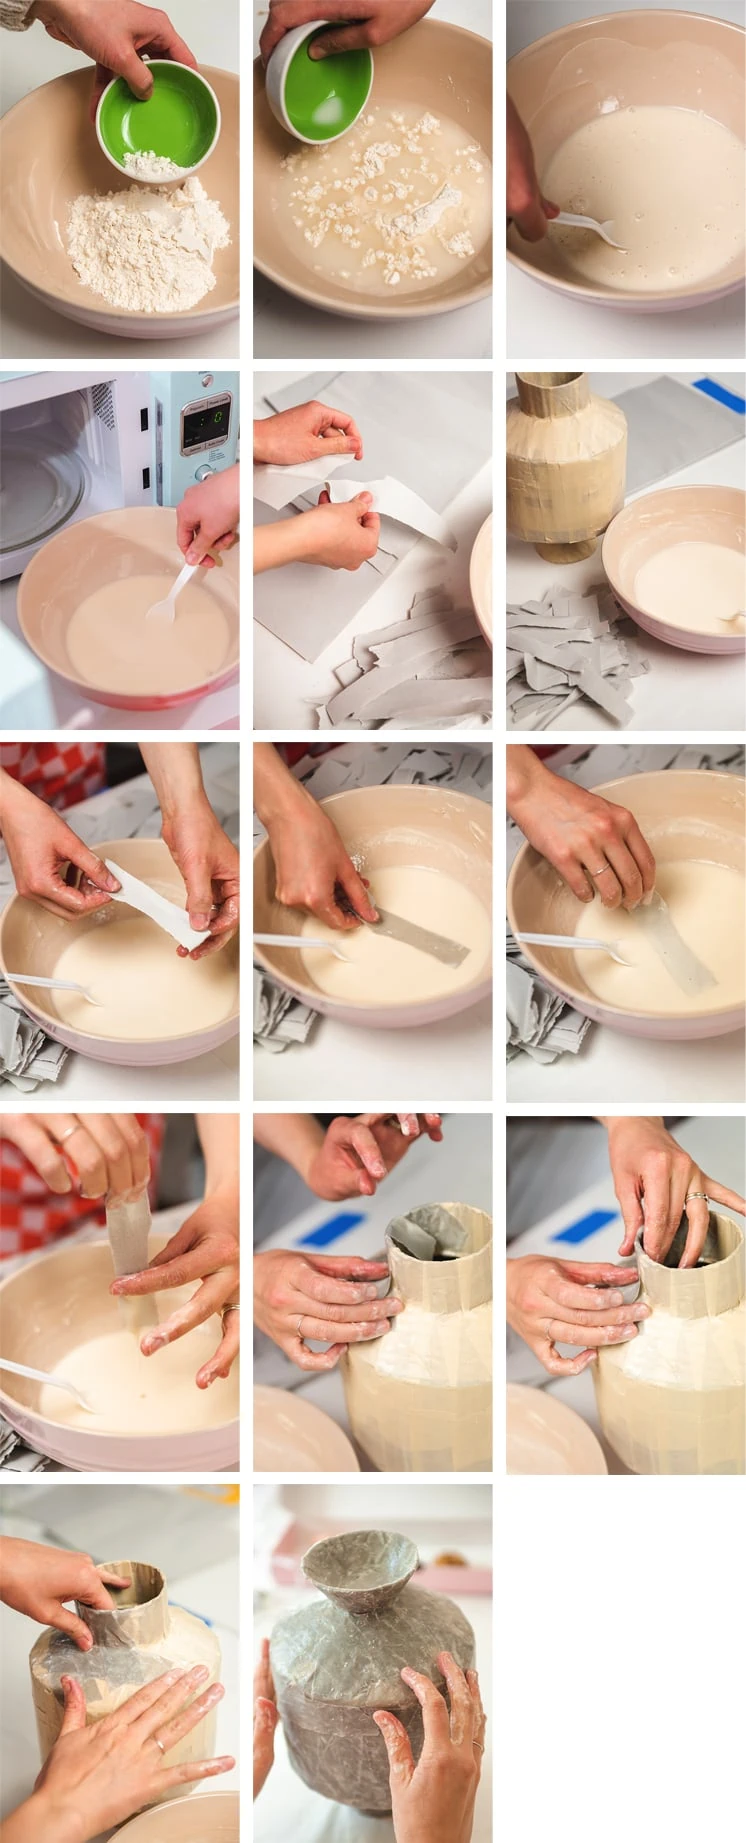
- To make your paste, add 1 part flour to 2 parts water. Stir with a spoon and try to get out as many lumps as possible.
- Next, heat mixture for 40 seconds in the microwave, then stir again.
- Repeat the process a couple more times until the paste has thickened a bit. It should still be fairly runny and smooth when you’re done. If it’s thickened into a lumpy mess, you’ve heated it too much.
Applying the papier-mâché
- For the papier-mâché, tear up some newspaper or newsprint into narrow strips. I would recommend tearing up all the paper ahead of time so you don’t have to tear it with sticky hands.
- Next, fully coat each strip in the paste, then start applying them to the cardboard structure. Continue until the entire vase is coated thoroughly.
- Note: It works best if you apply the strips in a random formation, criss-crossing as you go. This helps them hold better when dry.
- Last, let your papier-mâché dry out completely for a few days!
Decorating your vase
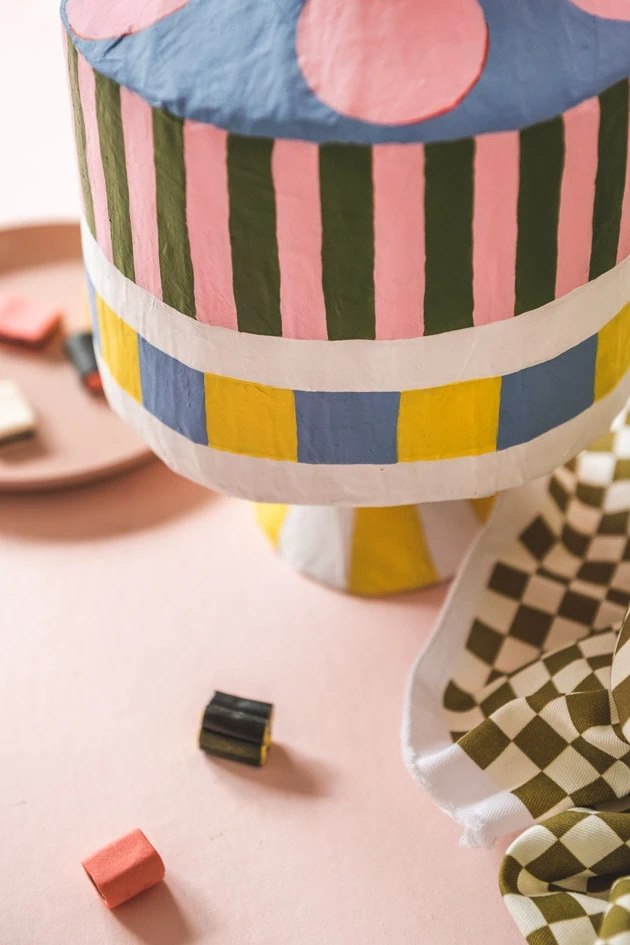
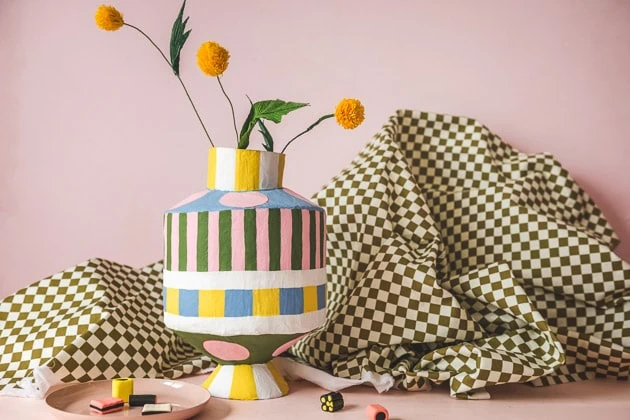
- To decorate, simply paint your vase with acrylic paint. If you’d like, use our photos as a reference to paint it like we did! We drew out the design in pencil, then painted it in, but do whatever method you’d like. You can also skip the pencil if you’d rather.
Styling your vase
This papier-mâché vase pairs perfectly with many of our paper flowers! Make a bouquet and put it on your mantlepiece, kitchen table, or desk. I love that it stays bright and beautiful for months–you don’t have to worry about paper flowers dying, or the vase tipping over and water spilling out. Now if you’ll excuse me, I’m going to go make five more.
What are you going to do with your vase? Let us know in the comments!
More Inspiration
Here are some paper flowers to go with your lovely new vase: Poppies, peonies, and posies, summer paper wedding bouquet, paper flower bouquet. We also have our new paper orchids and sunflowers!
Looking for more easy DIY crafts this spring? Try these other papier-mâché projects! Oversized paper mache flower, family costume reveal, and paper mache pineapple tray.


