Welcome to the third week of our Sewing Basics series!
We know that many of you are already familiar with the sewing basics, but we also know that many of you have a lot you would like to learn. In order to bring everyone up to speed, we’ve decided to help you out with some essential sewing skills that will help you succeed at a wide variety of basic sewing projects.
This Sewing Basics series is designed to give you the basic skills you need to get sewing! It’s for sewing projects you’ve wanted to make but have been a bit intimidated by until now. For those who’ve already learned the basics at some point, it’s a great refresher. For those who are completely new to sewing, it’s the perfect place to start.
On week one, we learned how to thread a sewing machine. Last week we learned how to choose the right fabric. This week we’ll be teaching you how to sew mitered corners. Let’s go!
What Are Mitered Corners?
We’re glad you asked. Mitered corners are a simple way to finish your corners neatly that minimizes bulk. They are such a useful and versatile skill, if you’re new to them, and are the perfect finish to add to so many projects. You’ll be glad you learned this simple skill!
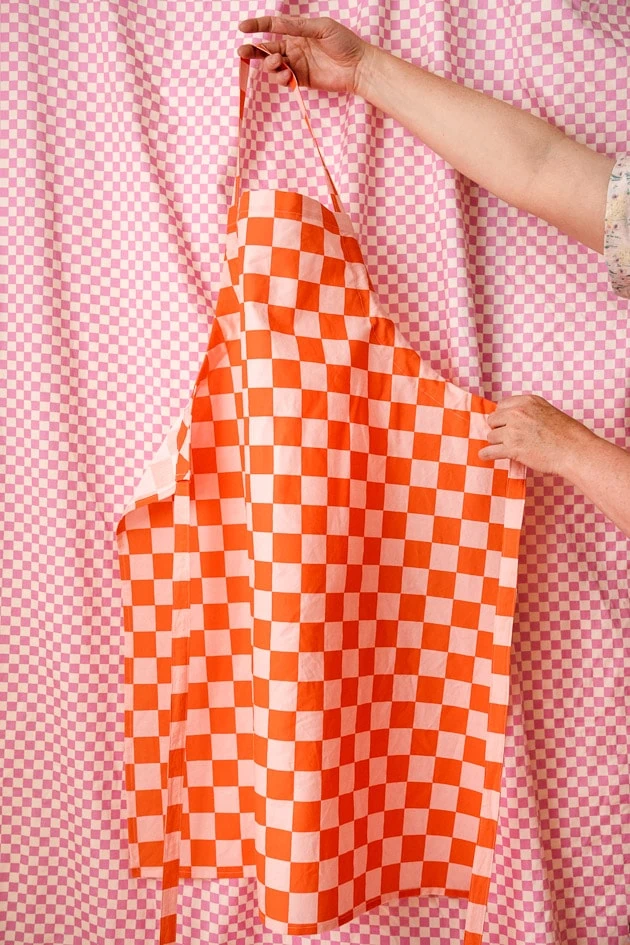
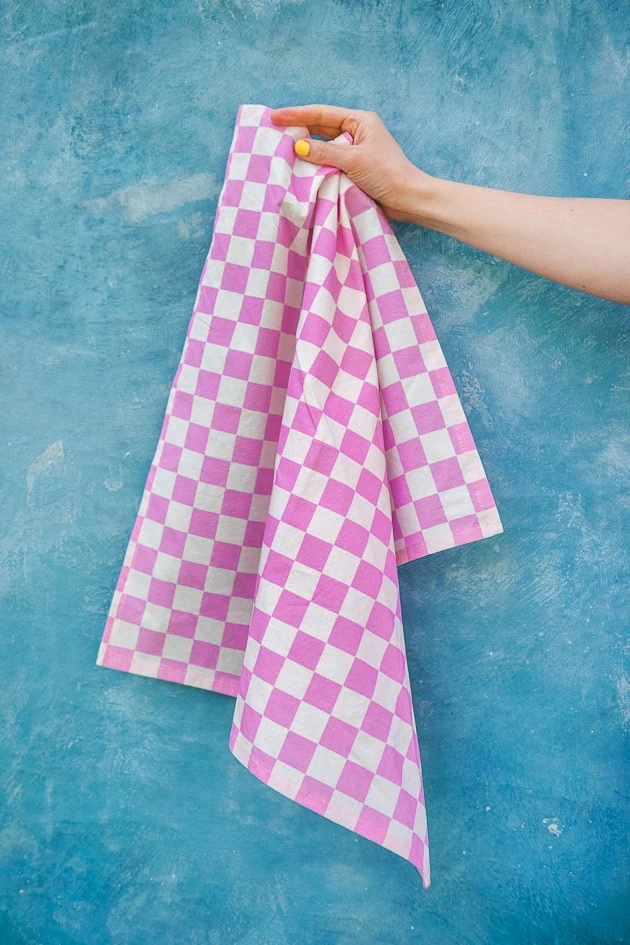
Mitered corners work on any two raw edges that form a 90 degree corner. That means napkins, aprons, tablecloths, and more are all game.
How To Sew Mitered Corners
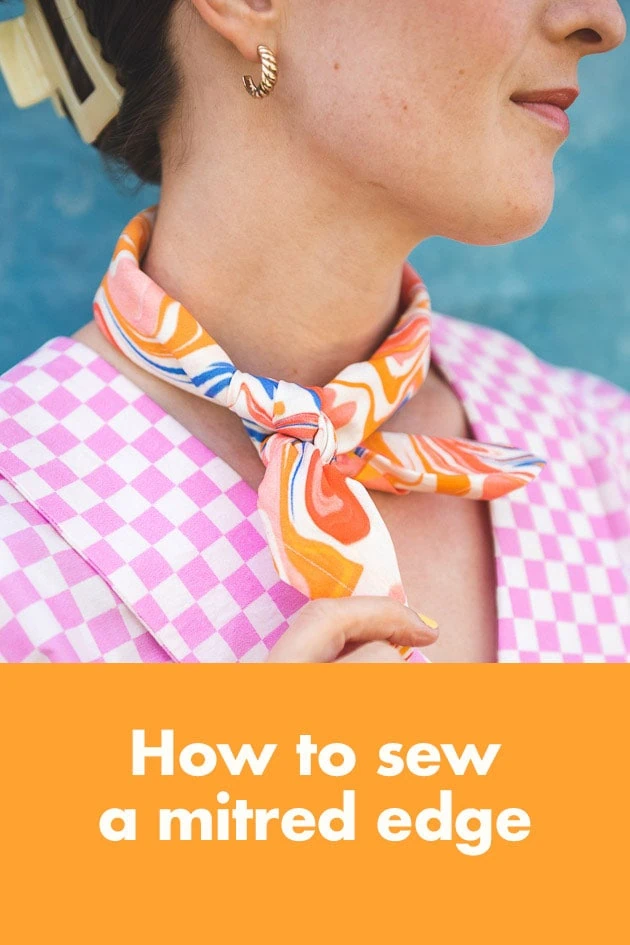
If you’ve been following along with our blog, you’ll probably recognize mitered corners. This isn’t our first tutorial of them! We used them to make these lovely, naturally-dyed napkins and our funky town bandanas. But we thought it’d also be useful to have a whole post dedicated to them. That’s how much we love them!
Here’s how to add some simple mitered corners to your project:
Sewing the Mitered Corners
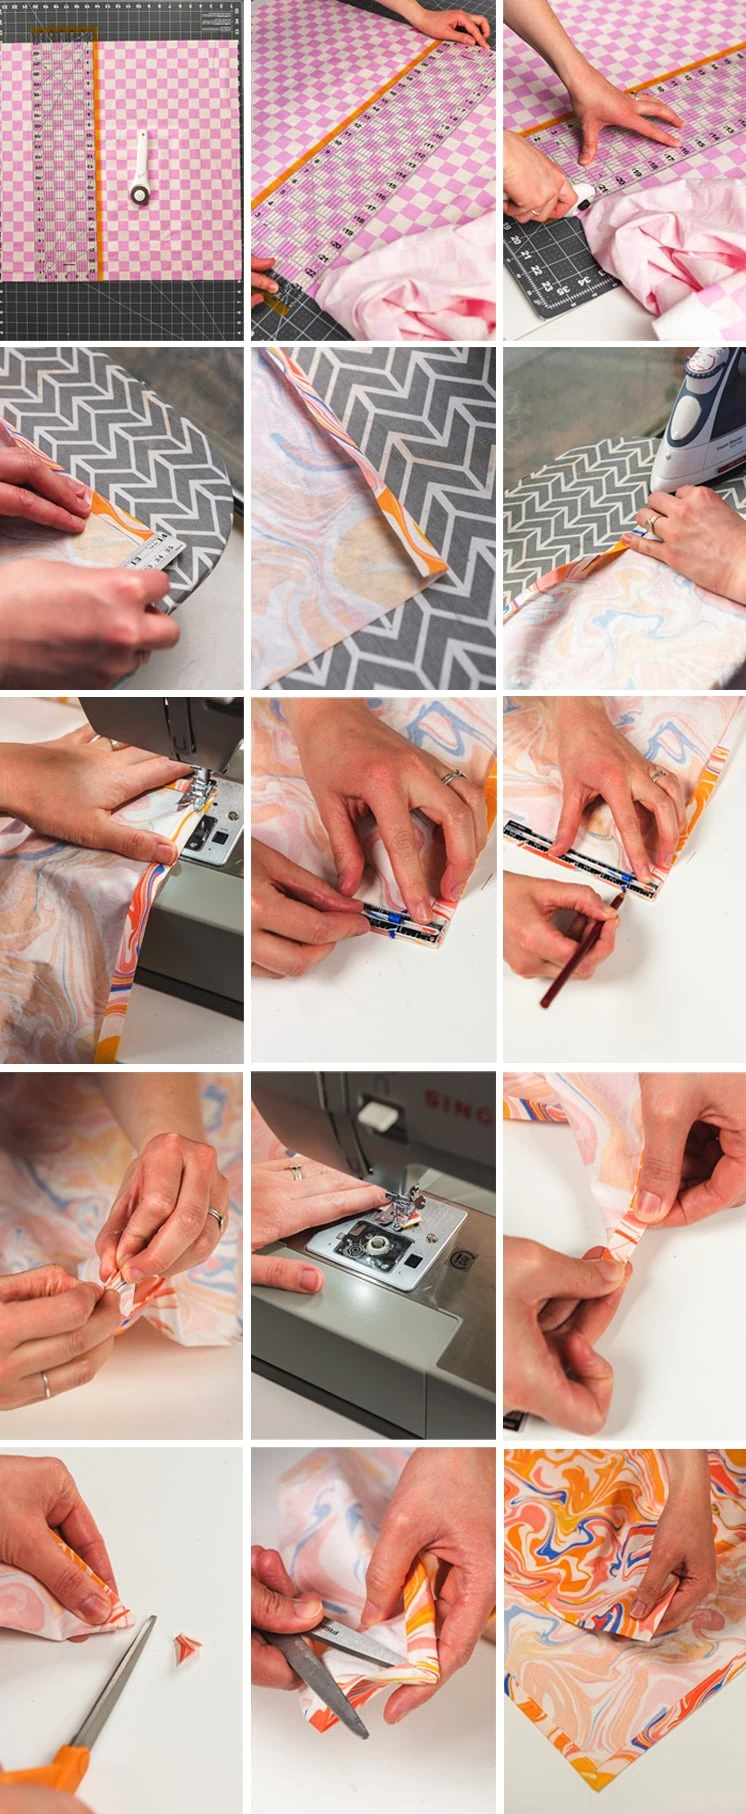
- First, fold over and press each edge by a 1/4″, then a second time to cover the raw edge.
- Next, unfold the second fold and measure double the width of the hem from the edge of the fabric down. Mark the spot on each side of the corner with a fabric marker, then connect the two sides with a line across.
- Now fold the corner on itself with right sides together, pin, and sew along the line you drew.
- Last, clip the excess fabric, press open and flip the corner to the right side to reveal your finished corner.
- Repeat steps 2-4 for the remaining corners.
Finishing Touches
- To finish up, simply topstitch along the edge of the folded over sides to complete your hems. Press so it’s nice and flat.
- Done! Lay it out and admire.
More Inspiration
Loved week three of our Sewing Basics series on sewing mitered corners? For the rest of our Sewing Basics series, check out week one: How to Thread a Sewing Machine, and week two: How to Choose the Right Fabric.
Thank With Google
One more thing to add before I wrap up today’s post – I know I’ve talked before on here about being one of Google’s paid early testers for their Thank with Google pilot program. Thank with Google is a really awesome experimental feature that allows you to purchase a virtual sticker and directly show your support and appreciation for content on my website.
You also are able to share which content you value most and why by writing a personal note that is sent directly to me when you purchase a virtual sticker. You can find the Thank with Google feature on my site as a button at the top and bottom of this and all blog posts. If you try it out, let me know what you think!


