Well it’s the middle of the hottest part of the summer! Are you surviving? I can definitely say that it’s harder to take my mind off the heat some days than others, especially when I feel myself lounging around, wasting my summer days away. That’s why lately I’ve been feeling the itch to find some more summer projects to work with all the free time. Today we have the perfect summer project for you: two easy quilt hacks!
If the mention of making your own quilt has you in a cold sweat, not to worry. We know it can be extremely time consuming to piece a quilt together, not to mention intimidating. That’s why we came up with two easy quilt hacks that make the process much quicker and easier. Oh, and did I mention you don’t have to piece your quilt together? Scroll down to see how!
Materials:
- 4 yards of Retro Florals Fabric (we used the 8” size), petal signature cotton
- 4 yards of Rainbow Star Quilt Fabric, petal signature cotton
- Yellow cotton broadcloth (for backing of retro florals quilt)
- Blue cotton broadcloth (for backing of star quilt)
- Sewing machine
- Scissors
- Thread
- Yarn
- Quilting batting
- Pins
- Embroidery needle
- Iron (or steamer)
- Cutting mat, gridded ruler, and rotary cutter set
- Painter's tape
Custom Quilted Fabric
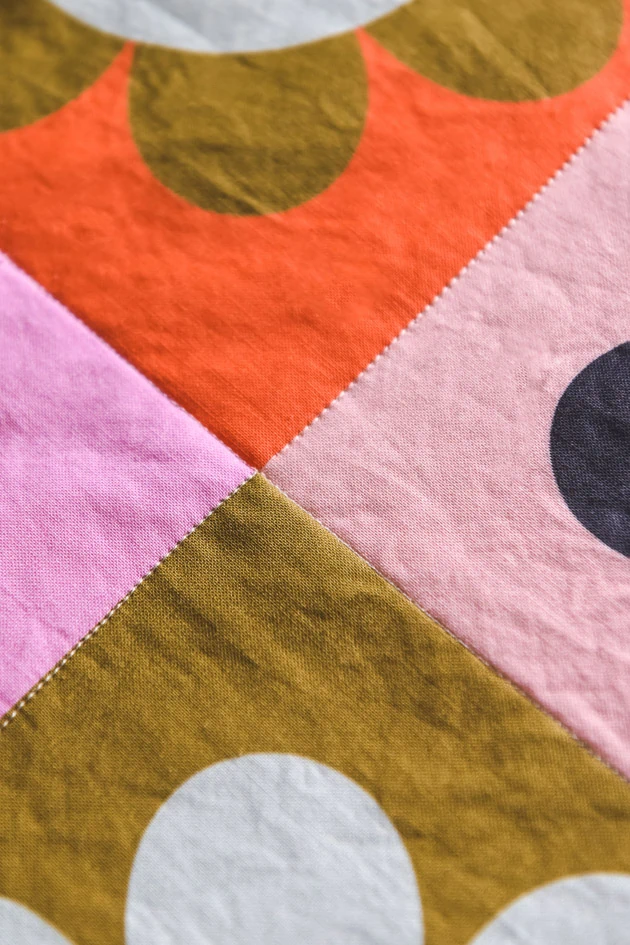
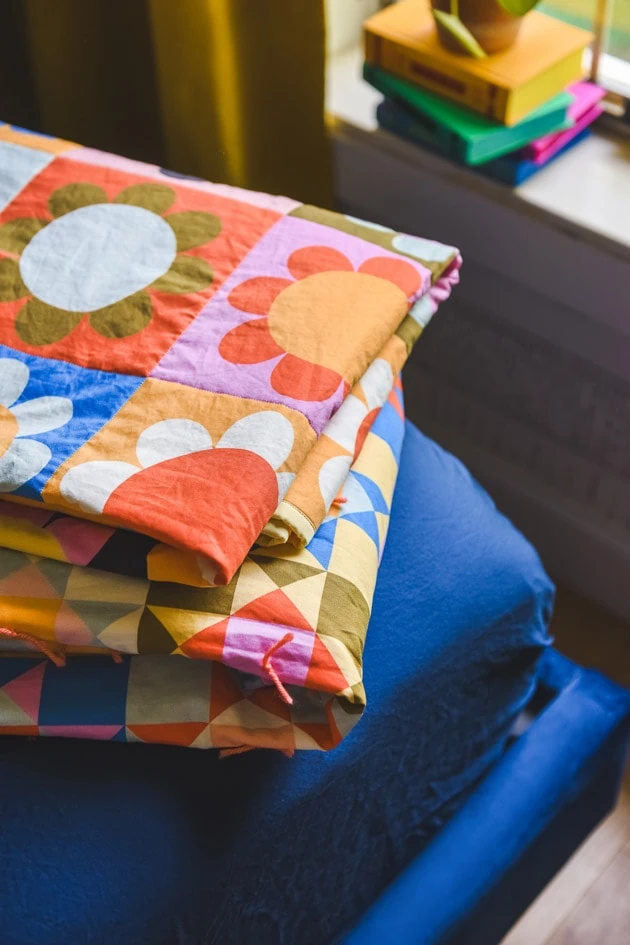
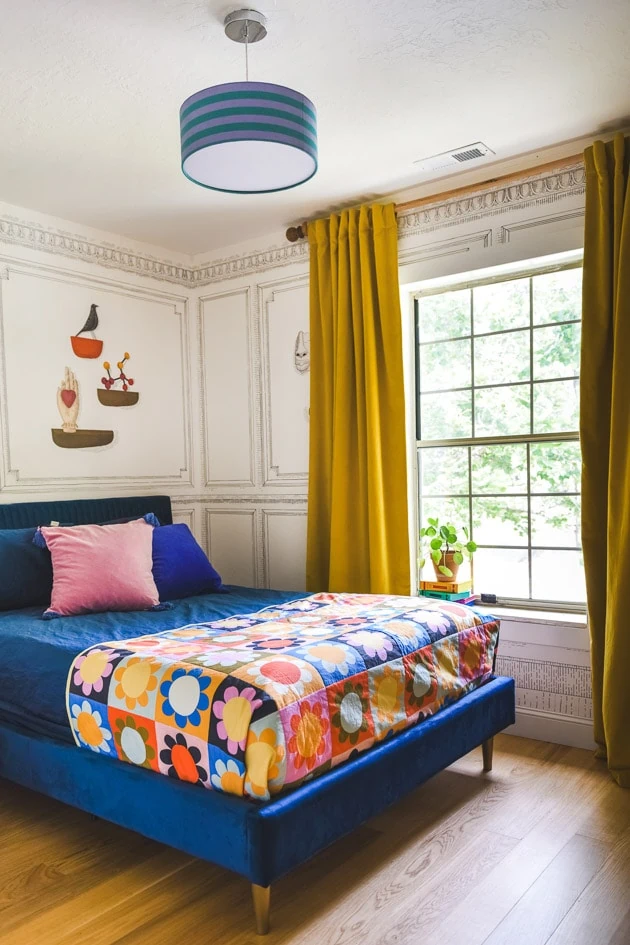
As you’re probably aware by now, we have a Spoonflower design library full of fabrics we designed ourselves! Well, as it happens, a couple of our designs are the perfect solution to your quilting woes. First, our Retro Florals. We just can’t get enough of these colorful babies! They made their debut when we launched our first Casetify collection. Since then, we’ve been riding the Retro Florals train and loving it (see our retro florals backdrop, spring tablescape, Mother’s Day breakfast in bed, and new team outfits to get an idea). As we made project after project with them, though, we realized something: they were the perfect candidate for an easy DIY quilt that requires no piecing together whatsoever!
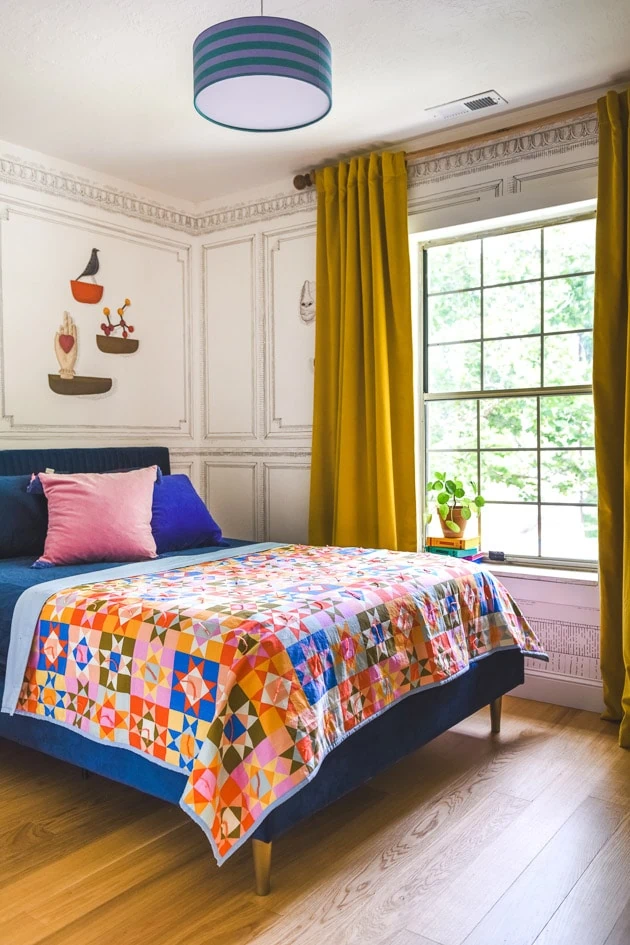
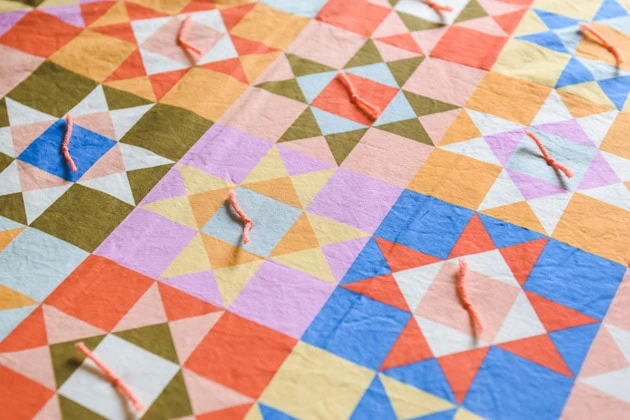
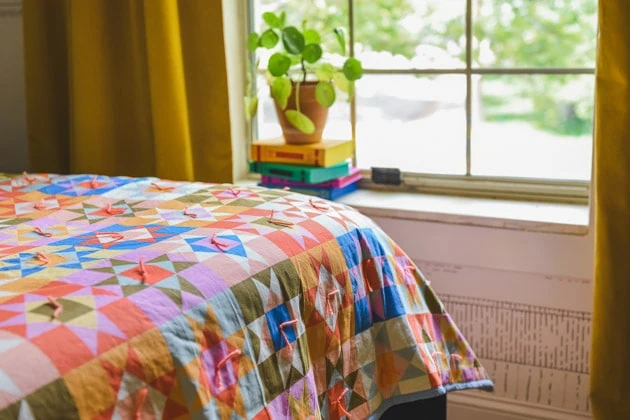
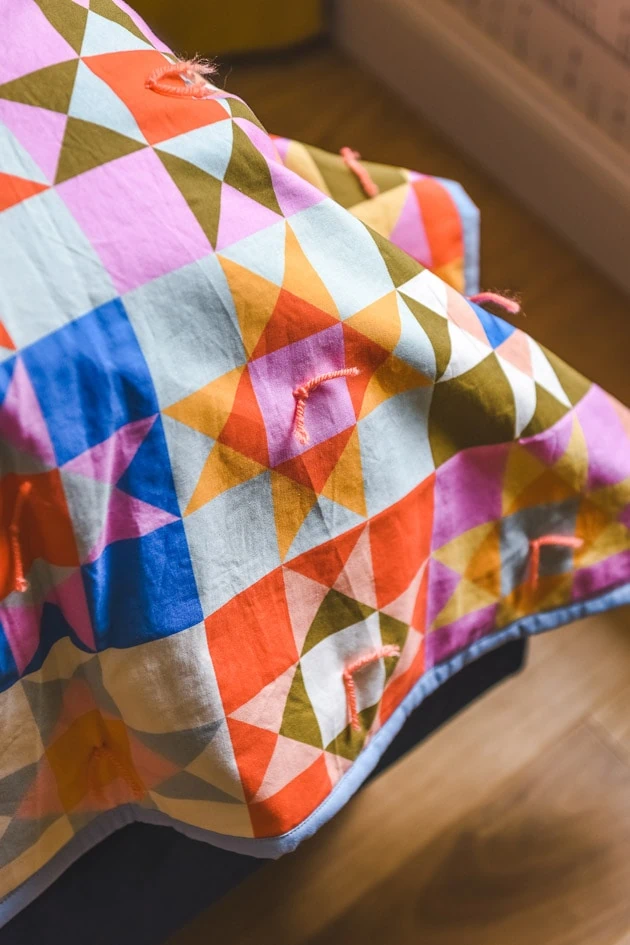
The second design that’s here to save the day is our Rainbow Star Quilt. Designed like a traditional star quilt, you can rest easy knowing you don’t have to piece all those tiny triangles together. And the best part is you still get the look of a traditional quilt with a fraction of the time spent. Just order the fabric and the rest is a cinch.
Easy Quilt Hacks
In this tutorial, you’ll learn how to make two quilts, two ways. Both are super simple. On our Retro Florals quilt, we’ll quilt the three layers together with a basic straight stitch on the sewing machine. For the Rainbow Star quilt, we’ll hand-tie the quilt. Without further ado, here are our two easy quilt hacks!
Easy Quilt Hack #1: Retro Florals Quilt
Prepping Your Fabric
- First, prewash and iron all fabrics you’ll be using.
- Next, divide your front, patterned fabric equally in half. Line the two halves up with the design’s grid, right sides together, then sew them together. Iron the center seam out flat.
- Now repeat for the solid backing fabric.
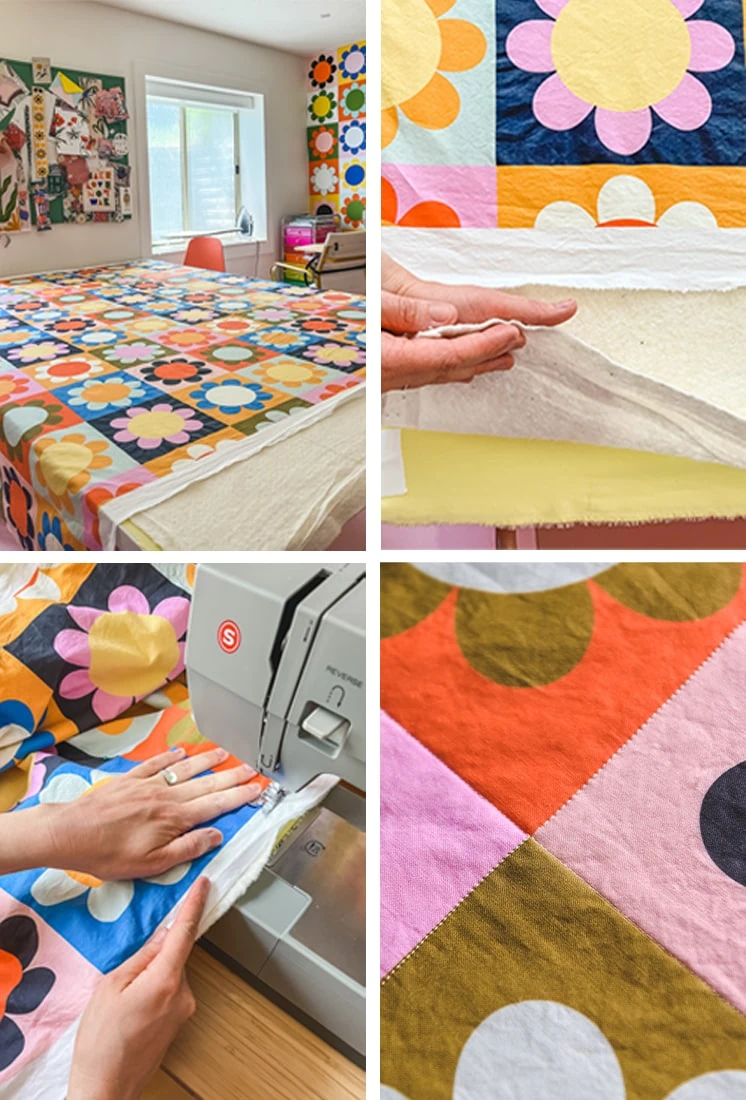
- Now, lay the back fabric facedown (right side down) on your work surface and secure in place so it’s nice and flat, with no bumps or wrinkles. Tip: if you don’t have a quilting loom or fancy setup, just tape the fabric down with painter’s tape so it doesn’t slip around as you’re trying to put the layers together.
Sandwiching Your Quilt
Now it’s time to sandwich your quilt together!
- For this, you should already have your backing fabric laid out and ready to go. Now, place the batting on top, smoothing it out as you go so it’s even and flat.
- Now you’re ready for your front layer! For this, simply lay out the fabric, face up, on top of the batting layer. It helps to work from one side to the other, unrolling or unfolding as you go so it aligns correctly.
- As you go, make sure you have a few inches of extra batting and backing poking out around the front layer. This border is just in case the top layer shifts slightly as you quilt it together. Make sure everything is smoothed out, with no bumps or wrinkles.
Quilting It Together
Now you’re ready to quilt it together!
- First, it’s important to pin all three layers together in plenty of places so the layers don’t shift too much as you sew. Pin about every hand width or a little more, all over the quilt, in a similar position as with a tied quilt (see the Quilting It Together section below for tips on tying).
- Now you can take the tape off that was securing the quilt in place and take the quilt over to your sewing machine.
- Next, start sewing! You’ll sew directly on top of all the lines of the grid in straight lines. Snake your way around the quilt until you’ve sewn the whole grid, using the lines of the grid as a guide.
- Now you can remove the pins. You’re ready to bind the quilt edges!
Binding Your Quilt
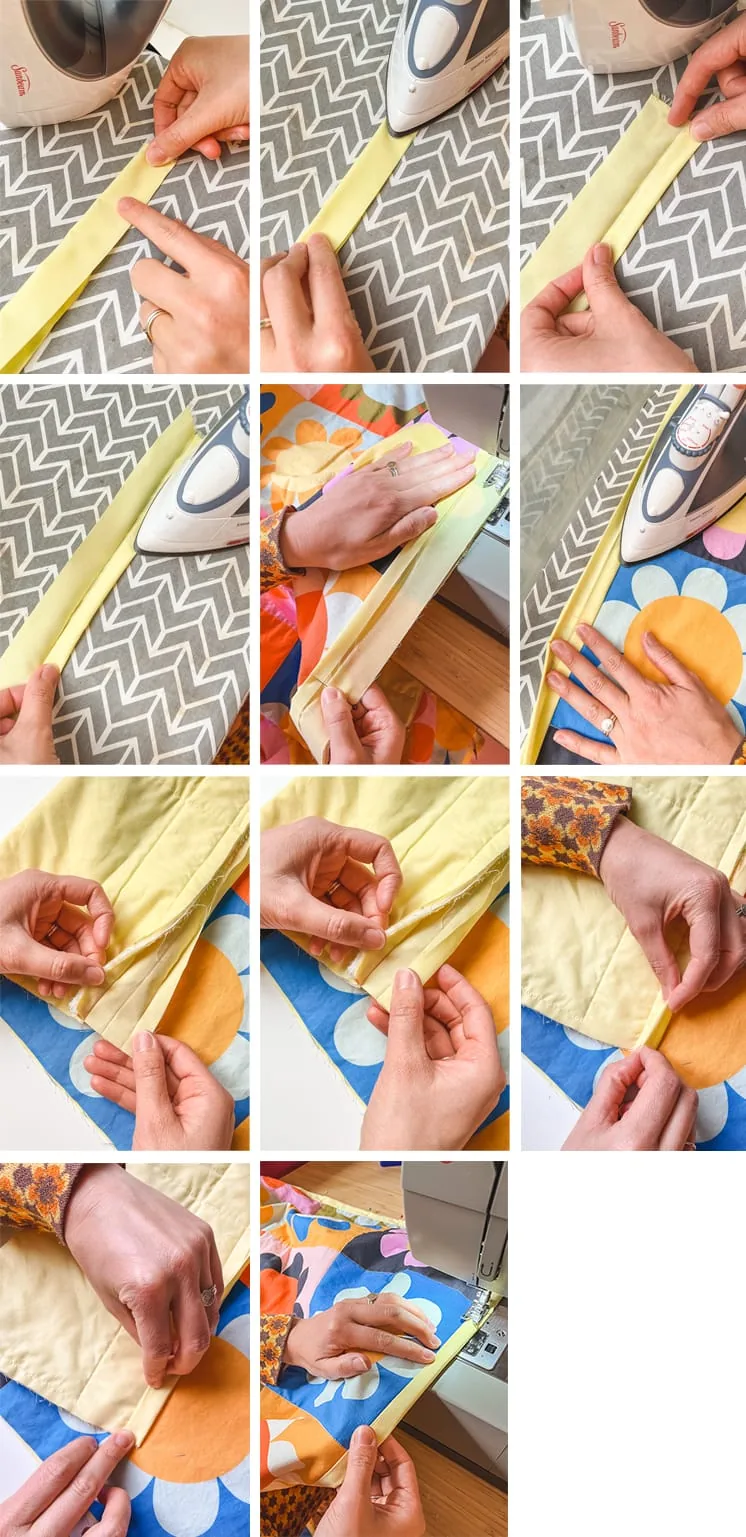
- To bind your quilt, take a strip of fabric that’s roughly 2” wide and a bit longer than the perimeter of your quilt (you’ll most likely need to sew multiple pieces together to get the desired length). Iron down one side of the length by ½”.
- Now, pin it all the way around the quilt’s perimeter with right sides together. Sew along the edge with a ½” seam allowance.
- Next, fold the sewn strip over so it’s laid flat and iron.
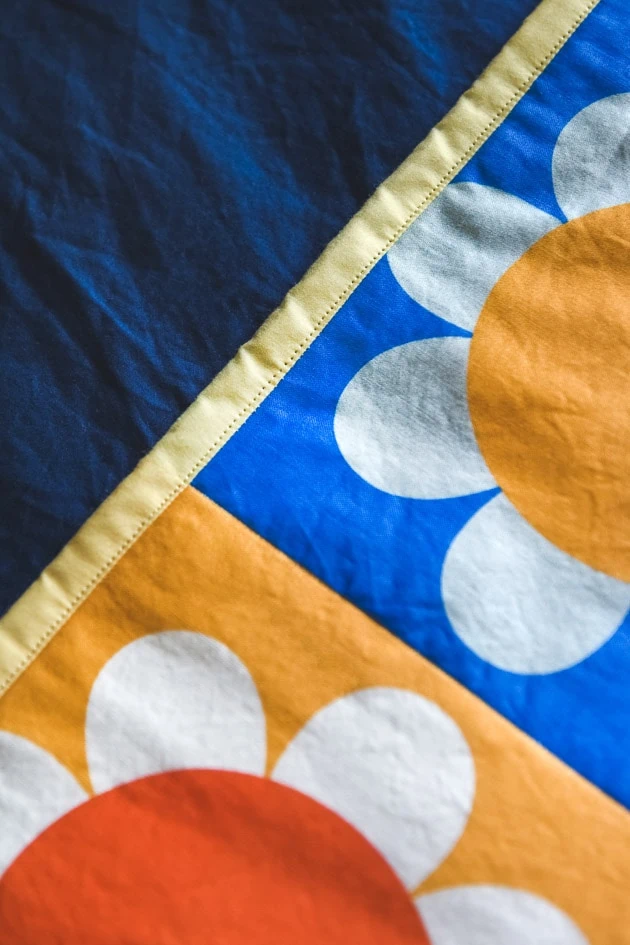
- Now you can fold the strip over to the other side of the quilt and pin in place, then sew close to the edge. If you don’t want your stitches to show, you can also slip stitch to hand sew the binding in place.
Binding the Corners
- For the corners, sew down one whole side of the binding as described above. Make sure to clip the excess at the end down so it’s flush with the edge of the quilt.
- Now you can sew down the other side of the binding, this time leaving an inch or so excess off the edge.
- Once that’s done, fold the binding back on itself with right sides together, pin, and sew together.
- Now, clip the excess fabric and flip the binding back so the seam you just sewed is inside. To make flipping the corner easier, you can use the pointy end of a scissor blade to poke the corner all the way out.
- Next, iron down the corner so it’s nice and flat, then sew it down.
- Done!
Easy Quilt Hack #2: Rainbow Star Quilt
Prepping Your Fabric/Sandwiching Your Quilt
For these steps, simply follow the instructions above for quilt hack #1.
Quilting It Together
- To tie your quilt, start at one end of your quilt in the center of the corner star. Poke the needle through the three layers from front to back. Then, poke the needle back up through all the layers about ½ cm to the side.
- Now tie a simple double knot. Clip excess yarn, then move to the middle of the next star (every hand width or so).
- Tie in a straight line along the first row of stars.
- Then, fold your quilt edge up one row and continue tying, row by row. Fold up each completed row as you go, which will make tying the remaining rows easier. Remember to clip the yarn as you go!
- Continue tying until you’ve finished the whole quilt, smoothing the fabric out as you go to make sure there are no ripples or bumps.
Binding Your Quilt
Again, you’ll use the same binding technique as with quilt hack #1.
What To Do With Your Quilts
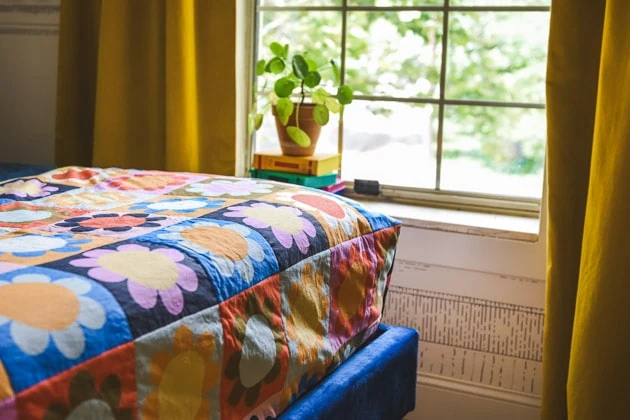
In case you weren’t aware, there are more ways to use a quilt than putting it on your bed! Though that is a spectacular option, it’s summer. Which means there are endless ways to use your quilts outside. Number one: picnic! These quilts are light and summery, perfect for an excursion to the park or a relaxing afternoon to read in the shade. And then there are those summer nights. Utah’s summer nights can get a bit chilly, especially if you’re heading to the mountains like many Utahns here do. Pack these quilts for a little extra warmth and get cozy for an outdoor summer movie night. You can also take these babies camping, or for just a fun, get away up to the mountains for a change. Even if you’re not wrapping it around yourself for warmth, it makes a cozy seat.
Now we want to know: how did making your first quilt go? Drop your questions and comments below!
More Inspiration
Loved these easy quilt hacks and want more quilt inspiration? We have just the thing! Try this quilted shower curtain, how to make a quilted coat and face mask tutorials. Also see this roundup of our favorite quilted coats and Gee’s Bend quilts! Are you interested in learning more about sewing? Check out our sewing basics series!




Comments