If you didn’t catch it, we were recently featured on the home renovation show In With The Old, on Magnolia Network. I’ve been doing a deep dive into each space we tackled. Last week it was all about the Scandinavian folk-inspired staircase and kitchen and this week it’s Jasper’s bedroom. Today Handy Nanny Pat is showing us how she made the magic happen.
Here’s how it goes!
____________________
Click here for all the before and after photos from the home renovation
See the full kitchen renovation here
Read about the kitchen cabinets here
Click here to read more about the kitchen hardware.
If you’re interested in seeing the oven, click here.
See how we turned the fridge into a cabinet
Materials:
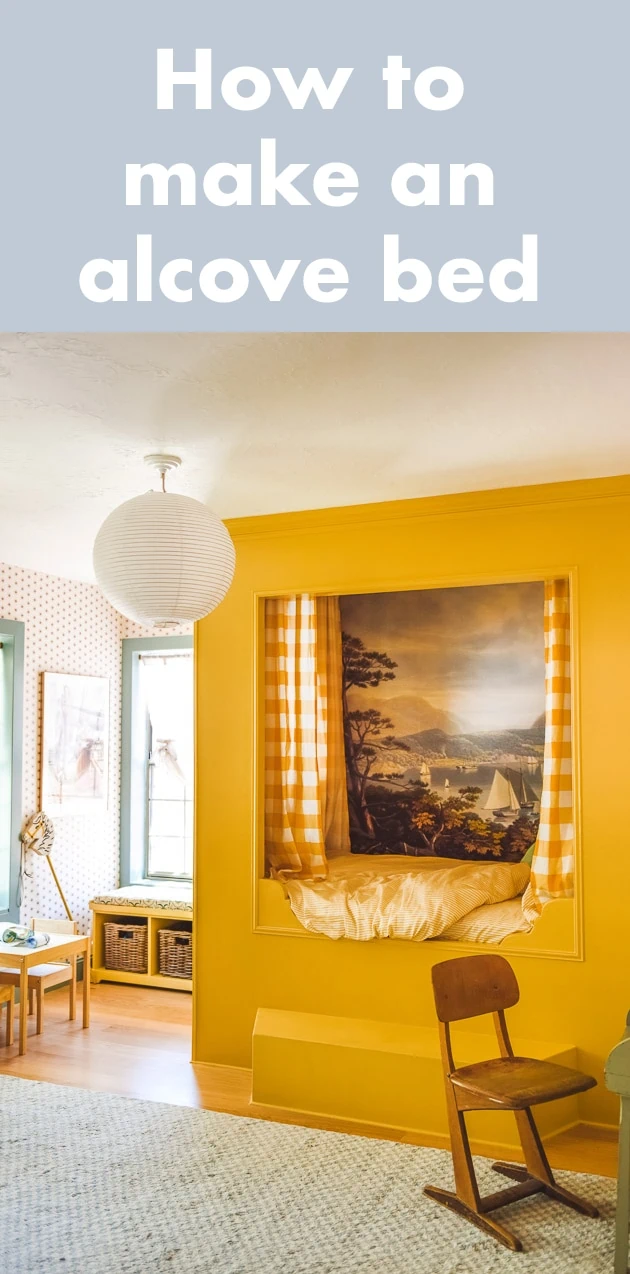
How to make an alcove bed
I wanted this bed to happen so much, but when I encountered person after person backing out due to timelines I was willing to go to plan b or plan c or even plan z. THANKFULLY, Handy Nanny Pat came to the rescue and said her magical words “to every job that must be done there is an element of fun. You find the job and *snap* the job’s a game”. Wait…that’s not it… “I can figure it out.” There, that’s more like it.
SO, I asked Pat if she’d be willing to share how she did it and she agreed. Before we get to how to make it, I wanted to share more insight into the design process.
Designing an alcove bed
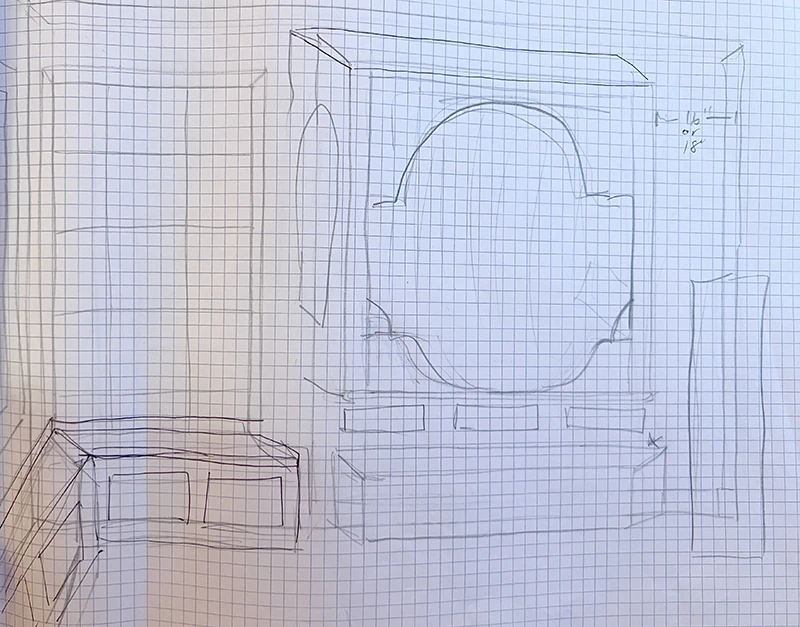
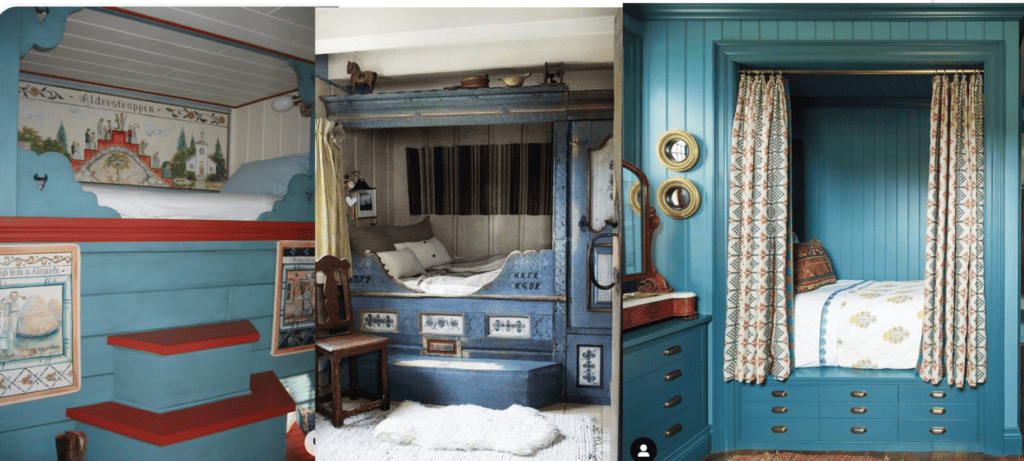
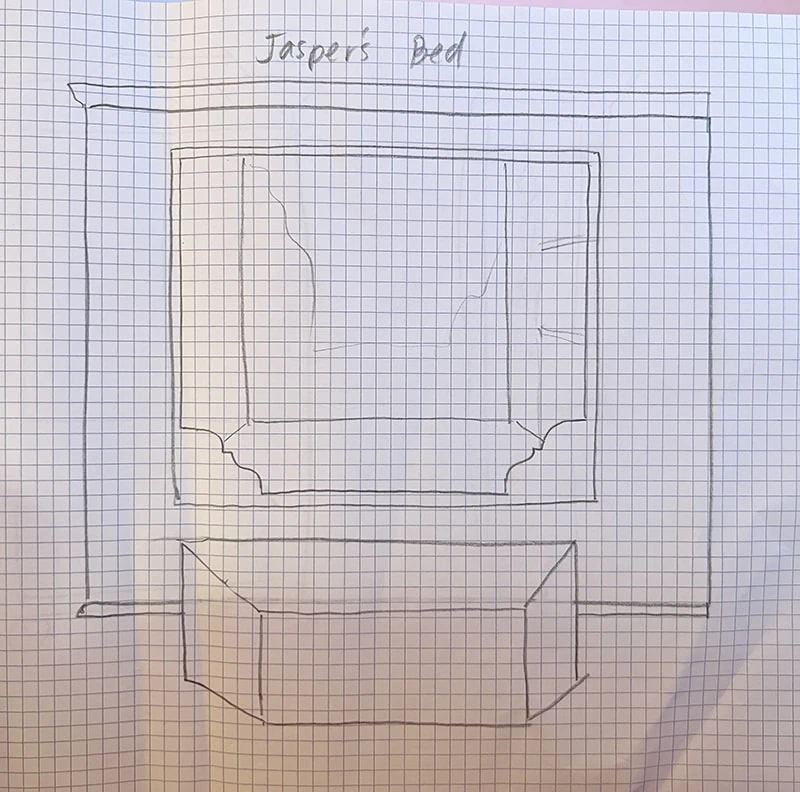
I shared some inspo yesterday about what I was going for. I wanted a look that would feel Scandinavian, but knowing our time contraints I knew we would be able to go all out on it. That said, I didn’t necessarily want to. I wanted it to feel modern too. Here was my initial sketch:
An alcove bed with custom seating under the two windows in the corner.
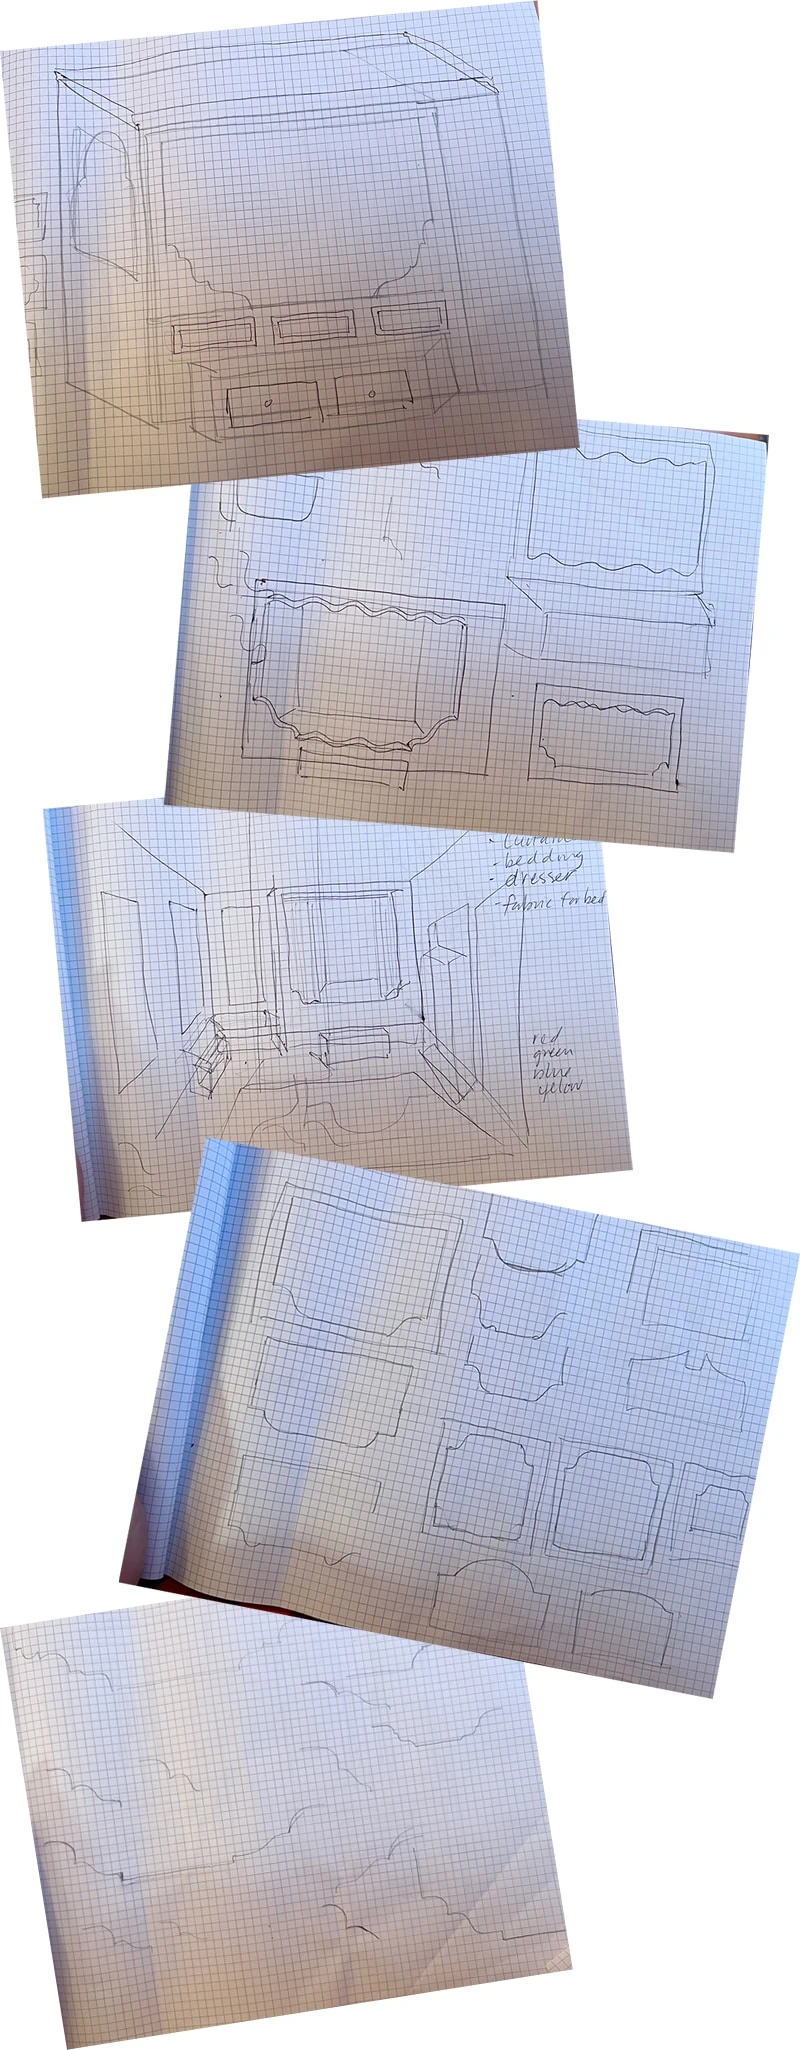
I went through various details to arrive at the final including some with drawers, fancy decorative edges, some more in the scallop/wave direction, which I think would be so so fun still
I also played around with what the decorative detail would look like based on Northern European antique beds (kind of like Knosen Antique’s amazing sleigh bed collection). At one point I had even bought a sleigh bed for Jasper from Nee Nee Twig and it was so so gorgeous. Had I not found anyone to create the bed for me, I probably would have kept going in this direction.
Eventually, I settled on this simple shape based on this inspiration on the right:
I figured I could bring in patterns to liven it up. And this shape was totally doable for Pat. Ha! Or maybe I should let her answer that.
Speaking of, let’s have her answer that! Pat, how do we make the bed?!
How we built the alcove bed by Handy Nanny Pat
Brittany had several photos of alcove beds to draw inspiration from as seen above. Once we decided on a basic design, we chose to make it a full (standard double) size. We envisioned snuggle time with the family for now, and more room for Jasper, the soon to be Nordic giant, as he grows. We also wanted to include a bookshelf inside the alcove.
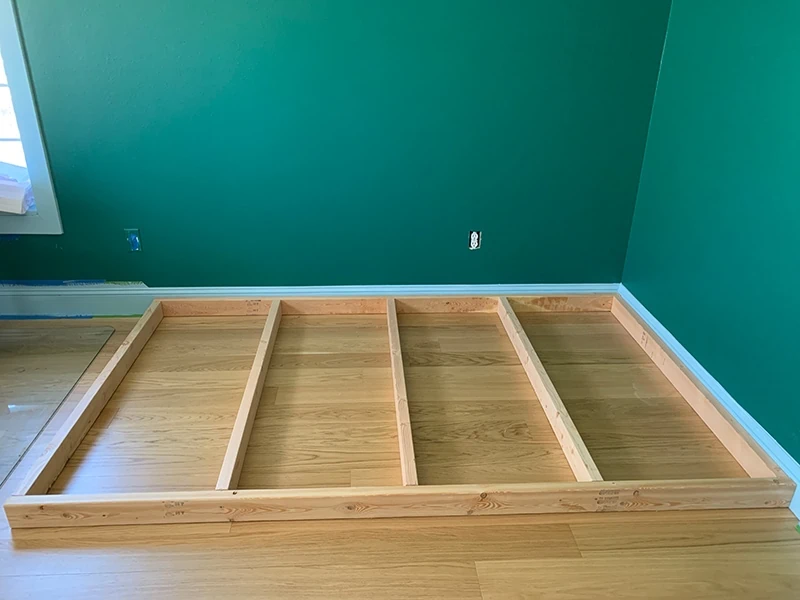
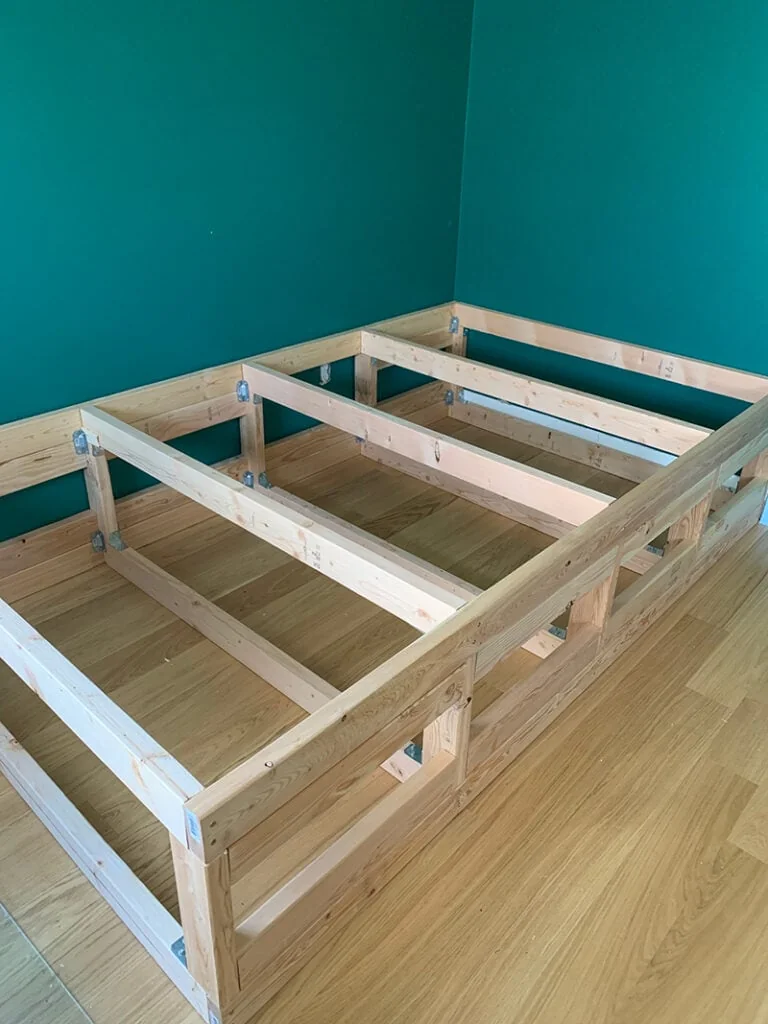
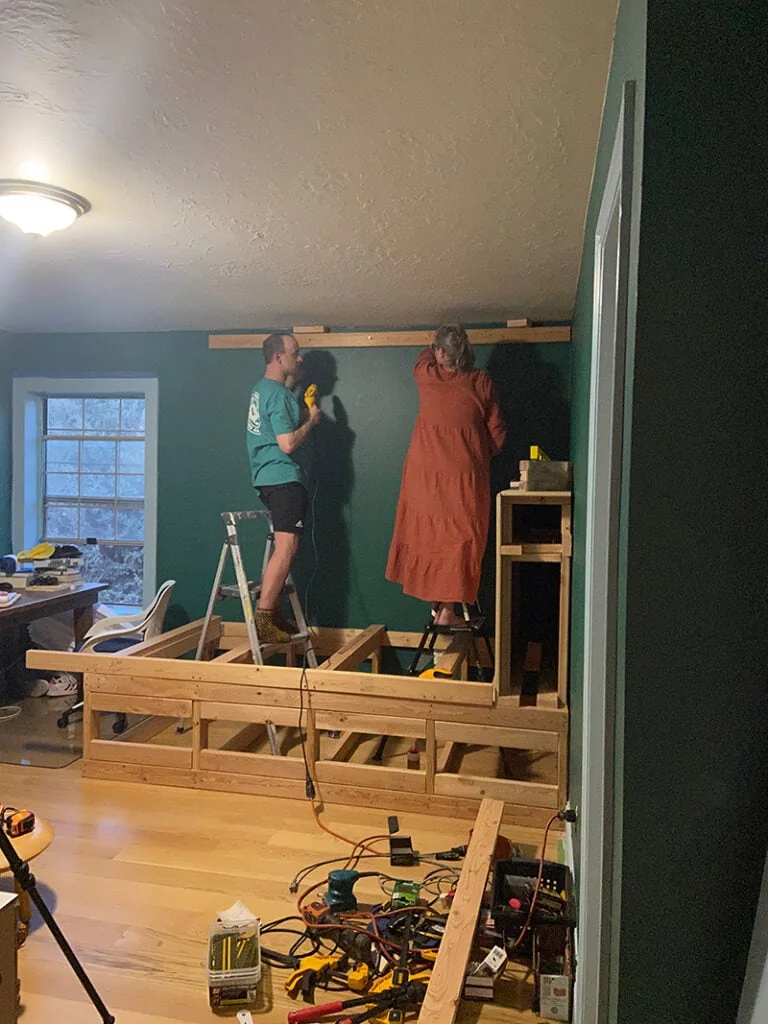
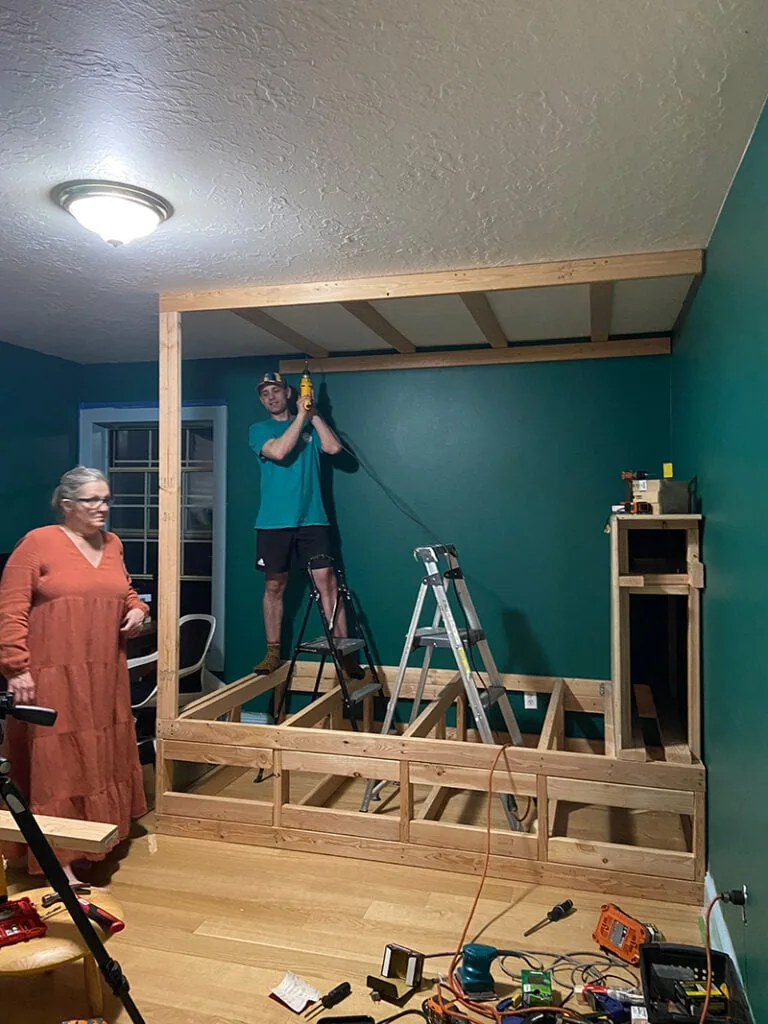
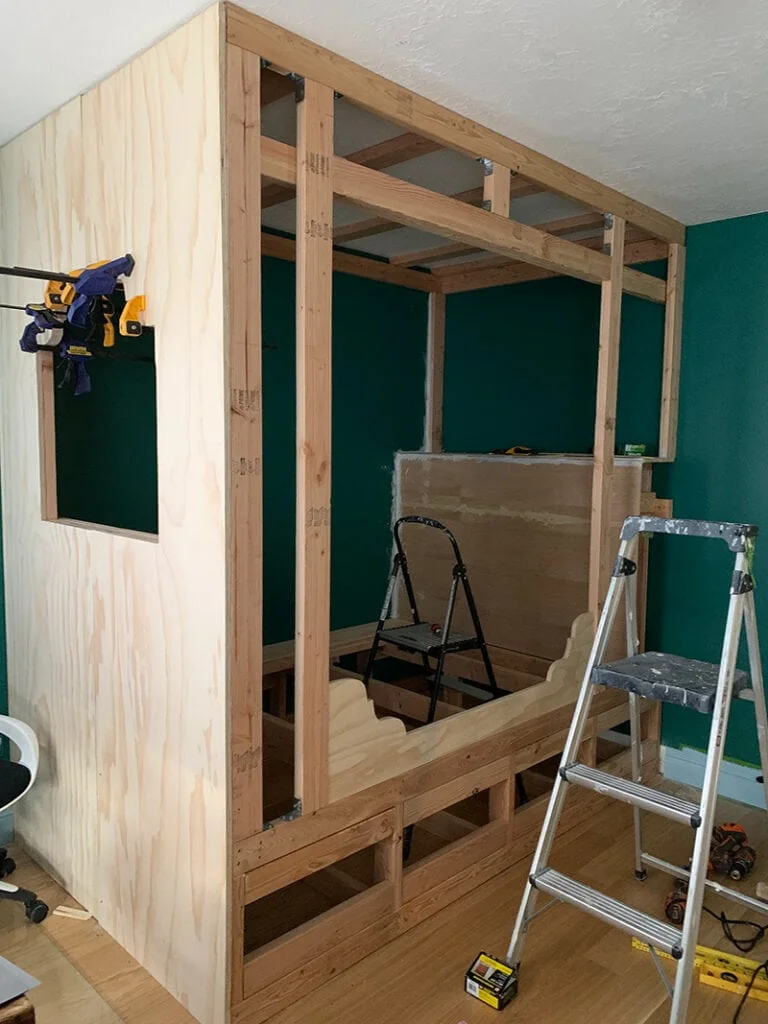
- The basic framework of 2×4’s is attached to the studs in the walls, and the rafters in the ceiling, for stability. We also reinforced the interior joints with these brackets from Home Depot.
- From the dimensions of a full size mattress (75”x54”), we added twelve inches to the length, for the bookshelf, as we determined the size. The actual platform for the mattress has an extra couple of inches around it to accommodate bedding and make changing sheets easier.
- We knew we wanted to add the substantial step to the entrance of the alcove, so that determined the height of the platform. Our step is approx 12” high, and the mattress top is about 20” high. The mattress platform is about three inches lower than the main opening, so that the bedding tucks in out of site. Brittany’s idea to add a playful window to the end of the alcove turned out fantastic. The kids utilize it in so many ways. Daydreaming, climbing, hanging toys out of it, puppet shows, the whole bit. Plus, it added another side to add curtains to, making the interior view looking out quite the showstopper.
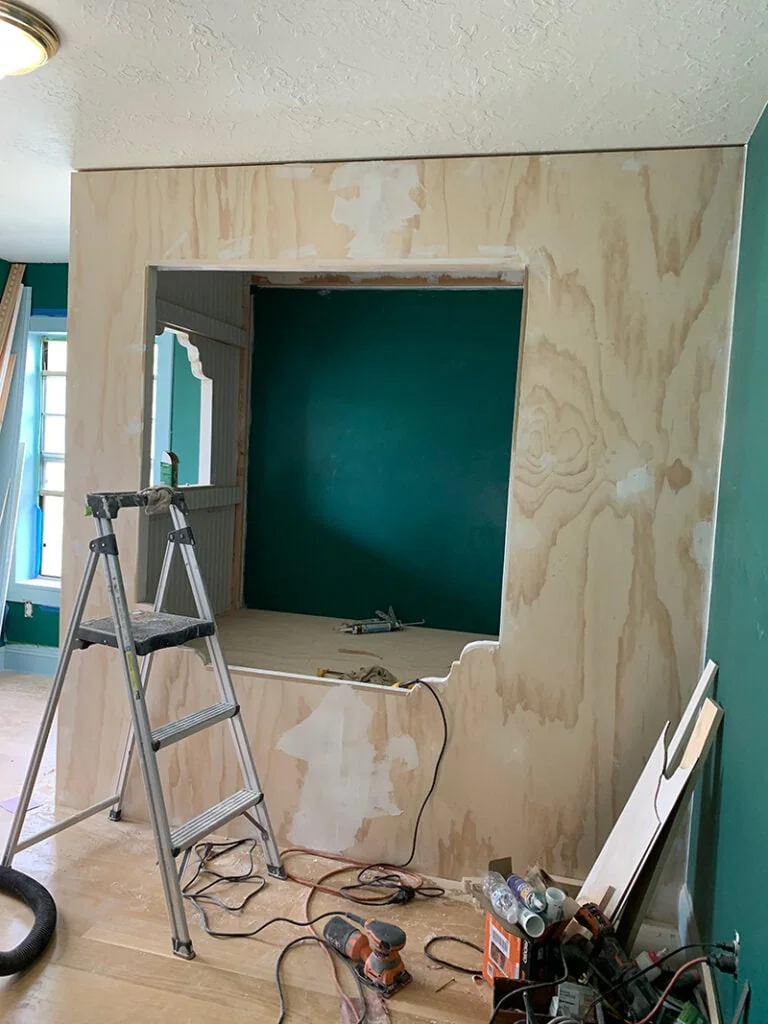
- We used this ¾” plywood from Home Depot for the outside of the alcove and the platform for the bed.
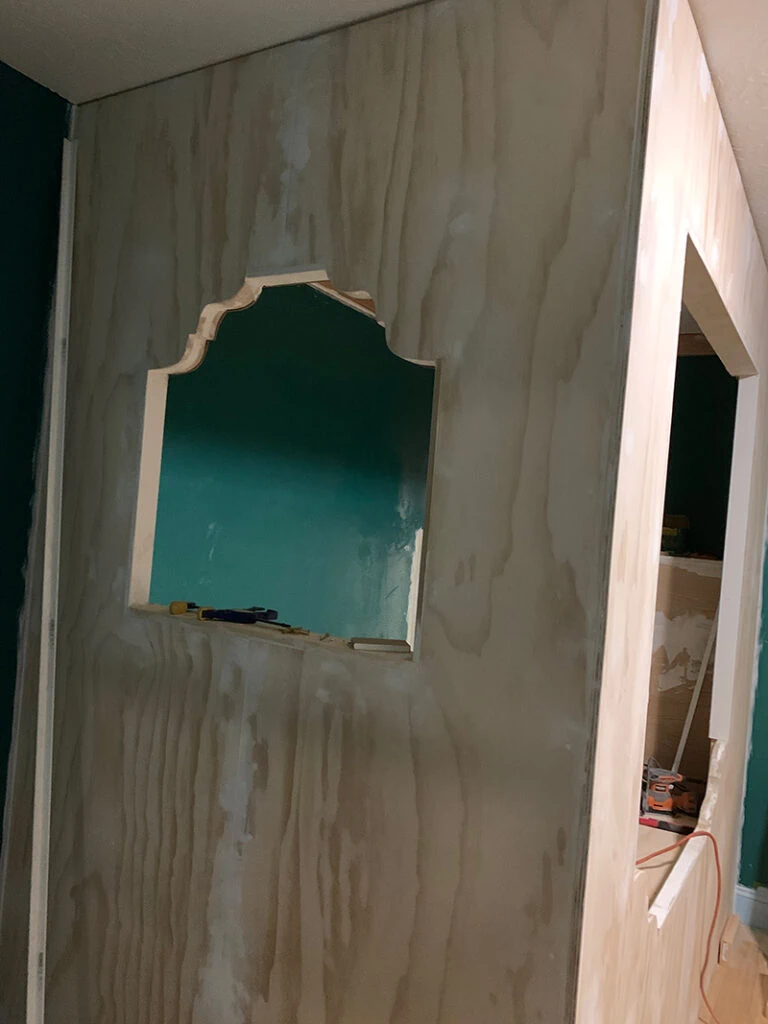
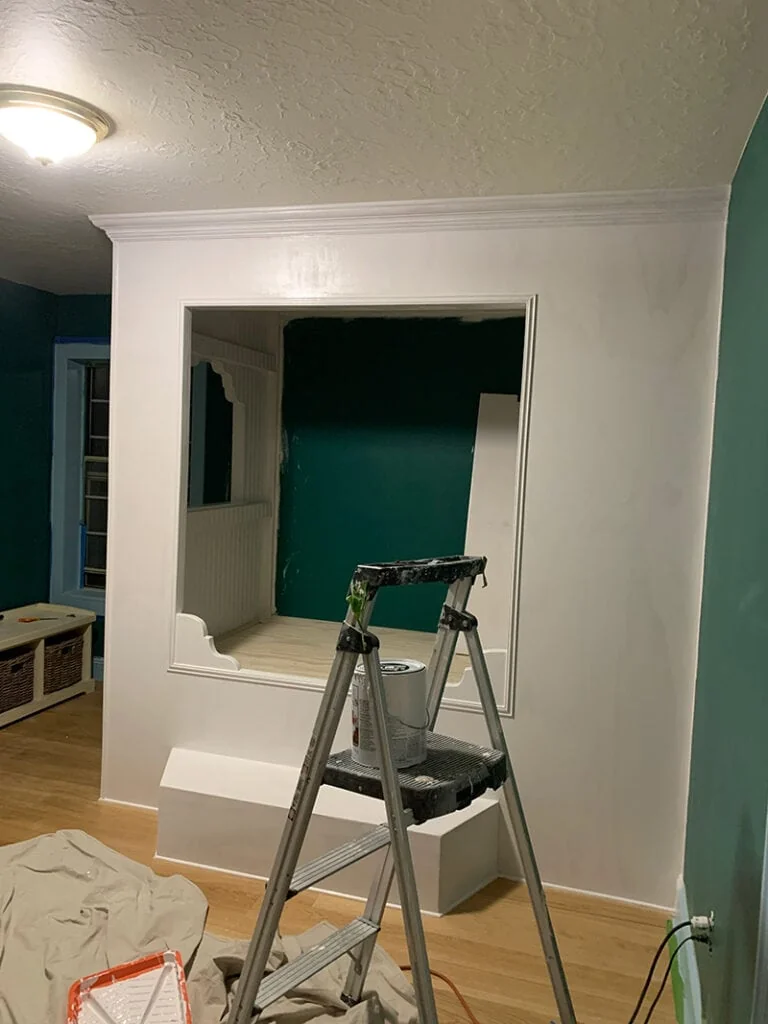
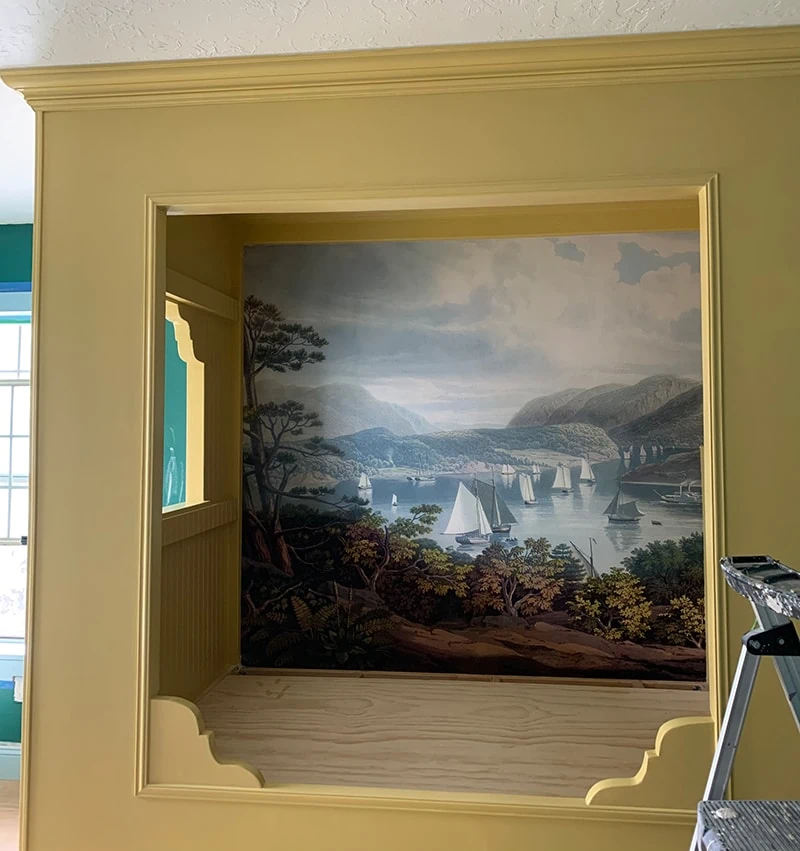
- For the trim at the bottom of the entrance and top of the window, we used a jigsaw to cut out the shape that Brittany designed on the faceplates, and then glued another two ¾” plywood pieces of the same shape to back them. They’re a substantial 2 1/4” thick. As you can see from the progress photos, there is wood filler in the cracks, and we took care to sand them nice and smooth, and round out the edges. We added a bit of definition trim to the exterior, and crown molding to the top of the frame. Also, beadboard to the interior ceiling and end walls, for added appeal. The supports for the shelf were bought at Lowes. You can find them here.
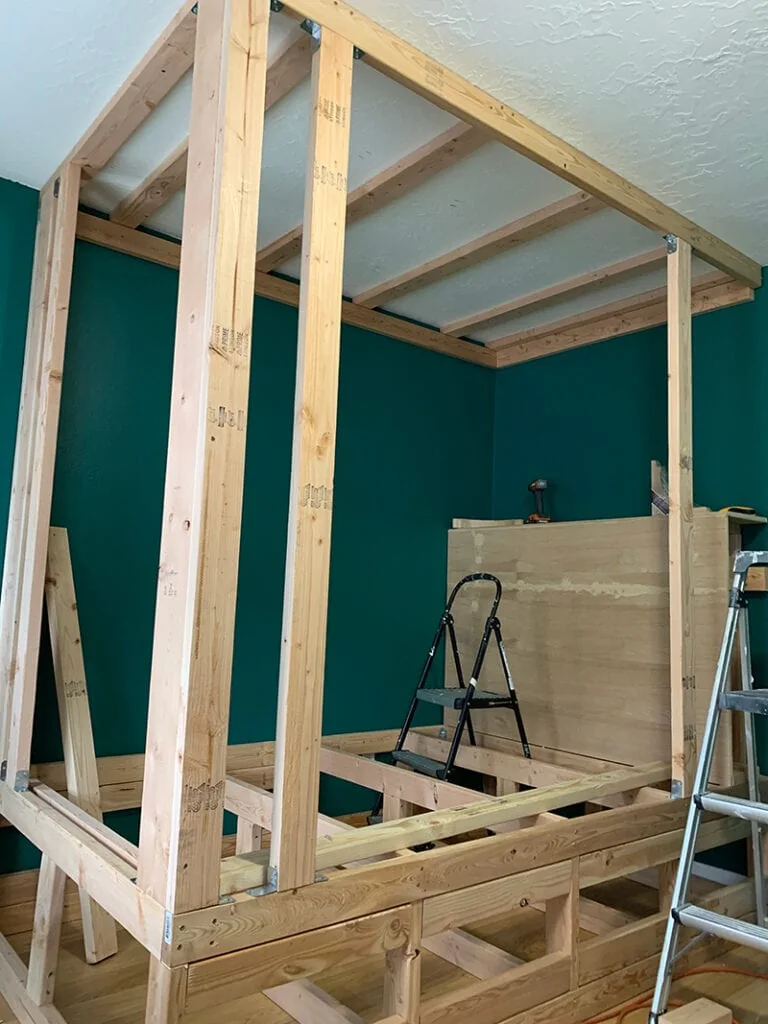
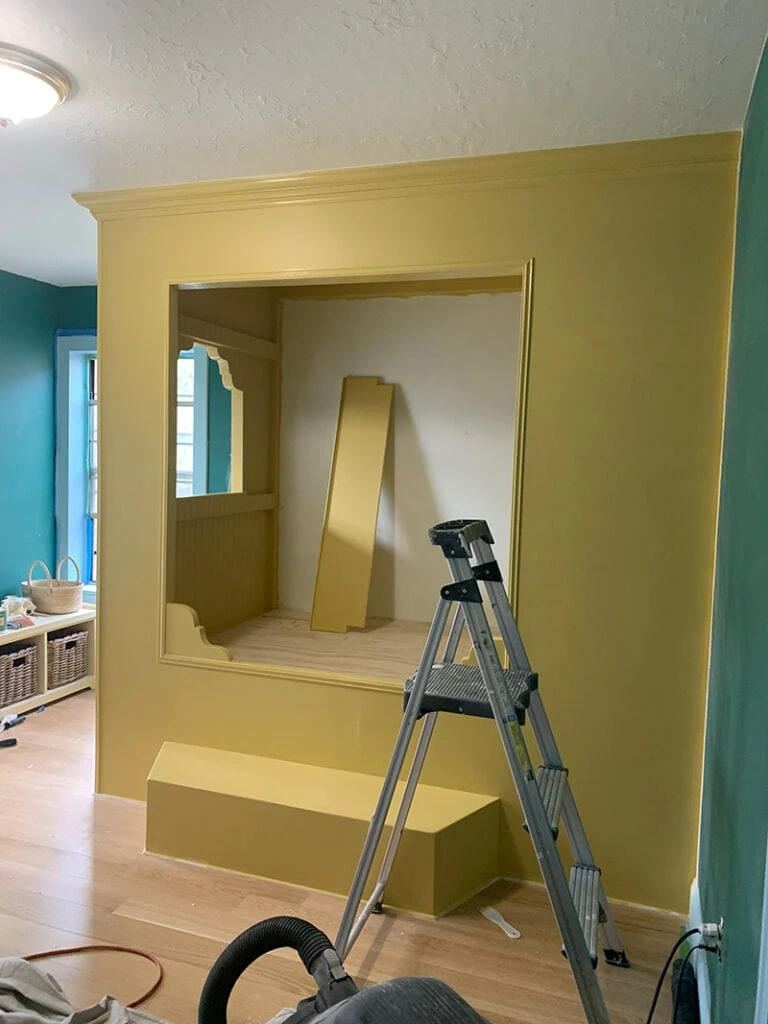
- Building the step was fun. It’s built like a Mack Truck, and is not going anywhere, anytime soon. The frame is built from 2×4’s and covered with the same ¾” plywood. You’d be surprised how much it weighs! The boys are up and down it a dozen times a day, as expected.
- A bit about finishing work. It took a full week to do the trim, add the interior beadboard, and sand smooth the whole bed. The end result is a piece of furniture that will not only stand the test of time, but has a great base for whatever future paint options may be coming its way. It’s important to do a base coat of oil based primer when you’re working with raw wood. This keeps the tannins from seeping through and discoloring the paint. We used this one here.
- We used foam rollers for the paint, to keep the finish smooth. Our final coat of paint is California Hills by Benjamin Moore.
- We used standard curtain rods on the inside as the last part of the construction.
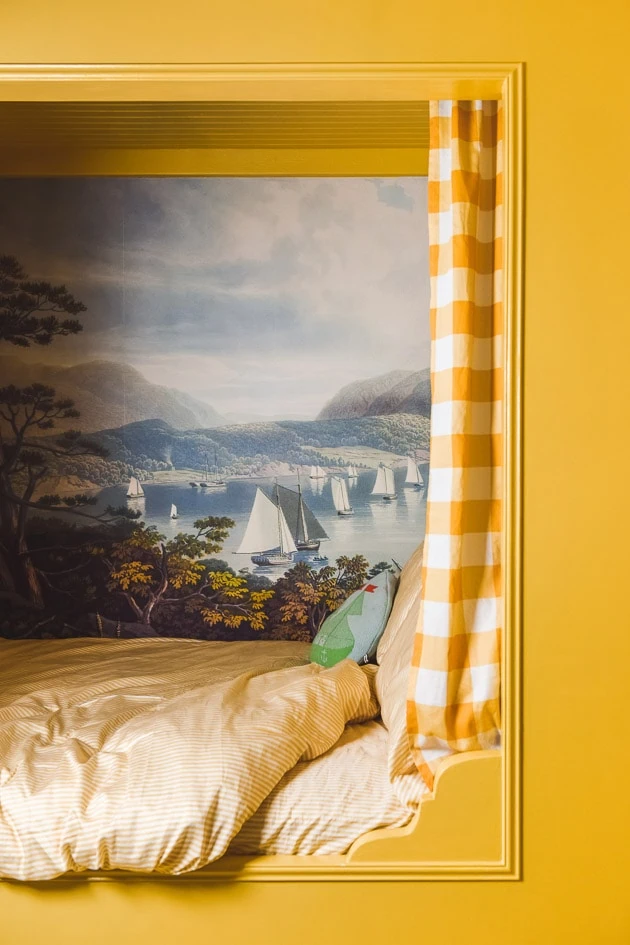
- The wallpaper mural inside is truly a magical touch. The whole room became the stuff of childhood dreams once it was installed.
- Bedding and curtains from Spoonflower finished the transformation, making this corner of the room an inspirational place of comfort.
It’s worth mentioning, again, that all of this was done on timelines to meet shooting schedules of the production company for In With The Old. I laugh when I think about the late night painting and early morning wallpaper hanging we did, just for the show! Nothing like a deadline to keep the pace moving right along.
Would I do it all over again? One Hundred times yes. Even though my initial guess was about two weeks to make it, and it turned out to be five weeks, a house full of sawdust and some late nights!
Thank you, Pat, for sharing your wisdom with us. I’m waiting for your own show to come out ;).


