My friend Jessica Peterson, is one of the most talented people I know. You might remember her from many photoshoots we used to work on ages ago (here are some of my favorites!). She recently took up felting and has been going bananas with it. She’s made the coolest stuff (take a look here). Today she’s going to be teaching us how to make a felted Easter egg. They’re so beautiful, you’re gonna want to get in on it!
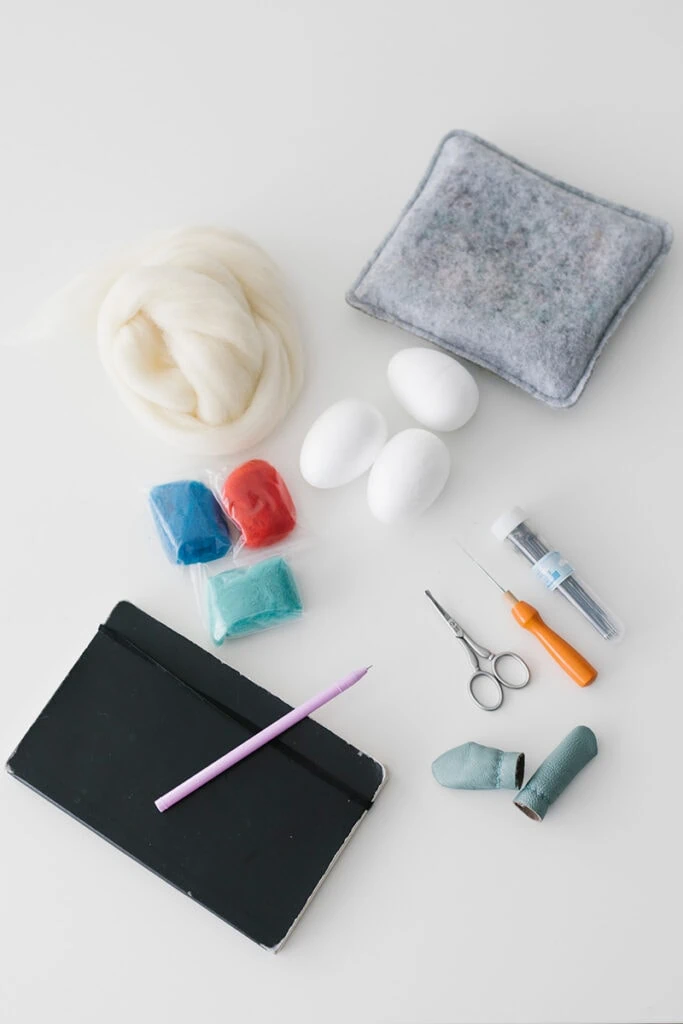
Materials:
Felted Easter Egg
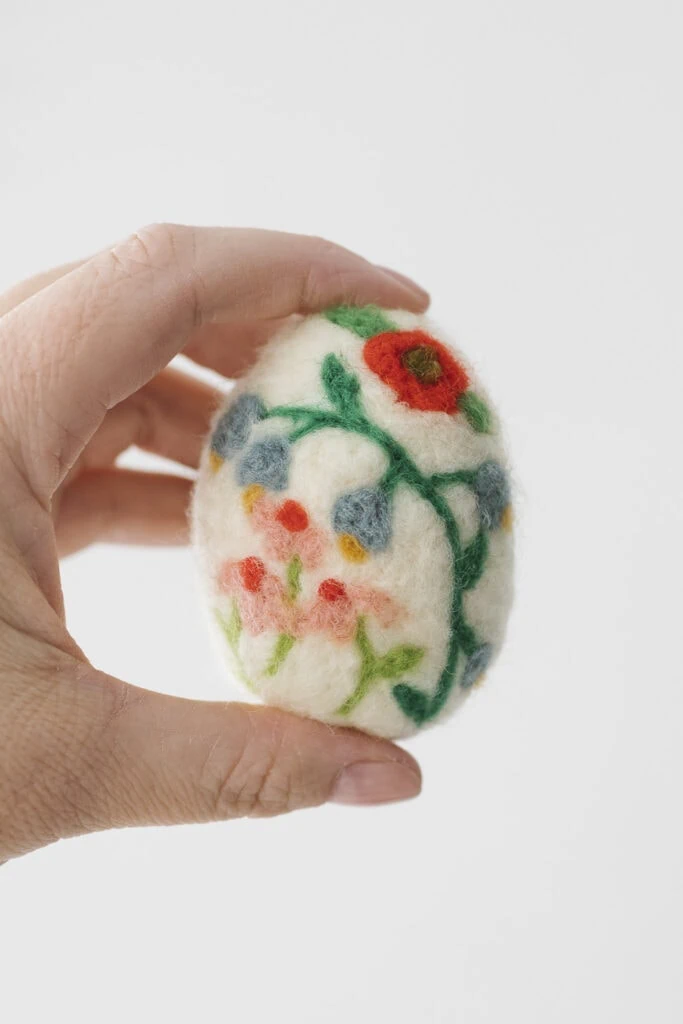
Felt will always be such a fun material to work with as it can leave any craft feeling soft and whimsical. Decorating eggs is an Easter time must so today I’m writing about needle felting an Easter Egg! I was inspired by Lars’ new Clementine nursery collection, which perfectly translated to spring.
The perk of needle felting is that you can choose any color or design as long as you have some felt for it! I think these are perfect for a little easter basket decor and could be used anywhere in your house. I hope you love them as much as I do!
To make a Felted Easter Egg:
- Styrofoam egg
- OR you can get felted eggs and add your design onto them
- Felting Needle (I used a size 38)
- Your choice of wool roving colors
- Finger protectors (optional)
- Sketchbook for ideas and planning the pattern out
- Small scissors
- A Foam pad for felting on
Instructions on making a Felted Easter Egg:
- First, grab the foam egg securely and add a base layer of the color of your choice.
- Make a base layer by pulling a small portion of wool from my ball of wool roving, and pull it apart a few times to break it up.
- Gently poke the fibers onto the egg, the wool will begin to imbed itself into the foam.
- Poke the wool until it becomes flat and secure. This process takes time and patience!
- Once you cover the egg with a base then you can start to add the flowers!
- Pull out tiny bits of your colored wool and roll it between your fingers. (this helps the wool become a little more manageable)
- Place the colored wool where you want it, and gently poke the needle in (This is where your color will stay!)
- For flowers, use small bits of wool to slowly build up the petals.
- For the flower stems, pull a strand of wool and twist and pull it to make a long string, then start poking the direction you want the stem to go while guiding the wool with your fingers.
- When you are done, trim the stray fibers that are frayed out, this helps the egg look neater!
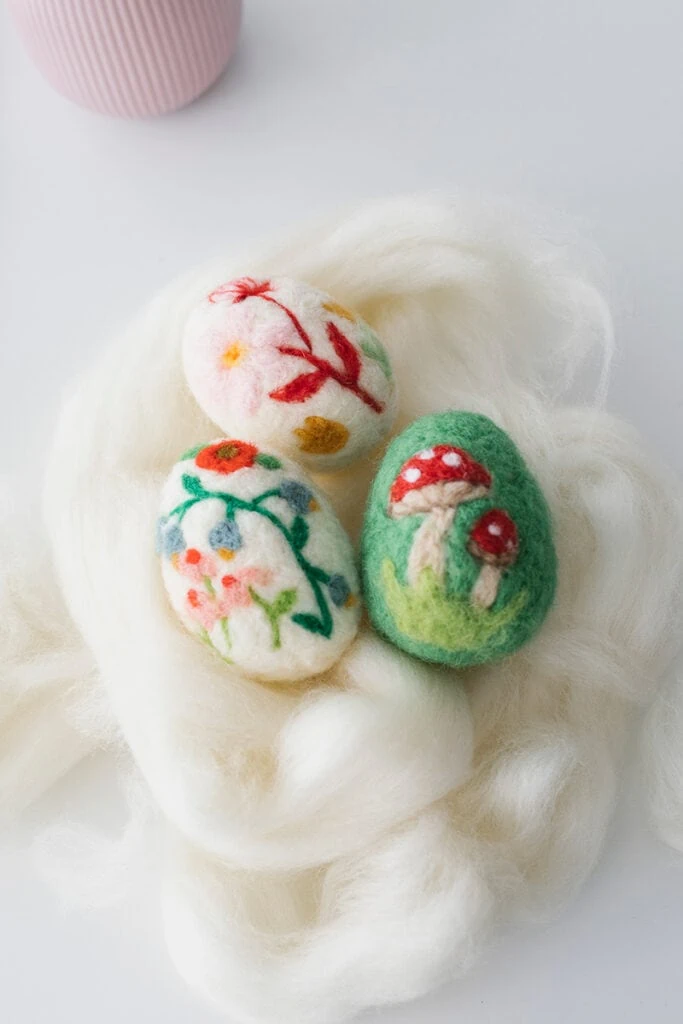
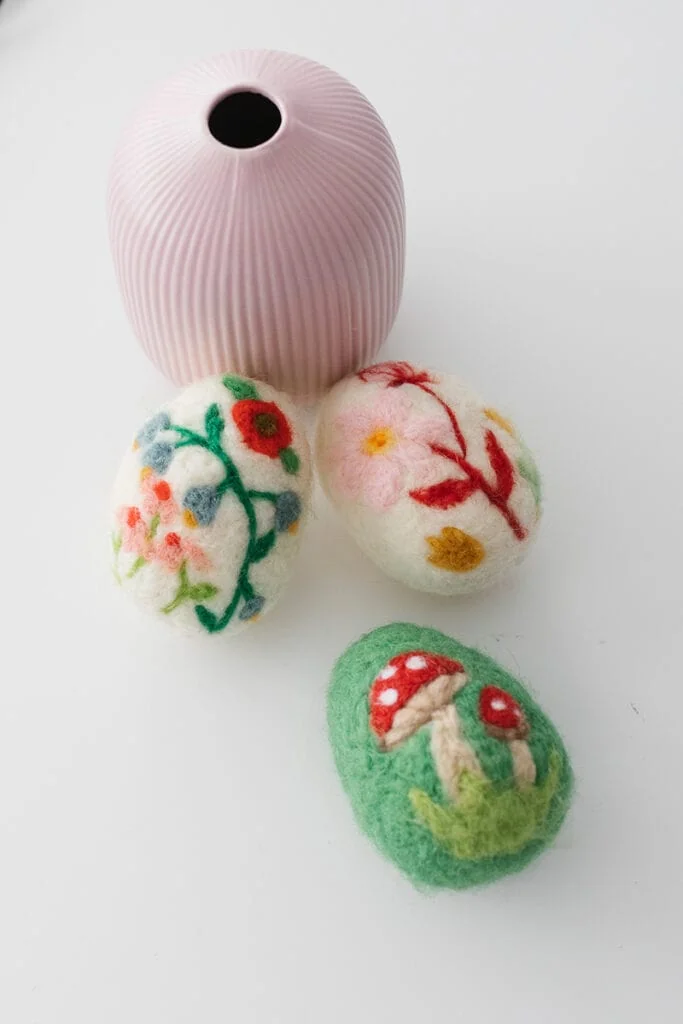
Felted Easter Eggs
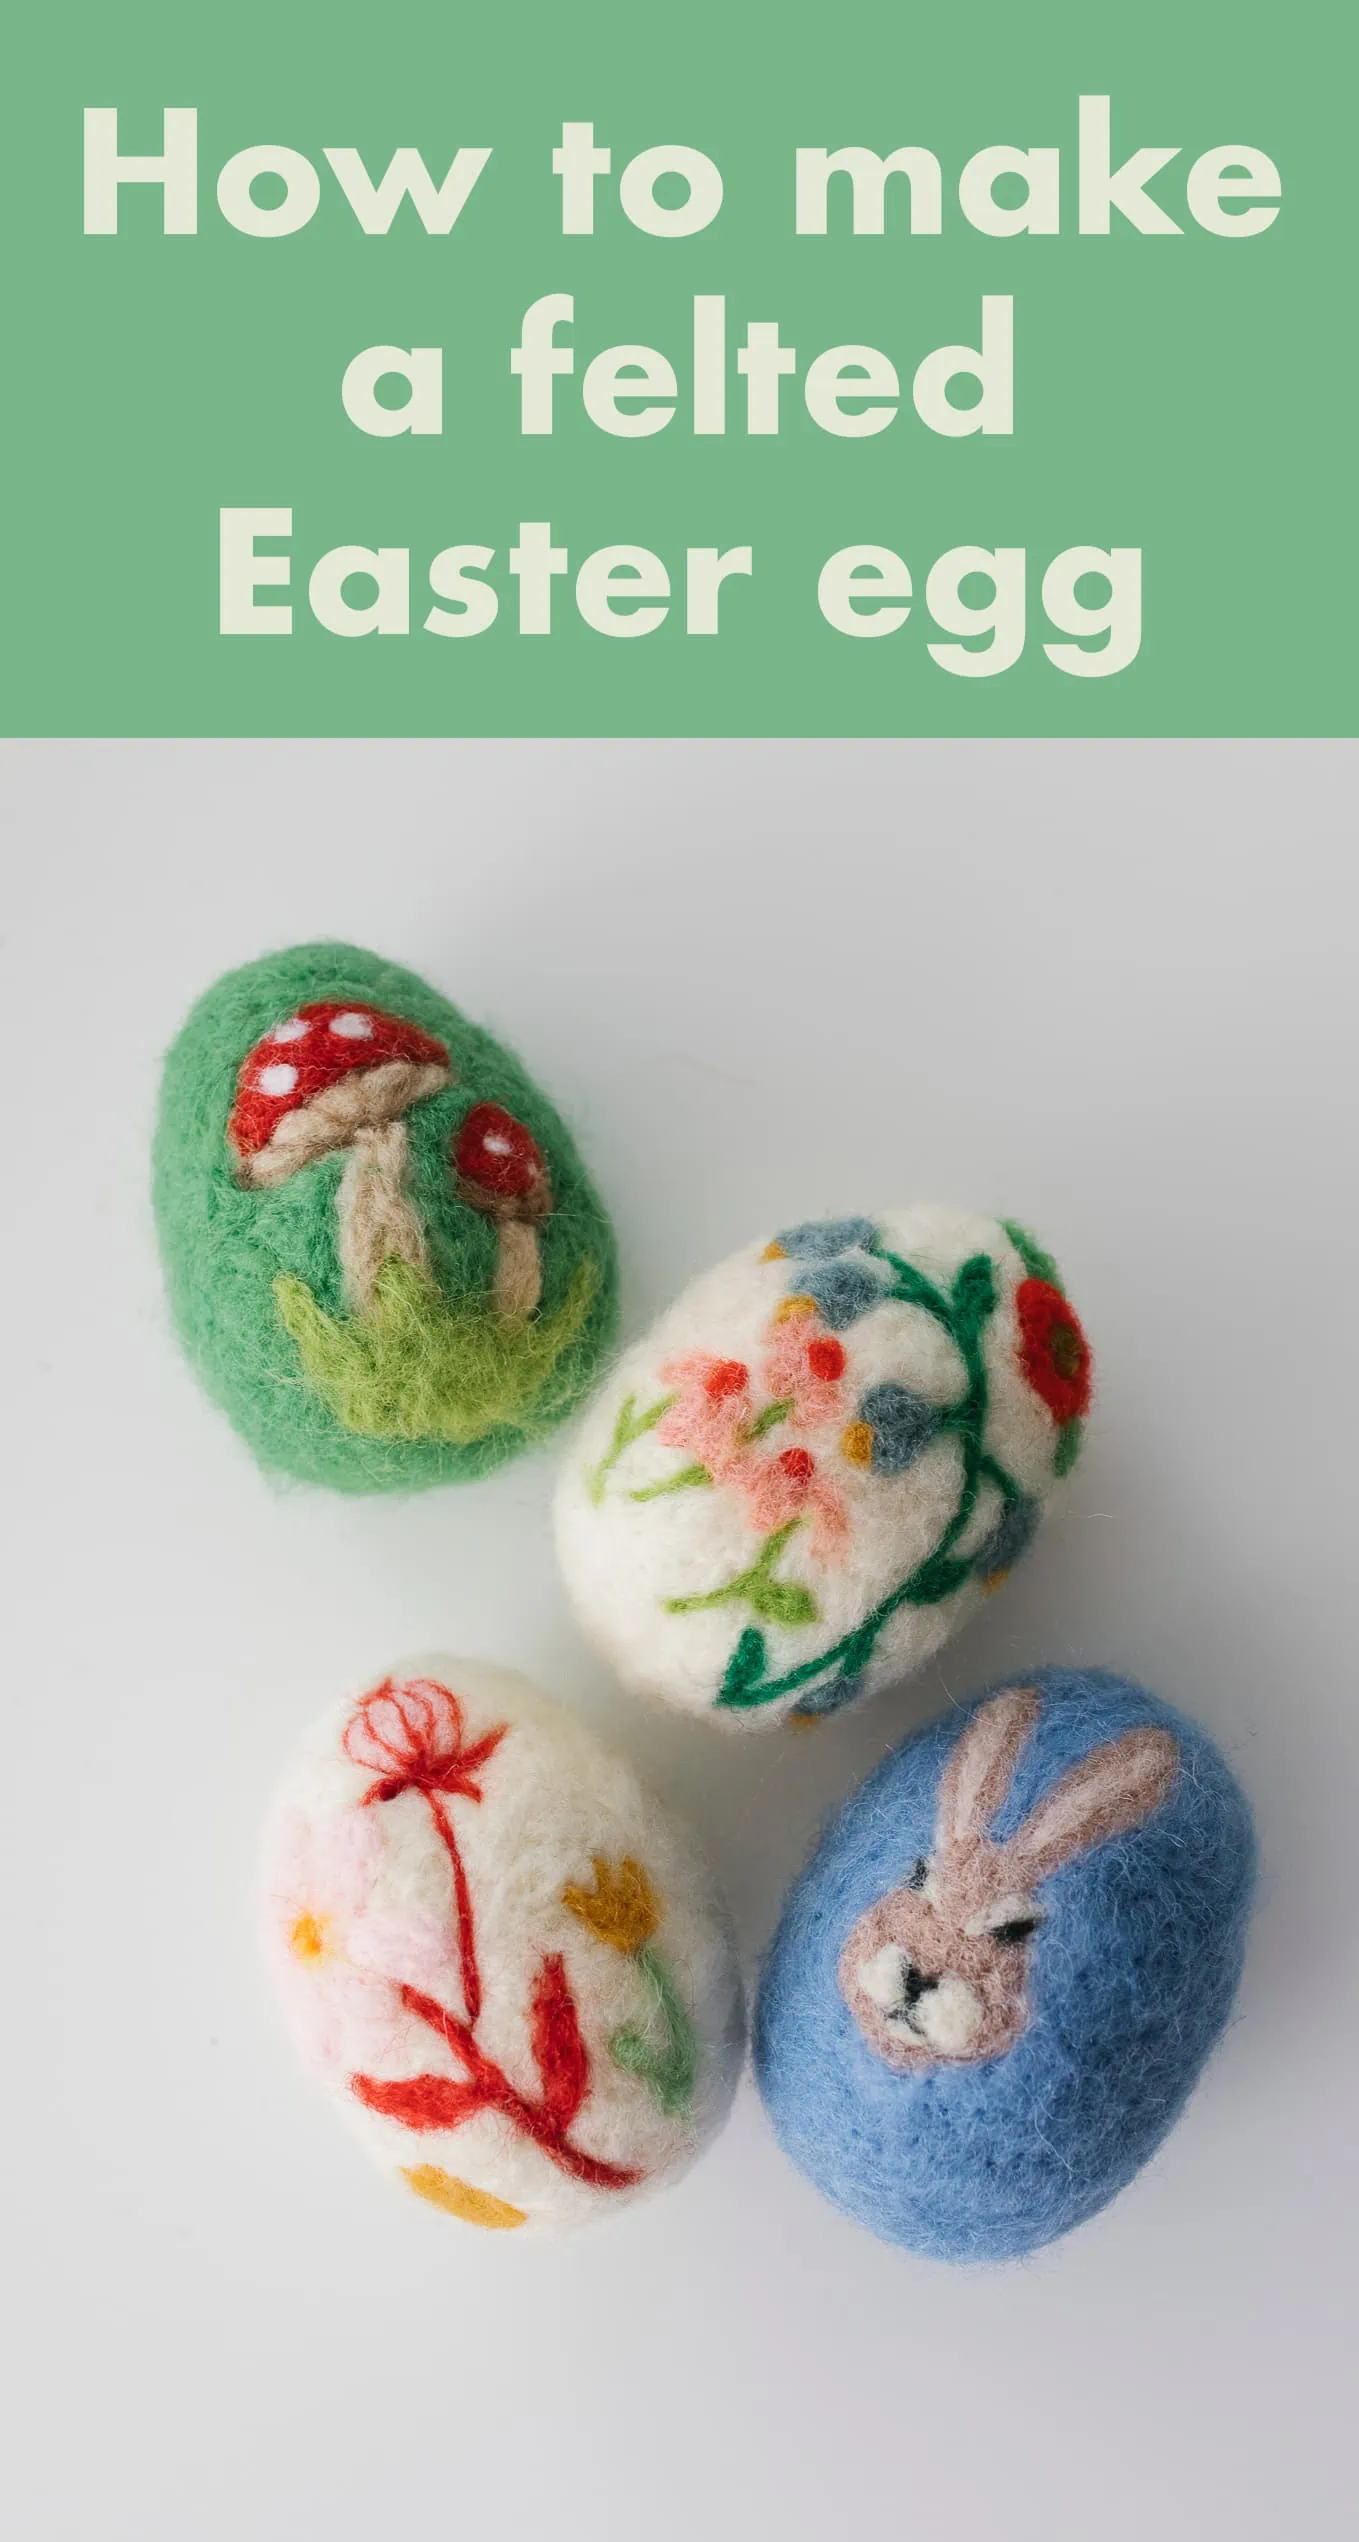
I did some florals inspired by the Clementine collection as well as some mushrooms and a sweet Easter bunny. Do you have a favorite?
We love how these turned out and want to see yours!




Comments