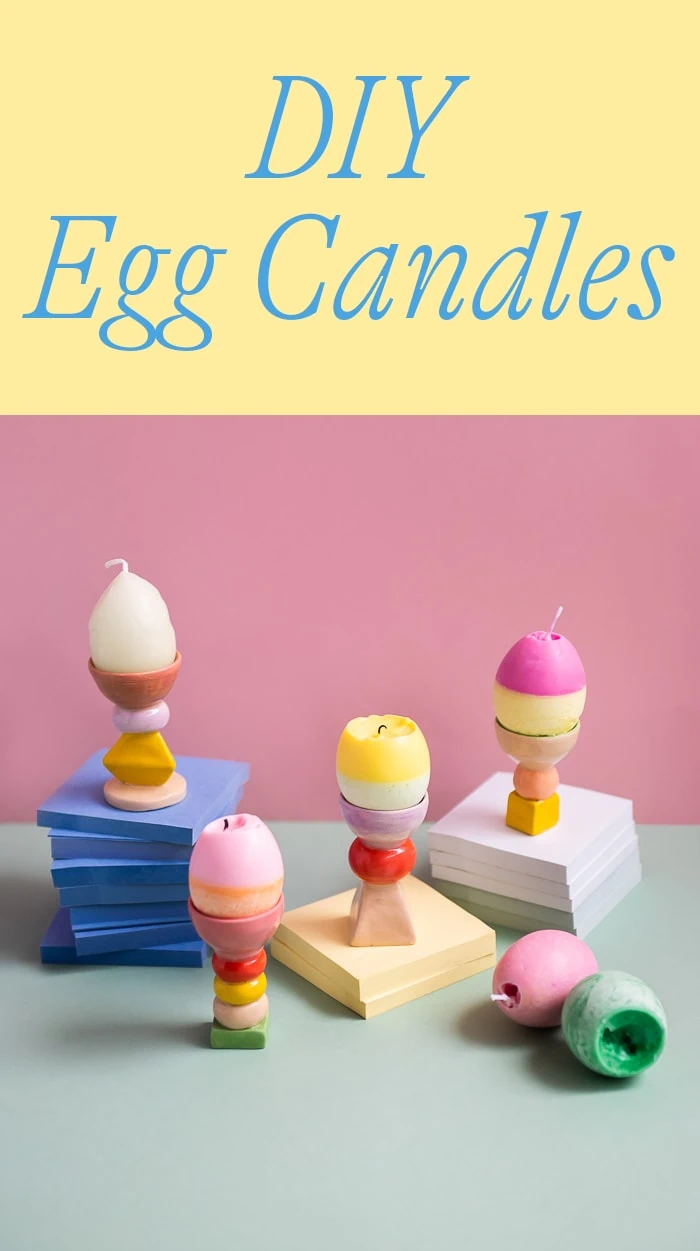
With Easter approaching, it’s time to start thinking about creative ways to decorate your home. One unique and eco-friendly idea is to make DIY Easter egg candles using real eggs. This project is not only fun but also a great way to recycle eggshells that would otherwise be thrown away.
Materials:
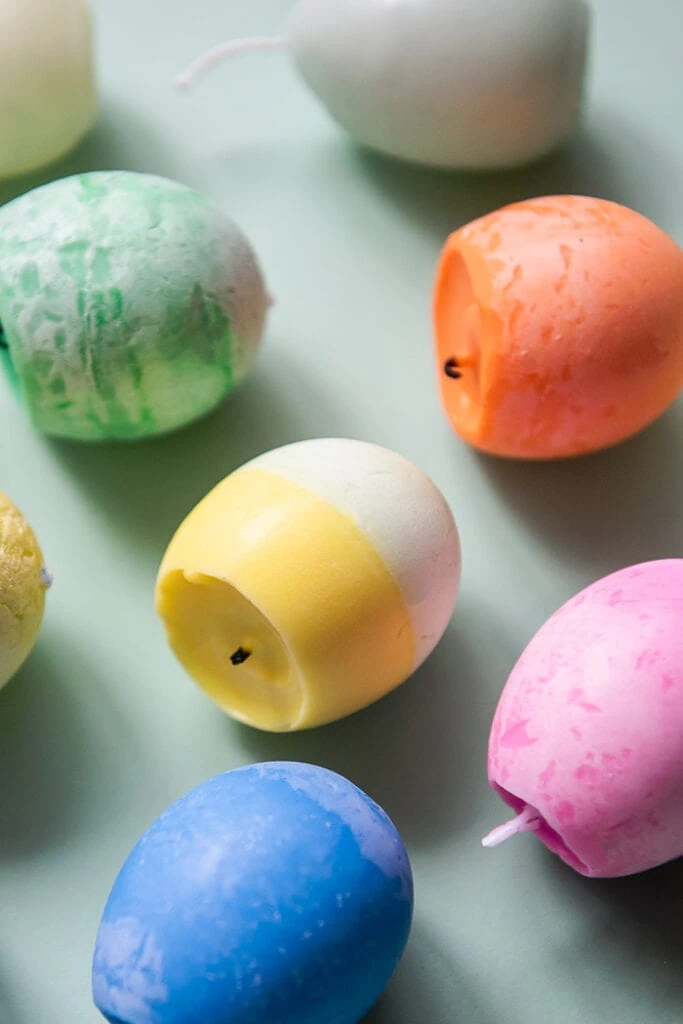
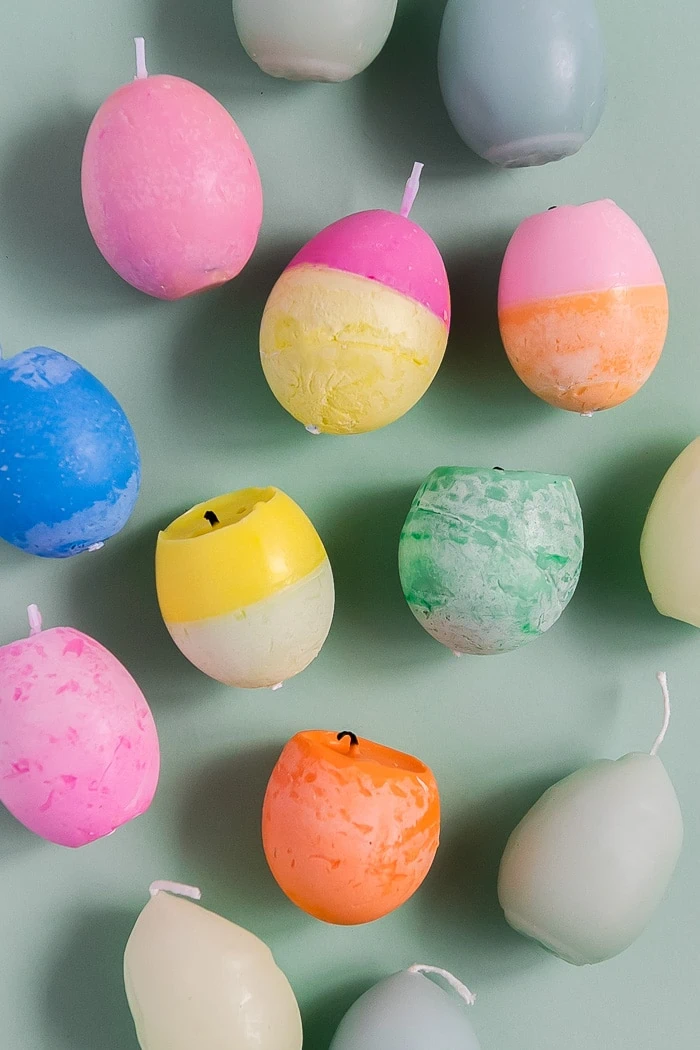
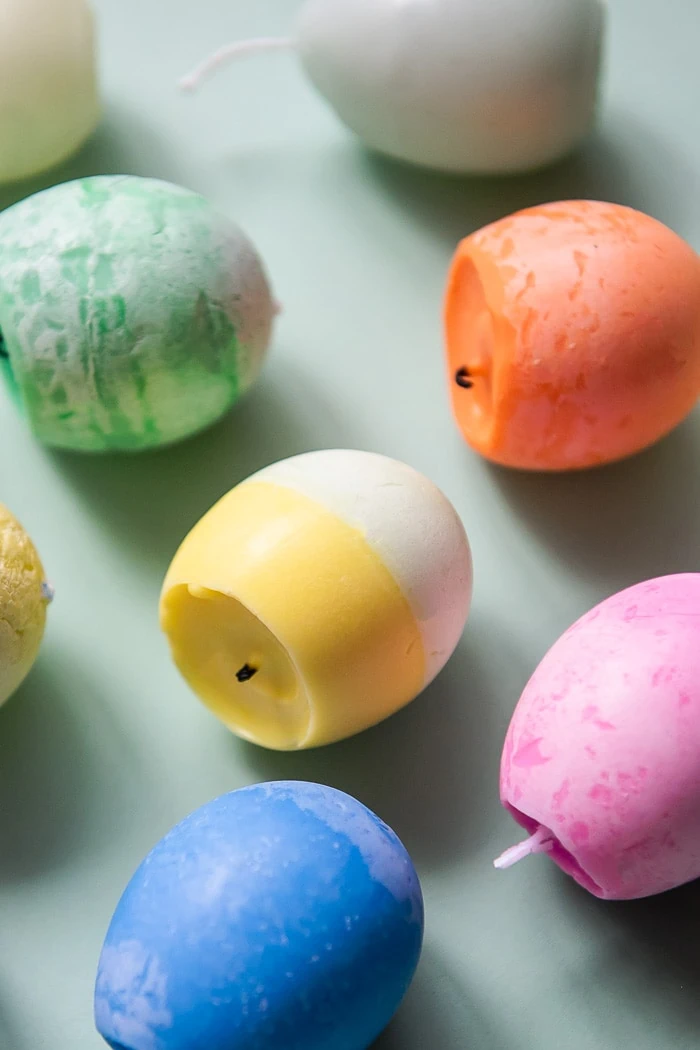
DIY Easter egg candle
Years ago I bought some egg shaped candles on a trip to Denmark and I haven’t been able to stop thinking about them. I wanted to try them out in fun colors and see if color-blocking was an option and guess what? It is! At first I was looking into expensive molds before I realized that we can just use actual eggs (and these days–still expensive!).
What you’ll need:
- Candle wax
- Wicks
- Tape
- Crayons
- Foil cups
- X-acto knife or cheese grater!
- Clothespin
- Eggs!
- Essential oils (optional)
View this post on Instagram
This method took a little bit of trial and error but I feel we have found the best way for you to succeed on your own in your home!
- Start by removing the egg part of the egg. Empty the shell by making a small hole about the size of a dime, at the very top of the egg, the narrower side. Empty out the egg contents (you can still use the egg for anything!)
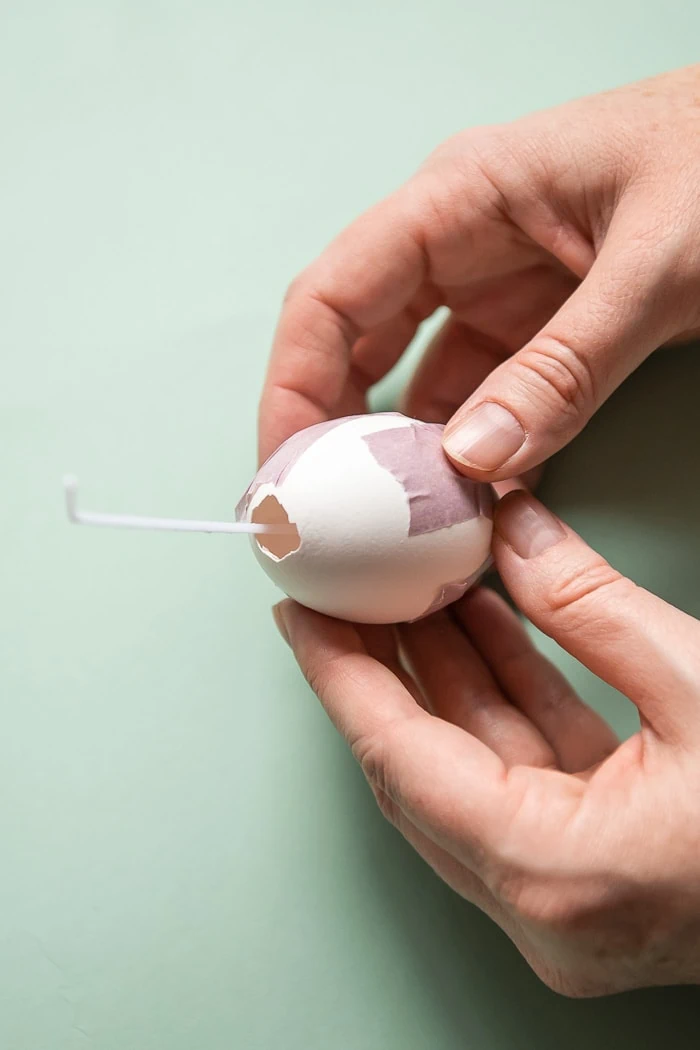
- Poke a small hole in the bottom of the empty egg, using a sewing pin or needle. The hole needs to be big enough for the wick to enter but not too much bigger than that.
- Feed the wick through the bottom hole of the egg and through the very top of the egg leaving about 4 inches at the top
- Cut the wick at the bottom to just poke out a little bit, ¼ – ½ of an inch.
- Tape the wick down to the egg trying to close up the hole as much as possible so that wax won’t seep out.
Now it’s time to prepare your wax for the Easter eggs!
- Fill 2 tin foil cups with wax, you’ll need about 2 whole cups of wax for one egg.
- Take the crayon of the color of your choice and carve off some shavings using a x-acto knife, or you can grate it! Add the crayon shavings to the cups of wax.
- Fill a saucepan with about an inch of water and heat it on your stove or a hot plate. Put in your 2 cups of wax.
- As your wax heats and melts, stir with a skewer or a long toothpick, so the color spreads evenly and the wax melts completely. Careful, it’s hot!
- Take your wax off the heat and continue to stir as it cools just a little bit. Now you are ready to pour!
Fill your Easter egg!
- Pour your wax into the egg shells, filling it as completely as you can.
- Using a clothespin, place your wick in the middle of the egg and rest the pin on top of the wick so it stays in the middle!
- Set aside to rest! Your candle should rest for at least 3 hours or overnight, just as long as it’s completely cooled before you peel off the shell!
- Take the tape off the egg and peel off the shell! If it is difficult to peel by hand, you can use the x-acto knife to gently pry it off.
- Cut as much of the wick off at the bottom and trim the wick at the top to be about ½ inch to an inch.
Note: If you want to do some color block eggs then fill the egg half way with one color, let cool (we let it sit for at least a day), and fill with another color! So fun!
Light your candle and enjoy!
Making Easter egg candles using real eggs is a fun and creative way to decorate your home. This project not only recycles eggshells but also produces unique and eco-friendly candles. Try making these candles this Easter and impress your guests with your creativity and resourcefulness!
If you’re looking to make other egg projects, we rounded up our favorites here!


