Materials:
This post was originally published February 27, 2023 and has been edited with a new tutorial video
If you didn’t catch it, we were recently featured on the home renovation show In With The Old, on Magnolia Network. I’ve been doing a deep dive into each space we tackled on it. This past week it was all Jasper’s sunny bedroom and today I’m sharing about our exterior makeover and how we decided to paint the brick white along with a video tutorial on how to do it.
Here’s how the story goes!
Click here for all the before and after photos from the home renovation See the full kitchen renovation here Read about the kitchen cabinets here Click here to read more about the kitchen hardware. If you’re interested in seeing the oven, click here.
See how we turned the fridge into a cabinet
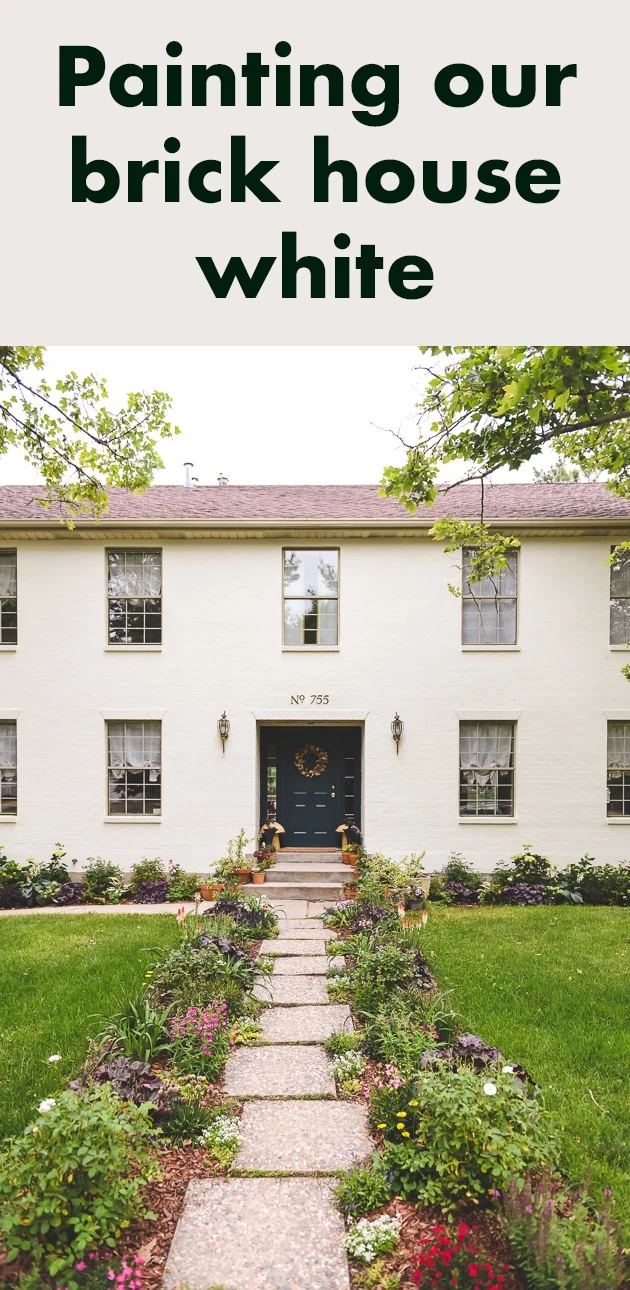
Painting controversy
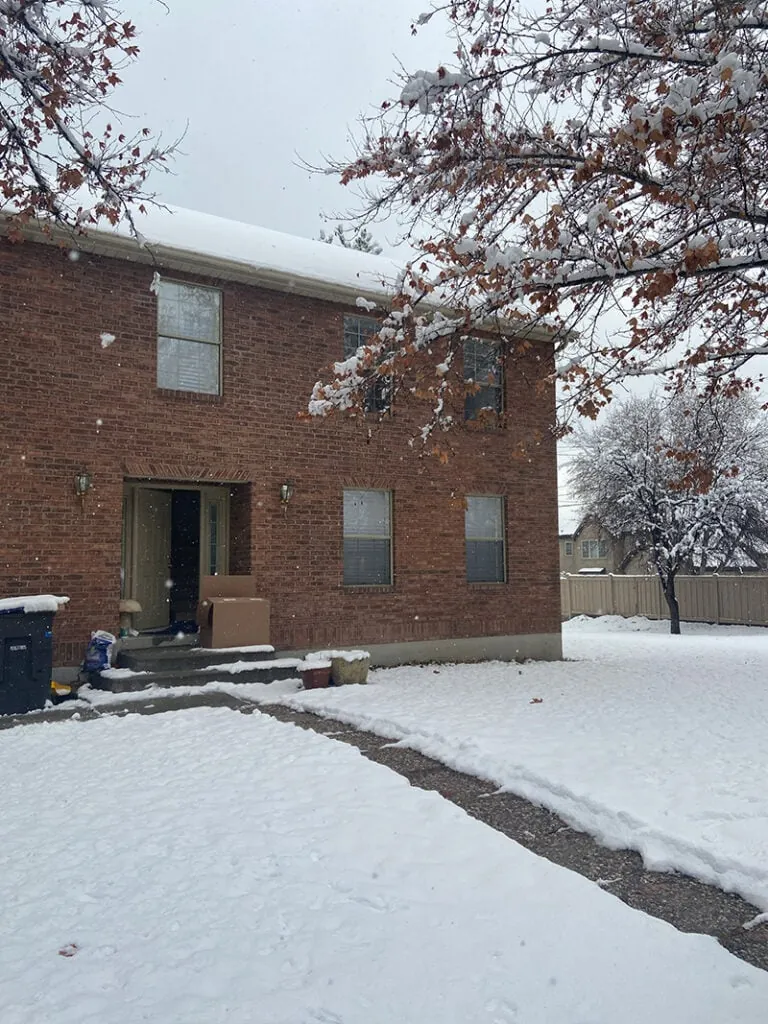
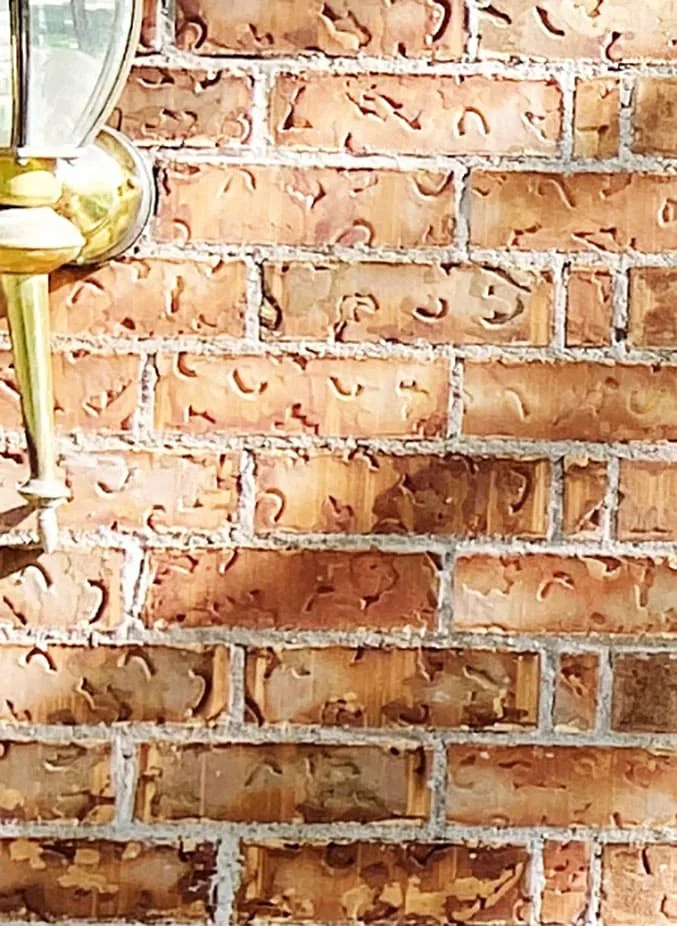
Admittedly, I knew that painting our brick house white could potentially be the most controversial part of our home renovation on the show. I get that it’s not always appropriate or desirable to paint over brick. But, our house was built in 1992 so it’s not historic, and the brick was not the most attractive. Forgive the blurry photo, but this is what it looked like.
Problematic brick
Because the brick wasn’t old, the brick manufacturers added in some texture that we affectionately call “worms”. I’m guessing it was some sort of nail that they put in to leave an indentation. It’s fine enough from a distance but not my favorite thing up close.
Farmhouse style white
On top of that, white has become super trendy because of the farmhouse trend. I wasn’t trying to go in that direction, but white is so classic. I mean, I definitely did look into a light pink or a Danish house yellow, but decided that unless a building is actually old, it’s really hard to make it feel authentic.
Blueprints for the house
The people who owned our house after the original owners still live in our neighborhood and realized they still had the blueprints so they gave those to us while we were working on the show. It was interesting to see what things they left out from the original plans.
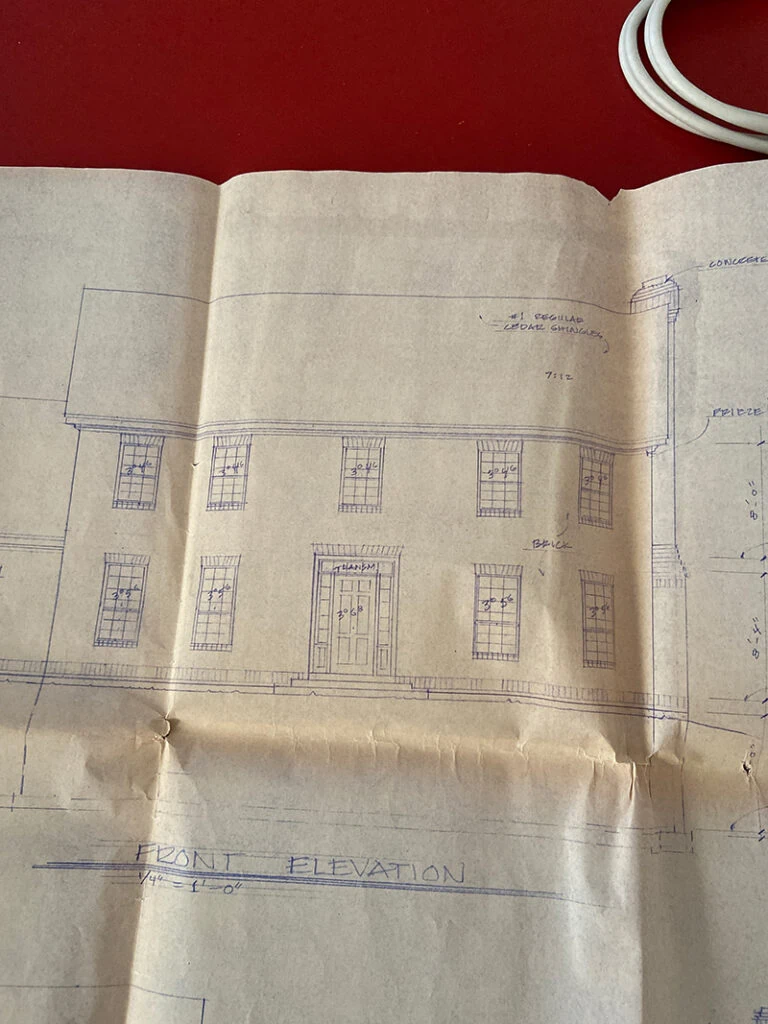
For example, they have a chimney on the plans, but they didn’t end up building a fireplace. We’re trying to decide if that’s something we want to add and for now, it’s not on our radar. Anyone have any thoughts about adding one in? Pros/cons?
Before photos
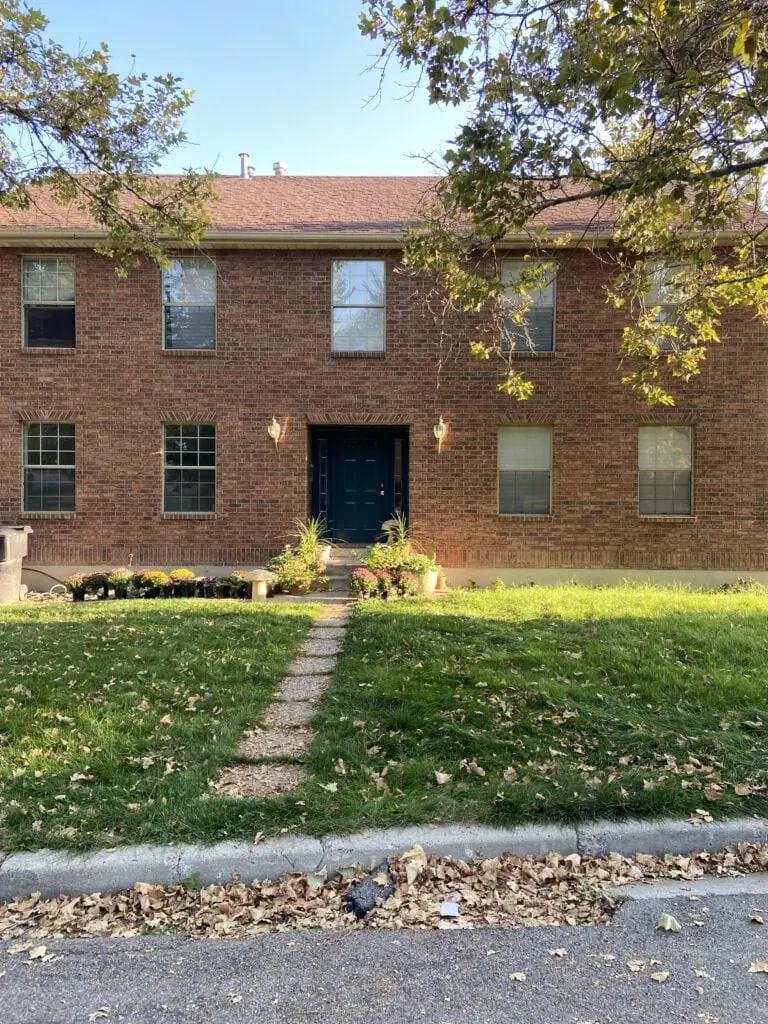
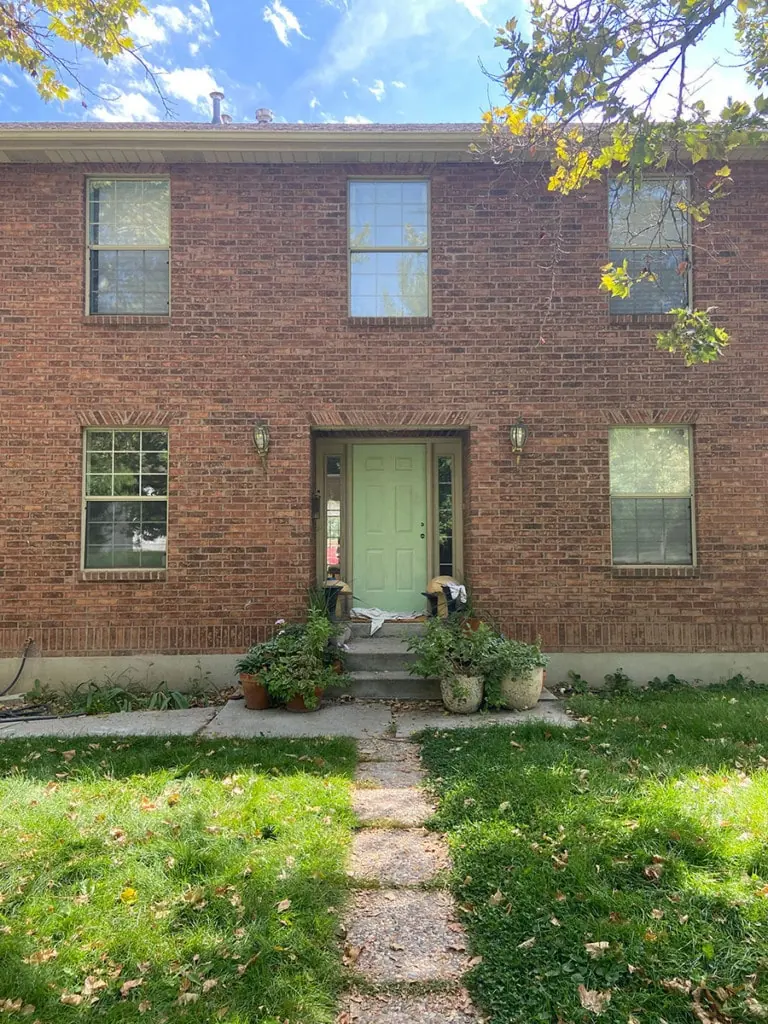
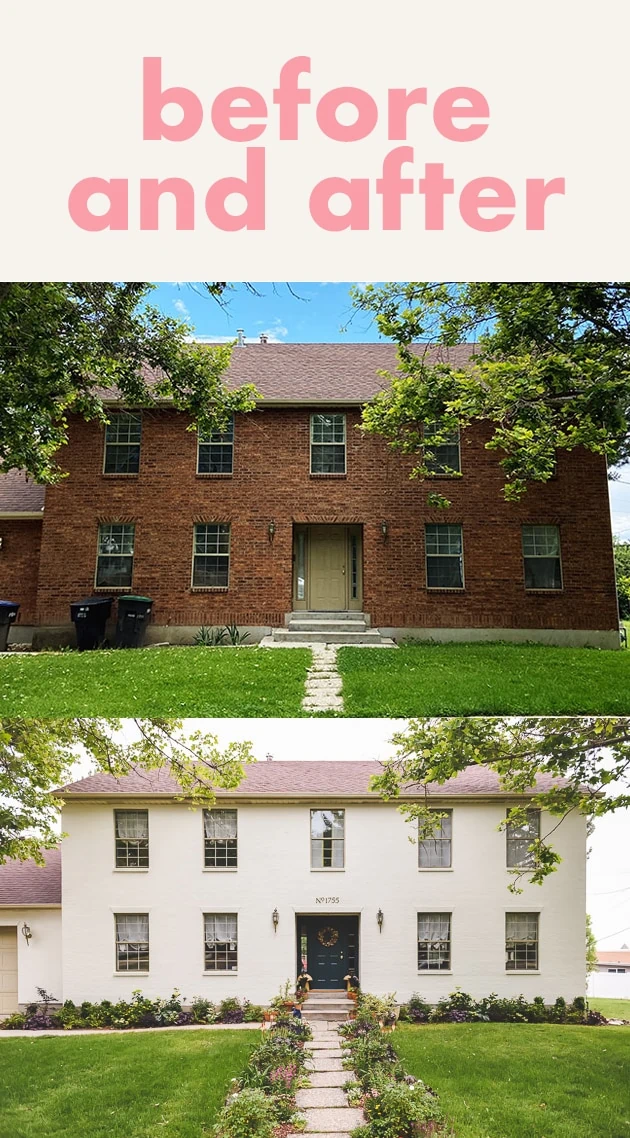
As a reminder, here’s what our house looked like when we bought it and how we fell in love with it.
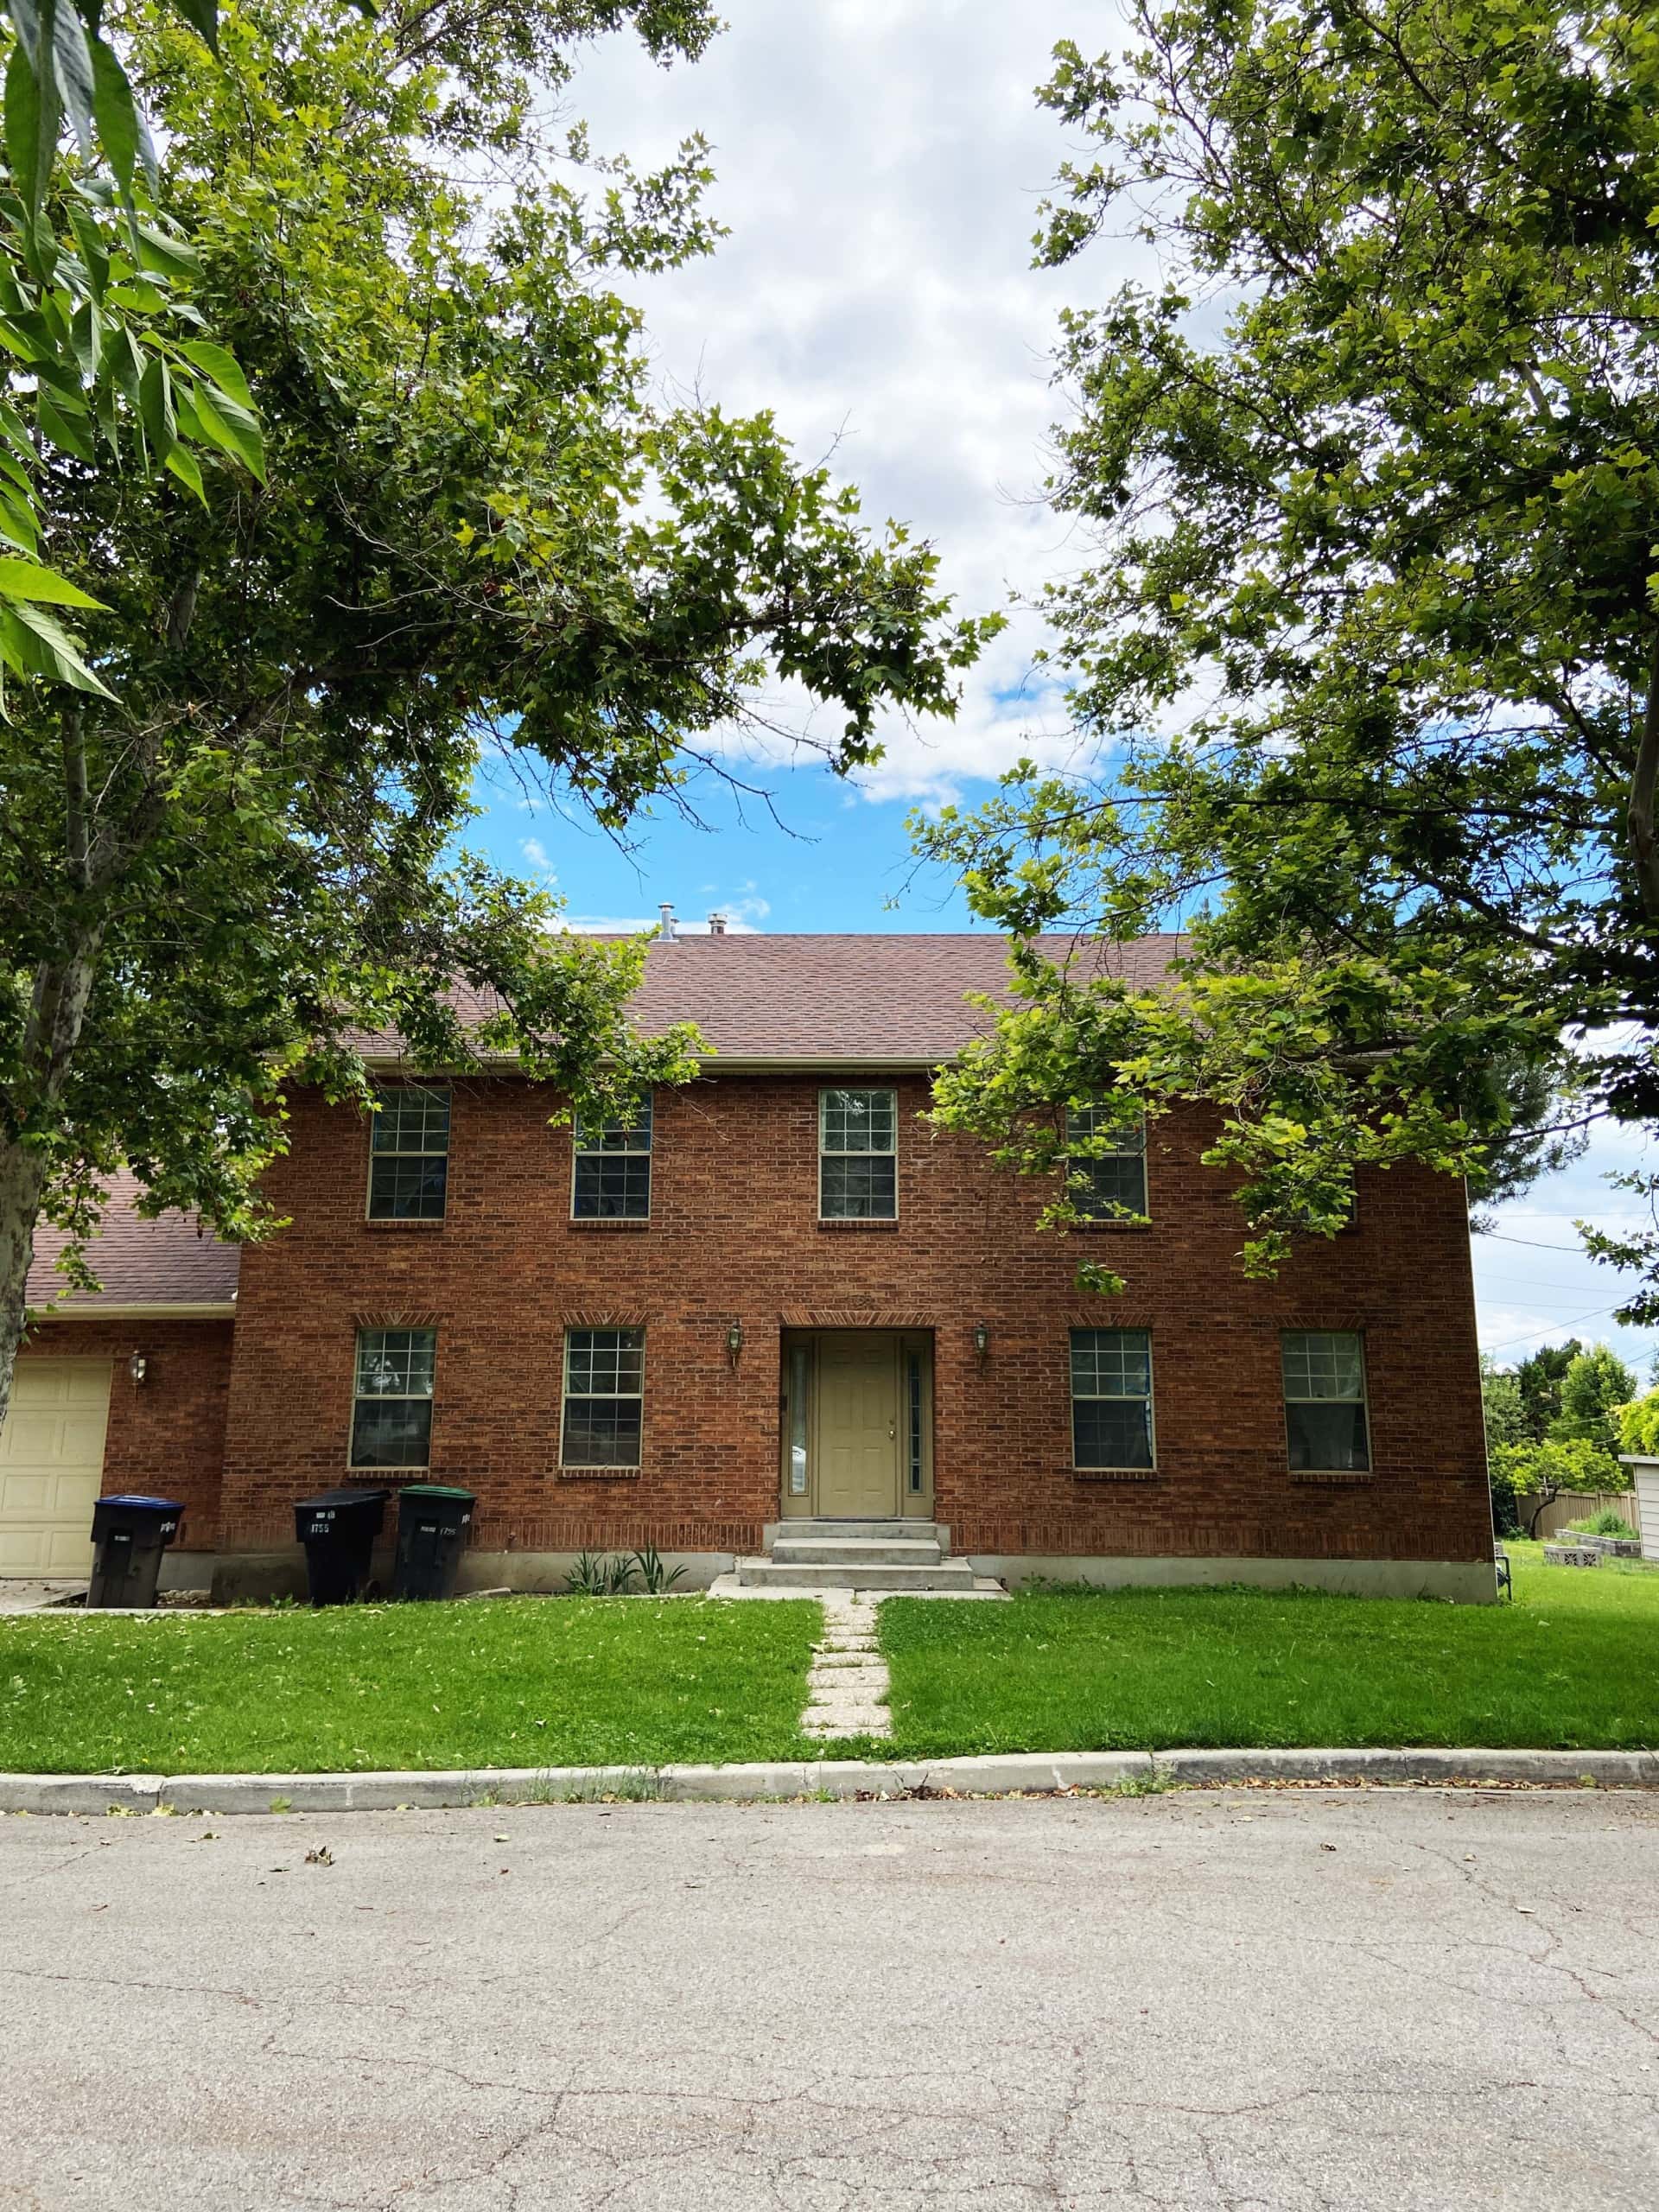
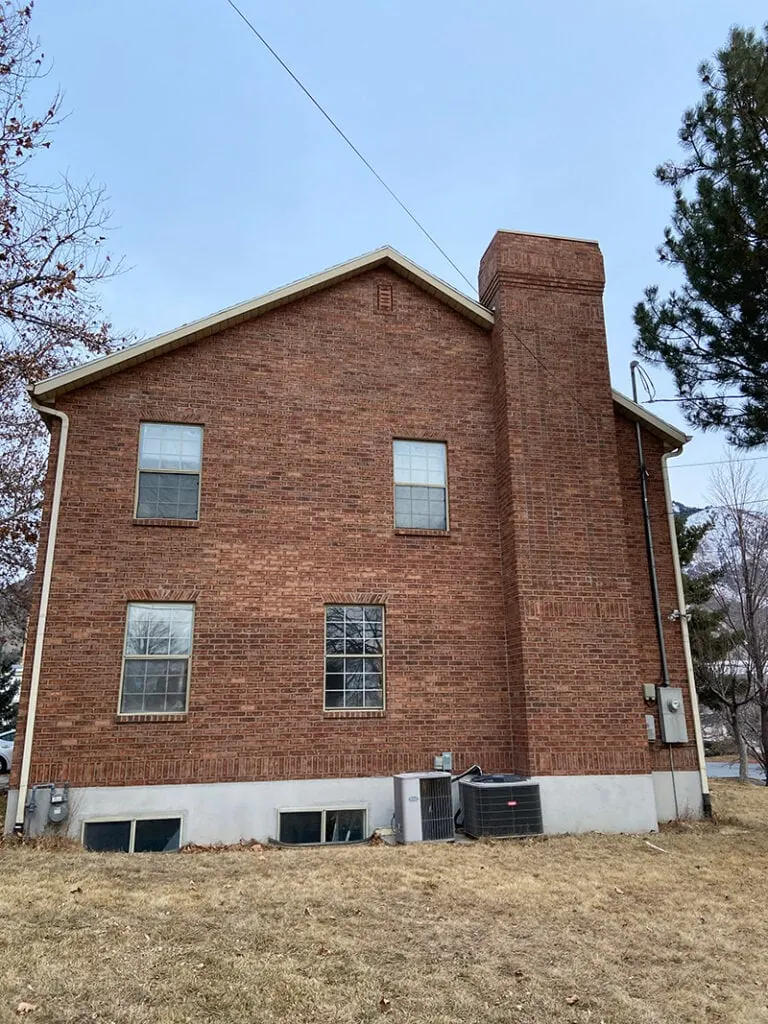
I think I fell in love with the potential of it more than where it was at because it’s quite plain and hadn’t been given much love. Once I posted a picture of the facade on Instagram, the children of the original owners reached out and said that their parents had modeled it after a home in Nauvoo, Illinois, as you saw on the show.
Inspired by Nauvoo, Illinois
This explained SO much to me because there was nothing fancy about the homes in Nauvoo when the city was developed by the Latter-day Saint people in 1840. Most of the people had come from the East and they brought their style of home with them, the Federalist Revival. But they were starting from scratch and everything was built rather simply. This helped me understand why the facade is so flat without any dimension to it.
If I were to go to town on it, I’d be adding in a portico, some sort of emphasis on the windows, new windows, new fascia.
Before the show, I was desperate to add some personality. Some of you might recall when I painted the front door a sickly green. Bahahha. I still think this is the saddest thing I’ve ever done in my entire life.
And then quickly painted it before I started to vomit. I actually loved the look here.
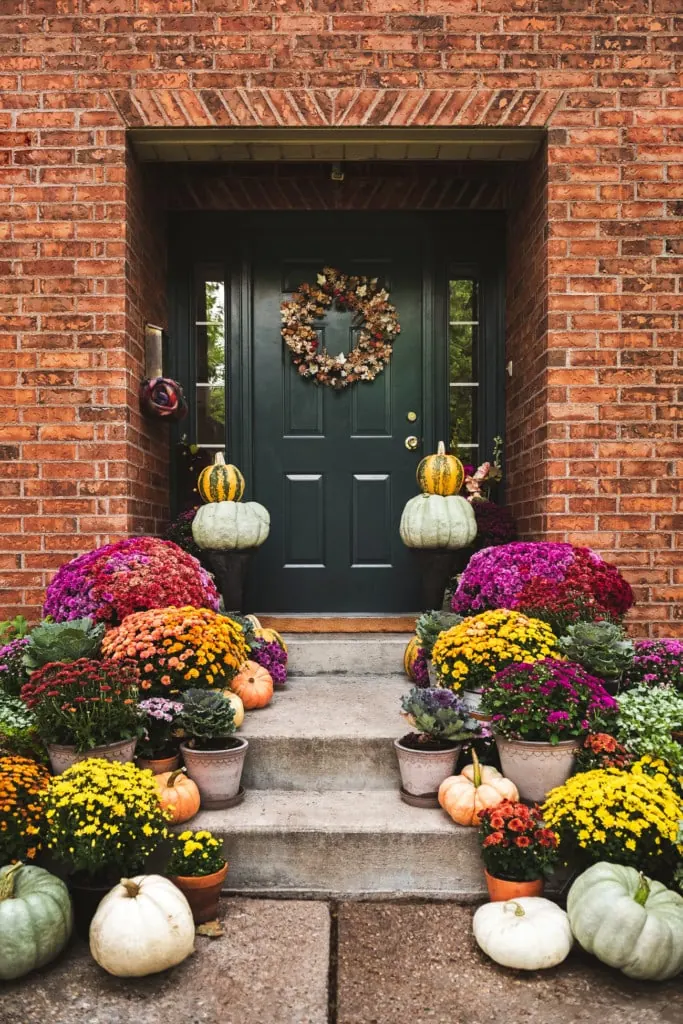
Keim mineral paints
With so many projects for the show in a short amount of time (3 months) and without the proper help to get them done, I debated on whether we should do anything to the front. I knew it could really benefit from some sort of makeover because it would be more impactful for the show, but at what cost?! My sanity?! Ultimately I decided to paint it because I thought it would be the least amount of work for the maximum amount of output.
Hahahhahaha! More about the “least amount of work” part soon.
I did a lot of research into what the best types of paints were for masonry. I wanted to go for an old world European limewash look. Finally I came across Keim mineral silicate paints. They are based in Germany, but have a presence here in the US and it looked like the best way to achieve the visual I was going for. It turns out that they are the inventor of mineral silicate paints more than 140 years ago!
House Inspiration
We had spent Christmas in Denmark and since I knew the show might happen I took pictures of everything that inspired me. Here were some of my favorites that helped us focus on the direction.
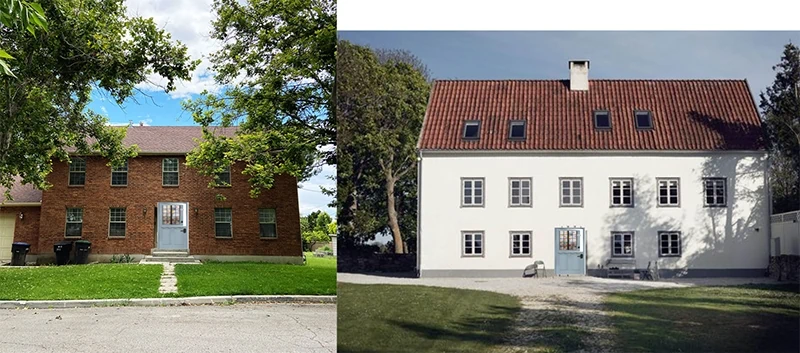
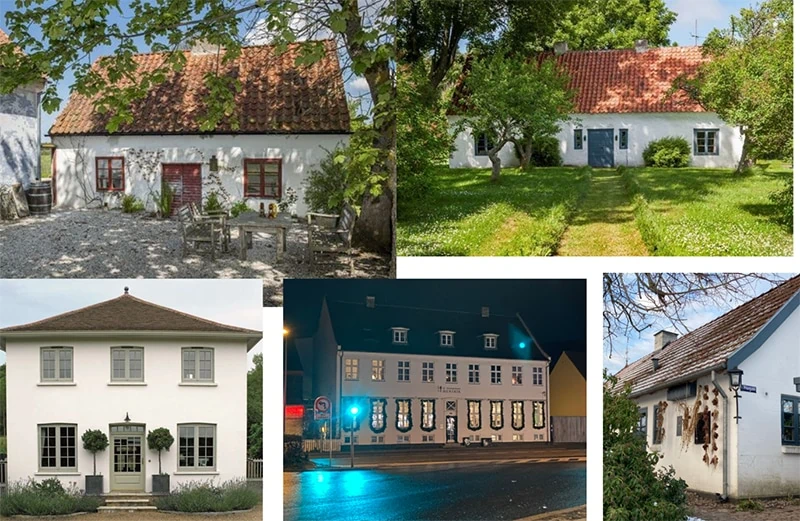
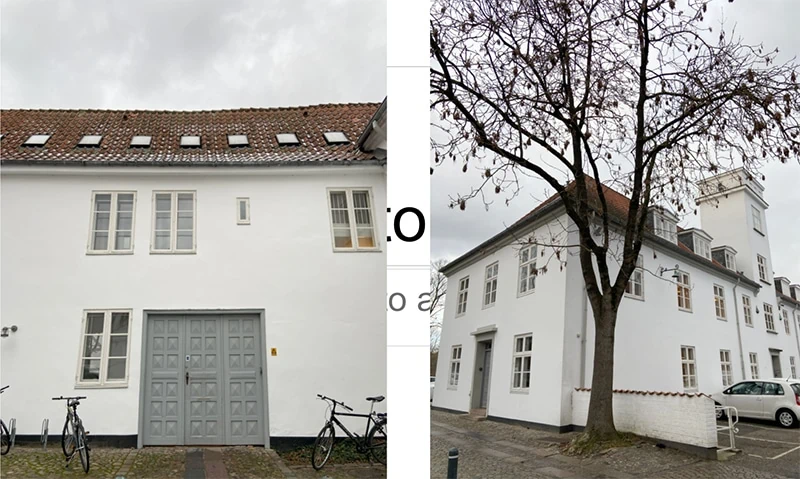
That classic symmetrical house is found everywhere along with that white plaster look.
In my dreams I’d be adding in a clay roof like that, but if we do something like that it would happen for awhile. I still need to look into that.
I also considered doing a new front door for the show but ran out of time.
Testing out the masonry paint
I painted a sample of Keim paint on the facade and did not love how the white emphasized the holes so much. The variation in the brick helped it blend in, but the white was going to make them stand out because of the shadows.
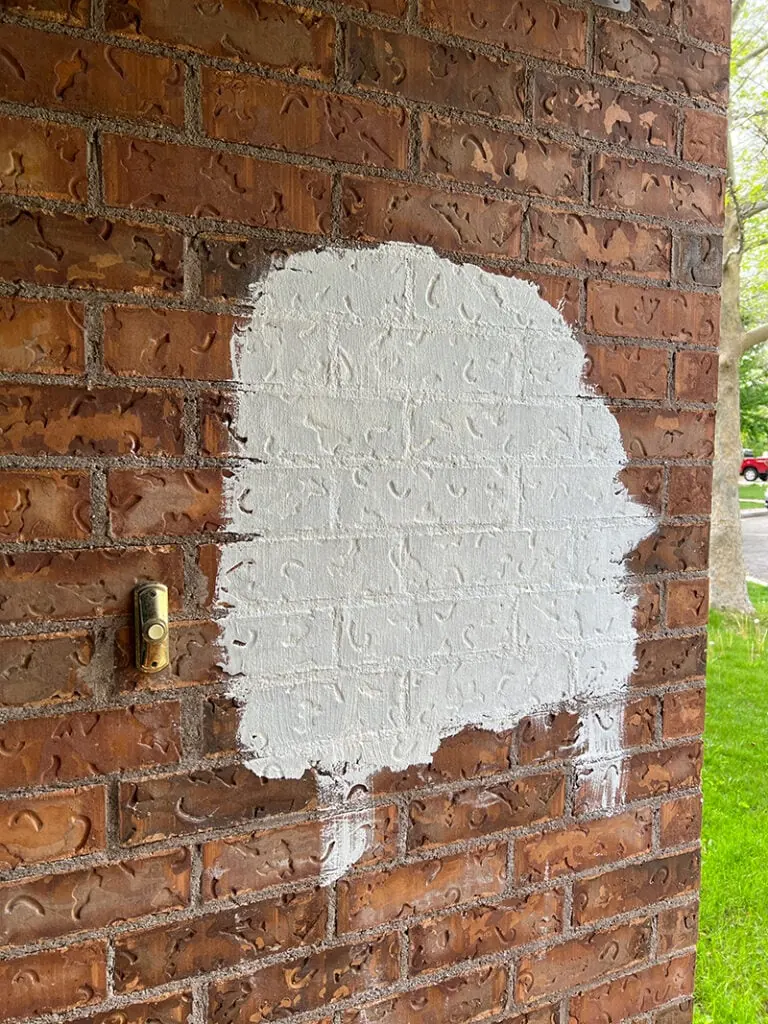
How to solve the hole problem
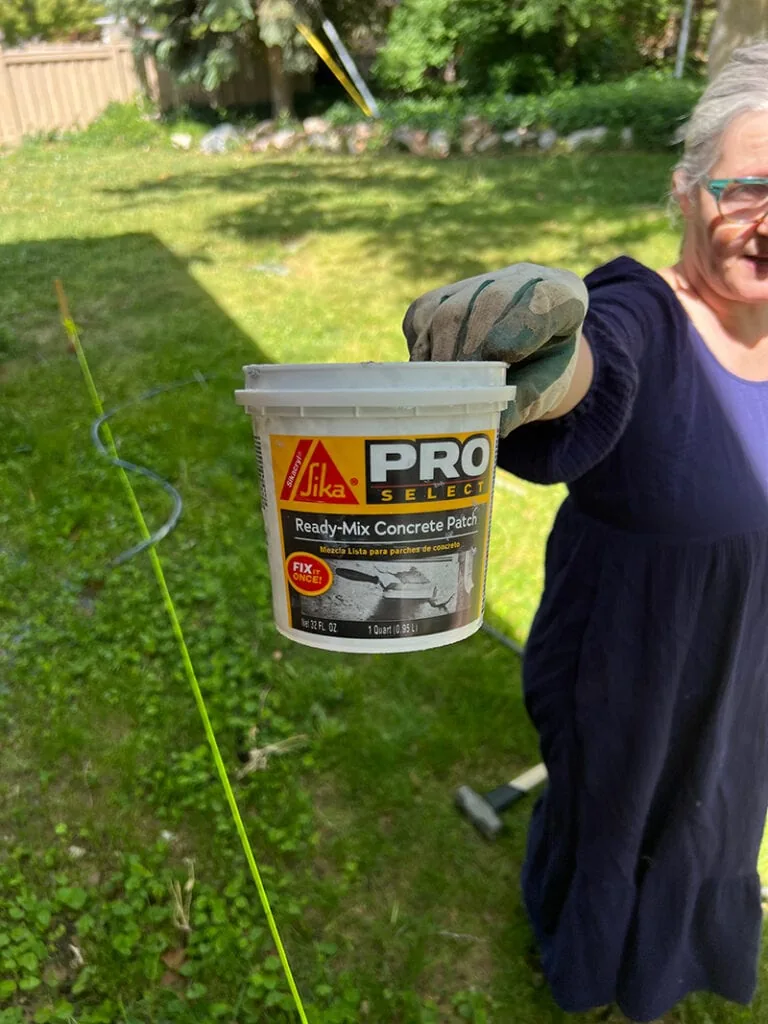
Paul was really pushing to fill in the holes to achieve a smooth look so Pat looked into a number of solutions and we ended up with this ready-mix concrete patch from Sika Pro Select to fill in each and every hole.
Does that sound ambitious to you? I didn’t really know how ambitious it truly was going to be. Joke’s on me!
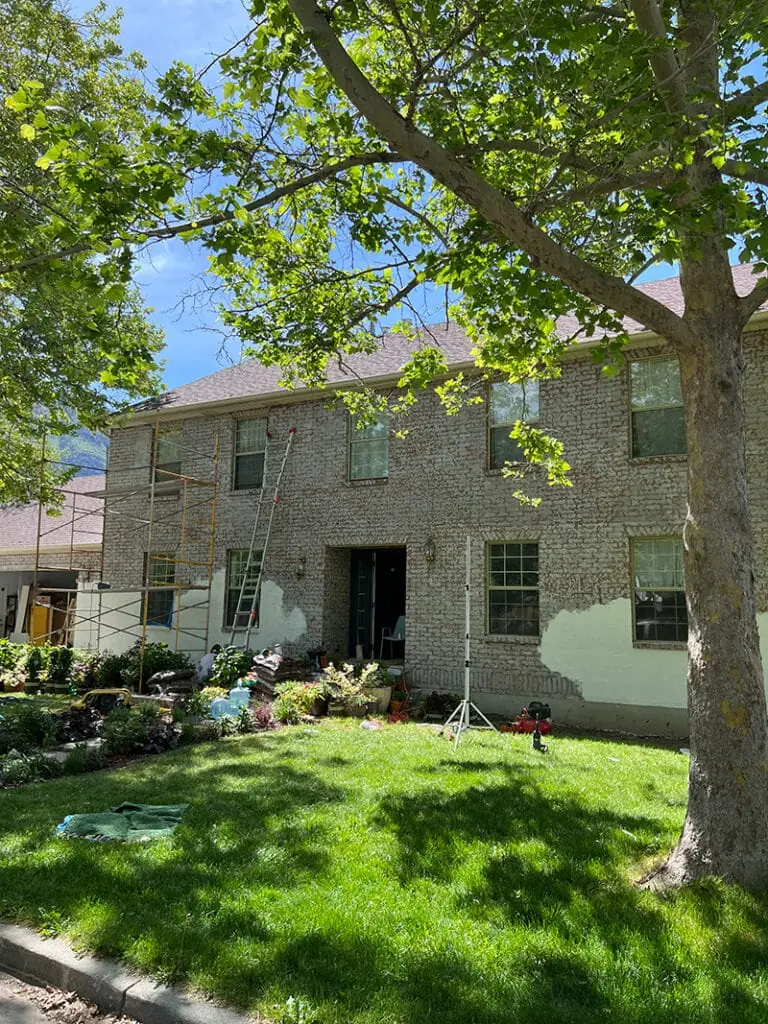
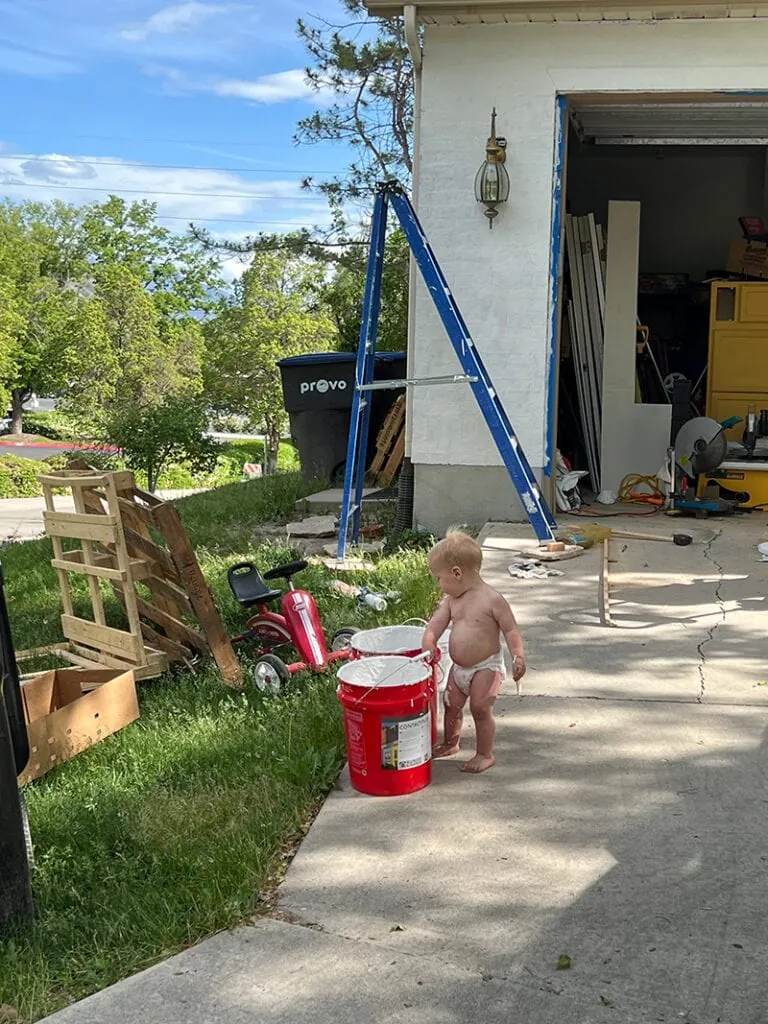
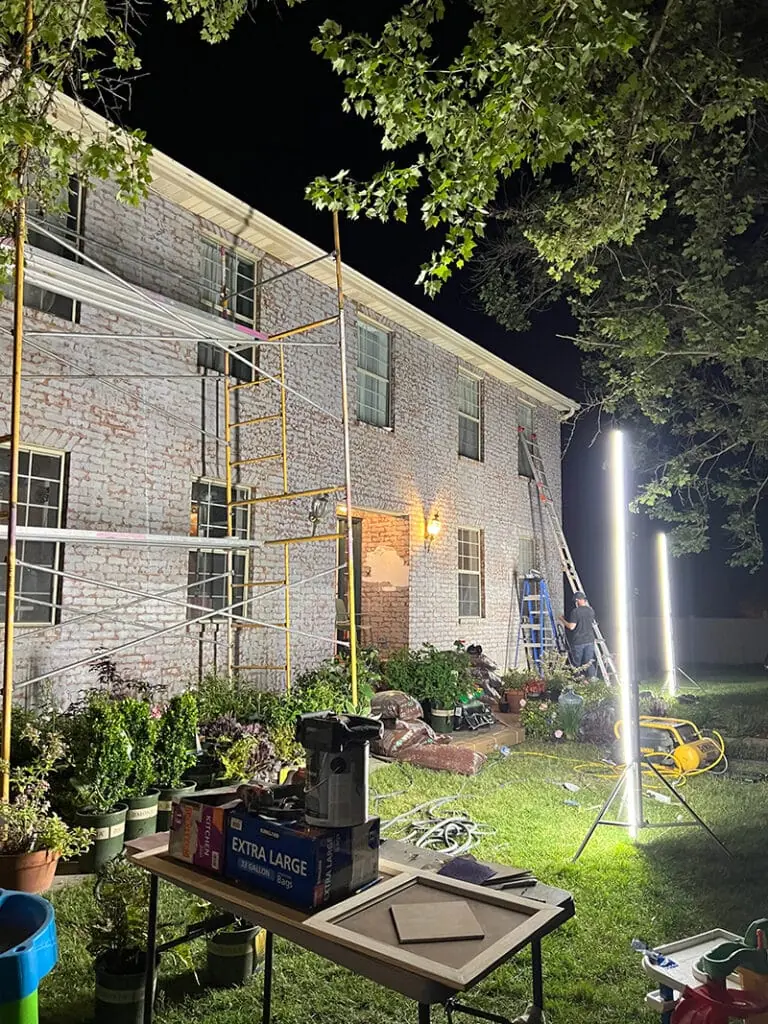
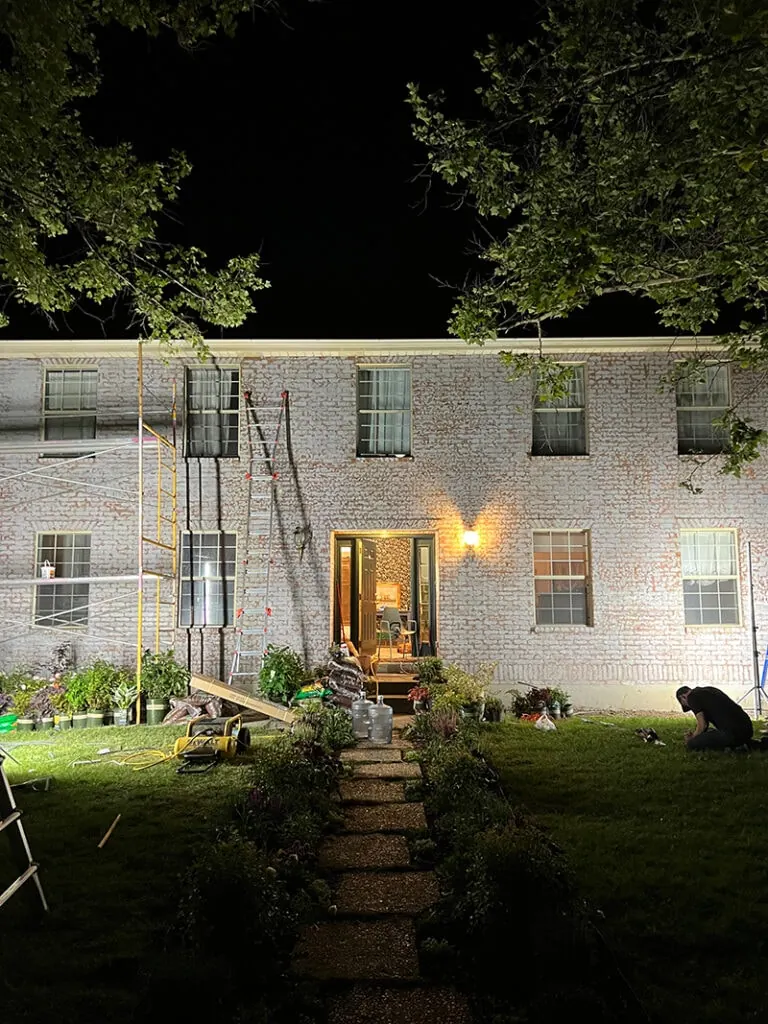
So Pat and Paul started filling in all the holes. Realizing that this now set us back by a number of days (then turning into weeks), we needed all hands on deck. We called on neighbors, my team, anyone who could lend a hand.
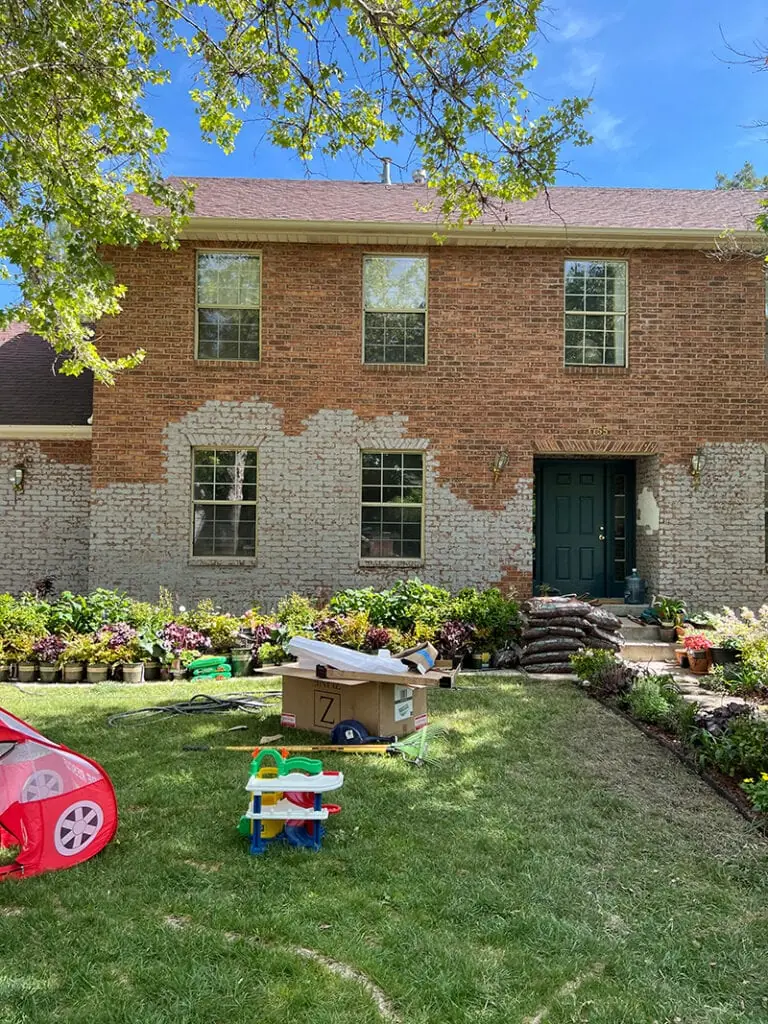
There were many many late nights filling in those holes to get it done in time.

My brother in law Tanner loaned us these big lights which got us through the nights. Our neighbors loved us.
Once the holes were all filled in we had to sand it down because it was super lumpy. That took another few days.
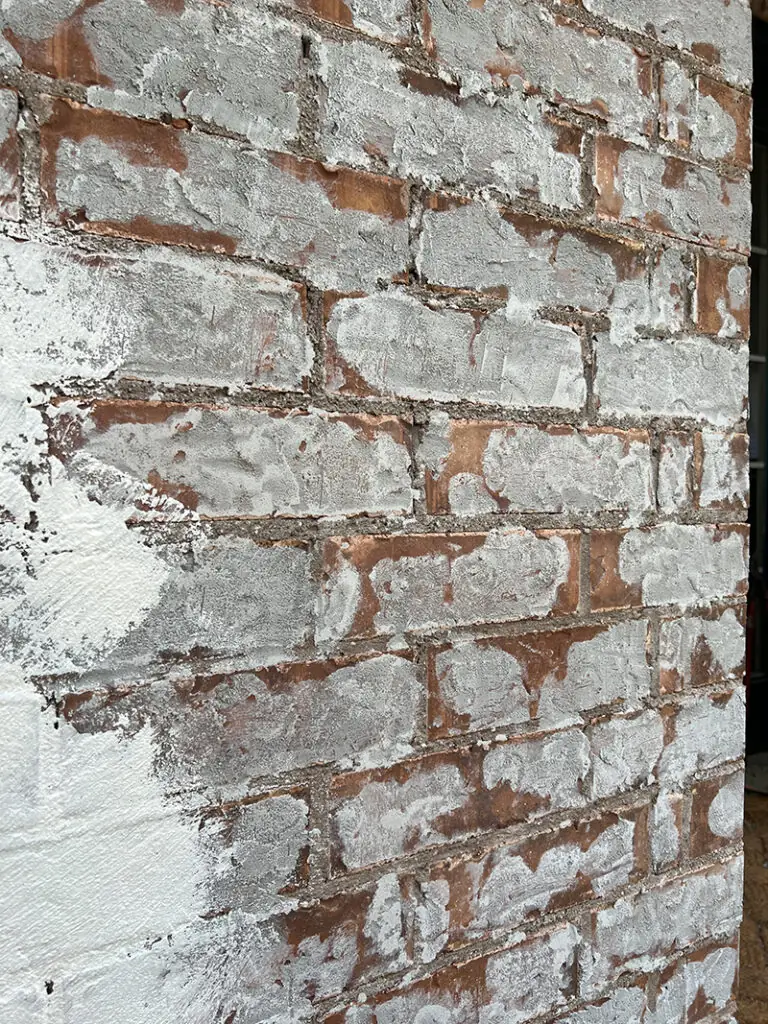
We were running out of time before we needed to wrap up the filming of the show, but making slow progress.
Keim Bonding Primer
The people at Keim told me about their Minderal Bonding Primer, which turned out to be the hero of the project. It is a silicate mineral based primer designed to prepare exterior new and previously painted masonry surfaces and glossy or tough to paint surfaces for painting with mineral paints. It provides tenacious adhesion and is ideal when multiple types of surfaces and textures are present. It also provides added adhesion when renovating or coating sound acrylic and silicone resin-based coatings. It can be used on new and previously painted brick, stone, stucco and concrete fiber cement siding.
The stuff is thick and has a grit to it that added the texture that I was hoping to achieve like the classic Danish homes.
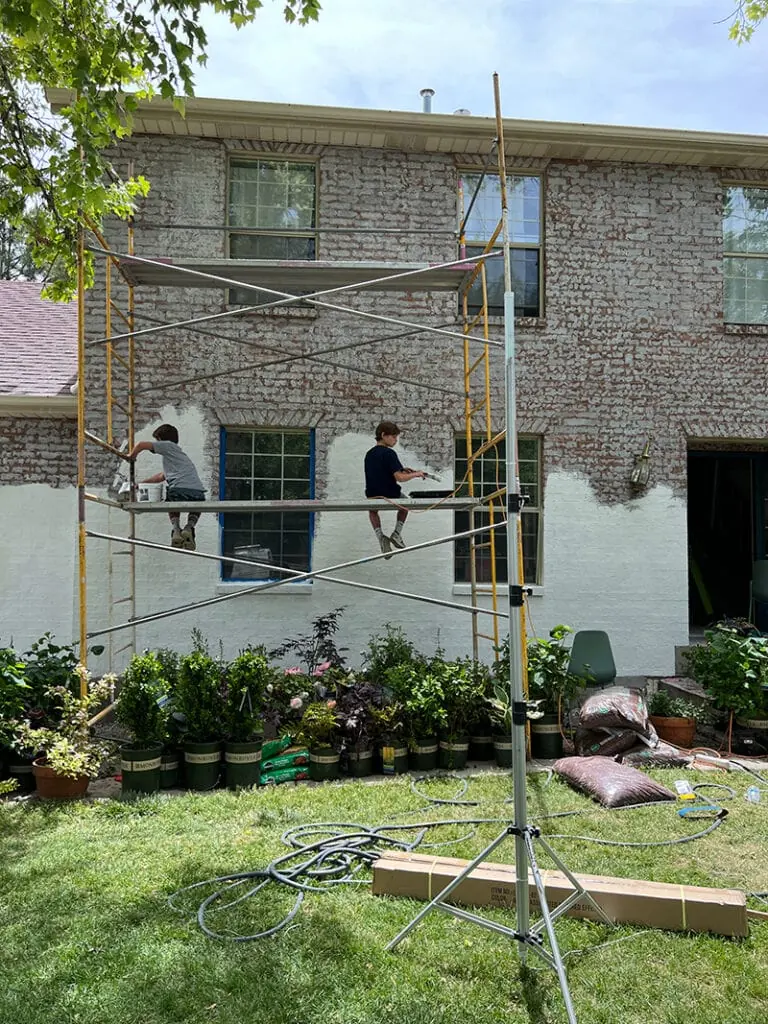
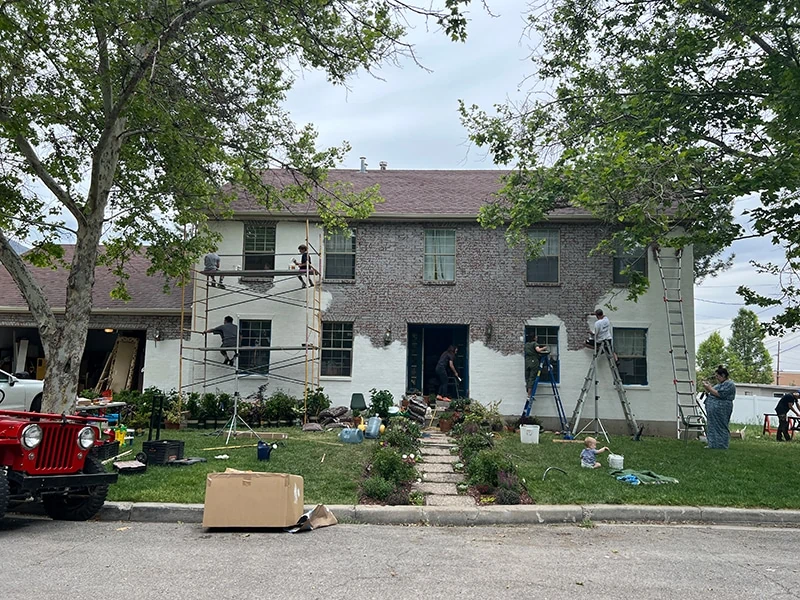
I think the holes would have softened with just the primer itself without filling in all the holes, but I don’t think they would have gone away so I was still glad that we did that.
Keim’s Mineral masonry paint
After the primer, we used Keim’s Mineral Masonry Paint. It is a low-maintenance, pure potassium silicate paint that delivers extreme durability, color stability and a beautiful mineral matte flat finish. It penetrates deep within and onto the masonry surface for permanent adhesion, literally becoming part of it.
The mineral microporous surface breathes and lets moisture from the masonry surface freely escape so it will never blister or peel. It never traps moisture in your walls. The high pH (alkaline) surface is naturally mold and mildew resistant, toxin-free, and environmentally friendly. Keim, the inventor of mineral silicate paints more than 140 years ago, first formulated Mineral Masonry Paint in the 1960’s.
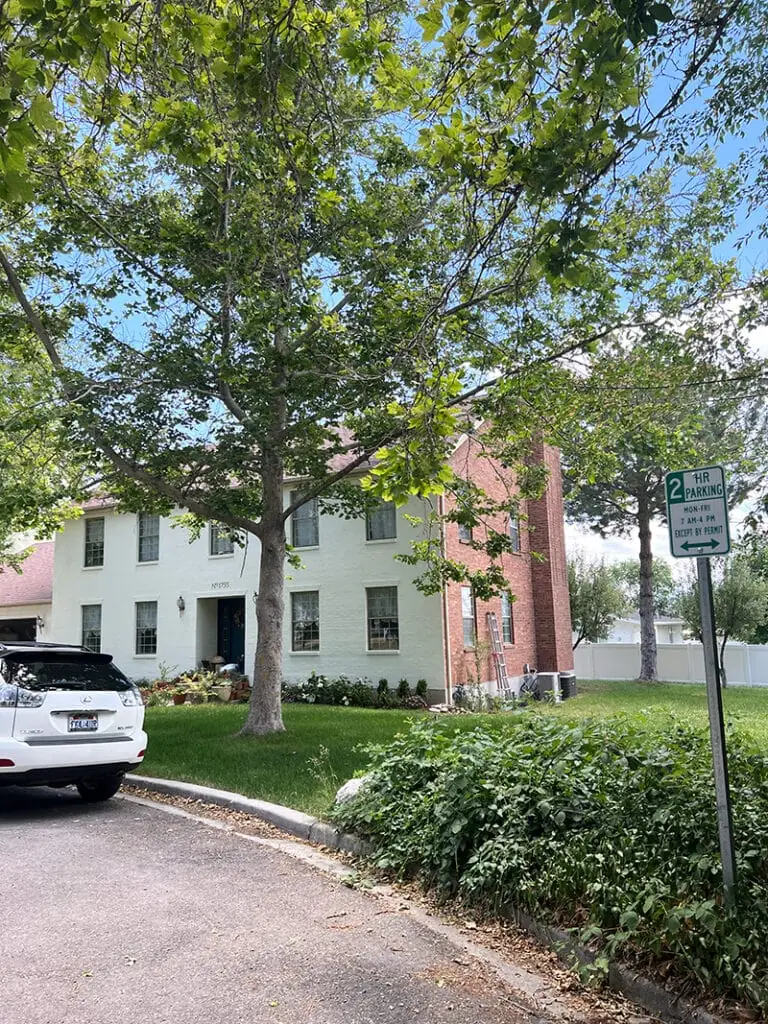
Now, because the filling of the holes pushed us back by about two weeks, we no longer had time to do the rest of the house…hahahaha! After the show wrapped up, we had to get back to life and took a break. The break was too long because by the time we got to it, the weather froze and you can’t work on it under 50 degrees. So at this point, the facade looks great and the rest of the house is half way patched up.
Everyone, and I mean everyone, helped out :).
Painting our brick house white
The tutorial video is over on our YouTube channel or at the top of this post but here’s the process:
- Fill in the holes with ready-mix concrete patch (optional)
- Sand down the concrete (optional)
- Apply Keim mineral bonding primer
- Apply Keim mineral silicate paint
Voila!
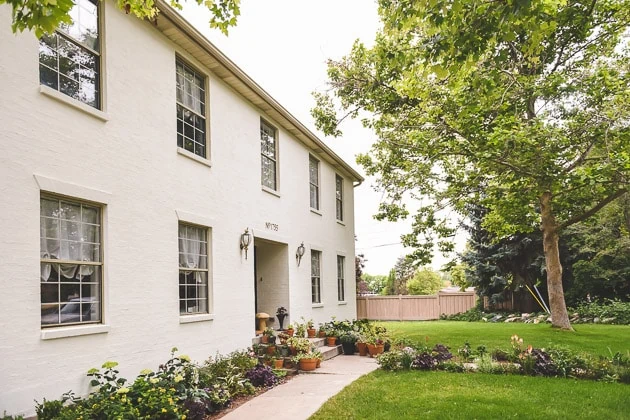
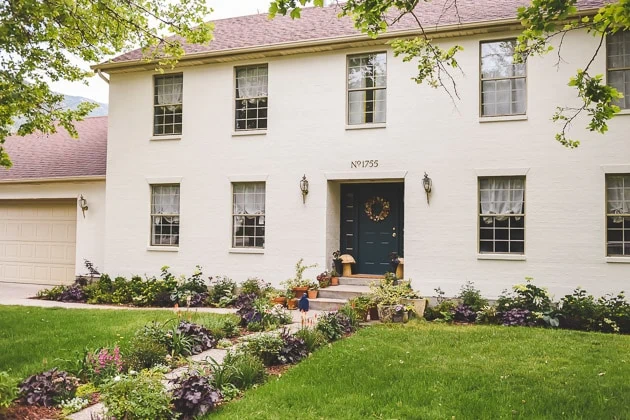
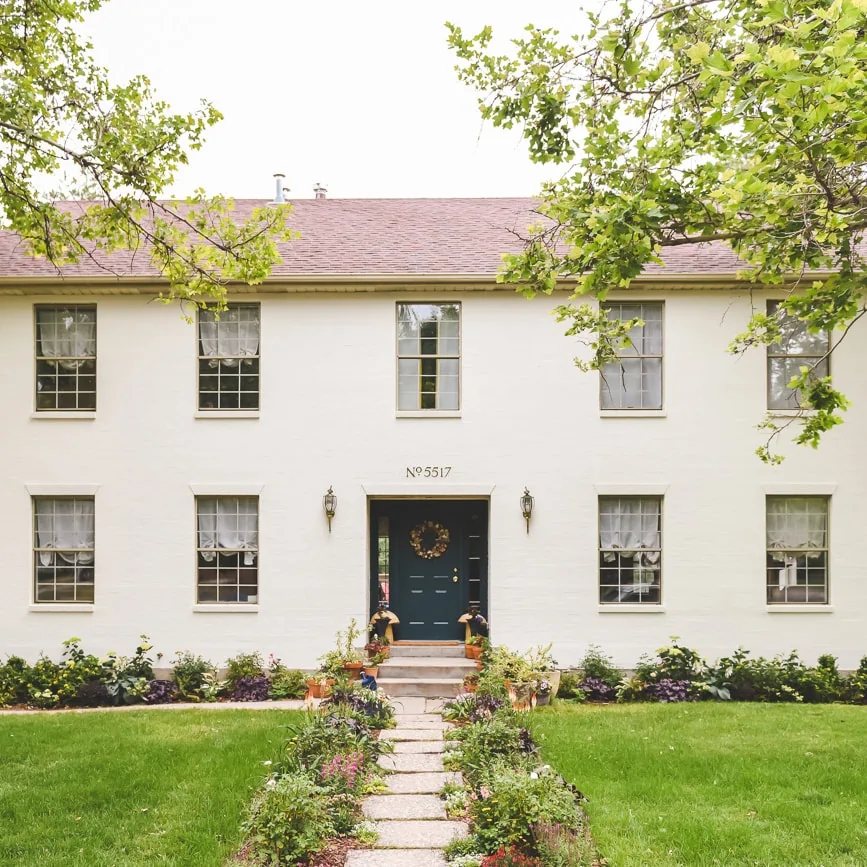
Ok! Here’s how it turned out!
Landscaping
One thing to note–it also looks SO much better because while we were filling in the holes and painting, we were also landscaping the house, which turned out to be a huge deal too. You can read more about that here.
Beautiful address numbers
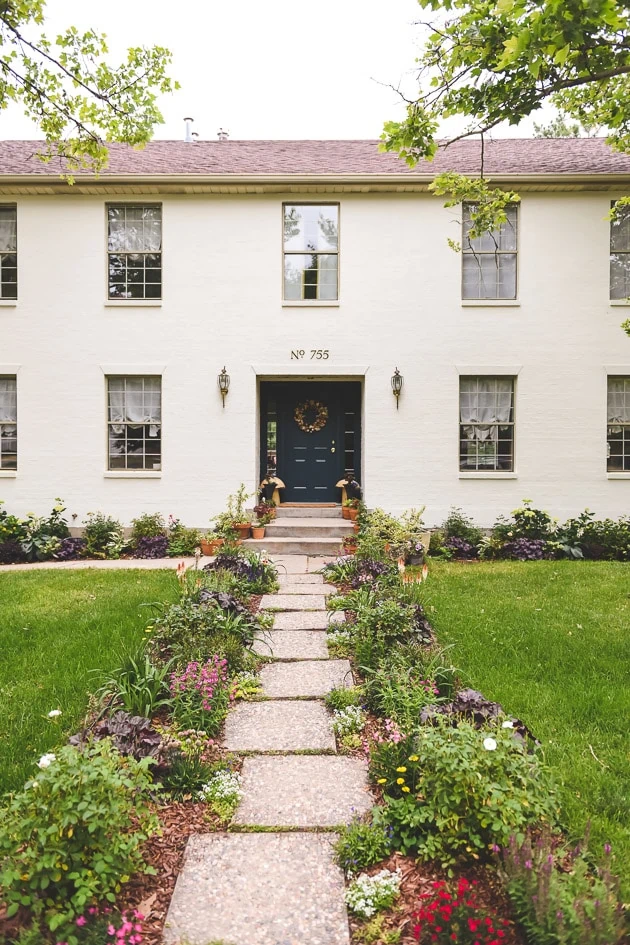
My friends at Drop Cap Studio graciously provided me with some beautiful brass numbers for the house. We chose the Trafalgar in brass. I adore the “No.” added before it. I think it adds a little something extra 🙂

Ok! That is it for now. When the weather warms up, I’ll be doing a video tutorial of how we painted the house so stay tuned for that. Also stay tuned for the drought tolerant landscaping we did to the entry and sides!
EDITED: The weather is finally better so we made a tutorial video on how to paint your brick white using mineral silicate paint.
Let me know if you have any questions!


Comments