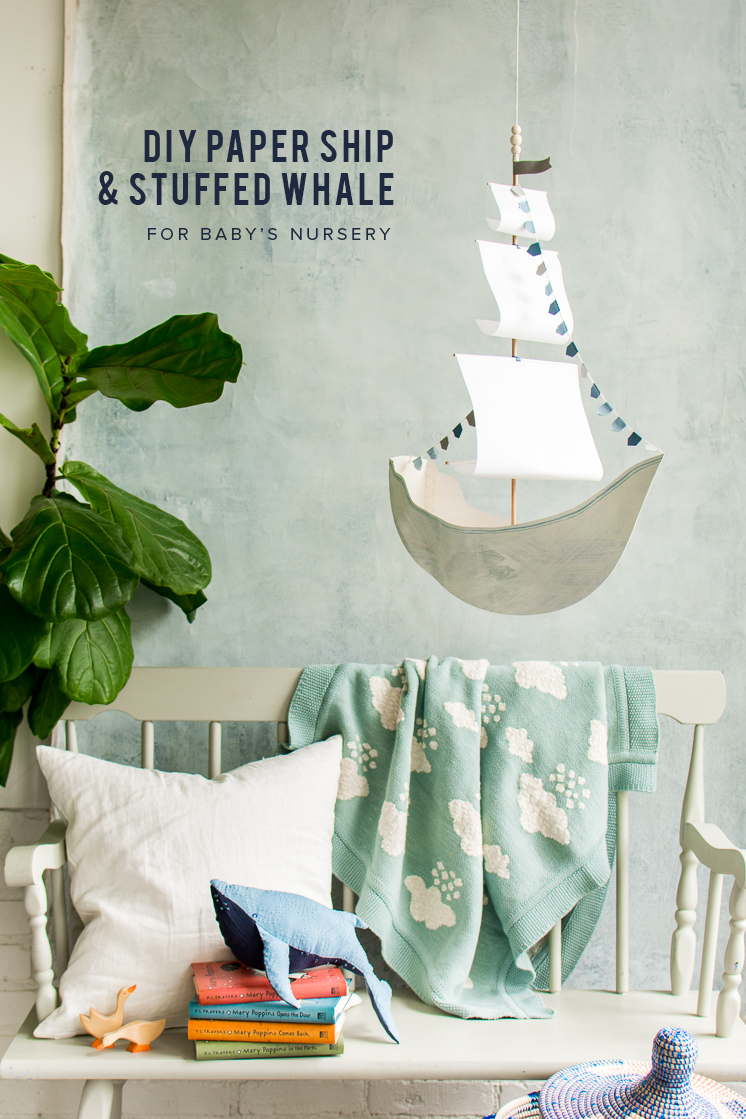
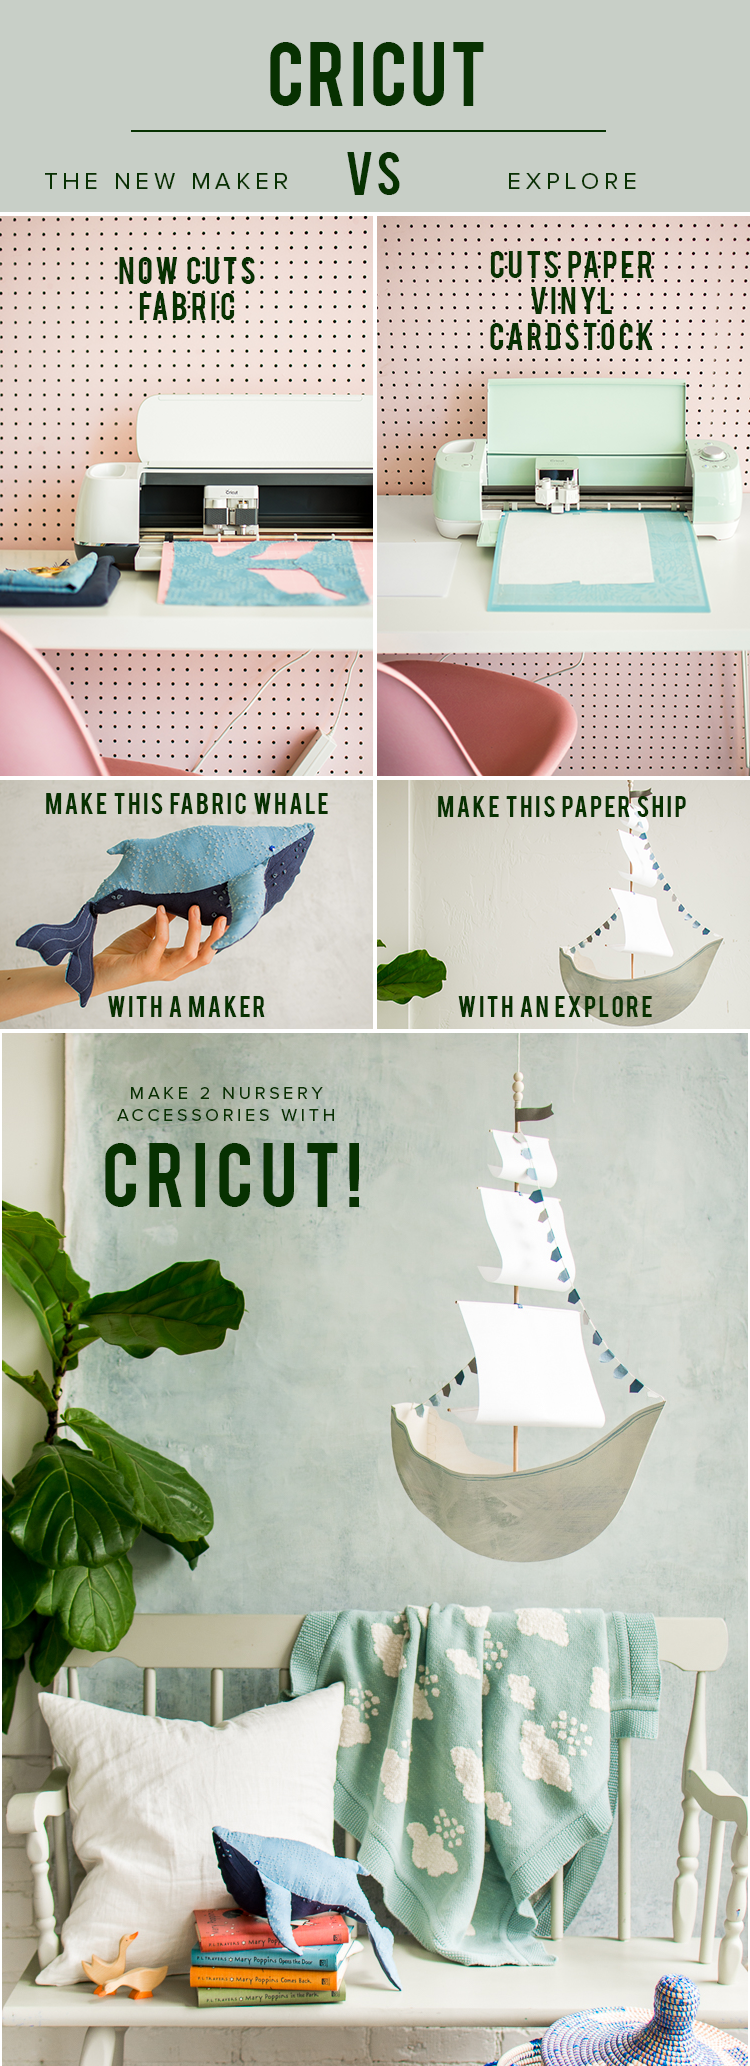
As you know from Monday’s post, Paul and I are thrilled to be having a baby boy in January. I didn’t think I could love anything besides baby girl accessories (aka: flowers and smocked dresses and stockings!), but the more I research, the more I’m really into getting into the whole baby boy vibe. It’s not where I would have gone naturally, but so far it’s been a fun challenge. We wasted no time in starting our preparations and today we teamed up with Cricut to showcase their brand new Maker machine versus their Explore machine, which we already love so much.
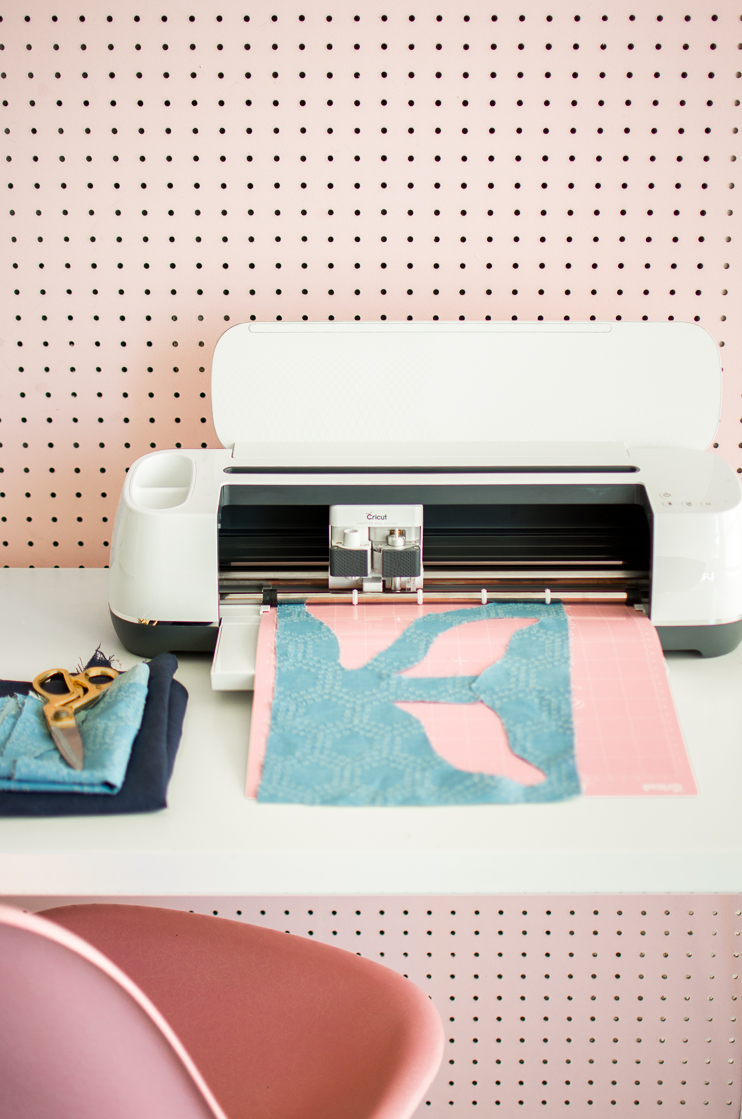
Here’s the thing about the new Maker machine: with their new rotary blade, you can cut out fabric! GAME CHANGER! Just think: patterns for dresses, blouses, kids toys, and STUFFED WHALES! Not only that, but soon with their knife blade you’ll be able to cut out wood. I attended their release party in July and I was truly impressed with its capabilities. One medium I’m particularly excited about is the holy grail, CREPE PAPER. You better believe that we’ll be putting our machine to work non-stop. In fact, we have a holiday garland in the works using the Maker.
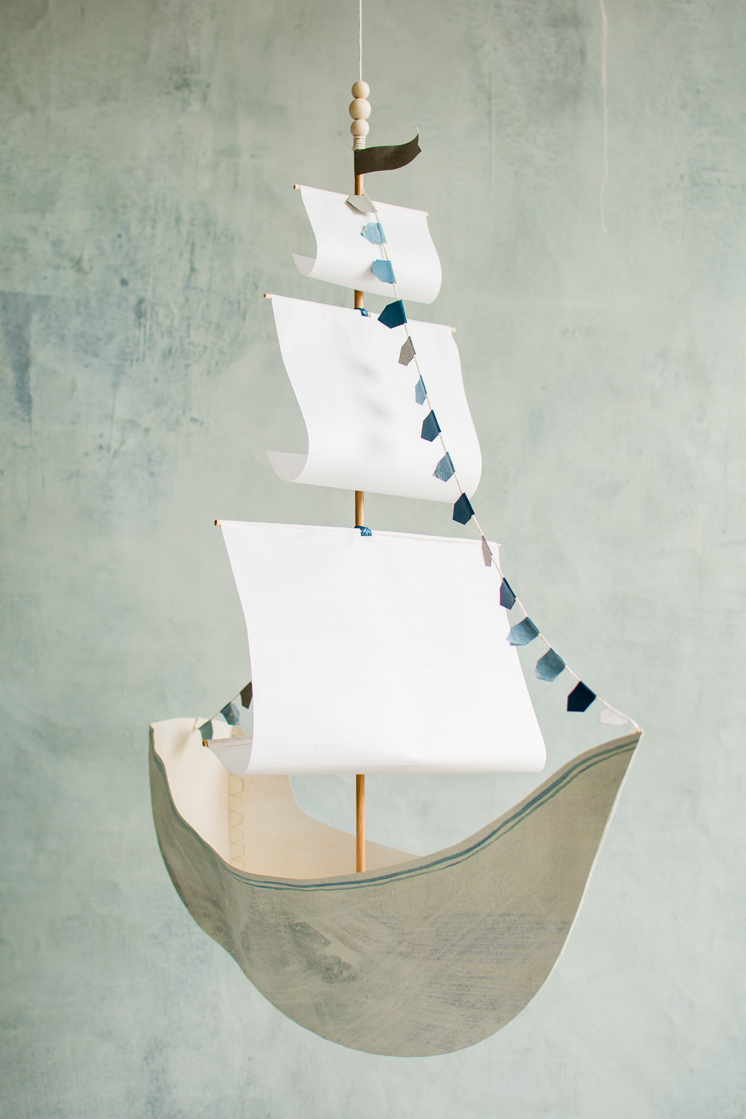
We’ve contrasted this with their Explore machine, which we still love for it’s capabilities with paper, particularly cardstock and vinyl. We created this paper ship entirely out of Cricut templates, which you can download and create on any Cricut machine. I can’t wait to put it up in our nursery. And to think it’s all been done using the Cricut machine! I’m just tickled….blue!
Get the templates below!
DIY stuffed whale
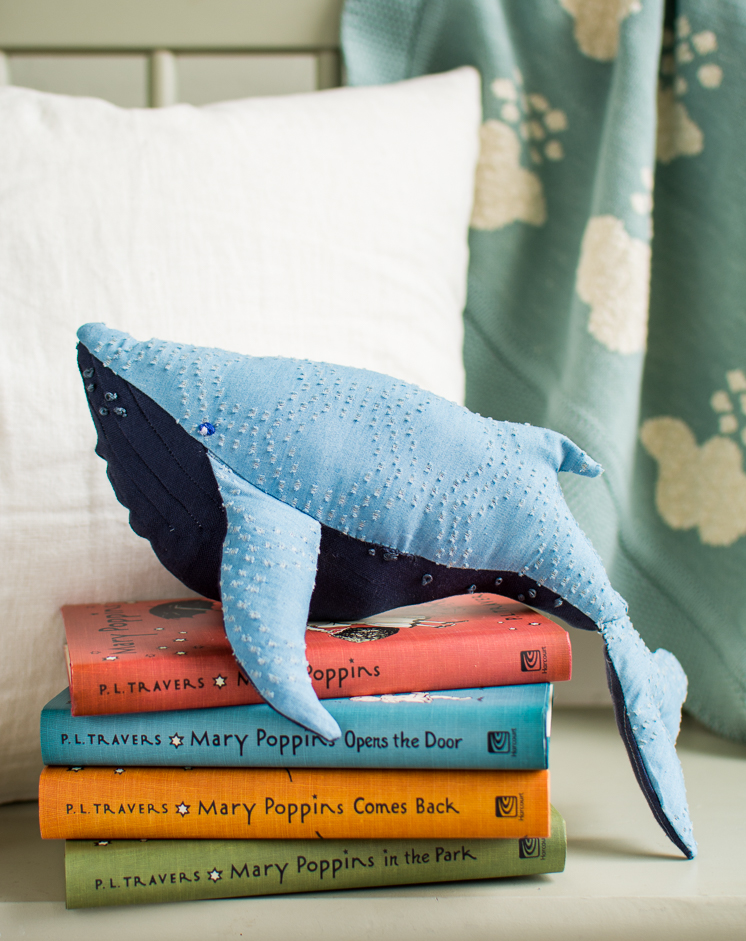
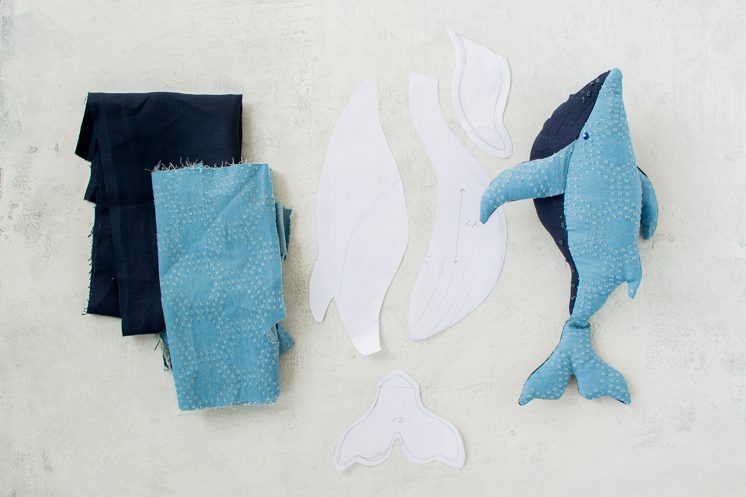
For the DIY stuffed whale, we gathered inspiration from a number of beautiful stuffed whales we spotted online and created our own version. All you have to do is use the Cricut Maker to cut them out using the templates provided below. For my little boy, I’m really digging a more earthy, slightly moodier vibe so I selected fabrics that feel more lived in like linens and this pretty chambray. Our resident seamstress Becca added in beautiful handmade details like the French knot barnacles, eyes, and some sweet pin tucks for more texture. I LOVE how it turned out! Look at all the beautiful details:
DIY Stuffed whale
Materials:
- fabric of your choice dark
- fabric of your choice light
- embroidery floss
- stuffing
- sewing machine
- Cricut Maker
- templates (also included are PDFs in case you’d like to do it by hand)
Instructions:
- Cut out the whale pieces using your Cricut Maker or by hand
- Sew any lines or pintucks to add texture to your pieces before you begin construction.
- Pin the two lower whale pieces together (right sides together) and sew just along the bottom seam
- Pin the two upper whale pieces together (right sides together) and sew along just the top seam
- Pin the two fin pieces together and sew along the edges, leaving the bottom edge open so you can stuff it. Repeat with the other fin.
- Pin the two tail pieces together and sew along the edges, leaving the bottom edge open to stuff.
- Stuff the tail and two fins lightly with stuffing.
- Pin the two tails to the left and right side of the bottom portion of the whale, about 2.5-inches from the nose of the whale. Sew with 1/4-inch seam allowance
- Once your fins are attached to the base of the whale, pin the base of the whale to the top portion, right sides together, and sew. Leave a whole at the end of the whale (don’t sew on the tail yet!)
- Once sewn, turn inside out, and stuff with badding until firm.
- Pin the tail on at the end and sew.
- Add french knots and a pair of eyes with embroidery floss.
DIY paper ship
For the paper ship, I recalled one of the very first images I ever put here on The House That Lars Built, which I can’t seem to locate anymore, but it’s this gorgeous crystal ship chandelier in the home of designer, Nanette Lepore. I LOVE the whimsical feel it brings into the room and I wanted to do it in paper. After lots of research, I found a lot of people making them in papier mache and fabric, but I wanted something easy to whip out on a Cricut Explore machine. I’m in LOVE! We added in some paper bunting, flags, wood beads, and a couple of handpainted elements to set the nautical vibe.
DIY paper ship
Materials:
- 3 sheets of light weight paper
- poster board or art paper (we used this <https://www.dickblick.com/
products/bfk-rives- printmaking-papers/) - 12x 24″ Cricut mat for cutting on
- 2′ 1/4″ wood dowel
- 4 bamboo skewers
- craft knife
- blue thread
- 3 wood beads
- natural twine
- blue and white acrylic paint + paint brush(optional)
- cardstock for flags
- hot glue gun
- craft or school glue
- templates
Instructions
- (Optional) Water down blue and white acrylic paint and apply several layers onto your poster board or art paper with a loose hand (you want to be able to see the drips and paint strokes). Allow each layer to dry before painting the next. We did one layer of blue and then two layers of white. Allow paper to dry completely before cutting.
- Cut out the ship components from the templates provided, using the Cricut or by hand.
- (See photos for this) Use a craft knife to score the ship pieces along the base of the notches. Fold notches up as seen in photos. Use hot glue on the folded flaps to attach the two ship sides together. Do the same to attach the back of the ship to the two sides.
- Cut the three sail pieces from very light weight paper from the templates provided, using the Cricut or by hand.
- Cut the bamboo skewers to the following lengths: 4.75 inch, 7 inch, and two full length skewers. Glue the skewers at the following measurements on the dowel: 4.75 inch skewer 2 inches from the top of the dowel, 7 inch skewer 5 inches from the top of the dowel, one full length skewer 11 inches from the top of the dowel, and the other full length skewer 16.5 inches from the top of the dowel. Wrap blue thread in an X pattern around the joints of the skewers and dowels.
- Glue the top edge of each sail and the bottom edge of the largest sail around the bamboo skewers. Curl the bottom edge of the smallest sail upward and hot glue to the dowel. Repeat with the bottom of the medium sized sail.
- Find the rectangular piece of the ship. Measure in .5 inch from each short side and score parallel to the short edge. Fold each edge upward. Insert the bottom of the dowel into the cut X in the center of the rectangular piece. Hot glue around the underside where the dowel meets the rectangular piece of paper. Hot glue the folded up flaps to the inside of the ship.
- Fold and glue bunting pieces around natural twine and attach the the paper ship and dowel. Glue the flag one inch down from the tip of the wooden dowel.
- Glue and wrap twine around the tip of the dowel and string wooden beads on the twine.
If you’ve never bought a Cricut machine and you’re thinking of making the investment, here’s the breakdown of some things you can do with it.
Pretty much, if you work more with fabrics and clothing patterns, the Maker is for you. If you’re more of a paper crafter, I’d suggest sticking with the Explore. We’ll be sharing more projects using our Cricut machines in the future (as we always do!) and I cant let you know more about the capabilities. In the mean time, feel free to ask any questions!
Photos by Clara Sumsion for The House That Lars Built | Crafting by Rebecca Hansen, Drew Toolson, Maddie Blake, Ashley Isenhour
This is a sponsored conversation written by me on behalf of Cricut. The opinions and text are all mine.




Comments