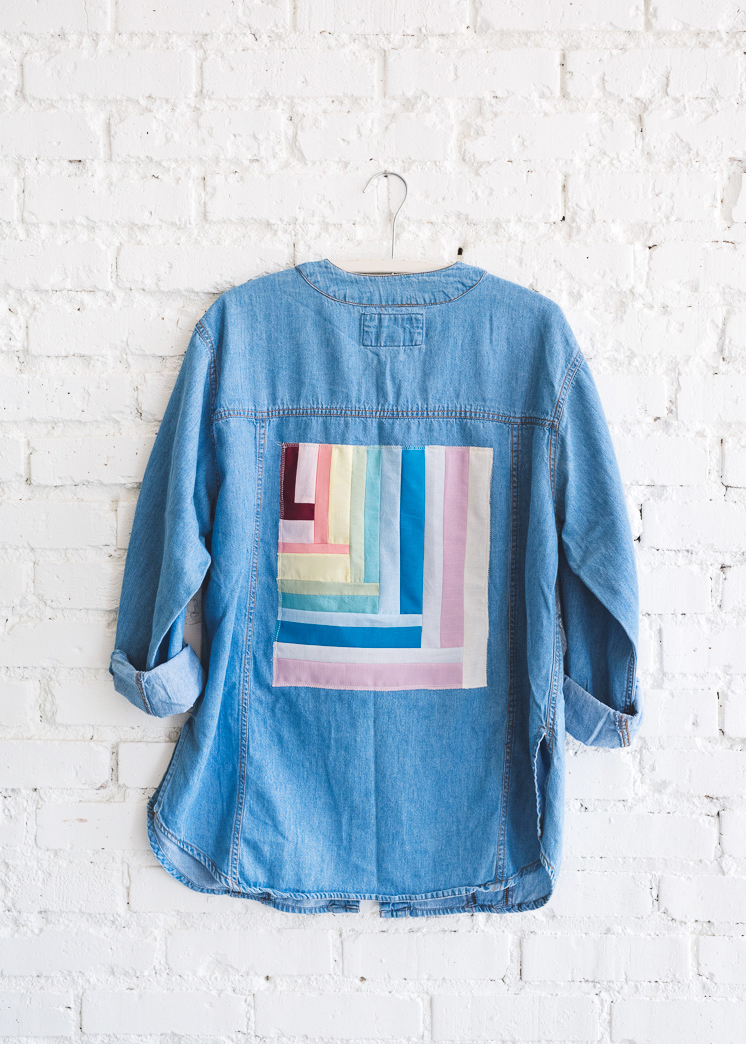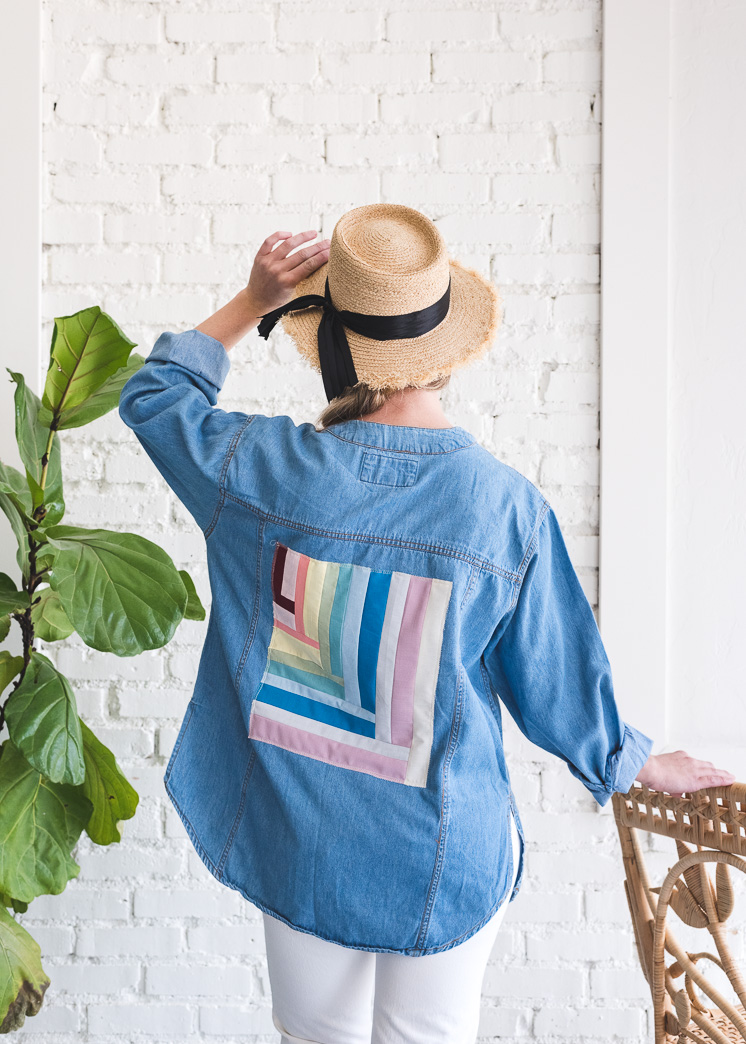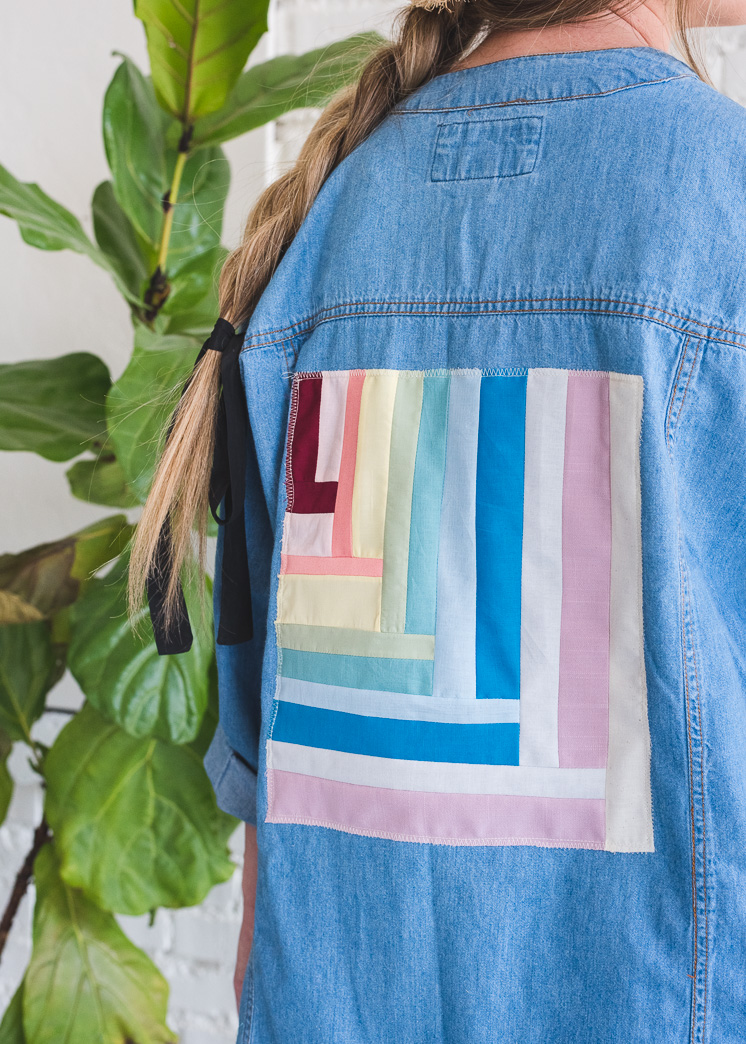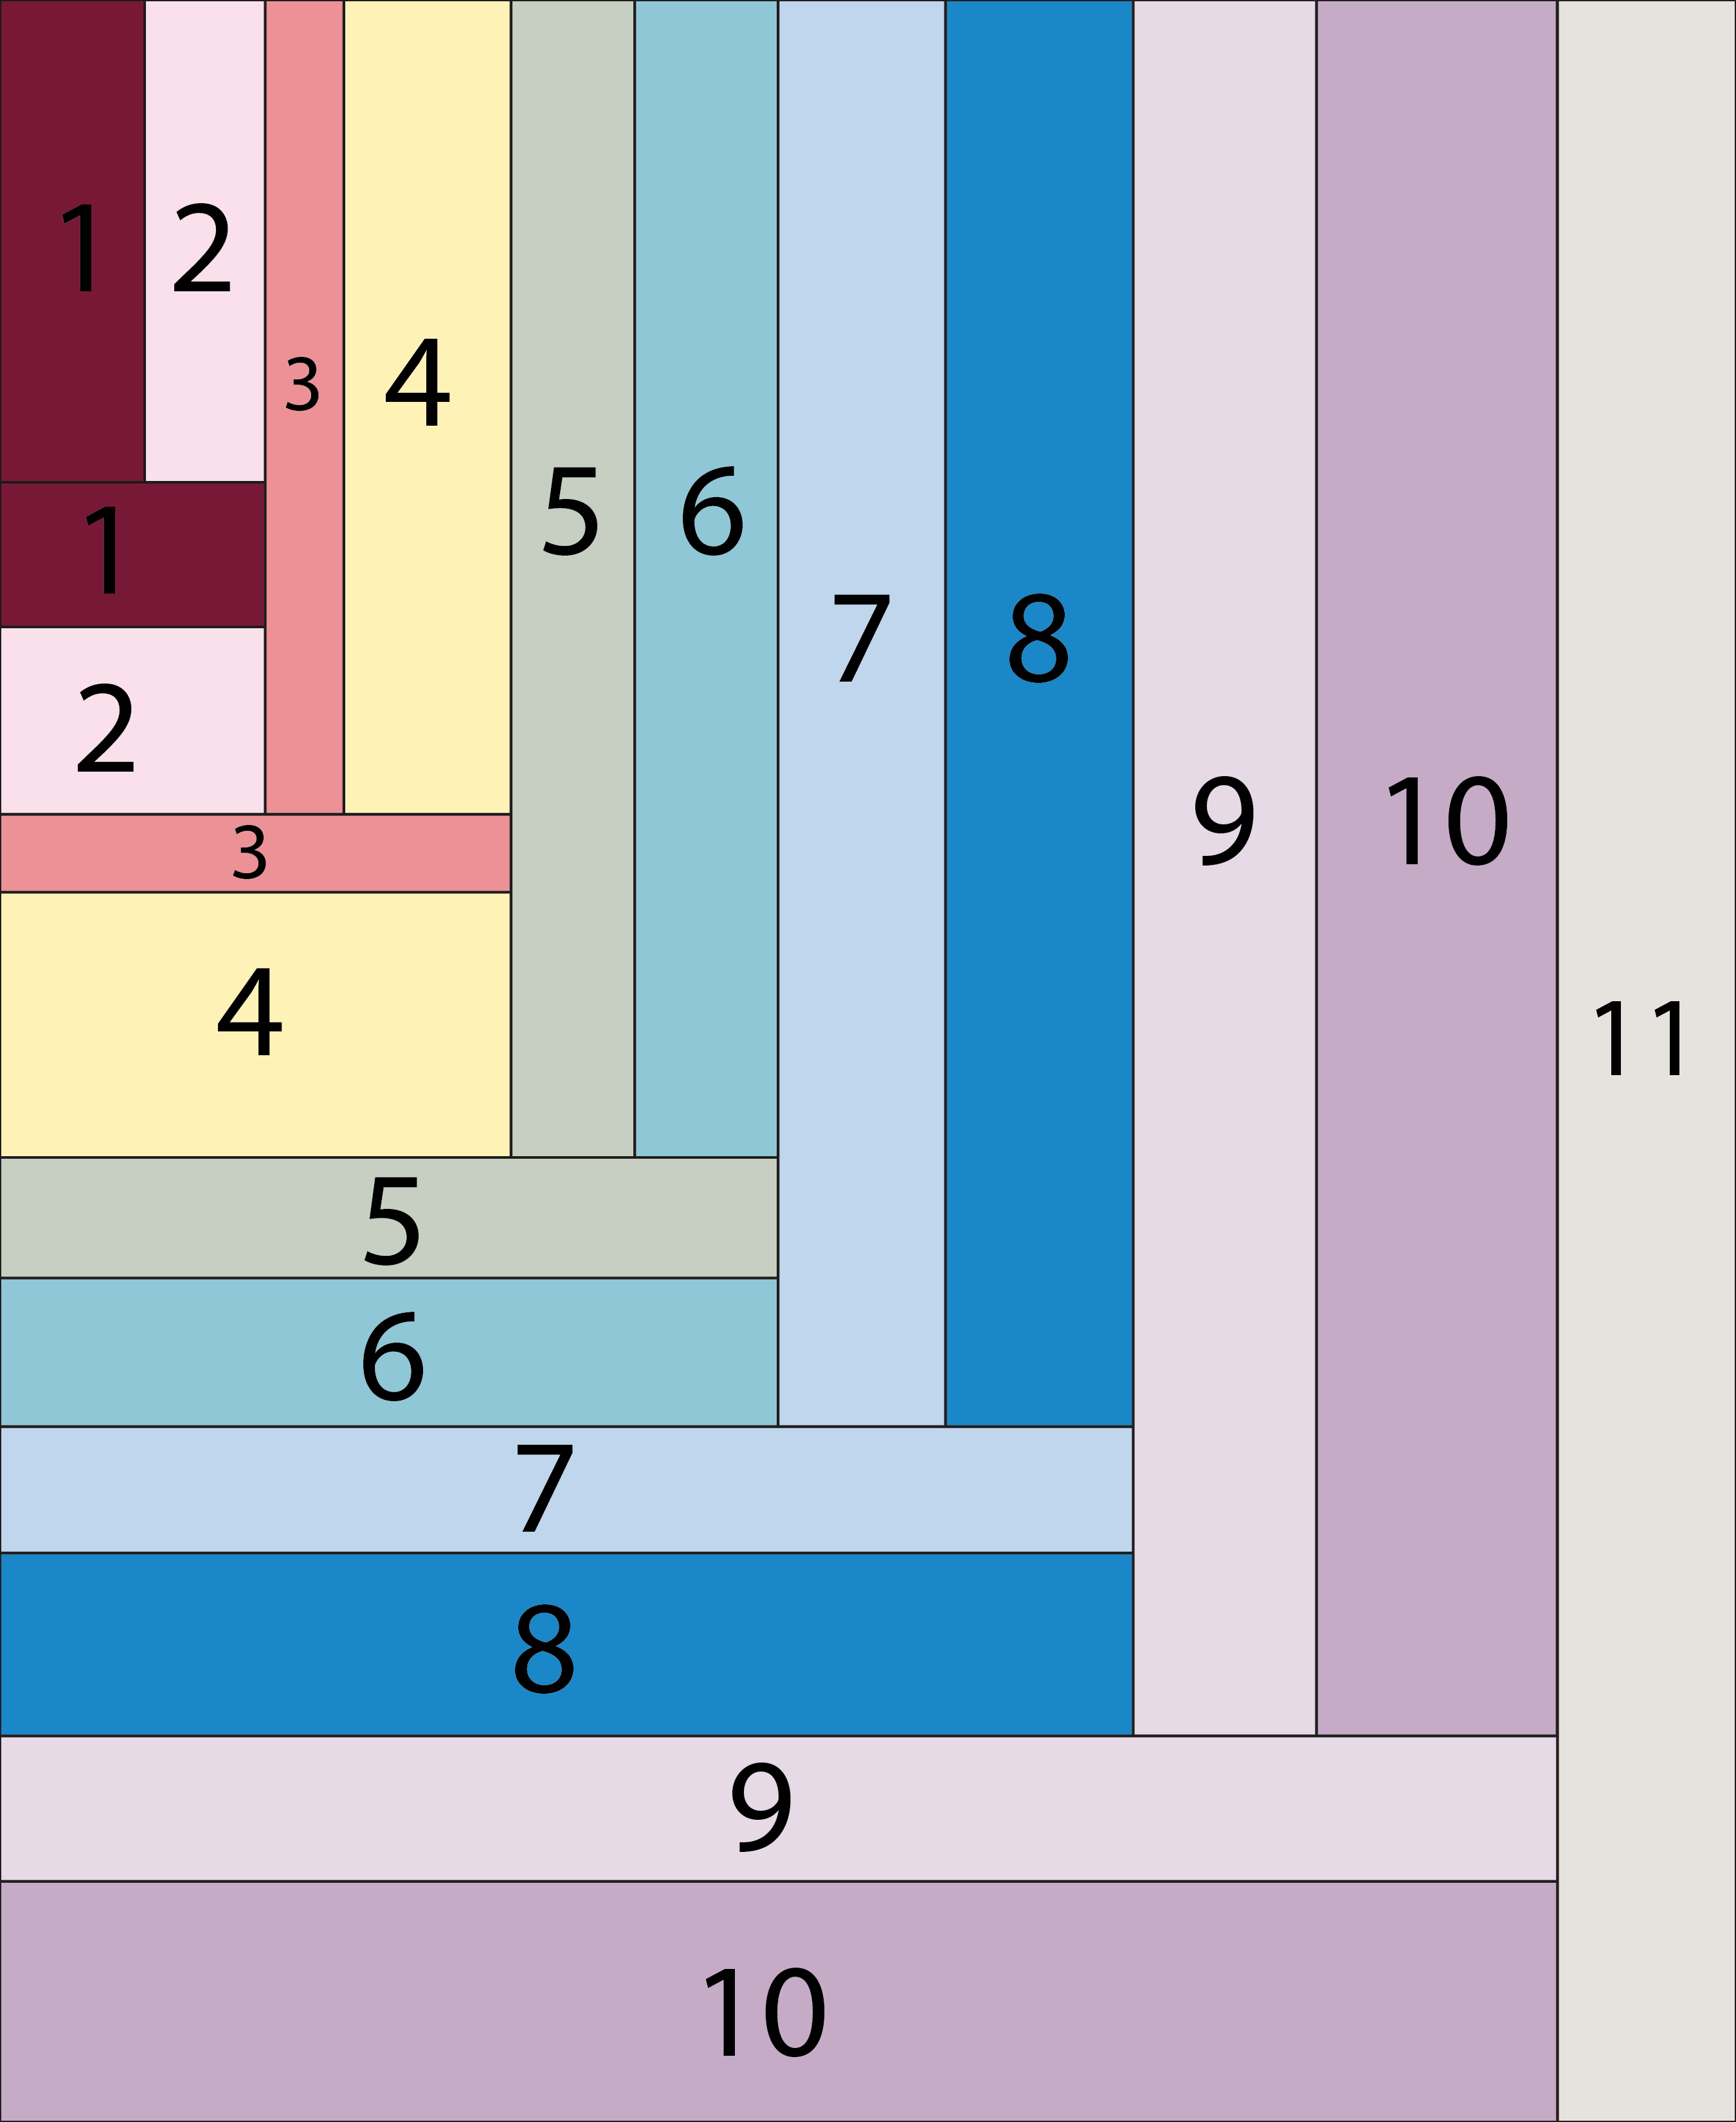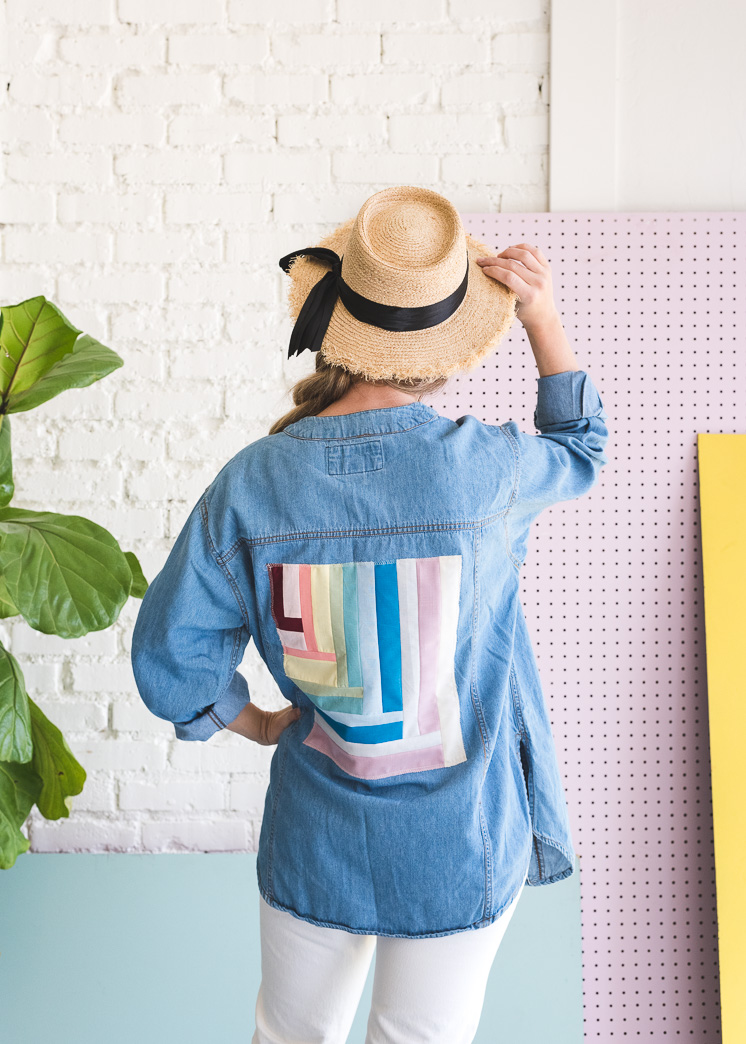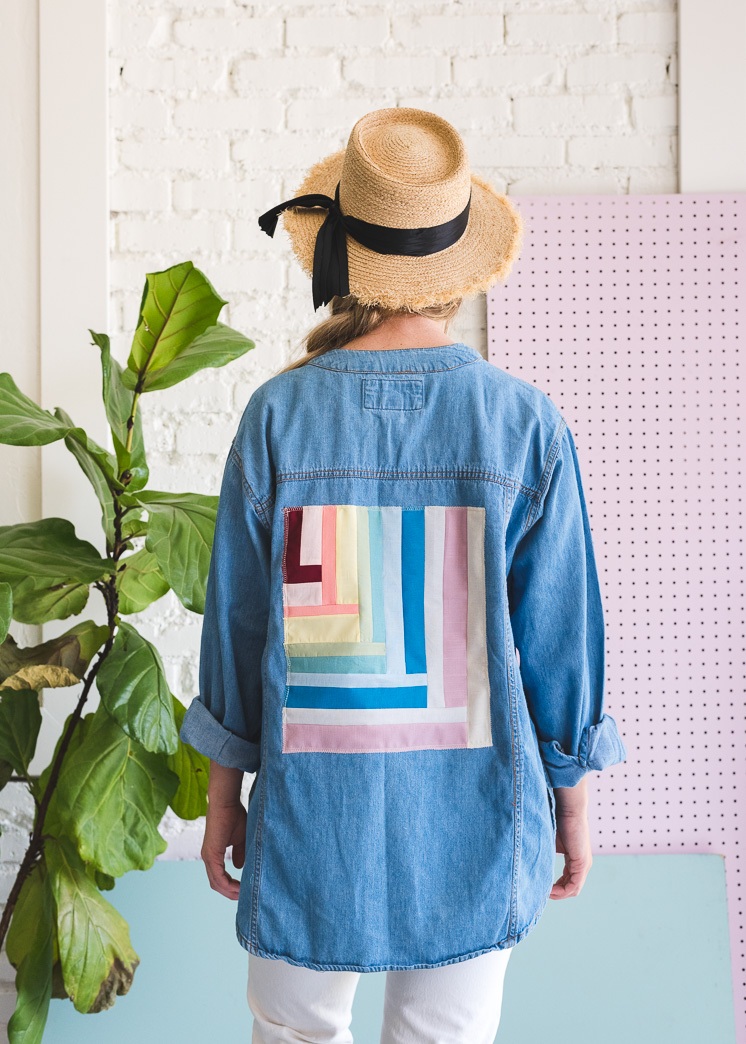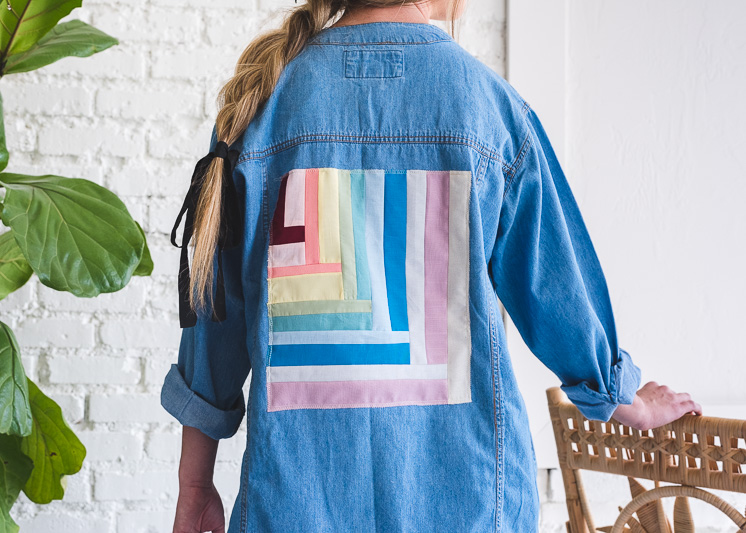
Continue to see a graphic to make your own!
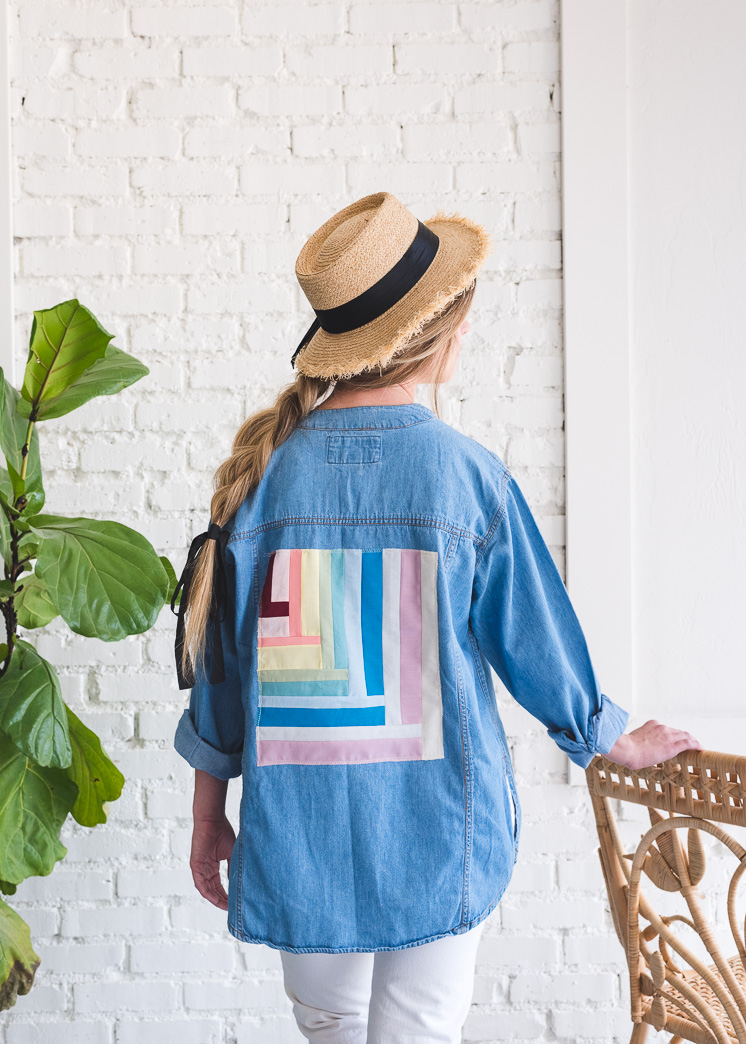
Denim Jacket Quilted Applique
Materials:
- Denim shirt or jacket. We chose an oversized, second-hand option. Use whatever medium your heart desires!
- 1/16-1/8 yards of fabric in 11 colors. This number can be customized to your liking.
- Scissors
- Sewing machine and thread
Instructions:
- Map out the total area you want to cover with your applique and mark with tape. Ours is approximately 10-inches wide and 12-inches long.
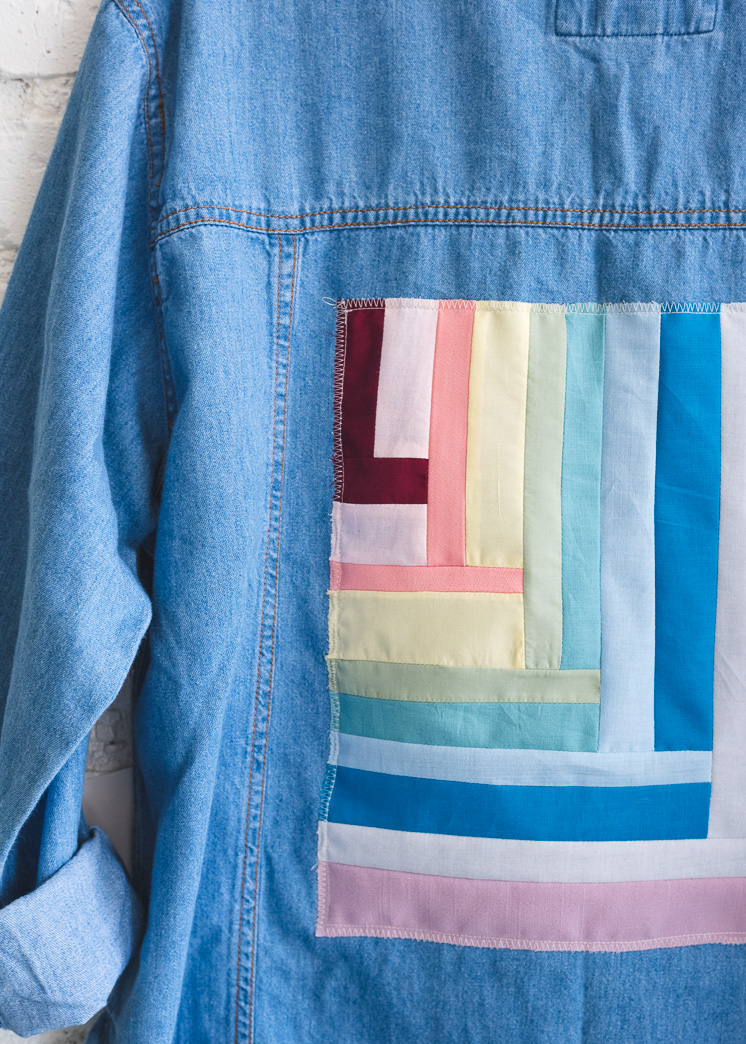
- Using the graphic provided, cut out your fabric strips. We wanted our pattern to have an imperfect look, so we hand cut all our strips in varying widths and lengths. However, if you wanted everything to be precise, you can make each strip the same width and increase the lengths by 1-inch with each color.
- We sewed all the strips together using a 1/4-inch seam allowance. You must account for this when cutting out your strips. i.e. If you want a 1-inch wide strip, cut a 1.5-inch strip to include 1/4-inch seam allowance on both sides.
- The basic pattern for sewing is: sew 2 verticle strips together, then sew the 2 horizontal strips to the bottom of the verticle strips. Repeat with 2 more verticle strips and then 2 more horizontal strips and so on.
- As you sew the strips together, iron your seam allowances open to keep bulk at a minimum.
- Looking at our pattern, start in the top left, and take the two shortest strips.
- Once you have your completed “mini-quilt,” pin to your shirt, ensuring that you’re only pinning through the back layer and not the front.
- Sew around the edges of the patch, about 1/4-inch inside the edge, with a basic straight stitch.
- Then sew around the edges again, but with a zigzag stitch making sure to catch the edge of the applique to avoid the fabric edges from fraying.
Photography by Jane Merritt | Sewing and Design by Rebecca Hansen | Modeling by Taylor Willis


