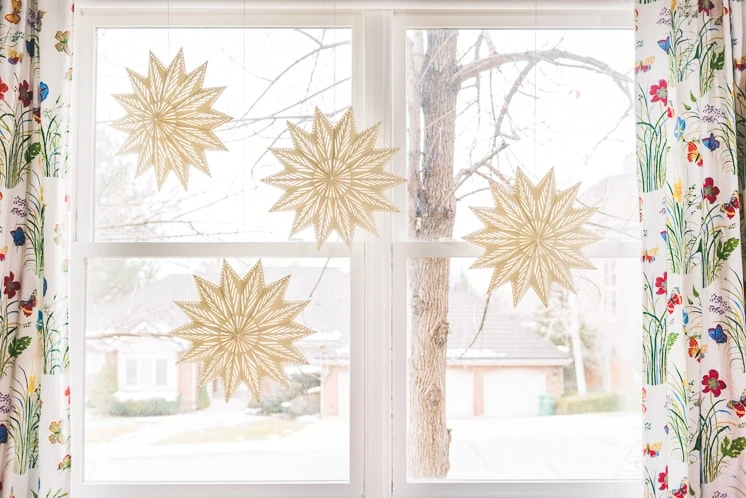
With winter in full swing, I was searching for something to warm up my home during the dark, cold months. These Oversized Paper Christmas Stars were the perfect solution. These magical stars have are a common sight during the Christmas season in Scandinavian countries and have recently gained popularity in the United States and Canada. Traditionally hung in the window and filled with string lights, the stars would welcome visitors during the long and dark winters. We used our Cricut machine to create a small version to use as a tree topper a few weeks ago, so make sure you check out that post for a handful of Swedish-inspired Christmas decorations! These stars use the same templates, we just enlarged the size for an oversized result.
Learn how to make your own Oversized Paper Christmas Stars to welcome visitors this season!
Materials:
Oversized Paper Christmas Stars
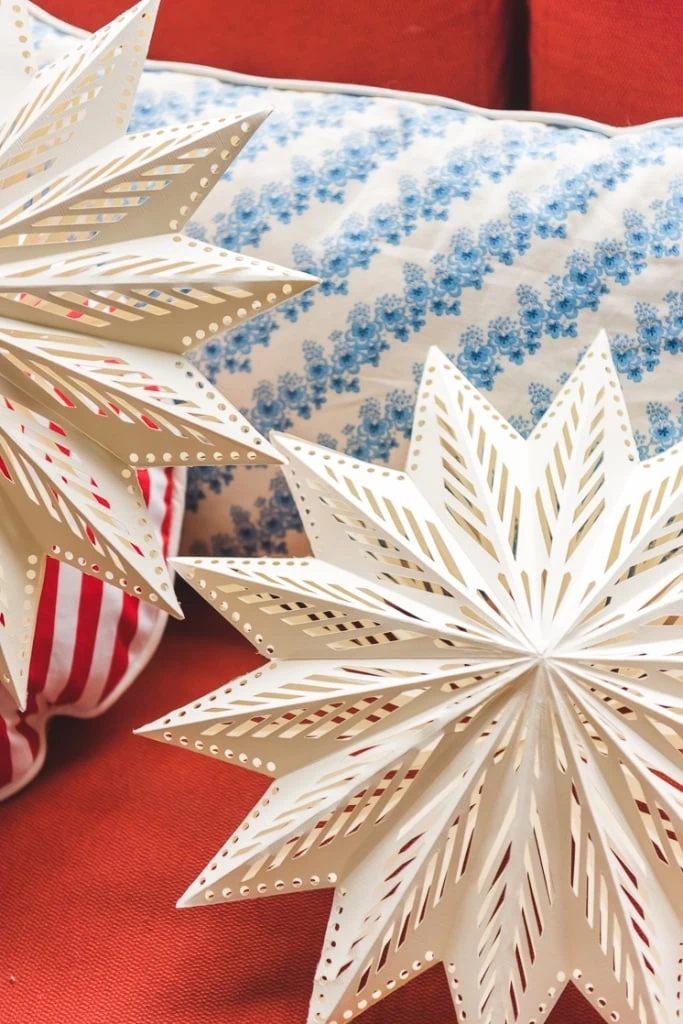
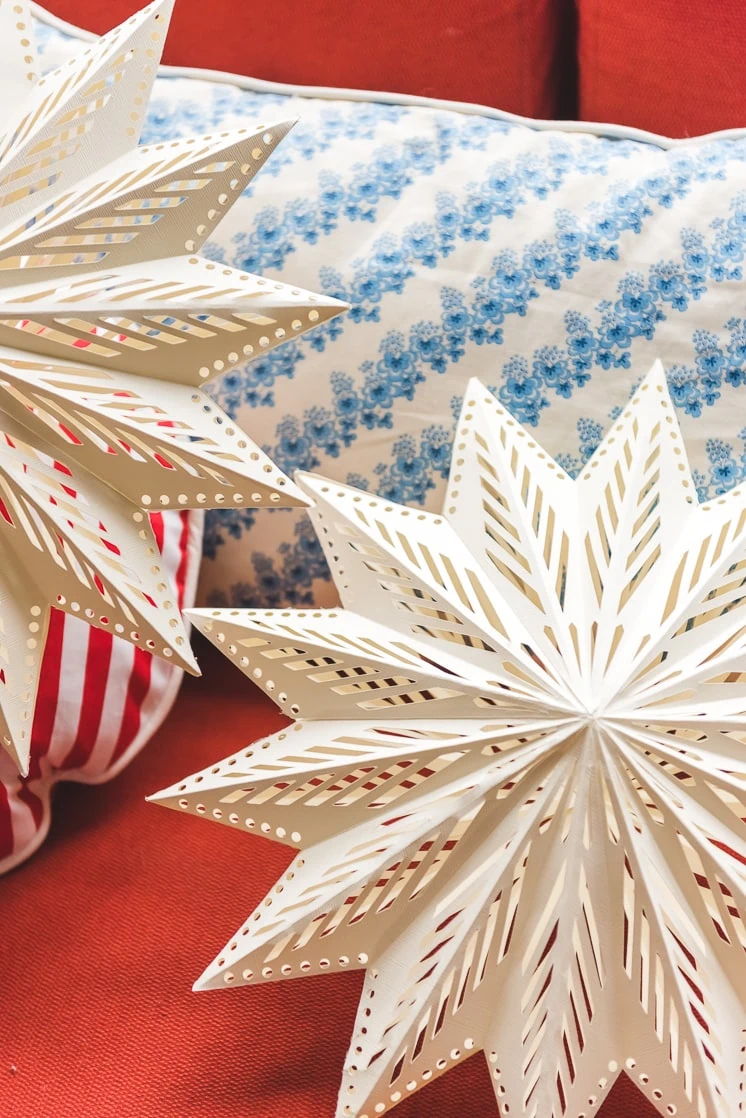
For this project, we used a cream-colored cardstock with textured lines. Using textured paper will add a unique element to the stars, but of course feel free to experiment with different colors and textures to create your star! Each paper star is constructed of sixteen segments, eight for the front of the star and eight for the back. As a note, you can adjust the size of your star template if you would like. If you decide to make it smaller than the default size, you may end up only needing fourteen, rather than sixteen pieces of paper.
We used our Cricut machine to create each segment of the paper stars. Then we used hot glue to piece them together. Before gluing the pieces together, we used a ruler and a craft knife to create a sharper score line. This will help the points and edges fold neatly. To add stability, we used a hot glue gun to connect the front and back pieces of the star together.
How to Make Oversized Paper Christmas Stars
Prepping the Paper
- First, use the SVG template of the Christmas paper stars found here to cut out the stars on your cricut machine. If you use the default size of the template, you will need 16 total pieces of paper for each star (8 for the front, 8 for the back).
- Next, take a ruler and a craft knife and add score lines, using the pdf found here as a reference. This will create a crisp fold line for a more precise star. Make sure not to cut all the way through the paper!
- Now, fold each section of paper along the score lines you just made.
Assembling the Sections
- Using the hot glue gun, glue each segment together using the side tabs. As you do this, you’ll see your star start to take shape.
- Create 2 star faces, one for the front and one for the back, each with 8 segments or 16 points. Note: if you adjust your template so it’s a bit smaller, you may only need 7 segments for each side.
- The next step is to connect the front and back pieces together. To do this, hot glue the star points together with the side tabs.
- You may want to leave a small opening on one of the points to use as a tree topper or to facilitate hanging.
- Use fishing line or twine to hang.
Styling your Oversized Paper Christmas Stars
I love how delicate and beautiful these paper stars are! There’s something about their size and the intricate design that makes them the perfect option to hang in a window, over a mantlepiece, or along a bannister. They would also be exquisite hung over a table as a way to add to your Christmas tablescape.
We would love to see the ways you use your oversized paper Christmas stars!
More Inspiration
Did you love this tutorial on how to make oversized paper Christmas stars? Us too. If you can’t get enough and want more seasonal projects to work on, check out these other great Christmas Decor Ideas.
You can also visit our shop for more holiday printables and templates!







Comments