 Our friends at Cricut just came out with a new product called Infusible Ink and I was honored to be a part of their new commercial (you can watch it here!). They filmed my actual reaction to the product reveal and let me tell you, those reactions are 100% real. Take a lookie!
Let me tell you why.
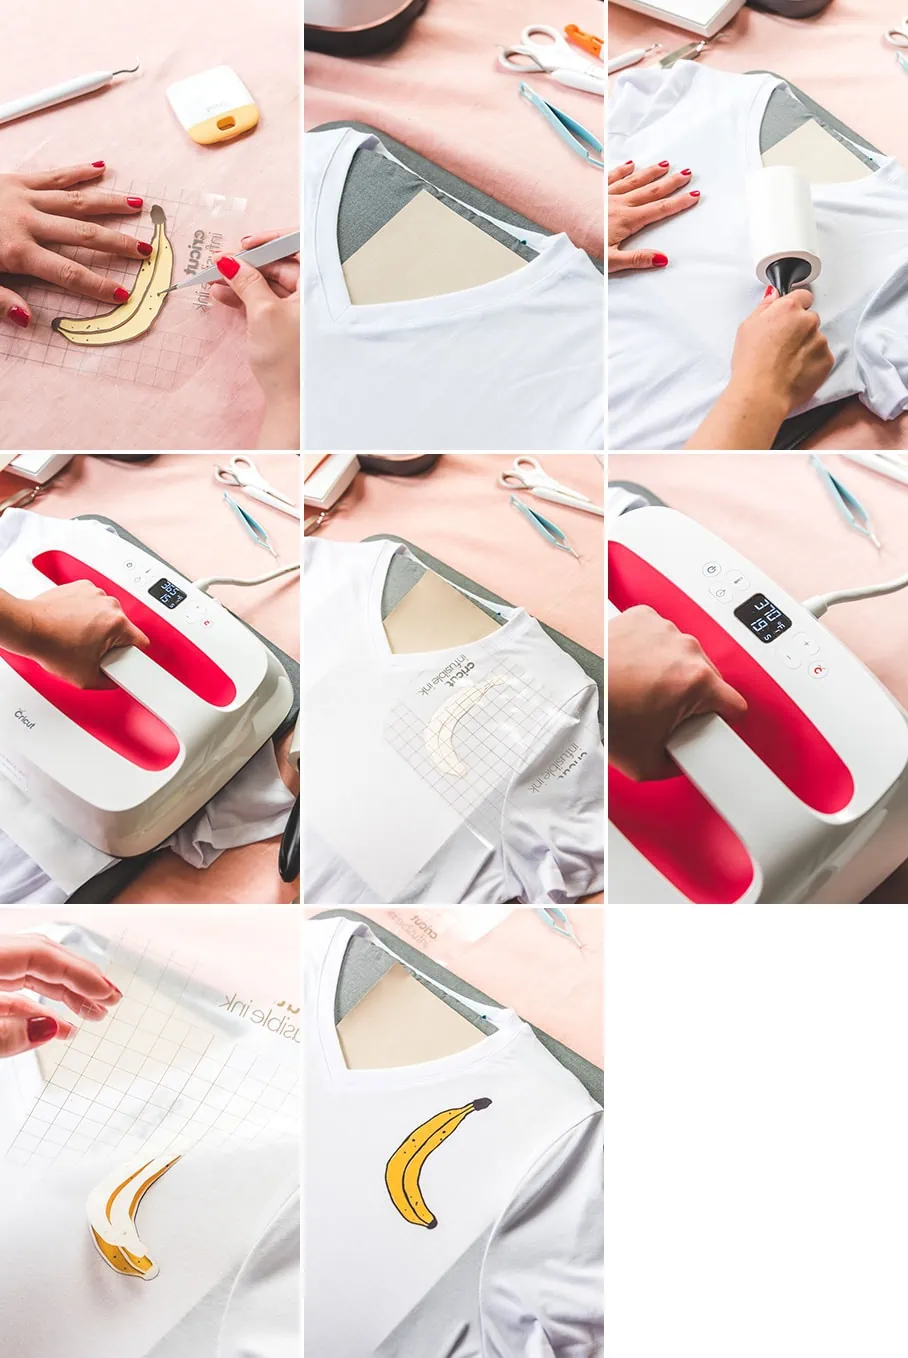
During the filming of the commercial, I couldn’t help but think how we would use Infusible Ink. If you’re familiar with Cricut vinyls, the process is similar in how you prep the it–you cut out the shapes on the Cricut, then lay it on your product, then use the Easy Press to adhere it. It’s the same process, BUT, this time, some sort of magic soaks into the material and stays there. It’s IN the material, not on top. It’s pretty awesome! Not only that, it’s peel and crack proof and has a professional quality of printing. The beauty is that you can do it yourself! Of course we’re big fans!
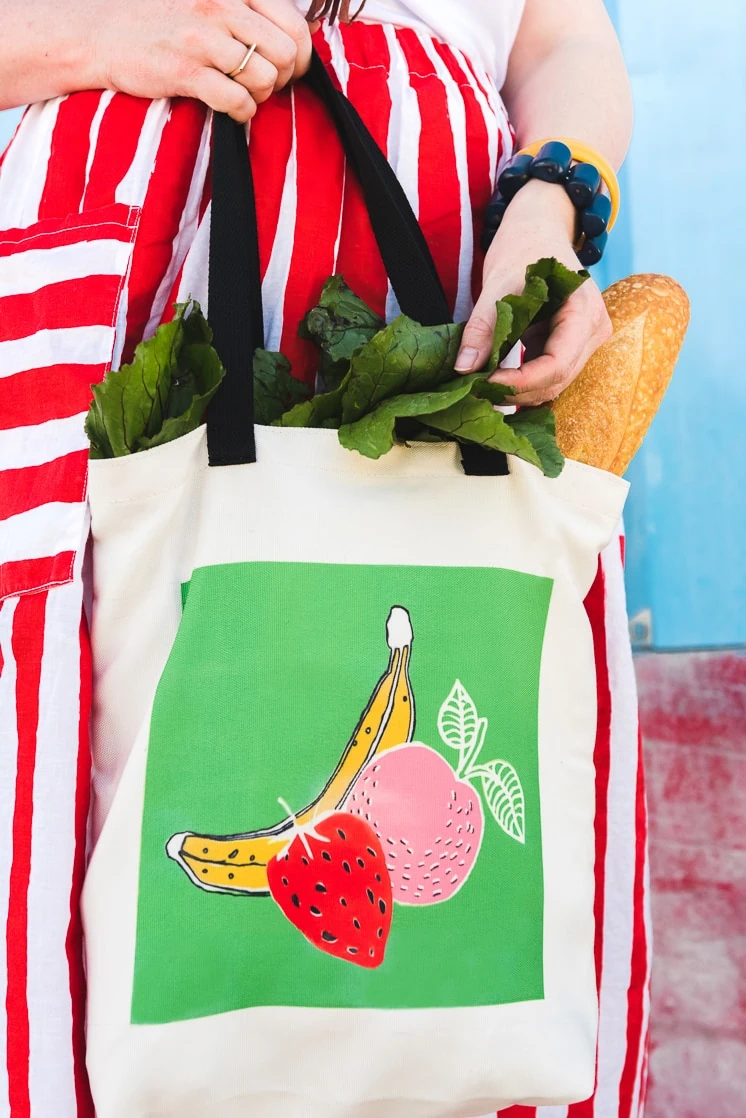
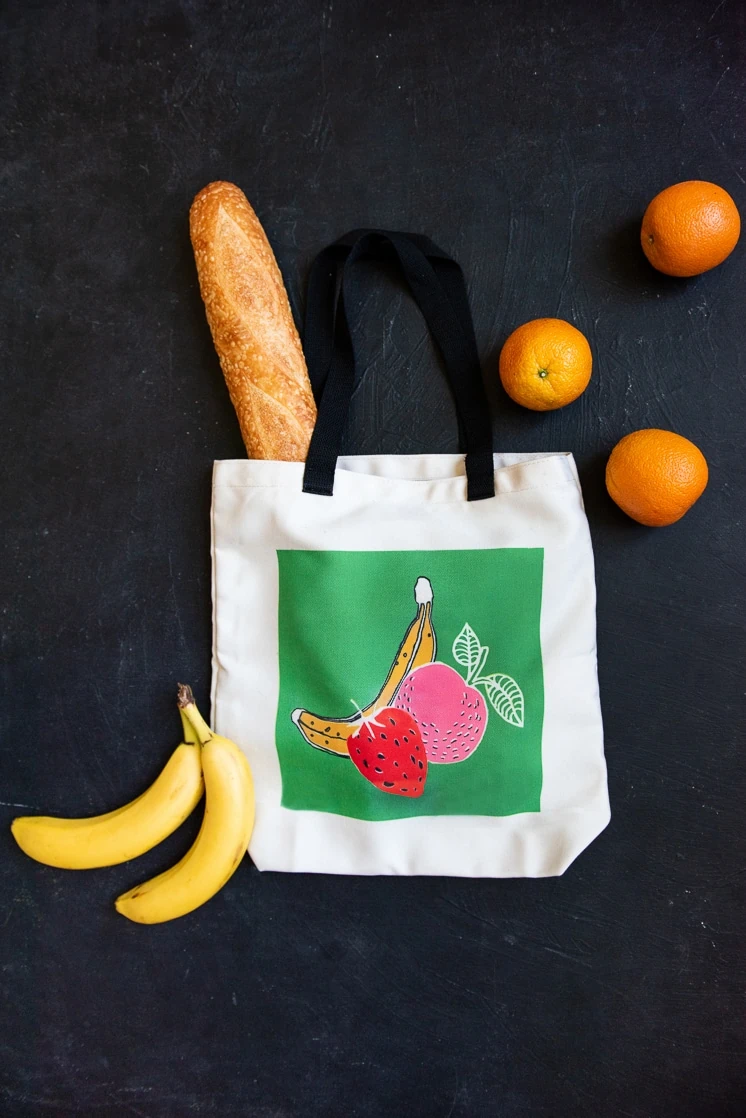
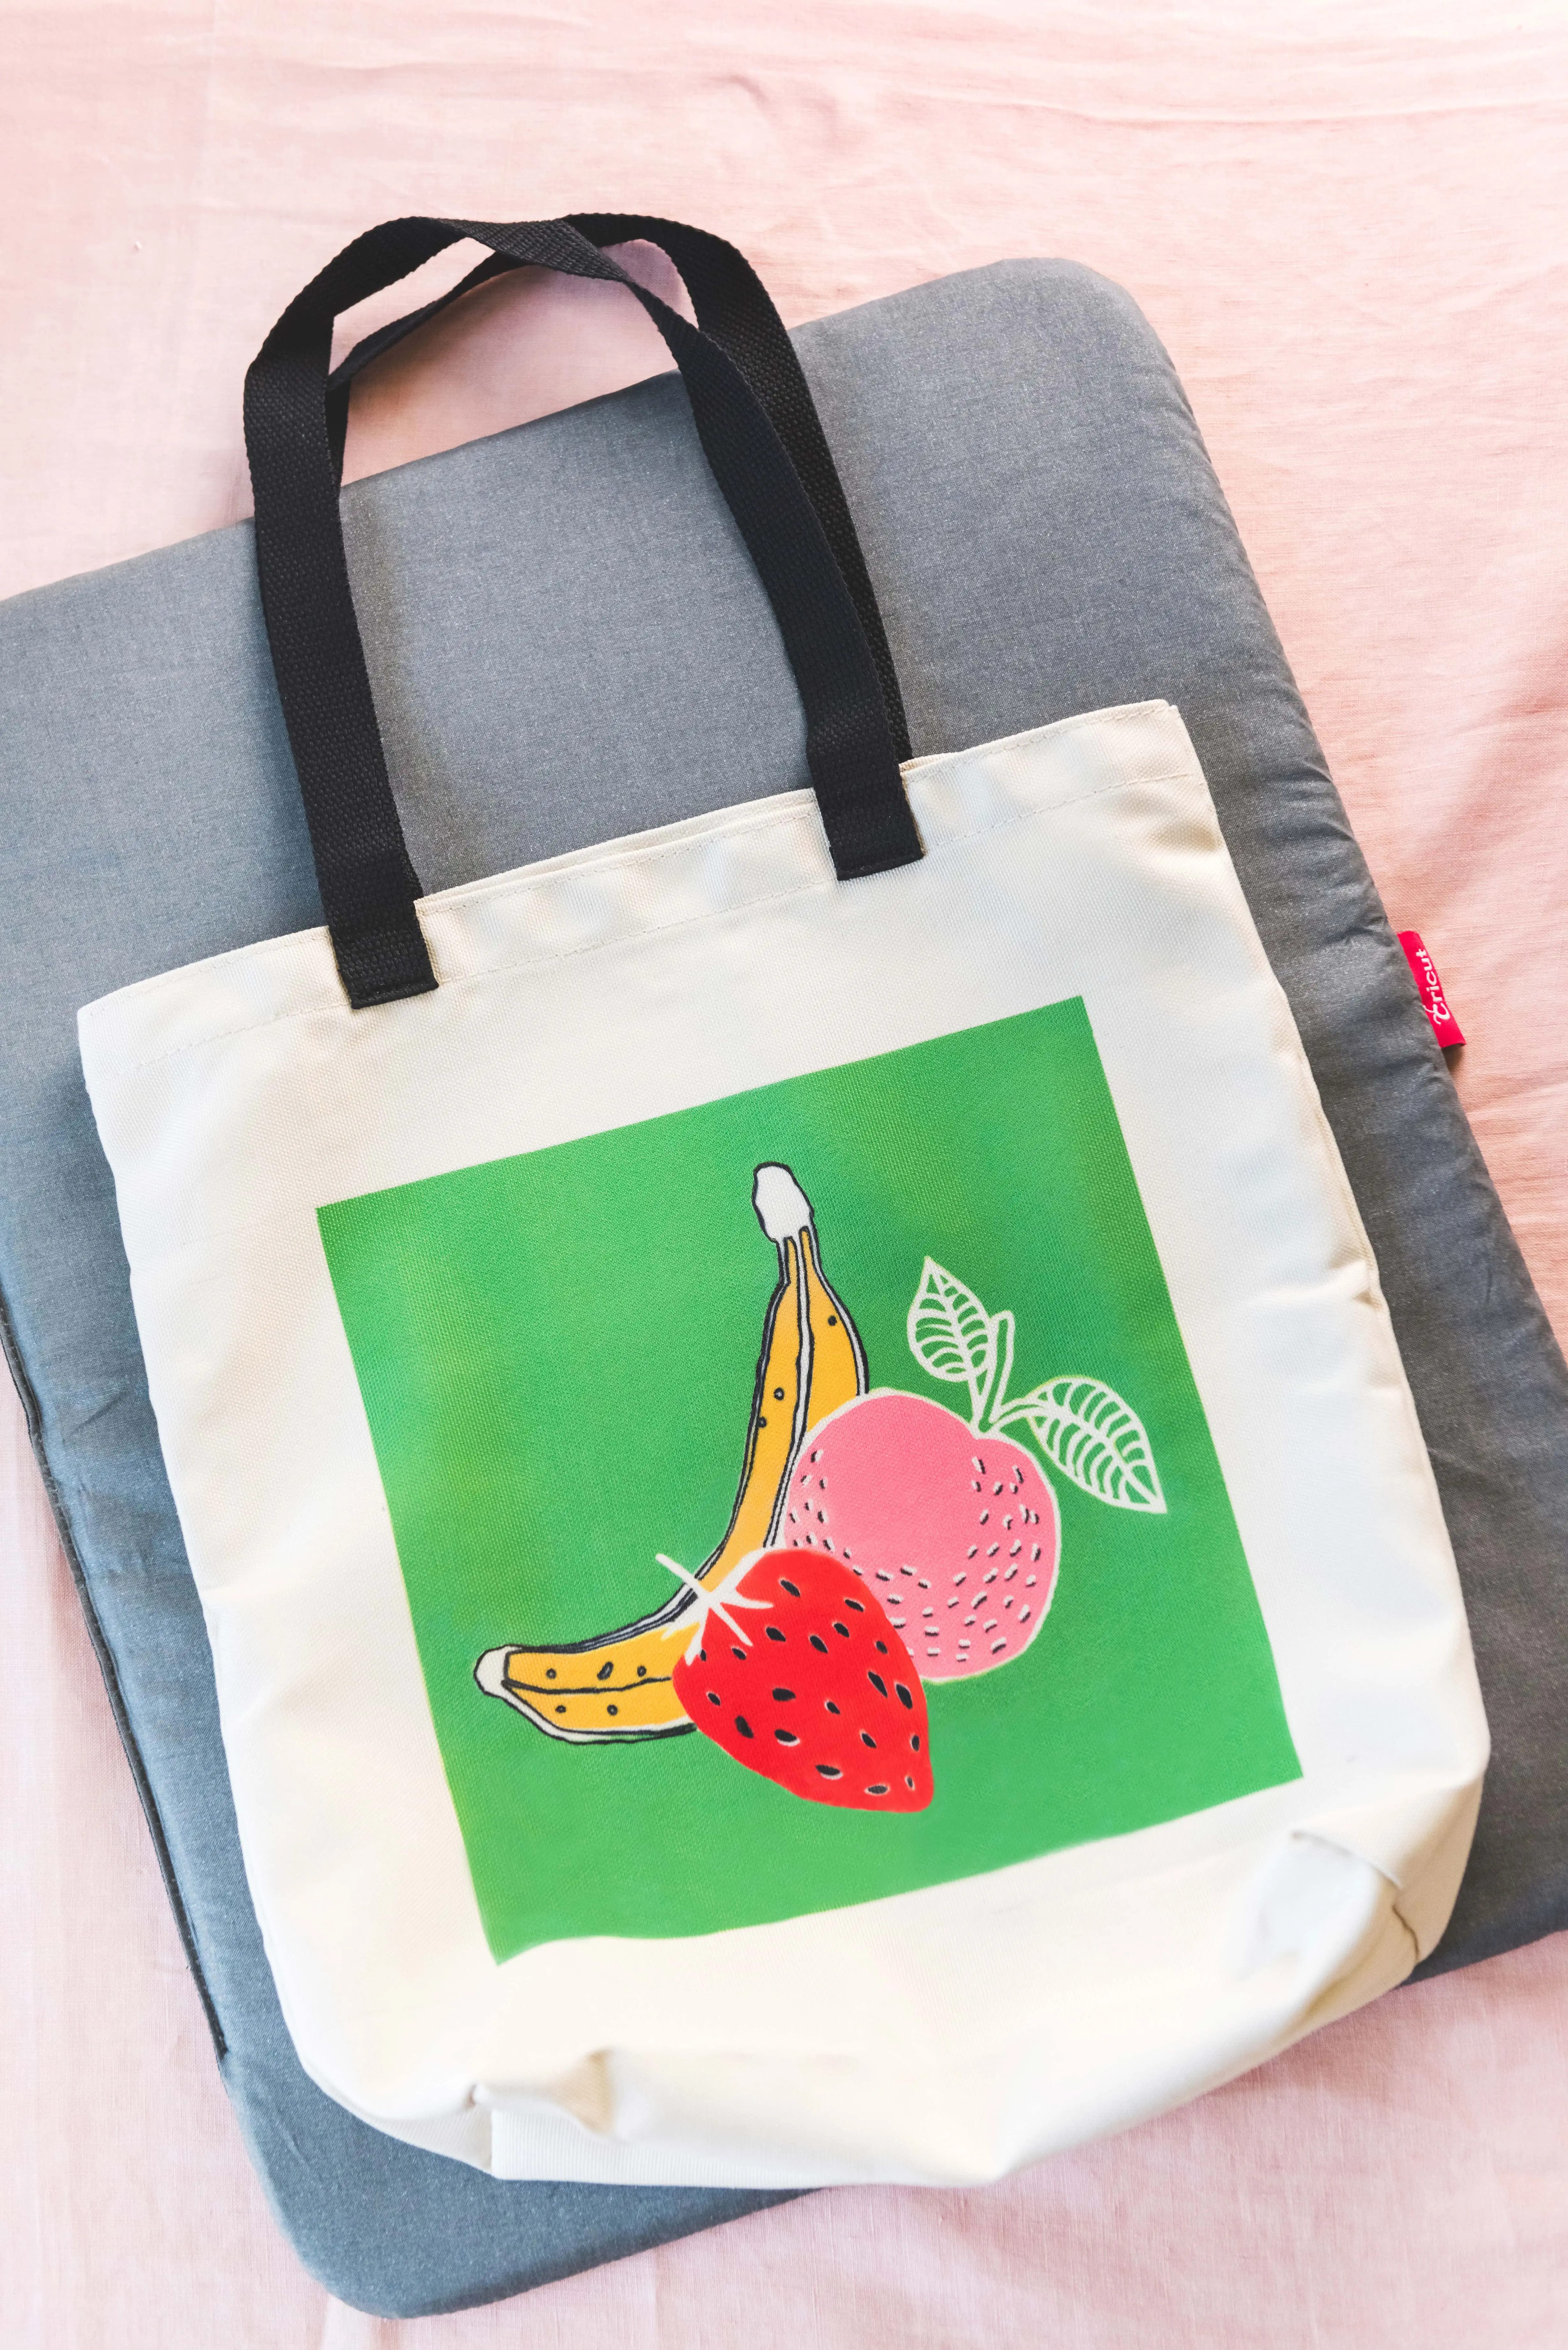
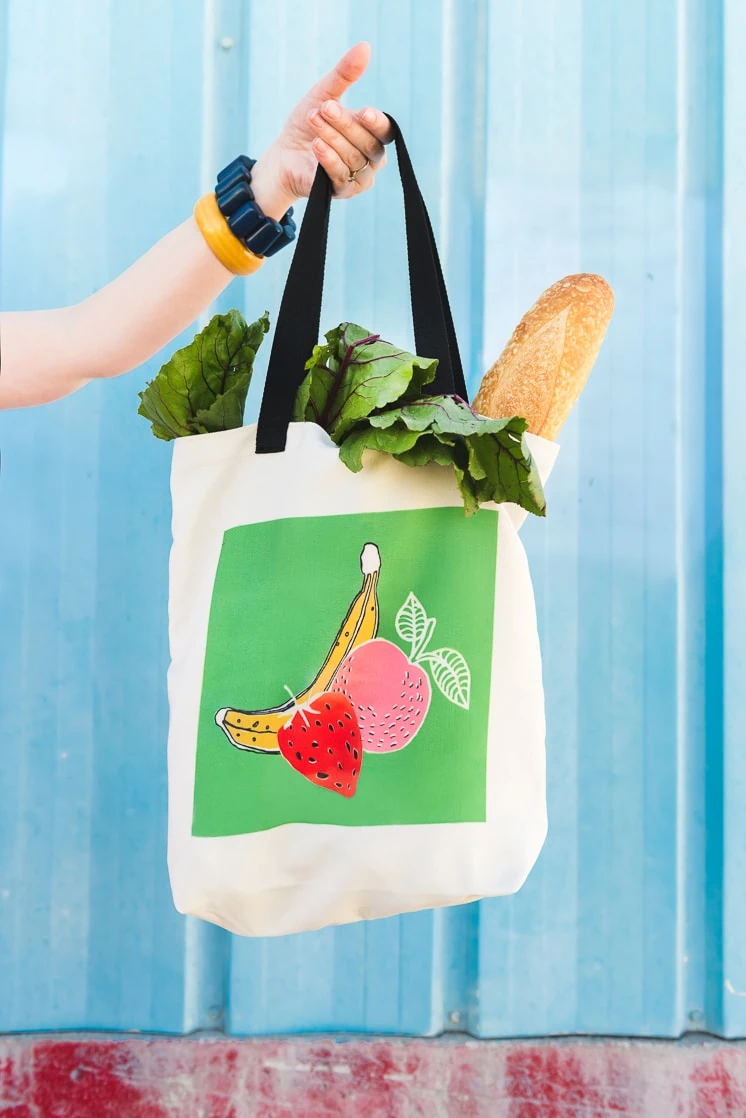
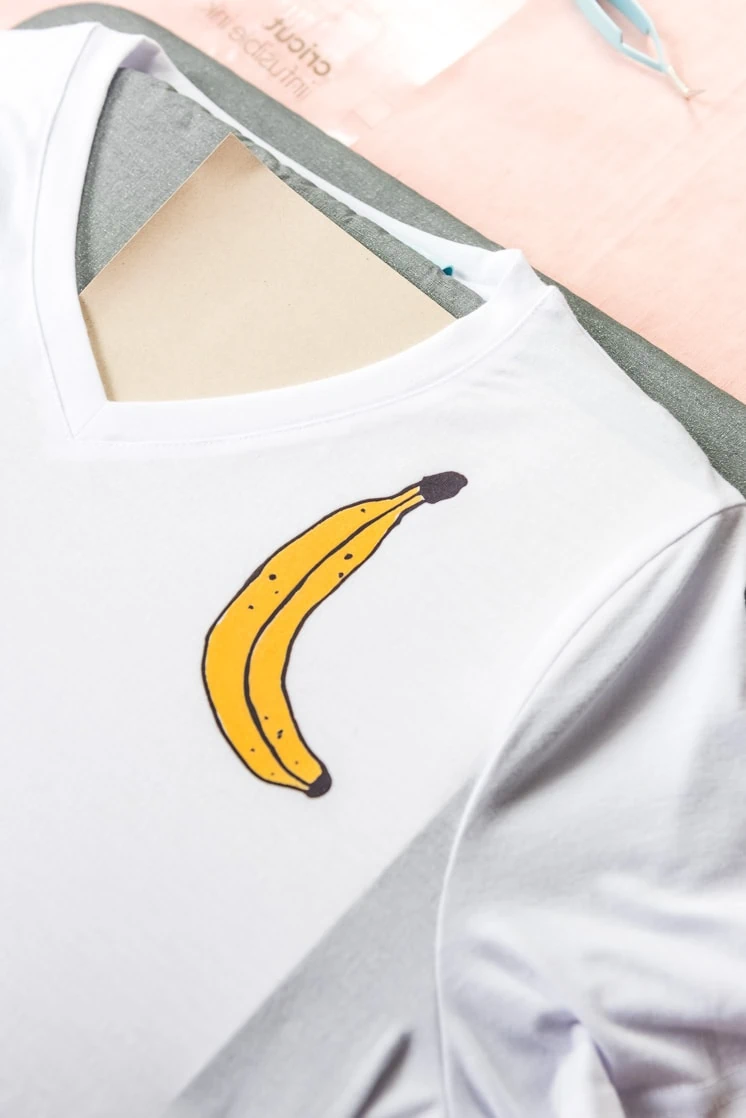
There are a ton of applications for what it can do, but we started with a simple fruit design that we created for a tote bag and t-shirt using our Cricut Maker, which we love, because the more we have it, the more possibilities they create for it.
If you’d like to learn more about Infusible Ink, watch this video here and if you’d like to learn how to use Infusible Ink, watch this.
How to use Cricut Infusible Ink on a tote bag
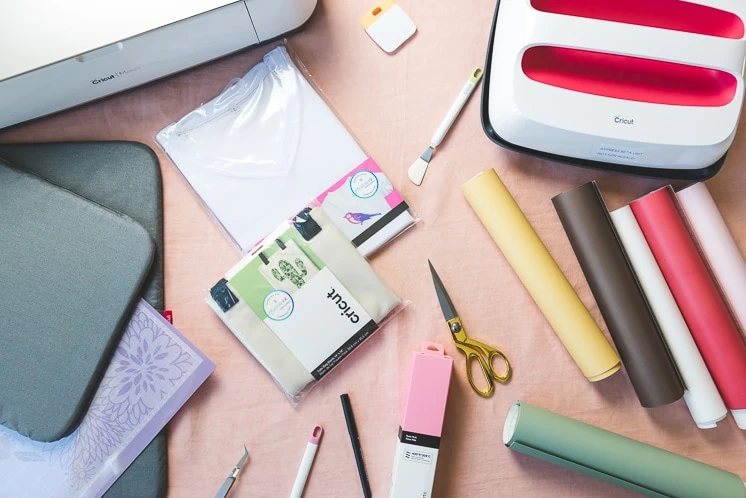
Materials:
- Cricut Infusible Ink
- Cricut craft cutter (We love our Maker)
- Easy Press and mats
- Our design (download here)
Instructions:
1. Download the .SVG file and upload it to design space.
2. Print the layers to their designated colors (follow Cricut instructions here). (excluding the green paper of infusible ink we peeled off the sticky backing to the other colors of our infusible ink)


