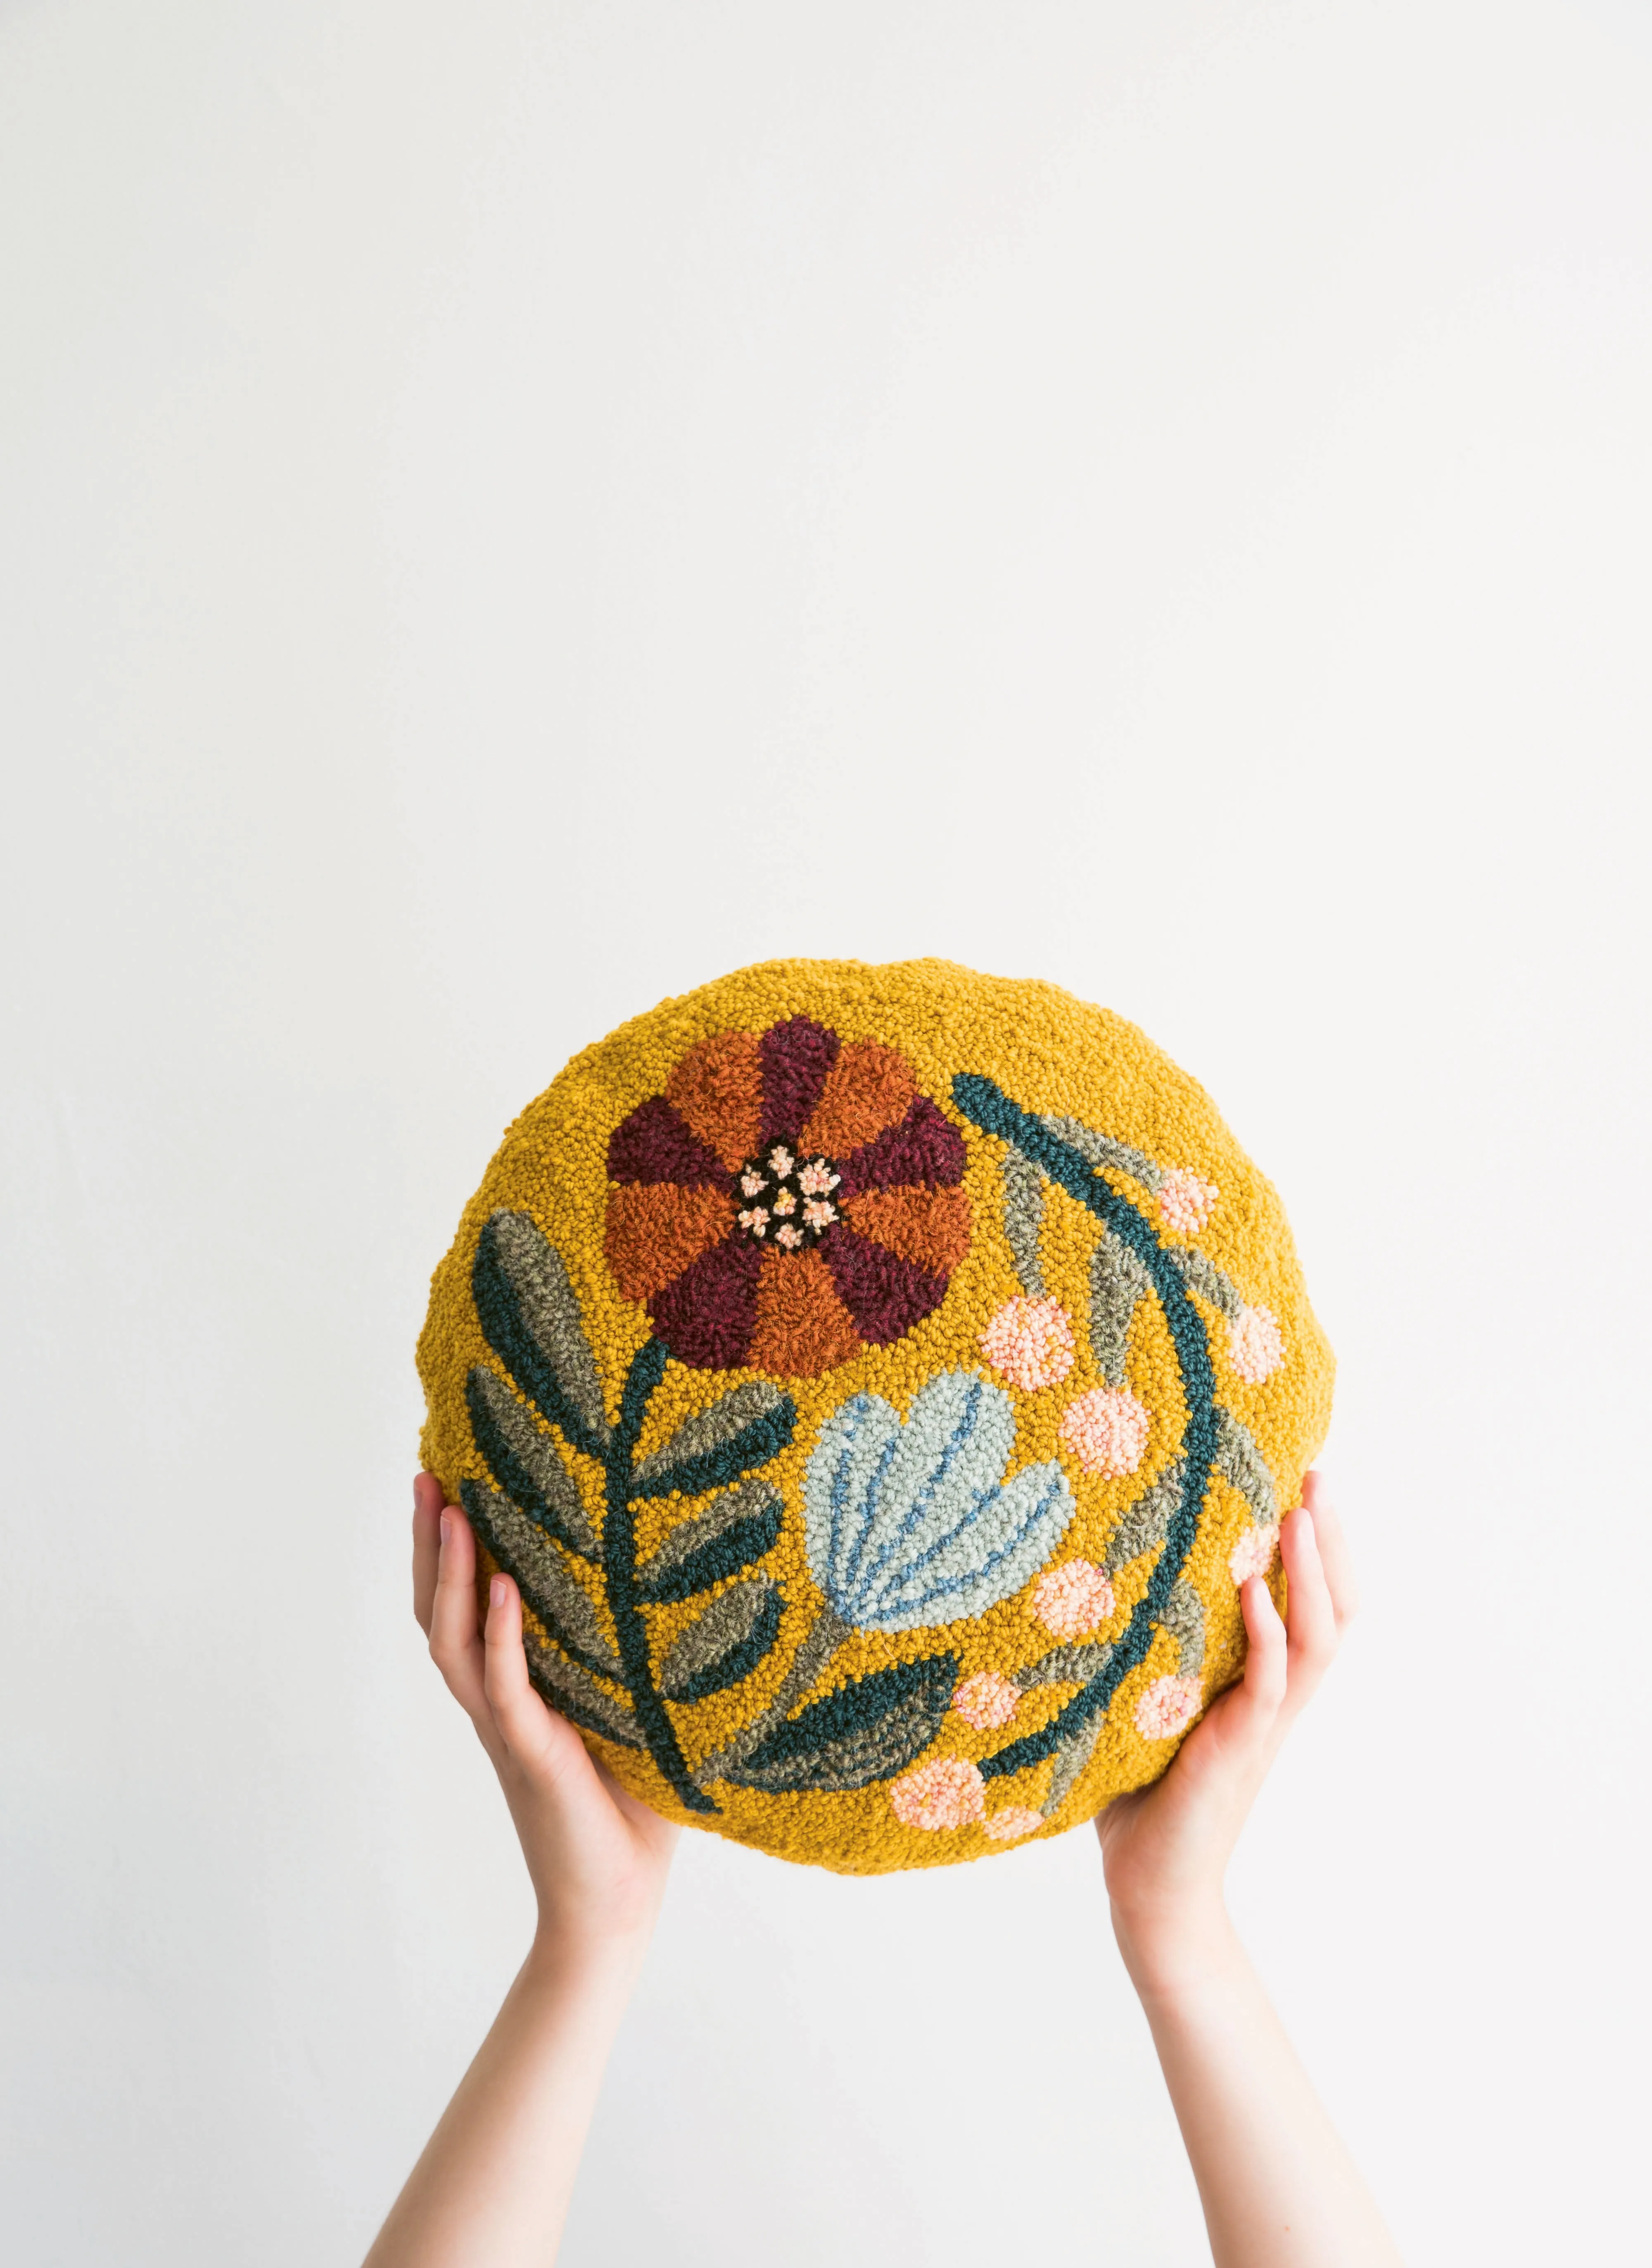
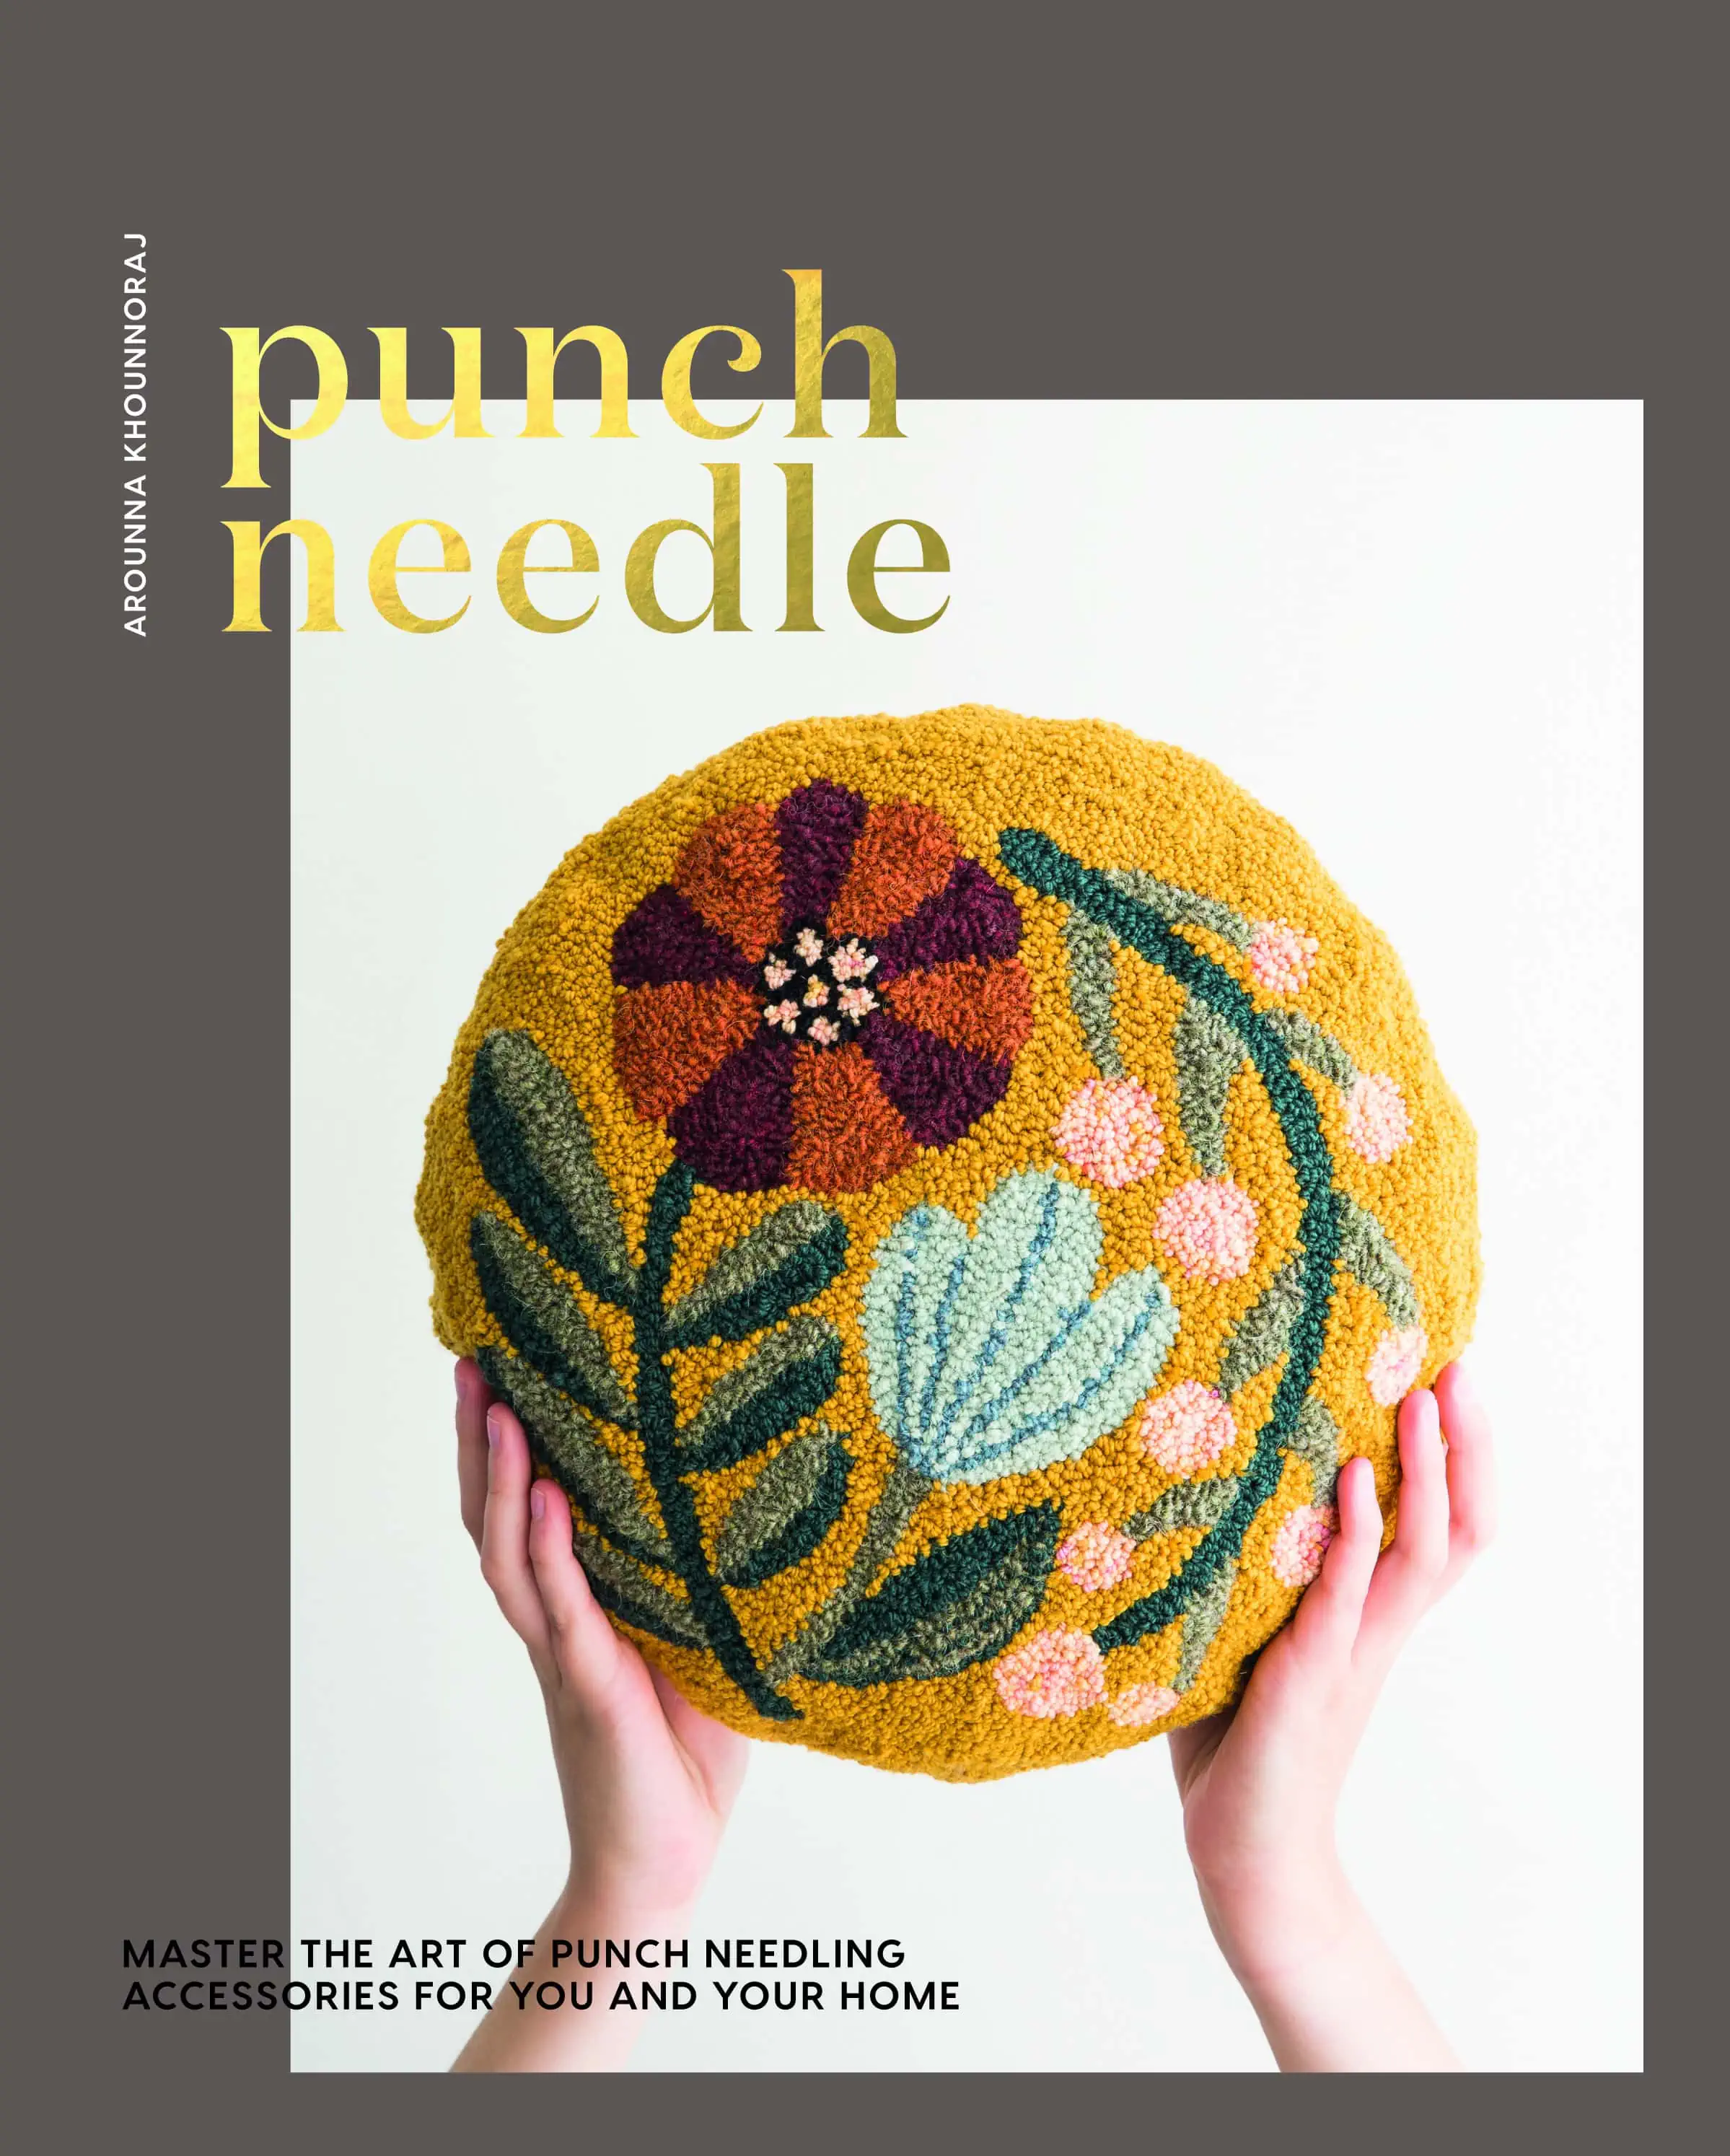
 Hardie Grant Publishing is back at it again with another incredible crafting book that should definitely be found on your shelf! Punch Needle by Arounna Khounnoraj is truly a work of art. We have had our eyes on punch needling for some time now and this was the push we needed to give it a try! And today we’re sharing this floral pillow pattern from the book!.
Arounna provides 20 amazing patterns to try that include detailed instruction for every step of the process. From buying supplies to choosing a fabric that your needle won’t rip, she accompanies you the whole way through . The book is thorough and encourages crafters to use their creativity and even try out what they think will work best!
“While some projects may seem complex,” Arounna writes, “the fact is they really aren’t, since most projects only have two components—first the punching and then the making.” To show is just how simple it can be (with a lot of practice of course) Arounna agreed to let us share one of the patterns that we love! Stay tuned for an interview with Arounna coming your way soon!
Download the template here!
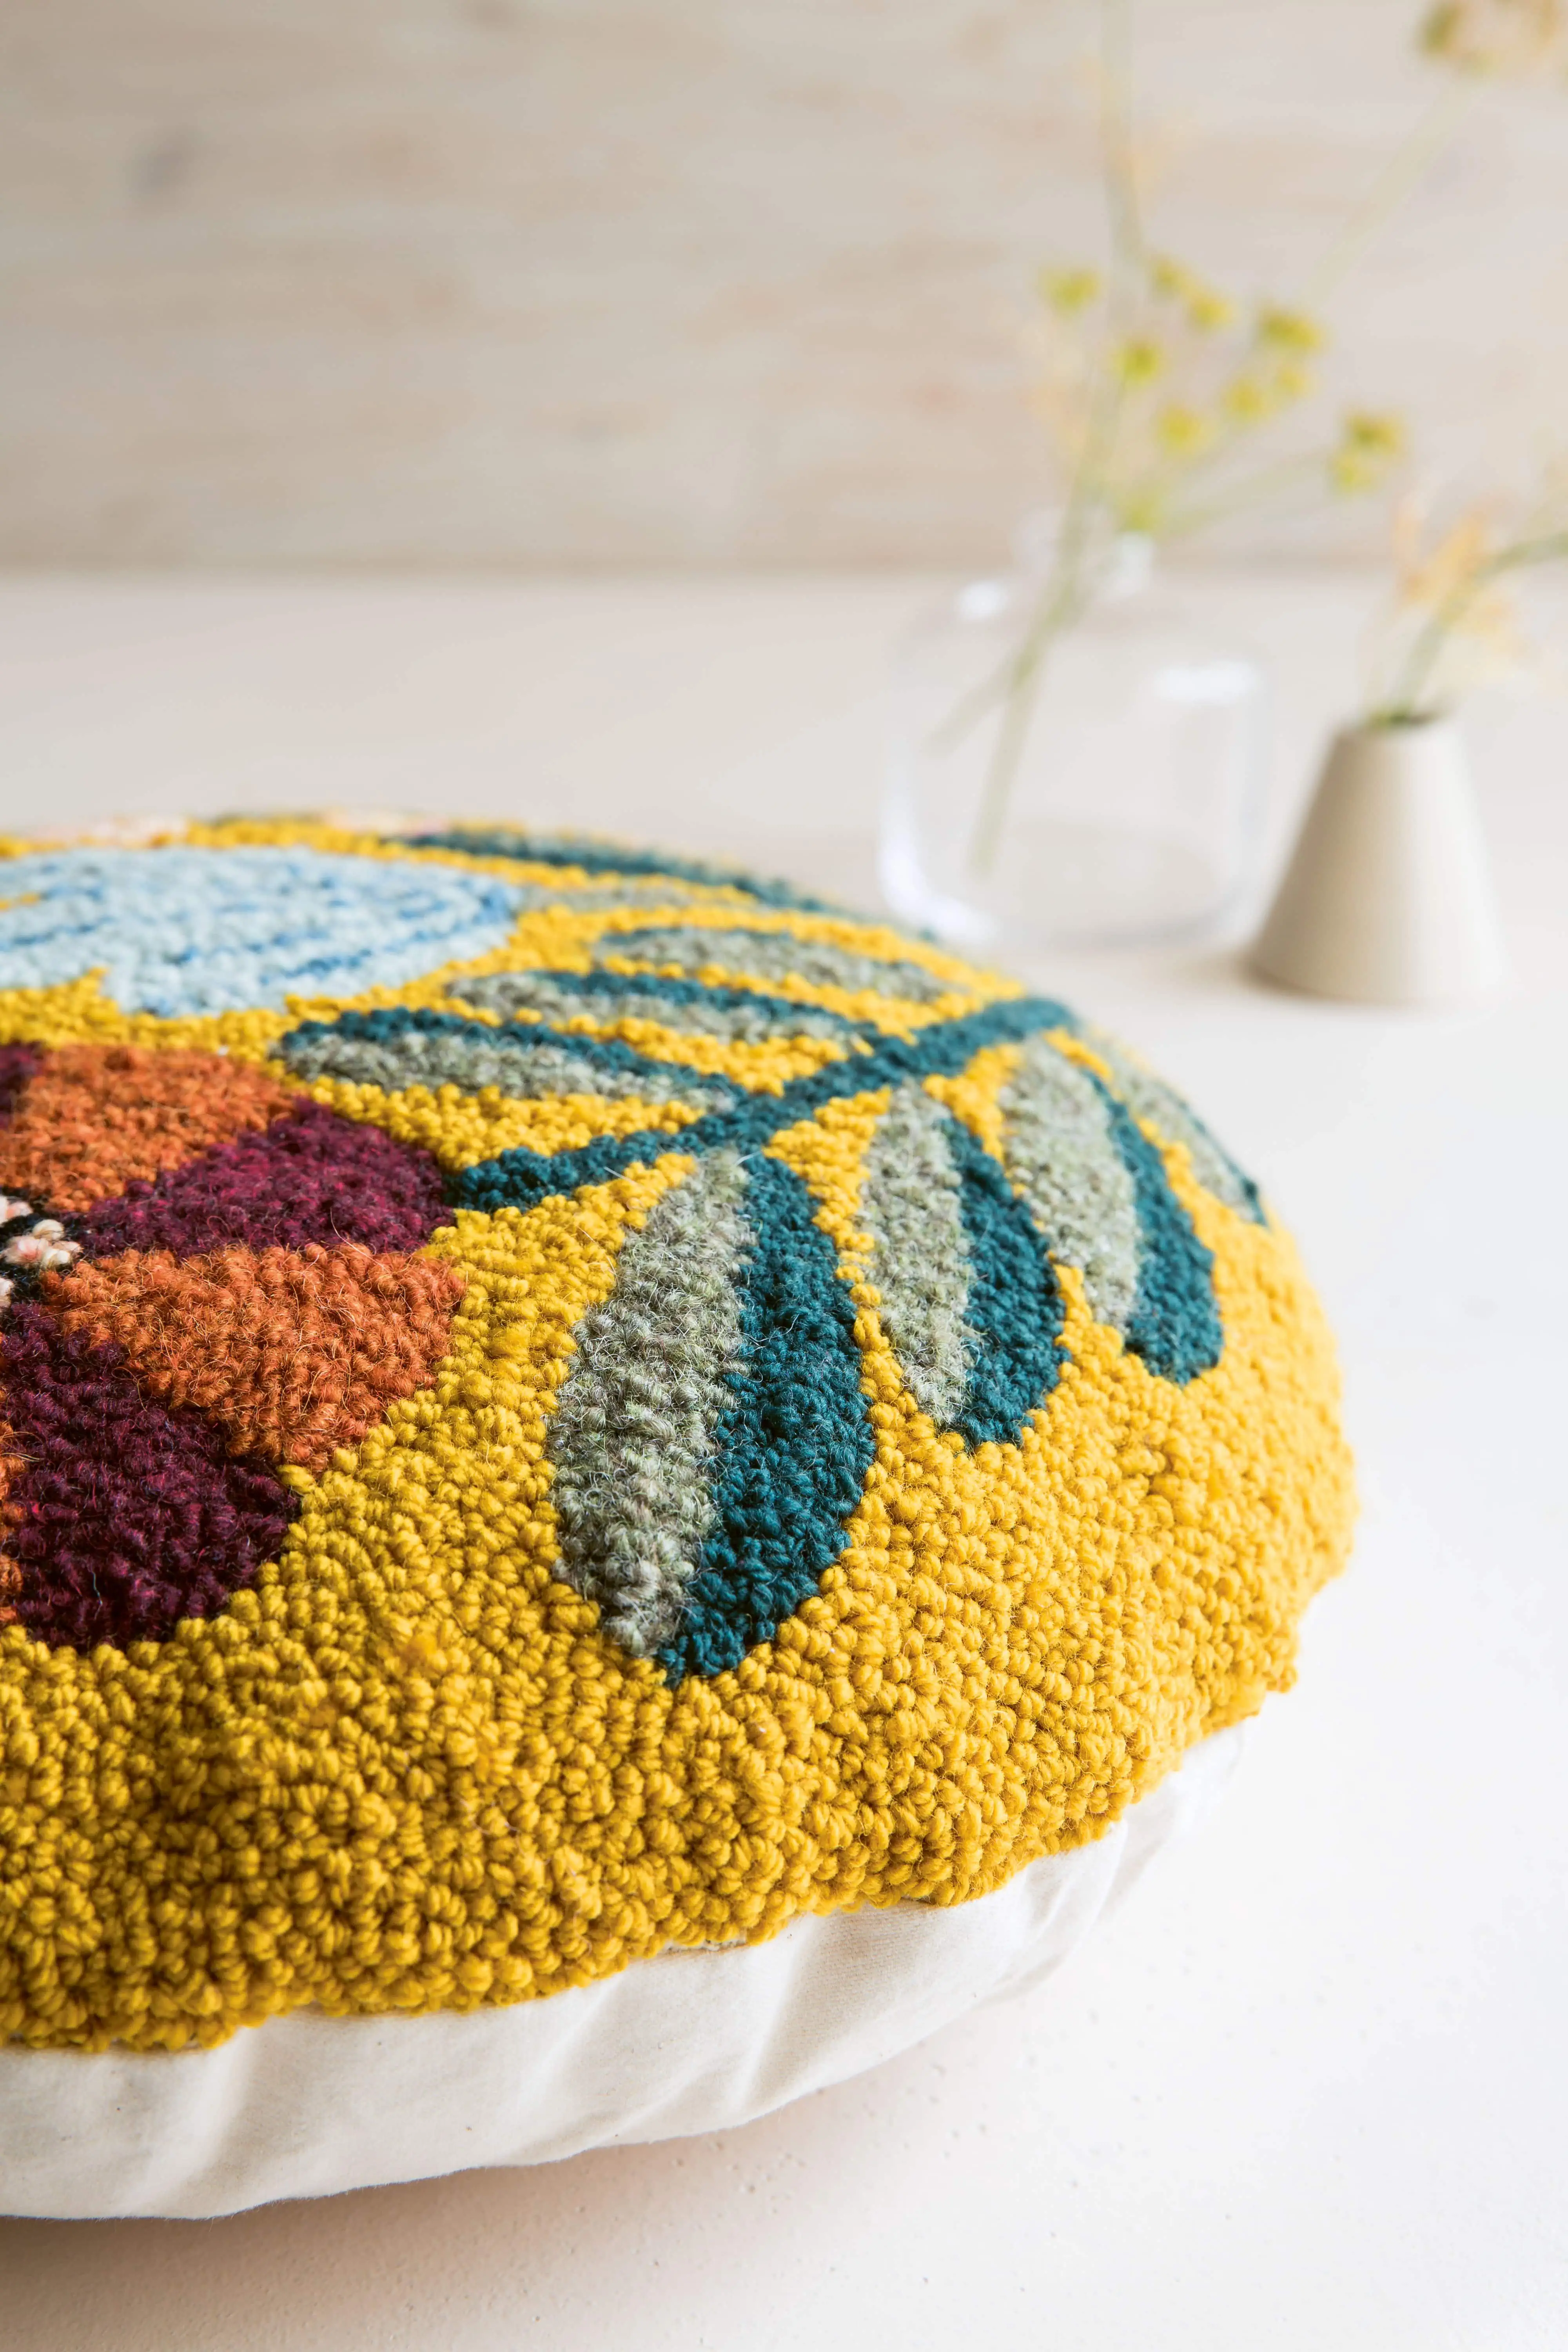
Floral Round Cushion
There is something timeless about round decorative objects, including cushions. They both stand out from and look great amongst the regular square or rectangular cushions that we all have. This cushion is the perfect home accessory, both playful and colourful, with a floral design that emphasizes its overall circular shape.
Tools and Materials
- Stretched frame of Monk’s cloth with minimum inside dimensions of 40.5 x 40.5cm (16 x 16 inches)
- Staple gun and staples
- Download the round cushion template here and see image for colour chart
- Light source
- Soft leaded pencil
- Oxford Company #14 mini punch needle tool
- Aran/worsted weight yarn suitable for use with a #14 mini punch needle in 7–8 different colours – 2 x 100g ballsin each colour for the details and 2–3 x 100g balls for the background colour (for other types of punch needle, use the appropriate weight yarn), (recommended kind: Borgo De Pazzi New Cedro: dark green, light pink, yellow; Álafoss Lopi: denim heather, light denim heather, oxblood red, rust heather; Custom Woollen Mills: teal).
- Staple remover
- Scissors
- 46-cm (18-inch) diameter circle of canvas fabric in the colour of your choice (see instructions for cutting to the size of the round punched front panel), for backing
- Pins
- Sewing machine with zipper foot
- Sewing needle and matching thread
- Flame-retardant polyester or natural wool filling for stuffing the cushion
Instructions:
Getting Started
- Stretch the Monk’s cloth over the frame. (see below) A 38 x 38-cm (15 x 15-inch) frame will give you enough room to comfortably lay out the round cushion design.
- Place the photocopy of the round cushion template facing forward against the back of the Monk’s cloth on the stretched frame. Hold both up to a light source so that you can clearly see the lines of the pattern through the base cloth.
- Using a soft leaded pencil, trace the image of the cushion motif onto the front of the stretched frame.
- For this project, the finished side will be the pile side or back side, so the opposite side to the side that you are punching on.
- To start punching, working from the back side, first outline each element of the motif, including the leaves, stems and flowers, in the correct colour yarns.
- Next, fill in the interior of each outlined section. Once all the sections of the motif are filled in, continue to fill in the background, working right up to the circular outer edge of the design to create a clean edge for your cushion.
- Once all the sections of the motif and background are filled in, remove the base cloth from the frame using a staple remover and lay the piece flat on the table with the pile side facing upwards. SEWING UP
- See the sewing up instructions for the Leaf cushion (in attached pdf) for visuals on sewing up a shaped cushion. Using your scissors, trim the base cloth around the cushion design to leave a 4-cm (1 ½ -inch) seam allowance all the way around, taking care not to fray the cut edges too much.
- For the cushion backing, cut a piece of plain fabric to the same size as the punched needle piece, including the seam allowance.
- Place the fabric backing and punched piece right sides together with the outer edges aligned. Pin and sew the two pieces together using a sewing machine fitted with a zipper foot, sewing as close to the edge of the punch needle stitches as possible, but leaving a gap of 10cm (4 inches).
- Because the overall shape of the cushion is curved, carefully make small snips into the seam allowance (but avoiding the stitches) to get a smoother, curved seam when the cushion is turned the right side out.
- Now turn the cushion right side out by bringing it through the unsewn gap.
- Stuff the cushion through the opening in the seam using a flame-retardant polyester or natural wool filling.
- Once fully stuffed, close the gap by hand sewing a row of neat whip stitches.
Stretching a Frame
BUILD YOUR OWN
Homemade frames of any size are easy to make with just a few basic tools. Most of the projects in this book were made using a base of Monk’s cloth stretched over a wooden frame. Frames can be made using lengths of 1.9 x 3.8-cm ( ¾ x 1 ½ -inch) pieces of wood (referred to as 1 x 2 wood in hardware stores) with the corners glued together, clamped at right angles and supported with finishing nails once dry. Frames need only be a few centimetres or an inch or two larger than the project image, feel free to use what you have to hand.
GRIPPER FRAMES
Stretching a Gripper Frame is very easy. Lay your base cloth flat on a clean work surface with the Gripper Frame placed on top. Measure and cut the cloth so that you have enough extra fabric all the way around the frame to hold onto while stretching. To stretch the base cloth simply place it on top of the frame, centred, and over the metal gripper strips. Pull the cloth down over the sides of the frame so that the cloth is as tight as possible at all points on all sides. To release the cloth, simply lift the cloth off the Gripper Frame.
TRANSFERRING YOUR IMAGE
When starting a new punch needle project, I almost always begin with a drawing or pattern template. The first task is to transfer the image onto the base cloth. There are many ways to transfer images on to fabric, but for our purposes I’ll outline just a few key methods.
Making sure that your stretched frame is large enough to house the entire drawing, the easiest way is to place the image or photocopy, enlarged to the desired size, behind the frame, pressed to the back of the cloth. You then hold the frame up to a light source and trace the drawing onto the cloth with a soft pencil. This method works well with Monk’s cloth because of its open weave and is great for achieving an accurate transfer.
A similar method is to use carbon paper. Place a piece of carbon paper on top of your base cloth and then place your drawing or pattern template on top again to sandwich the carbon paper. You then simply draw over your design to transfer it onto the base cloth. Carbon paper is useful for fabrics such as linens, when the tight weave means it might be hard to see the design through the fabric when holding it up to a light source.
Alternatively, you might prefer the age-old method of gridding both your reference drawing and the fabric within your frame, each with a grid of equal units. Then simply draw onto the framed fabric grid the exact same lines that appear in the gridded drawing.
For projects that are too large to consider that much detailed work, I suggest transferring the drawing freehand. The largest projects in this book are abstract patterns and are easy to draw. Don’t worry if the drawing on your frame is a little different from my original – it will still be beautiful and, most importantly, unique.
Don’t miss out on this amazing book! Seriously, add this to your craft shelf immediately!


Comments