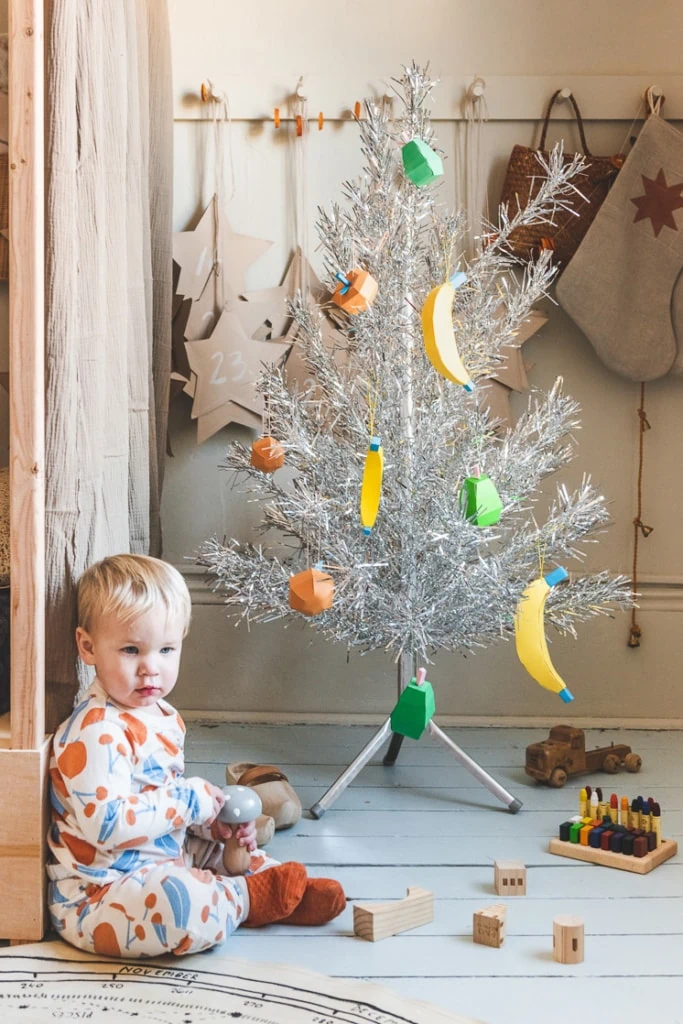
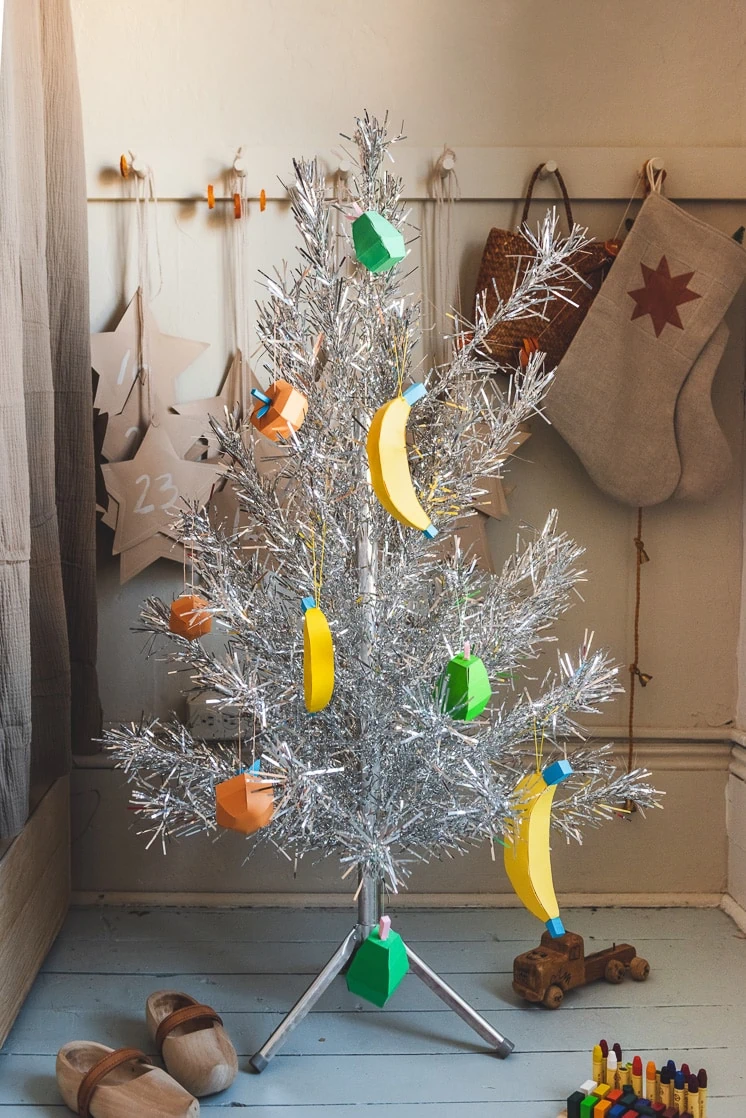
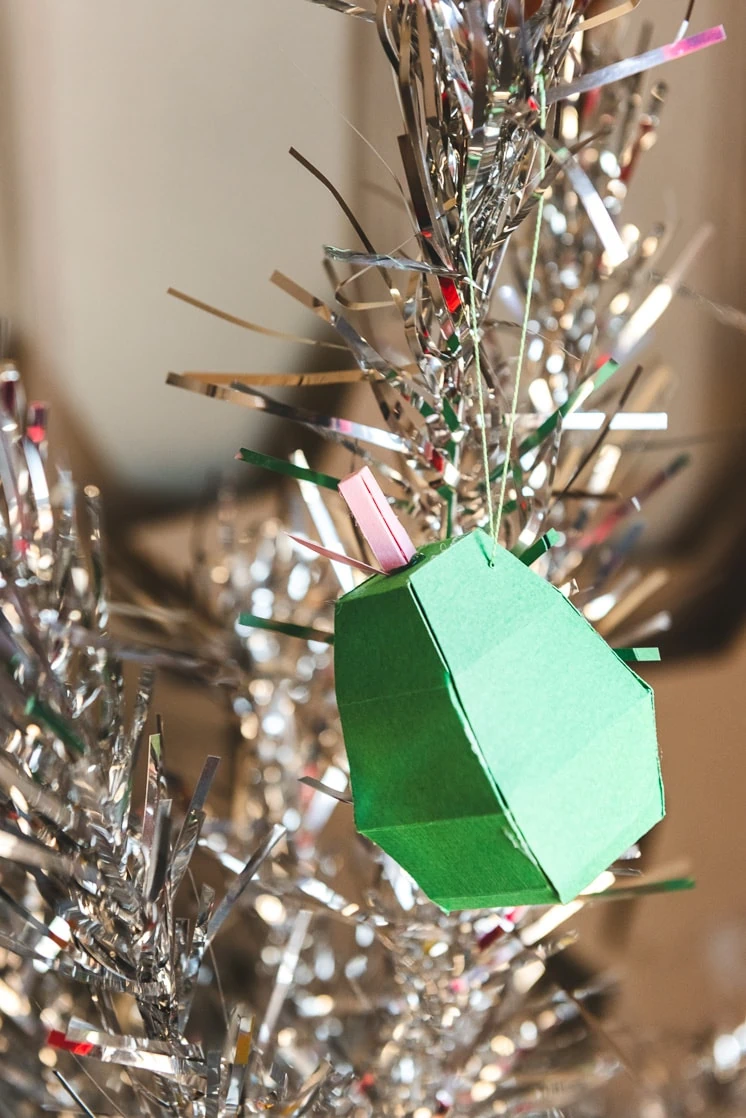
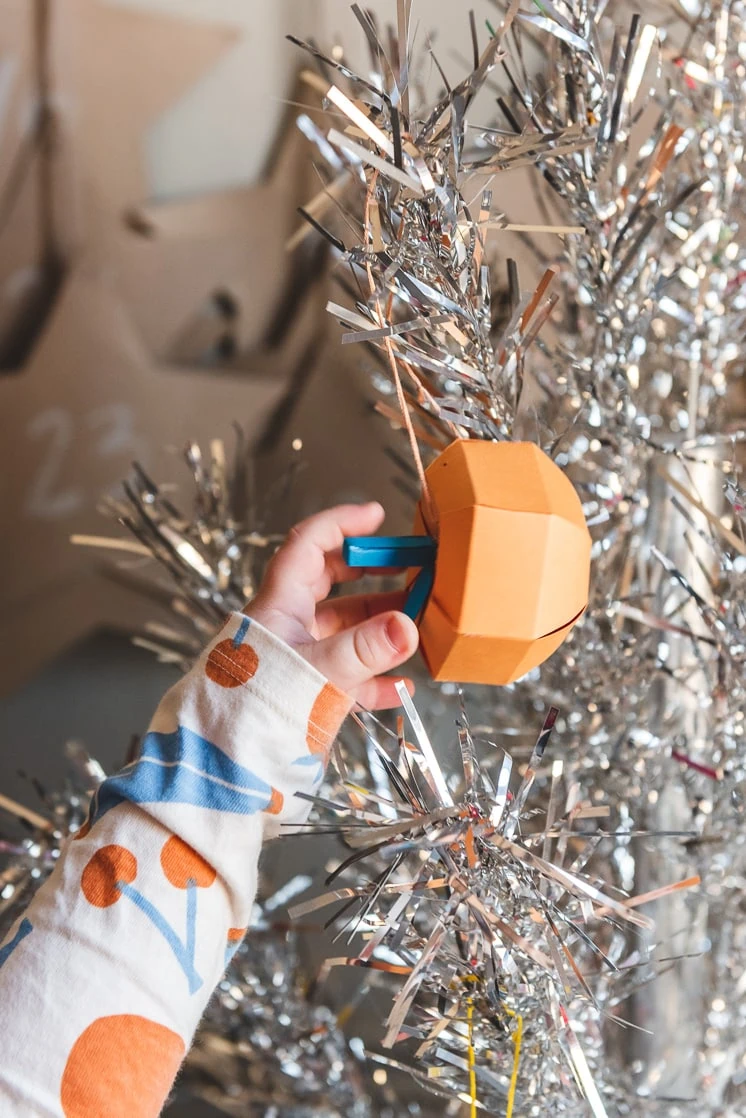
We couldn’t let our collaboration with Amanda Jane Jones pass by without the obvious–fruit ornaments. Once we got the idea in our heads, we couldn’t let it out. We like to call it a fruit punch Christmas tree…anyone??? To go along with her new book, Yum Yummy Yuck, and our print shop and Winter Water Factory’s clothing line of the same patterns, a matching Christmas tree is now what you need. But you could, of course, also use these year round as cute decorations in your babe’s room or as a mobile.
Find the patterns (both PDF and SVG) here
You can find prints of her artwork in our Print Shop
Find Yum Yummy Yuck here
Find the clothing collaboration with Winter Water Factory here
DIY FRUIT ORNAMENTS:
Materials:
- Pear, Apple and Banana Template
- Cardstock paper (We used orange, pink, blue, yellow and green for our but you can use whatever colors you like)
- Hot Glue Gun
- Embroidery Thread
- Needle
- Scissors
- Craft Cutting Machine (optional, you can cut out by hand!)
- Bone Folder
Directions:
- Print out your template on the color of your choice OR cut them out on the craft cutter. We used a Cricut. If you decide to use A craft cutting machine be sure to add in the scoring marks so you don’t have to do it by hand!
- If you cut out by hand be sure to follow the marks on the PDF and score in the appropriate spots.
- Fold the scored spots.
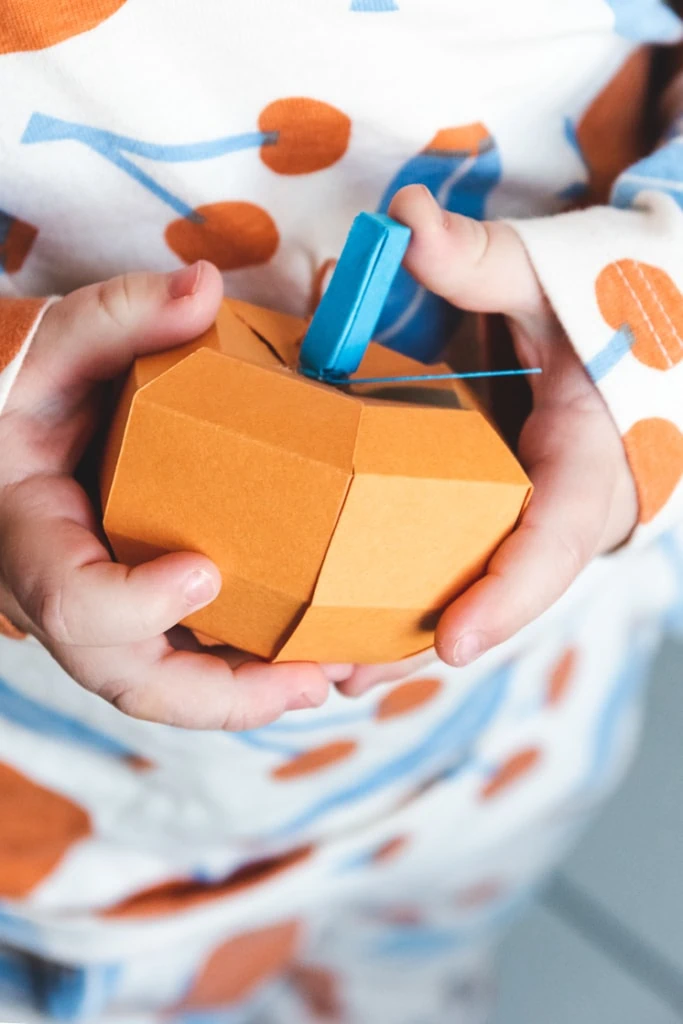
- At the flaps on the body of the pear place a small amount of glue, be sure not to put too much or it will spill out leaving you with a messy edge.
- Attach the flap to the piece just next to it at the appropriate spot.
- Once the body piece is formed move to the top of the pear and take the top flap, apply a small amount of glue, and attach it to the opposite side of the flap.
- Gently pop the unglued sides out a bit and they will hold their form.
- Fold tab on leaf.
- Apply a small amount of glue to the top of the pear and place leaf.
- Fold the tabs on the stem.
- Place hot glue on the tabs and connect it to the flap next to it.
- Repeat on all tabs.
- Glue bottom tabs to each other to create bottom.
- Place a small amount of glue at the bottom of the stem and place it on top of the leaf just glued on.
- Print out your template on the color of your choice OR cut them out on the craft cutter. We used a Cricut. If you decide to use a craft cutting machine be sure to add in the scoring marks so you don’t have to do it by hand!
- If you cut out by hand be sure to follow the marks on the PDF and score in the appropriate spots.
- Fold the scored spots.
- At the flaps on the body of the pear place a small amount of glue, be sure not to put too much or it will spill out leaving you with a messy edge.
- Attach the flap to the piece just next to it at the appropriate spot.
- Once the body piece is formed move to the top of the apple and take the top flap, apply a small amount of glue, and attach it to the opposite side of the flap.
- Once the main body is formed take the top flaps, bend them, and begin glueing them together to form the final shape.
- Glue top tabs together and push gently inward so create the apple form.
- Fold tab on leaf.
- Apply a small amount of glue to the top of the apple and place leaf.
- Fold the tabs on the stem.
- Place hot glue on the tabs and connect it to the flap next to it.
- Repeat on all tabs.
- Glue bottom tabs to each other to create bottom.
- Place a small amount of glue at the bottom of the stem and place it on top of the leaf just glued on.
Banana:
- Print out your template on the color of your choice OR cut them out on the craft cutter. We used a Cricut. If you decide to use a craft cutting machine be sure to add in the scoring marks so you don’t have to do it by hand!
- If you cut out by hand be sure to follow the marks on the PDF and score in the appropriate spots.
- Fold the scored spots.
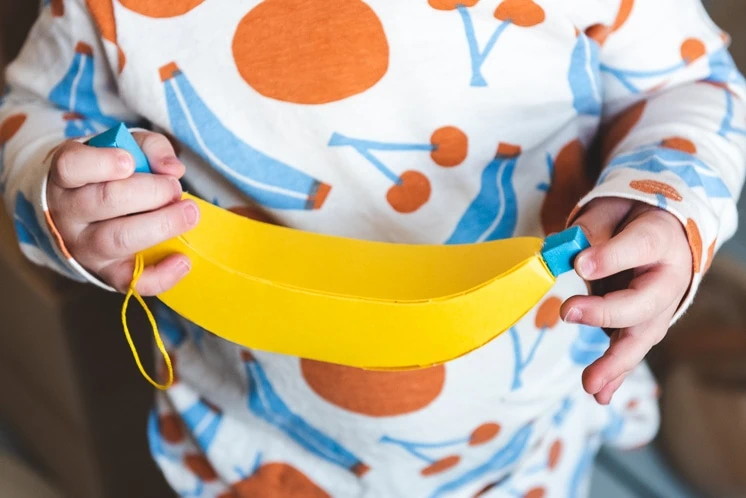
- Once the flaps are all folded chose a spot on the banana to begin glueing, we started at the top and worked down both sides of the banana simultaneously, you will need to add glue in as you go. If you place glue all at once it will dry too quickly.
- Once the banana body is assembled you can create the top and bottom pieces of it.
- Fold all the scored parts on both pieces.
- Place a small amount of glue on each flap and attach it to the piece next to it.
- For the top of the banana you will not have any flaps at the bottom.
- On the top of the banana body you will use the to flaps to hold the piece in place.
- Place glue on the two flaps at the top of the banana and slide the banana top piece into place.
- Assemble the bottom piece of the banana, this one has flaps to close the piece off completely.
- At the closed off bottom the bottom piece apply a small amount of hot glue and attach it to the bottom of the banana!
Turning it into an ornament:
- Thread a needle with a coordinating color to your ornament.
- Decide how you would like your piece to hang and gently poke the needle through to string it up.
- Create a loop to the size that you would like the ornament to hang from and tie off.
- Your ornament is ready to be hung!
You can find the PDF and SVG templates in our shop
You can find prints of her artwork in our Print Shop
You can find Amanda Jane Jone’s book, Yum Yummy Yuck here
You can find her clothing collaboration with Winter Water Factory here
Be sure to tag us with #Holidayswithlars we love seeing your creations!




Comments