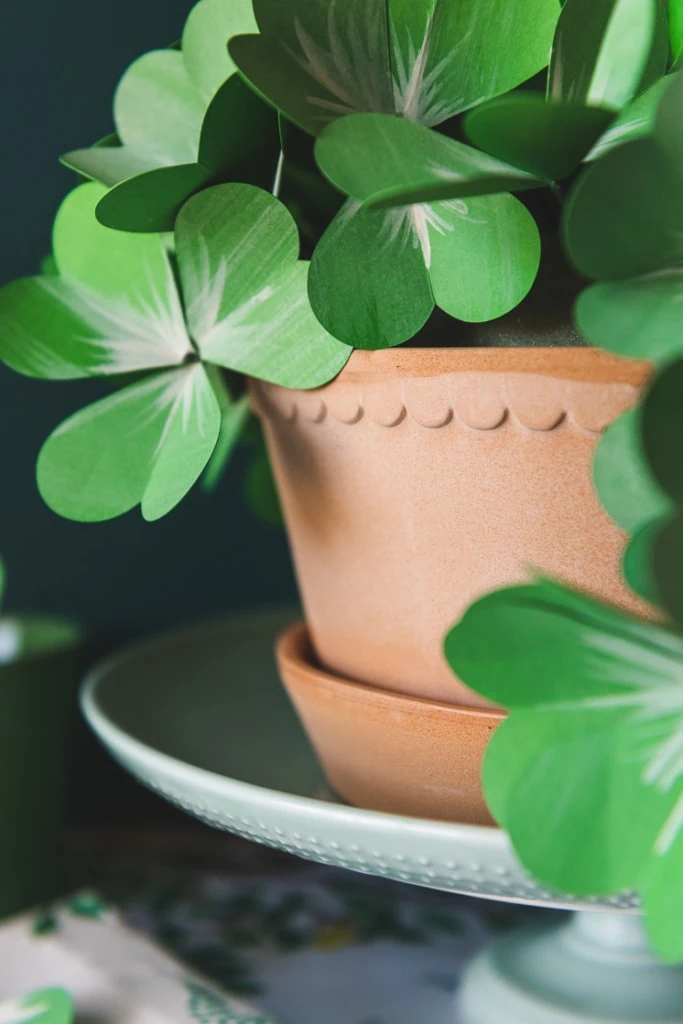
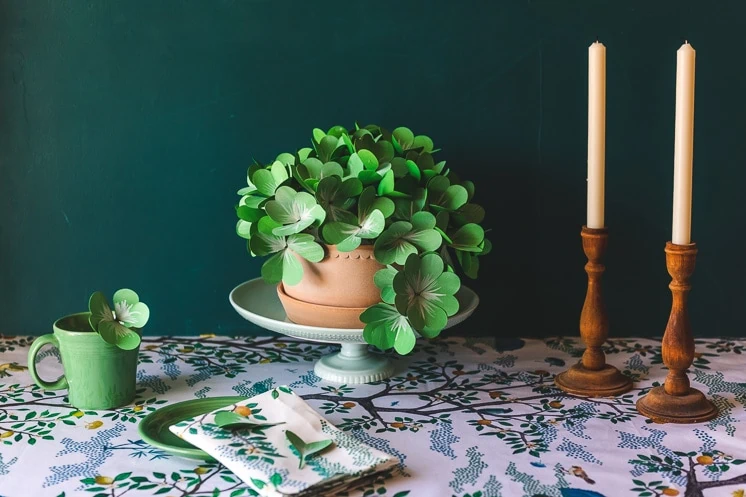
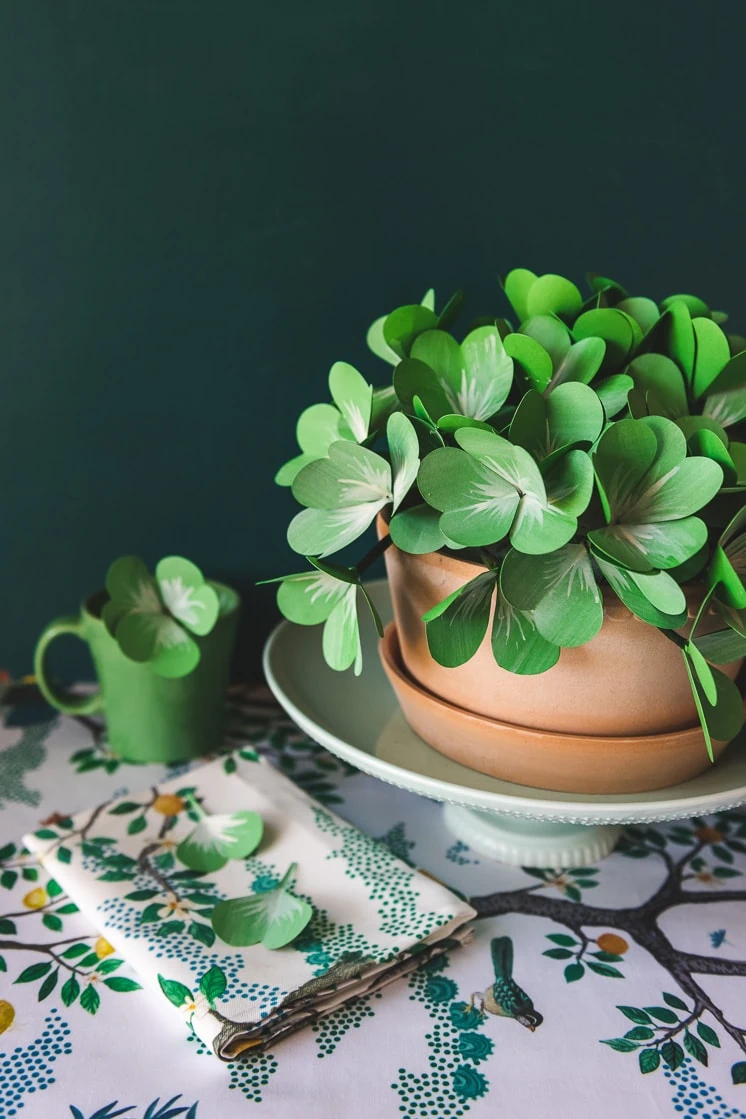
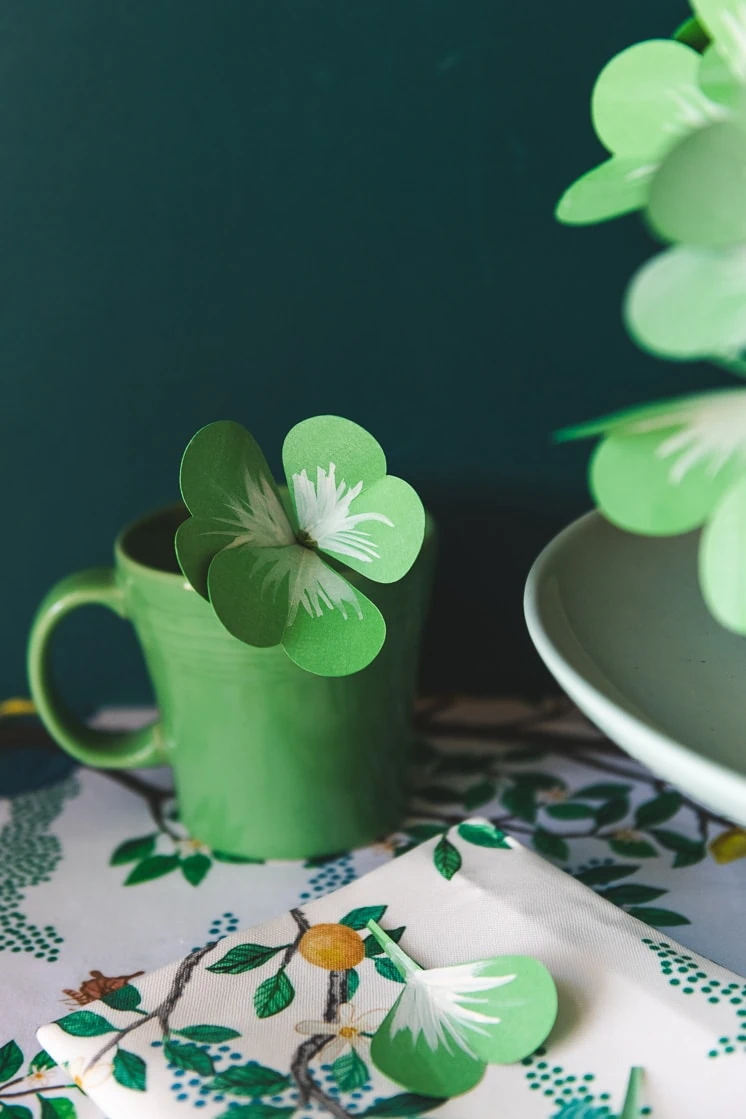
We’re seeking after that good ole’ Luck of the Irish this month with these DIY paper shamrock plants. The shamrock has leaves upon leaves of three-leaf clovers.The most common type of clover you will find is a three-leaf clover, however, it’s the four-leaf clovers that we’re after this month. The four-leaf clover as many of you already know is a sign of luck. So, we decided to be the makers of our own luck and throw a few four-leaf clovers in among the three-leaves just to secure our luck for the month! What can I say?! I hear you’re the maker of your own luck after all!
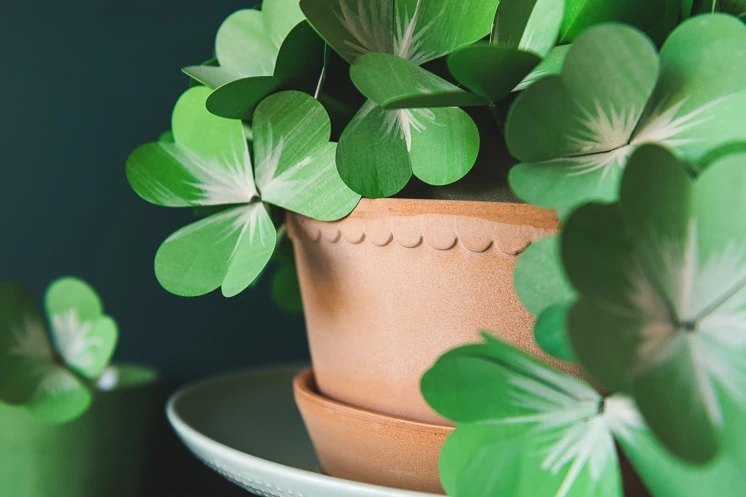
This month, we’re *lucky* to partner with Terrain, our favorite go-to for all things gardening and flowers with this gorgeous Bergs scalloped bowl and saucer. Bergs is a beloved Danish brand whose pottery is made in Italy and we’ve been in love ever since spotting them.
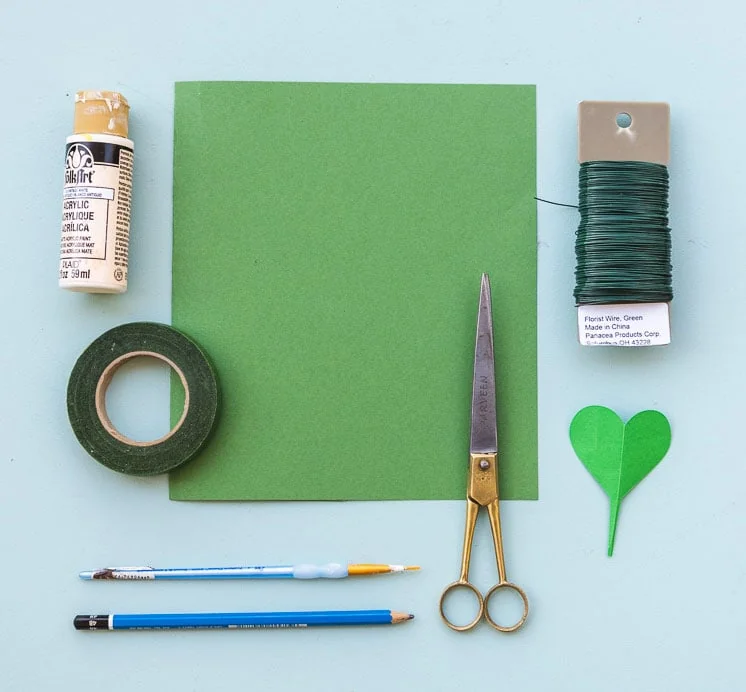
Materials:
DIY Paper Shamrock plant
You can find the materials above
Find the shamrock template here
Directions:
- Download the Shamrock Leaf PDF or SVG
- Prep your paper by following the white washing instructions (steps 2-5).
- Cut out the shamrock leaf file with craft cutting machine. This step can be done by hand with a pair of scissors if you don’t have a machine!
- Cut out enough pieces to create your shamrocks. We cut out somewhere around 120 pieces to create 30-40 three-leaf clovers and a few four-leaf clovers for luck!
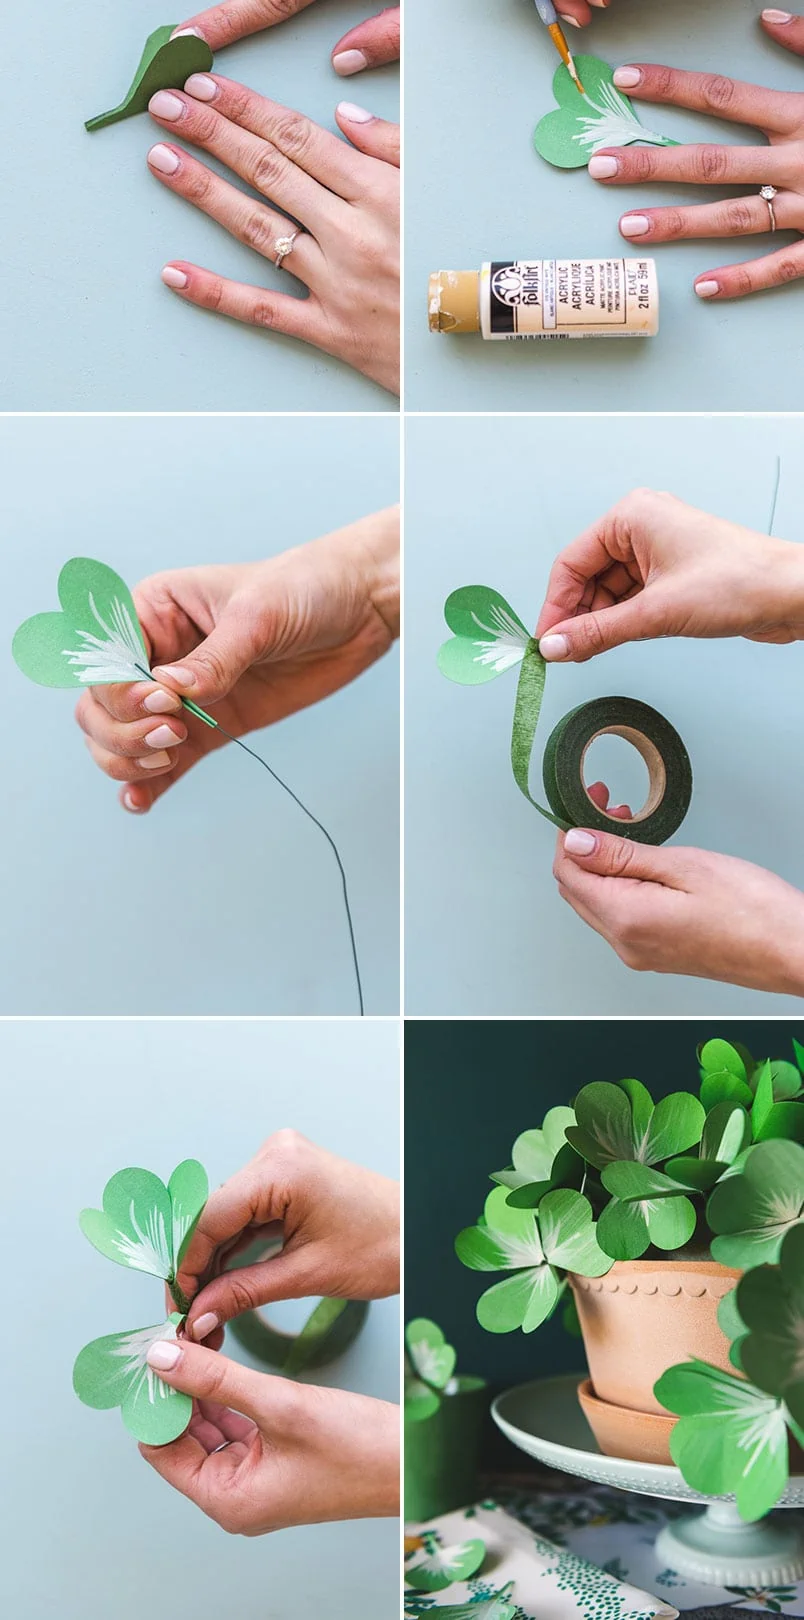
- Once your pieces are cut out fold them in half to create a crease between the two arches.
- Mix acrylic paint with a few drops of water to create a thinner paint.
- Once thinned, gently paint the leaf from the stem up and out to thin points at the middle of the leaf. Repeat this action several times until you are pleased with the appearance of the leaves.
- Once all leaves are painted you will begin assembling them as clovers.
- Cut pieces of wire 3-5 inches long, we cut ours long and cut them to adjust height when we placed them into the plant.
- Once your wires are cut you will take a leaf and place it at the top of the wire, while holding the leaf in place you will take the floral tape and wrap down just far enough to secure that leaf.
- Cut the floral tape.
- Repeat step 10 two more times until you have three of the leaves attached.
- If you would like to make a four-leaf clover just add in an addition leaf and repeat step 10 again!
- Once you have your clovers made you can begin to place the clovers into floral foam until its full!
Thank you to Terrain for providing us the most magical scalloped pot, we can feel our luck increasing just being around it! Be sure to tag us with #Larsmakes so we can see how you’re catching luck this month! Stay tuned for even more ways to make this St. Patty’s Day the biggest hit yet!
Here are some more pots we love for this project!






Comments