Did you know St. Patrick’s Day is just a few weeks away? We know St. Patrick’s Day isn’t the most memorable holiday in the world. But in my mind, the more holidays the better! I love that St. Patrick’s Day comes just when we’re feeling ready to give up on spring altogether. I mean, will the snow ever end?! St. Patrick’s Day ushers in the green and gives us hope that spring really is just around the corner.
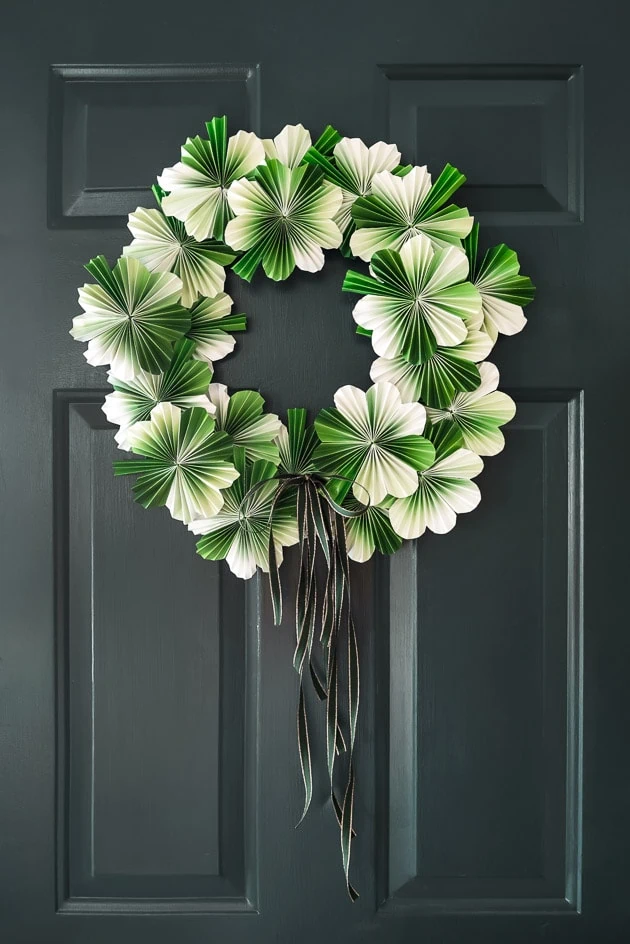
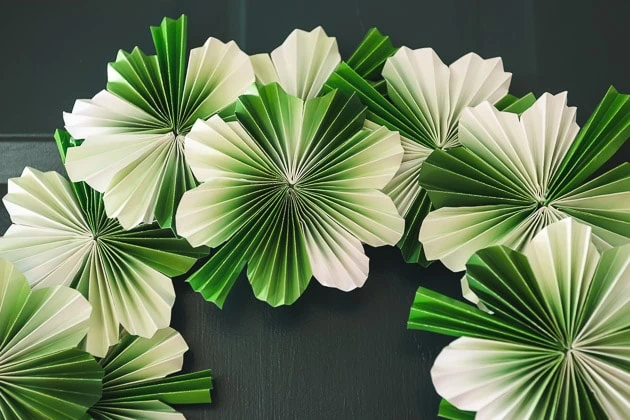
This year, to give you a little extra pop of green for your home, we made a fresh new St. Patrick’s Day wreath. Scroll down to learn how to make your own!
Materials:
St. Patrick’s Day Wreath
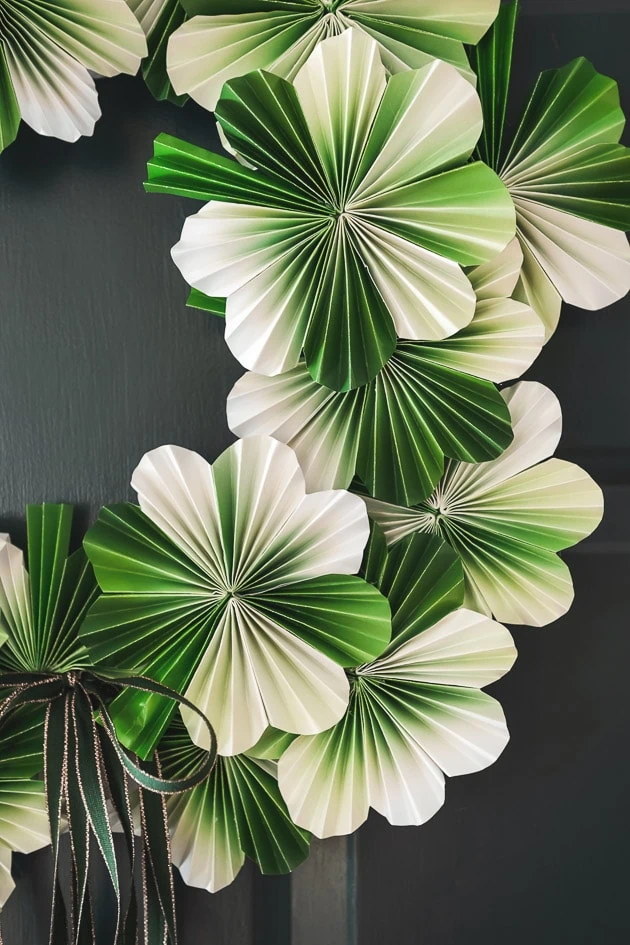
Remember our accordion Valentine’s Day wreath? You loved it so much we decided to make a St. Patrick’s Day wreath based on it! This little beauty features the same delicate gradients, this time in hues of green. Of course, hearts scream Valentine’s Day, so we opted for four leaf clovers instead. Gotta give you some luck, right?
Shamrocks vs. Four Leaf Clovers
Speaking of four leaf clovers, we want to make sure we addressed some of the comments we received in response to our St. Patrick’s Day bracelets last week. In a few past posts, we have mistakenly called four leaf clovers shamrocks. Here’s a little clarification: Shamrocks have three leaves. This has religious roots–each leaf represents a member of the holy trinity. On the other hand, a four leaf clover has four leaves and is not considered a shamrock. They are considered lucky, though! That’s because four leaf clovers are more rarely found in nature. Shamrocks, with three leaves, are the more common default. Here’s an article that talks about the difference if you’re interested.
Our apologies for mixing up the two!
How to Make a St. Patrick’s Day Wreath
All formalities aside, here’s how to make this beautiful St. Patrick’s wreath!
Prepping the Paper
- First, download the wreath template found here.
- Print and cut out the templates. We printed ten of each page of the pdf, but you can print as many as desired.
Making the Four Leaf Clovers
- To make the accordion four leaf clovers, fold each gradient into small accordion folds, roughly 1/4-1/2 inch. Do the same for the stems.
- Once that’s done, fold each gradient in half and glue where they meet. They should now look like hearts.
- To assemble the leaves, glue four of the gradient hearts together. If you want to make shamrocks instead, you can use three instead of four.
- Last, add the stem to the center of the bottom and secure with a dab of hot glue.
Assembling your St. Patrick’s Day Wreath
- To assemble your St. Patrick’s Day wreath, make a wreath form out of the thick gauge wire, taping it to secure. Make it however large or small you’d like.
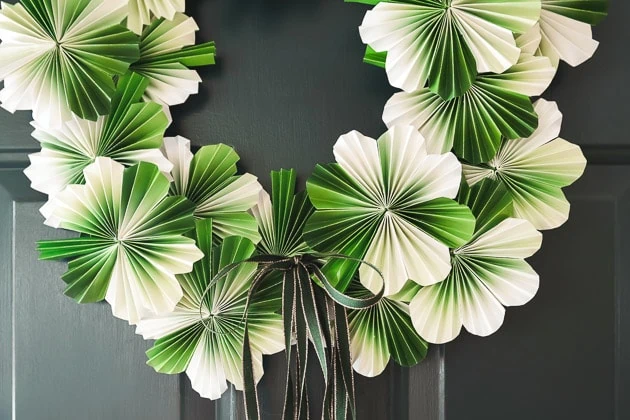
- To attach the four leaf clovers, simply hot glue them onto the wire wreath form.
- Keep going until the wreath is as full as you’d like.
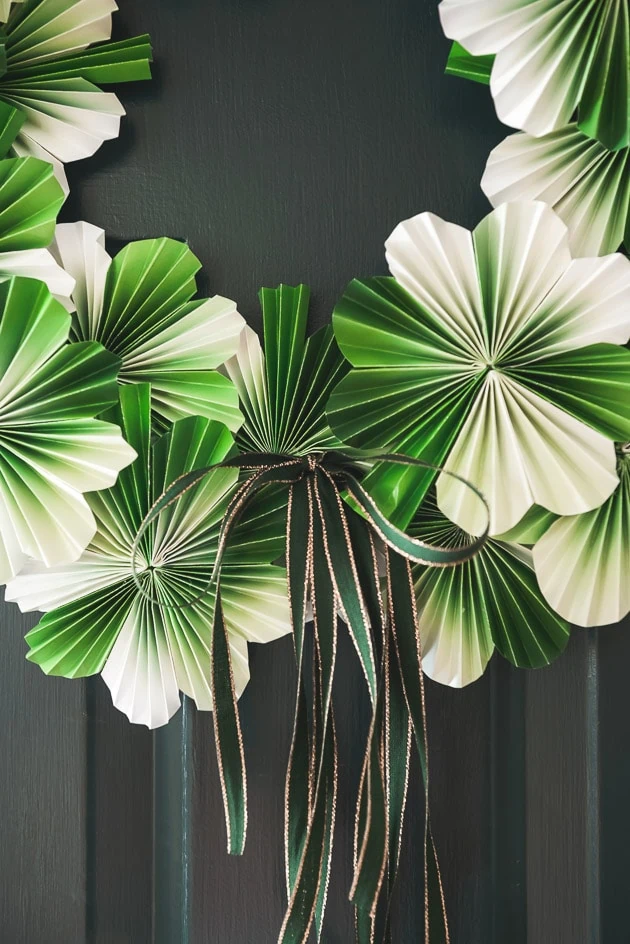
- Add a pretty ribbon of your choosing to the wreath and voilá! You’re done!
More Inspiration
Did you love this tutorial on how to make a St. Patrick’s Day wreath? You might also be interested in our Valentine’s Day variation, found here. If you’re looking for other St. Patrick’s Day ideas, check out these sweet St. Patrick’s Day beaded bracelets and avoid being pinched. Also try this St. Patrick’s Day crown, or these kid-friendly coloring pages! And if you’re in need of a new spring craft, try our DIY Paper Orchids!




Comments