Materials:
Did you catch the #toddlertemptation I did with Jasper this weekend on Instastories? (You can see it saved in highlights) I set out a plate for his dinner and left the room for a bit (2 minutes max?) and asked him not to eat anything until I got back. Of course, I recorded the whole thing. Well, that little sneak totally snuck soooo many bites! He was very stealthy about it so I don’t know whether to be impressed or worried!
While I am a little heartbroken about leaving the baby stage, watching him grow is the most amazing thing ever. And truthfully, he gets more fun to play with every day!
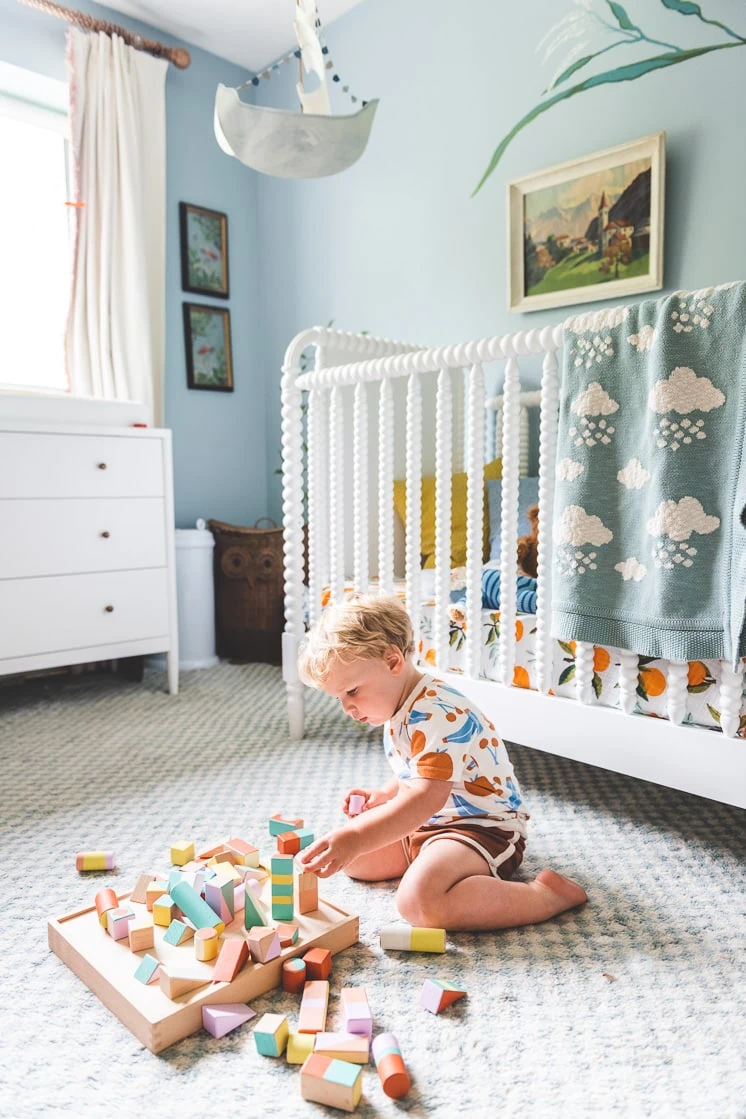
You might remember this old post about his nursery. It’s crazy to think that was more than two years ago!! It’s pretty clear that I love to decorate and craft and change things all the time, so it should come as no surprise to you that I add and remove things from his room constantly.
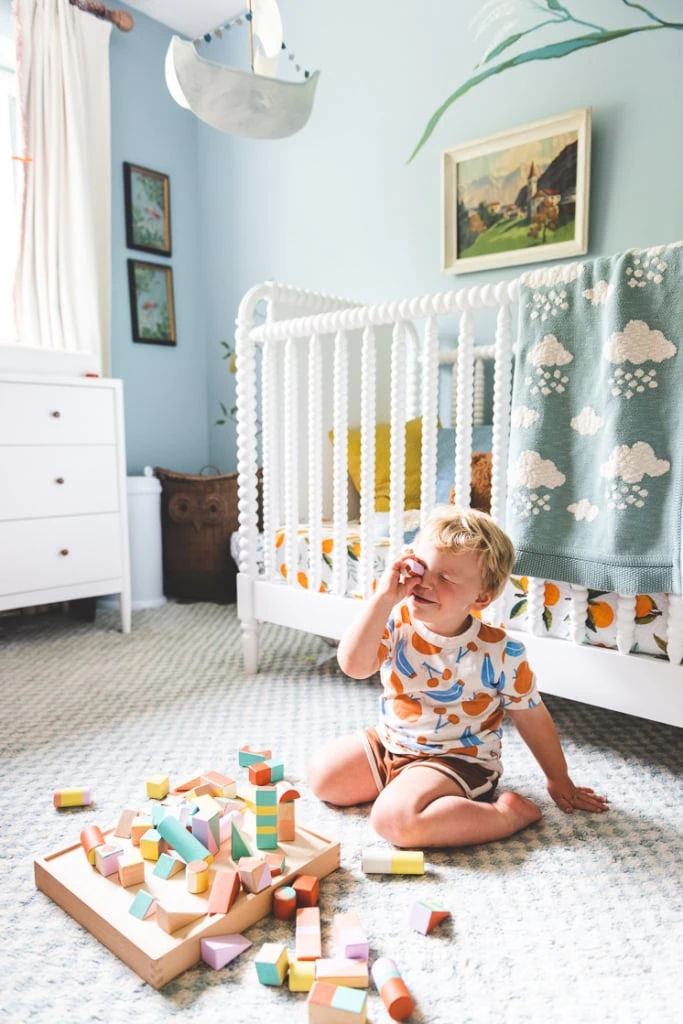
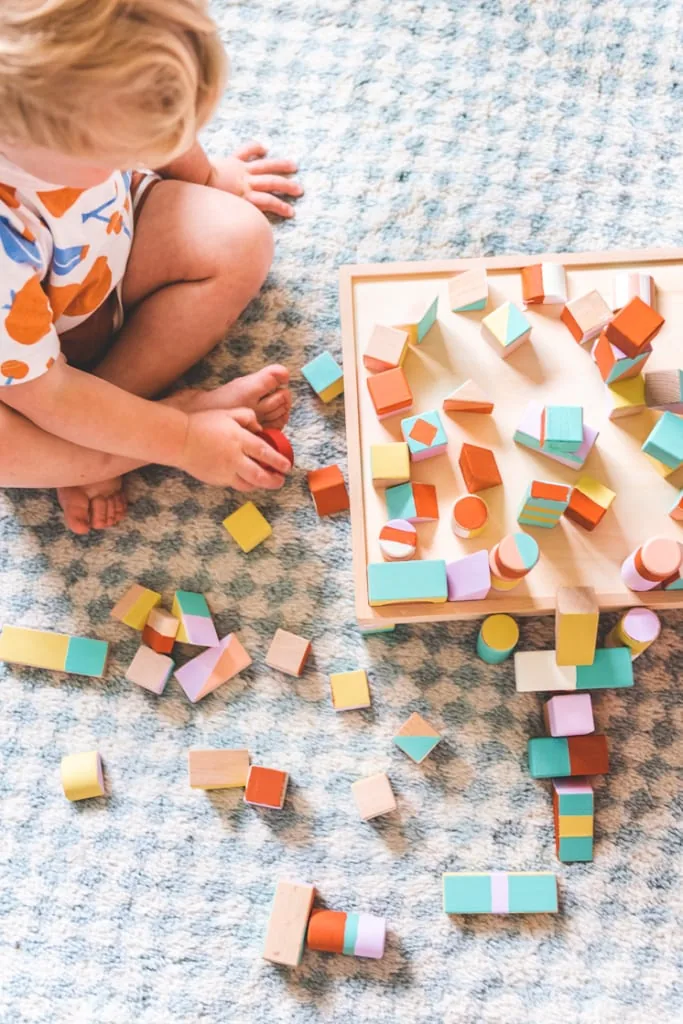
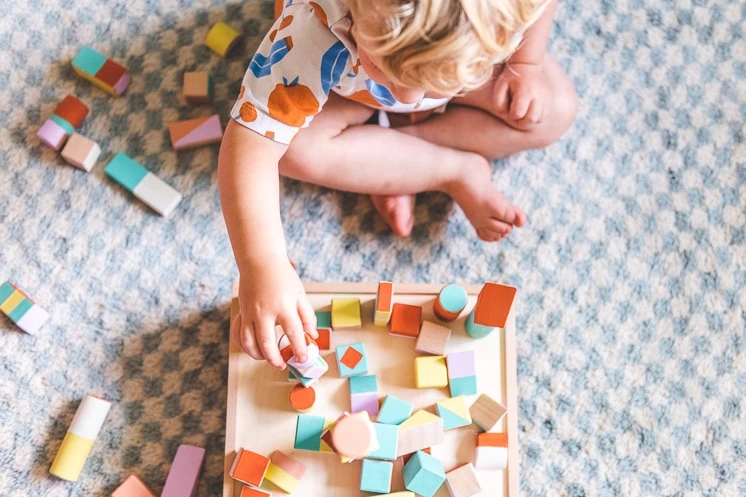
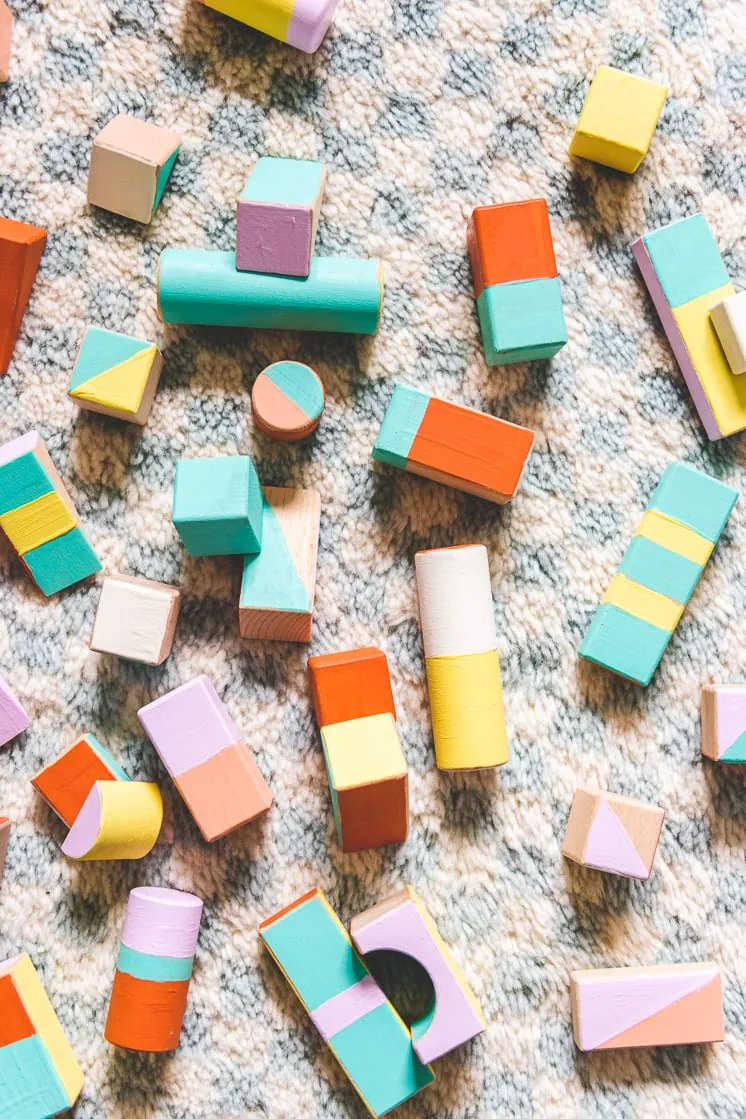
One thing that I am introducing to his menagerie of toys are hand-painted blocks! This is a project that I’ve been wanting to do for awhile and I finally scheduled it to make it happen (one of the perks of crafting for a living!). In fact, for my sister’s baby shower, we left out a ton of blank wooden blocks and guests could add their own pattern to it so you get a variety of handpainted blocks from your dear friends. I’ve been wanting a set for myself ever since.
There are tons of cute and trendy wood blocks for sale right now, but I wanted ones that were more specific and personal for him. If you read my piece from March, Why I Feel Called to Craft, you’ll get why I wanted to paint my own blocks.
All of my life, I’ve watched my great grandma, grandma, and mom crafting. You’ll recall my family’s famous fridge quote that “a creative mess is better than tidy idleness.” Right now, I find myself pulled by those two opposites – do I want my home to be tidy or do I want to play and craft? Sure, painting Jasper’s blocks myself might have made a mess, but I made memories while doing it.
When I initially set about decorating his room, I stuck with moody-but-airy colors like muted blues, greens, and greys, with red providing the pop of color and energy. Remember, whimsical color schemes always need some neutral hue to ground everything! For the blocks, I decided to deviate a bit from my original color scheme and go with ~summery~ colors. Pinks and aquas and yellows were too hard to resist!
How to make your own painted blocks
I found this great blank set of blocks that wasn’t too expensive. In addition, it’s even nicely sanded and comes with a box to put them away in.
Materials:
- Set of wood blocks from here
- Acrylic or house paints in a variety of colors
- Paintbrushes
- If you’re worried about your children eating the blocks, add a child proof sealant onto the paint
- Blue tape
Instructions:
- Start painting some wood blocks a solid color. Or stripes, or whatever you’d like. If you want super straight lines (I wanted mine to feel more handpainted) use blue tape (and follow the instructions on the tape!) to block off your colors.
- After that, let the blocks sit for the allotted time drying time.
- Finally, use child-friendly sealant if you’re worried about your children eating the blocks.
Color scheme ideas for your painted blocks
Here are some ideas of color schemes we love!
Jasper’s colors
Circus colors
Spring colors
Bold colors
Quirky colors
Hopefully, Jasper will have as much fun with these blocks as I did! I want him to look back on his childhood the way I do mine; it was full of life and color and creativity and inspiration from the people I love.
That’s it! Would love to see if you make some! To be featured, tag us on instagram with #LarsMakes or #LarsKids so we can see them!
Other wood blocks we love
If you would rather purchase some beautiful wood blocks instead of painting your own, here are some of our favorites!


Comments