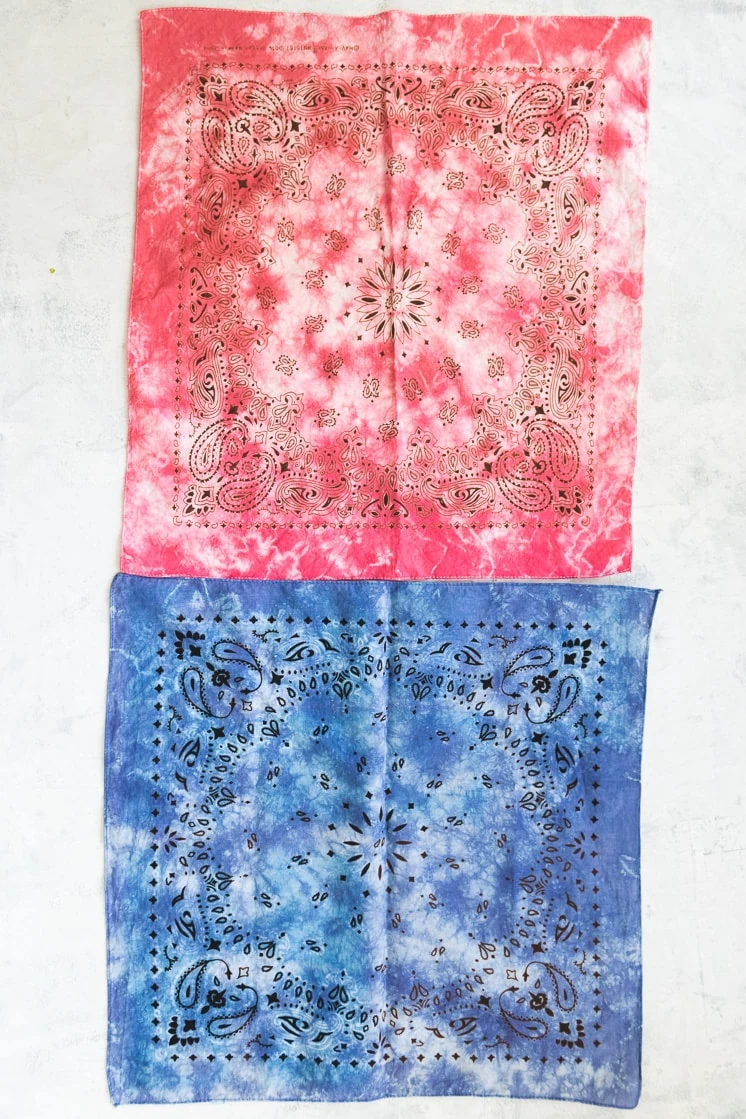
If you haven’t done a tie dye project this year, did you even experience the shut down? We had to take a stab at it so we put a spin on our dyed handkerchief tutorial (remember this one?!) but with EXTRA magic.
In fact, tie dye feels like a dip in pixie dust. In the simplest of terms, all you do is put some liquid on a piece of cloth and you get art. It’s magic. However, it doesn’t have to be hard! Using the right materials and with a little bit of planning, you can become a regular old tie dye wizard. Try and make your own Fourth of July themed tie dye bandana!
What your tie dye bandana says about you
While current events can impose a sense of despair, making something tangible helps me feel better. And by making this Fourth of July themed tie dye bandana, I found a way I could remember and honor the American ideological roots of independence, freedom, liberty, equality, which I still believe in and have hope in.
Part of the fun with making something yourself is that because you choose each element of the project, you can put own emotion and meaning into things. Something as simple as a piece of tie dye can be a powerful tool.
Making a craft with my own two hands is grounding, and it helps me remember that I can be independent and make my own choices. Using the red, white, and blue tri-color combo has its own importance too. It has been a symbol of liberty since the 16th century! No matter your country of origin, those are ideals resonate deep.
DIY Bleach Tie Dye Bandana
Supplies:
Steps:
To mix the dye, mix hot water a tiny bit of dish soap and a couple teaspoons of salt. Add add your dye color. Test color with a paper towel to make sure you have your desired shade.
Put the bananas under cold water.
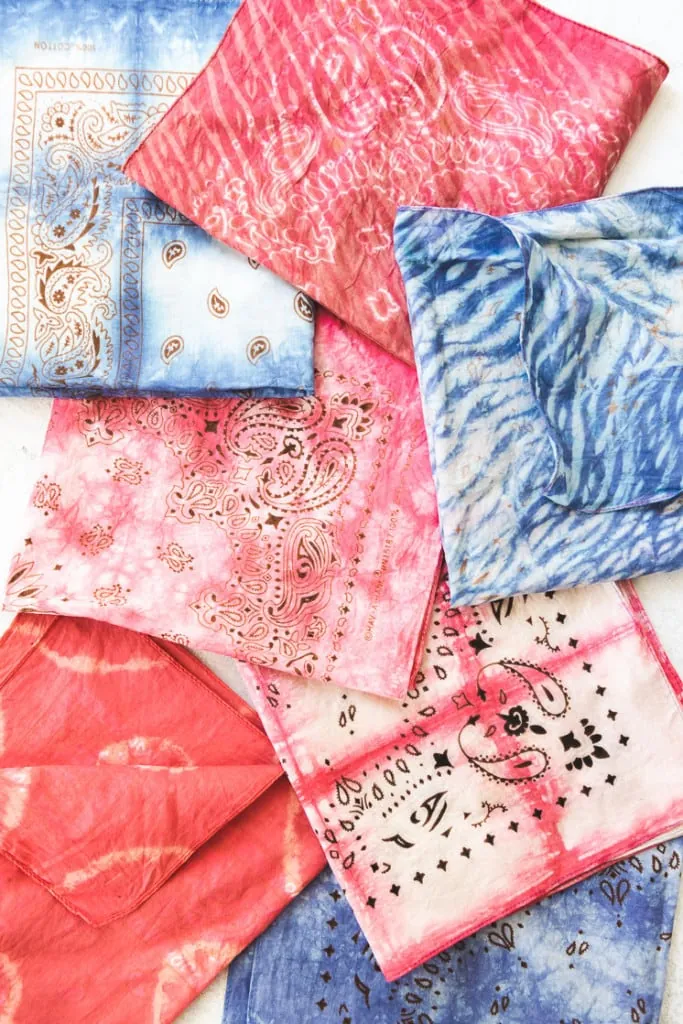
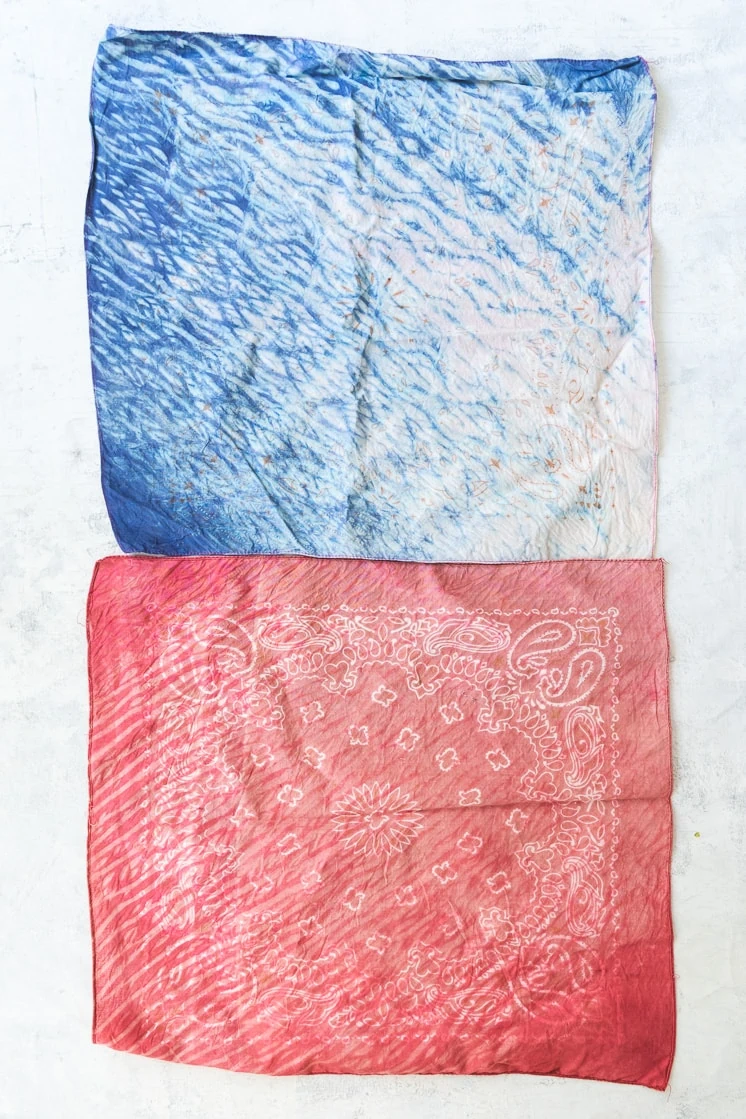
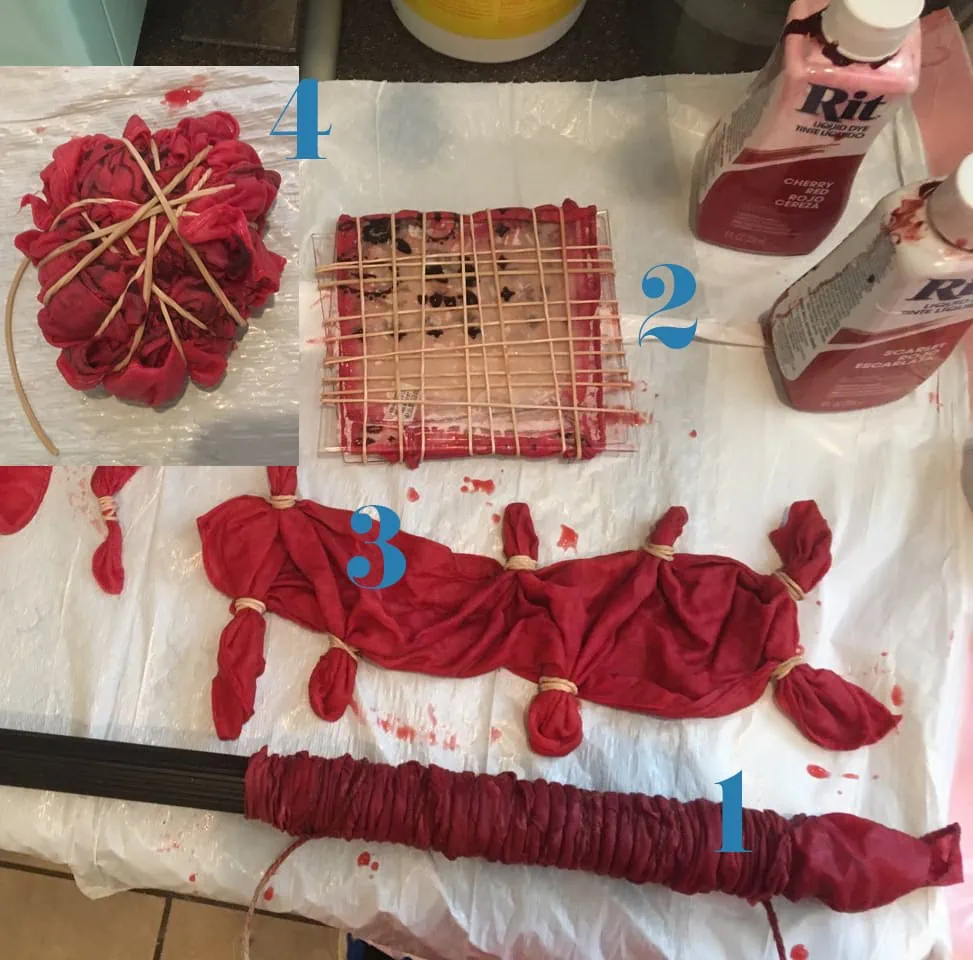
For the twisted look (1), wrap the bandana around a pole (we used a broomstick) and then wrap twine around it then scrunch the bandana together. The more scrunched it is the less dye will show through.
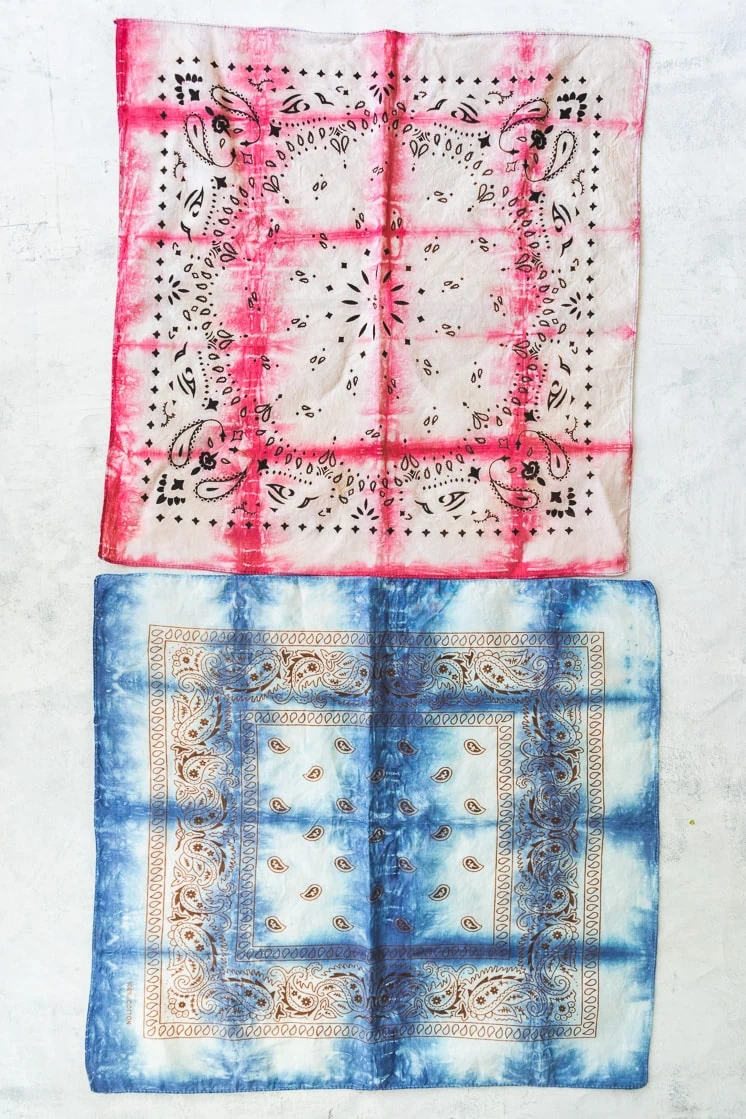
For the square look (2), accordion fold the bandana one one and then the other way, alternating directions. Place two pieces of plastic or wood blocks on each side and add rubber bands to keep it in place. The more rubber bands you use the the less the dye will show through.
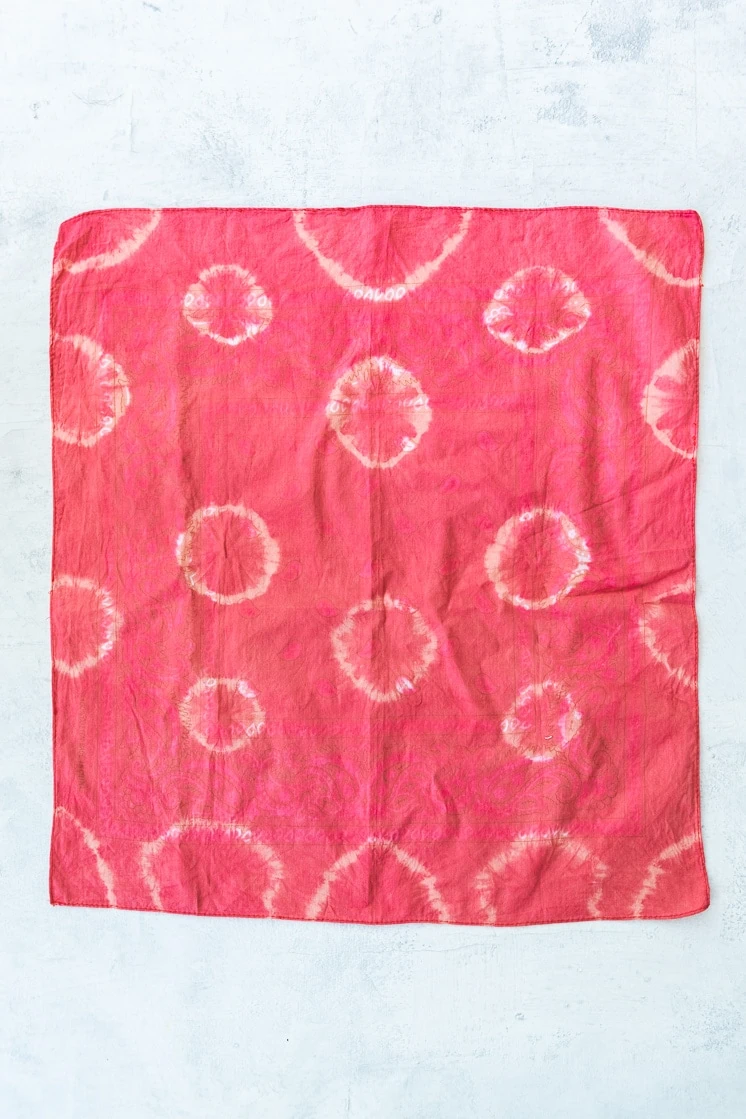
For the circle look (3), Accordion fold in one direction and add rubber bands on alternating sides
For the scrunched look (4), scrunch it up and add rubber bands! Super simple.
Leave them wrapped with rubber-bands few hours for the dye to set. Then rinse and wash. Enjoy your new tie dye bandana!
You can also use dark colored bandanas and bleach instead of dye to achieve a similar look!
10 ways to wear a bandana
We love things that feel homemade and whimsical with a touch of vintage-flair. It should come as no surprise to you that we love tie dyed bandanas! In case all you can picture when you hear the word “bandana” is a cowboy, I’ll brainstorm some cute styling ideas for ya.
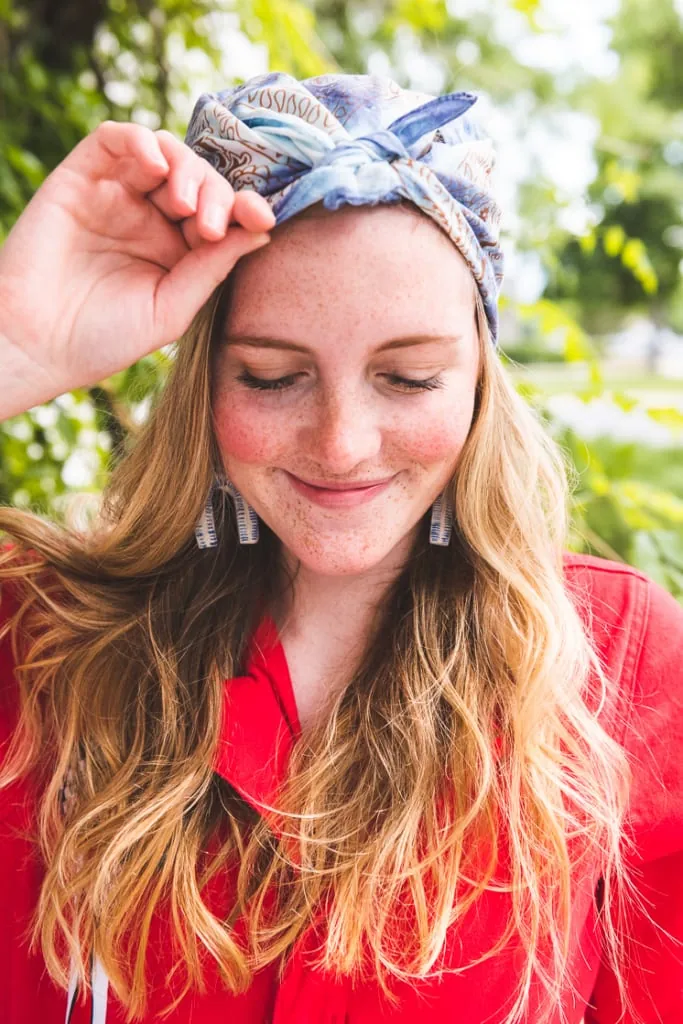
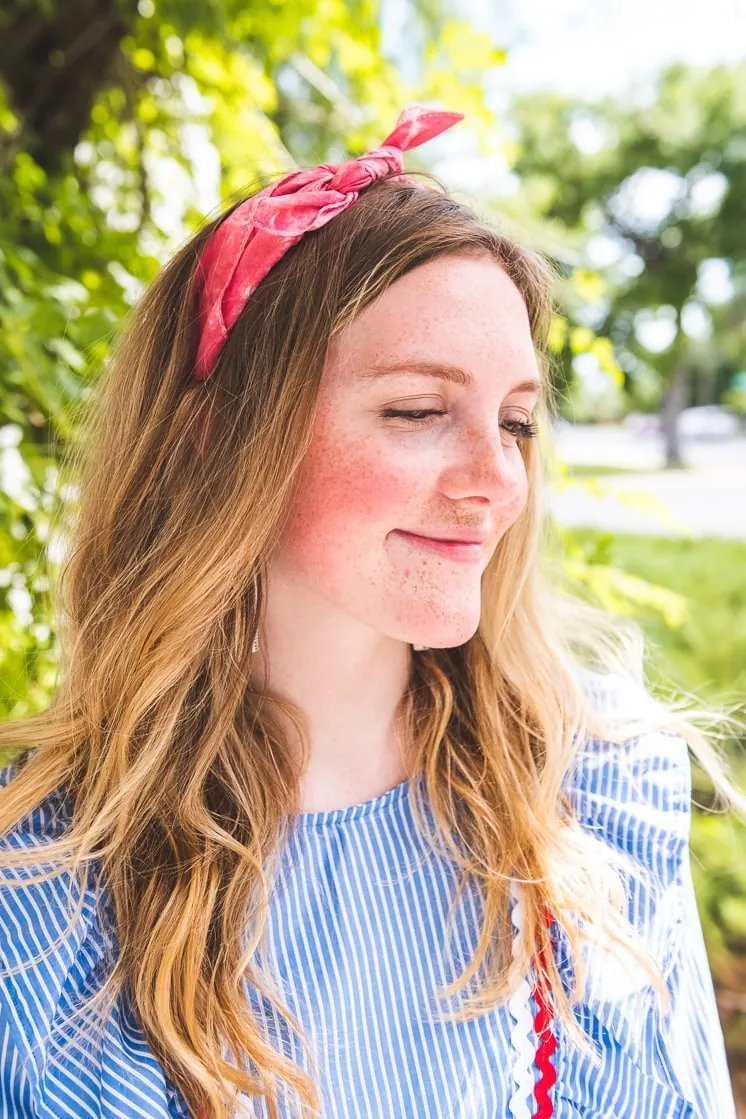
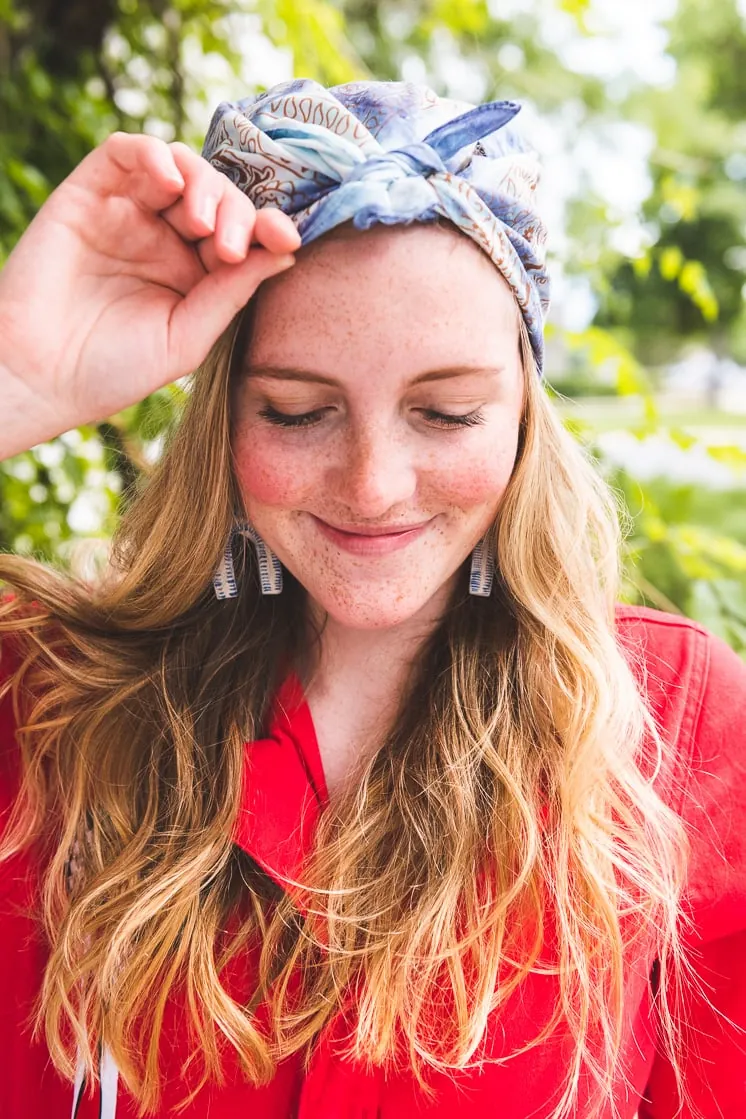
As a headband
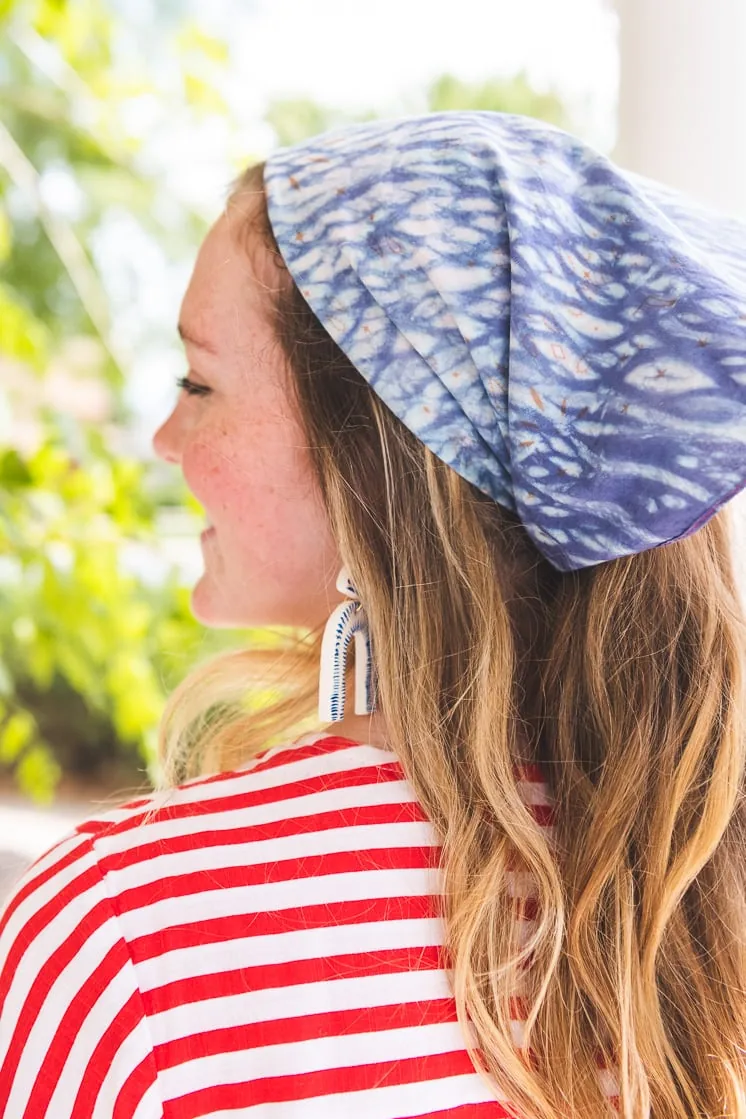
Lay out the bandana flat and fold in two opposite corners to the center. Then choose one side you’ve just folded, and continue to fold in 2-inch wide segments until you get to the other side. Bring the two pointy ends together in a knot around your head with the knot on top of your head or hidden under your hair.
Pony Up
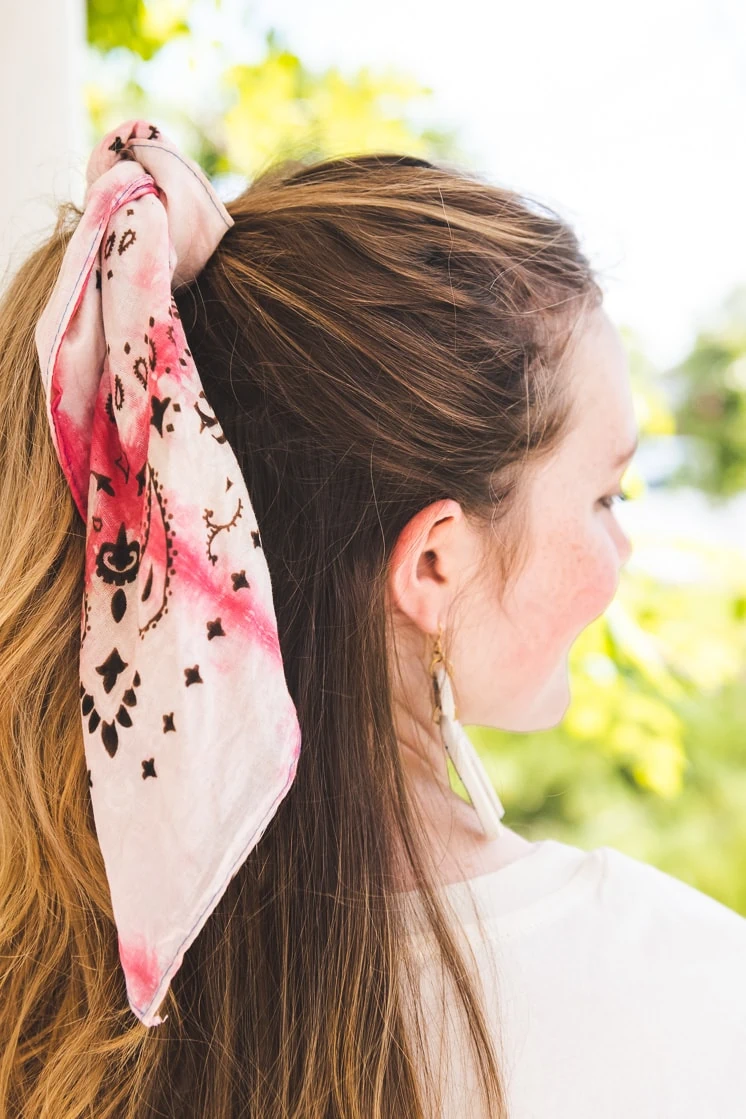
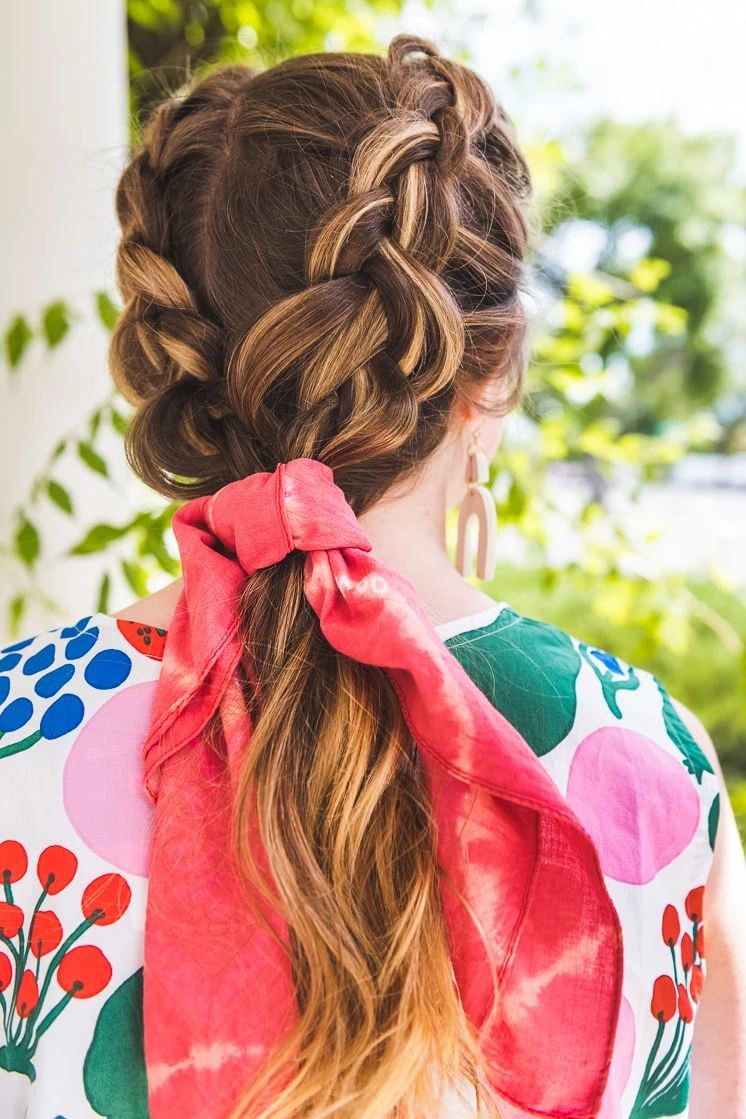
Tie your hair up into a ponytail first, then tie the bandana around your ponytail holder. If you like a more relaxed, romantic pony, use the bandana as the hair tie and let some pieces of hair fall out of the tie dye bandana. Tres chic!
PanAm Stewardess Style
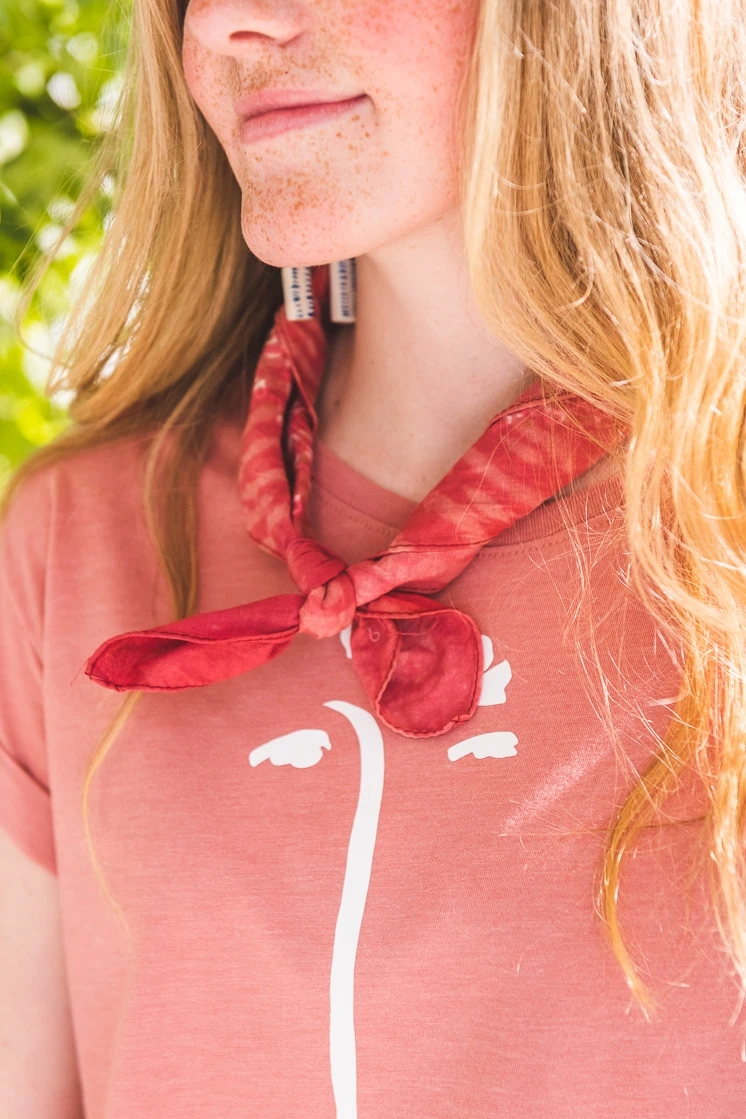
This one is swoon-worthy. I love the vintage flight attendant uniforms, and the neckerchief is what really makes it for me. Using a tie dye bandana as the scarf makes the whole look more casual and wearable. Fold the scarf into a long strip (like you would for a headband) and tie it around your neck loose or taught. Let the tails hang out and you’ll have mastered the “I tried, but not too hard” look.
Bag accessory
I love to tie a scarf onto the base of a purse strap. It’s an easy way to accessorize without putting on anything extra! If your outfit for going to the grocery store feels a little bleak, knot your bandana onto your bag for an instant color-infusion.
Dutch Milkmaid style
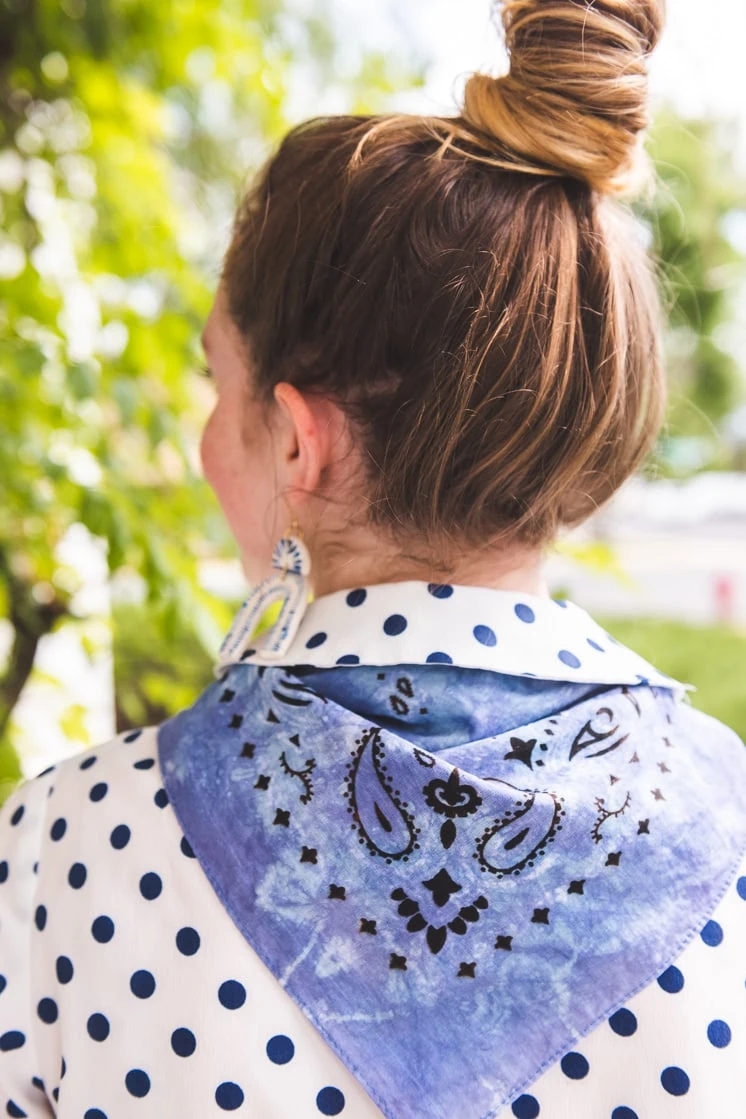
This is currently the trendiest way to wear your bandana. Fold it in half into a triangle and tie it at the base of your neck under all of your hair.
Cowgirl Face Mask
This method is becoming super trendy right now as it is a DIY face mask that requires no sewing!! (I just heard a crowd of people in my mind, cheering). Since Western wear is trending again, feel free to go full-cowgirl and tie it around your face in the classic style.
Surgical-style Face Mask
If you want to put in a bit more effort (still no sewing), try this method!
Lay out your square, freshly tie dyed bandana flat. Fold in the top and bottom edges till they meet in the center. Next, Flip the cloth over so the opening is in the back. Repeat the same fold again, bringing the top and bottom edges into the center. Flip the fabric over again. Place loose hair ties or ribbons on the left and right sides of the fabric, segmenting it into thirds. Fold both side towards the center with the fold at about where the hair tie is. Fold the left side at the hair tie towards the center and tuck the left end into the opening on the right end to secure it. Place the elastics over your ears with the folded-in side on your face. The layers act as a filter, and the folds make it super easy to wear while talking, etc.
Scout Style
Lay out the bandana flat and fold in two opposite corners to the center. Tie the bandana around your neck with the point in the back.
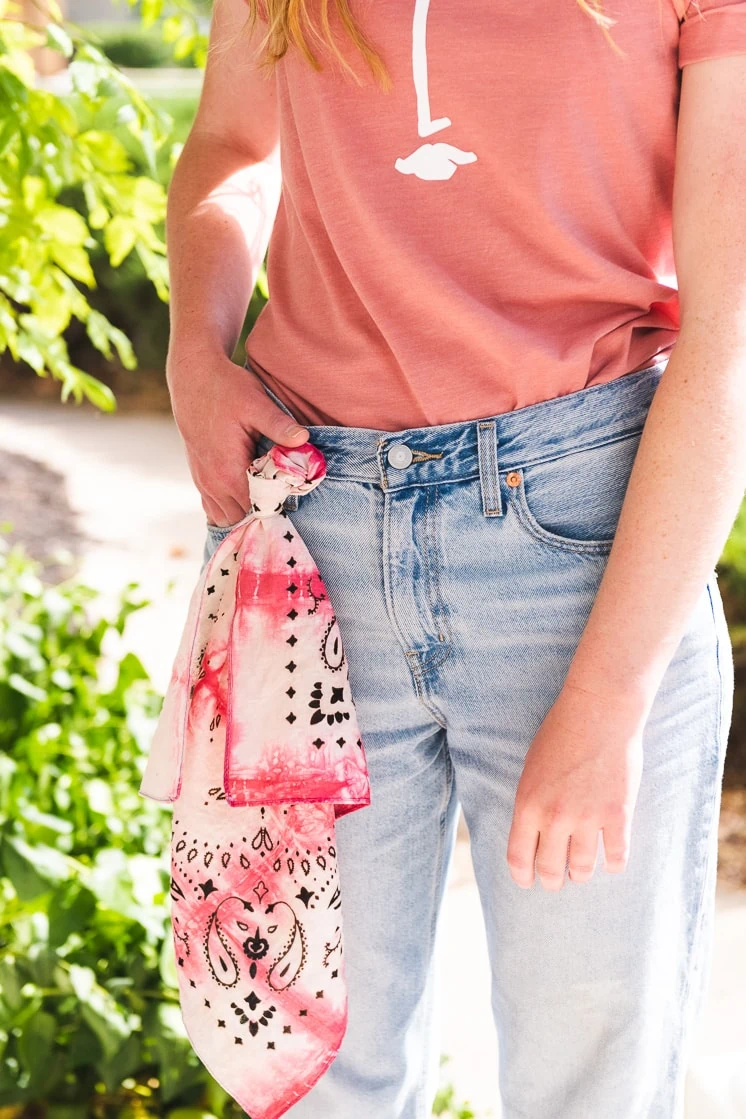
Around a belt loop
If your outfit could use a little more style, add a bandana around your pant belt loop! It immediately levels up a classic tee and jeans.
Full head wrap
Be bold enough to wear your bandana in this fun style. And a pro tip: it nicely covers up your unwashed social distancing hair 😉
*** Tips: press the folds at each stage and use a stiffer fabric for stability. Adjust the thickness of the wrap/folds to facilitate ease.
Other tie dye things we love!


