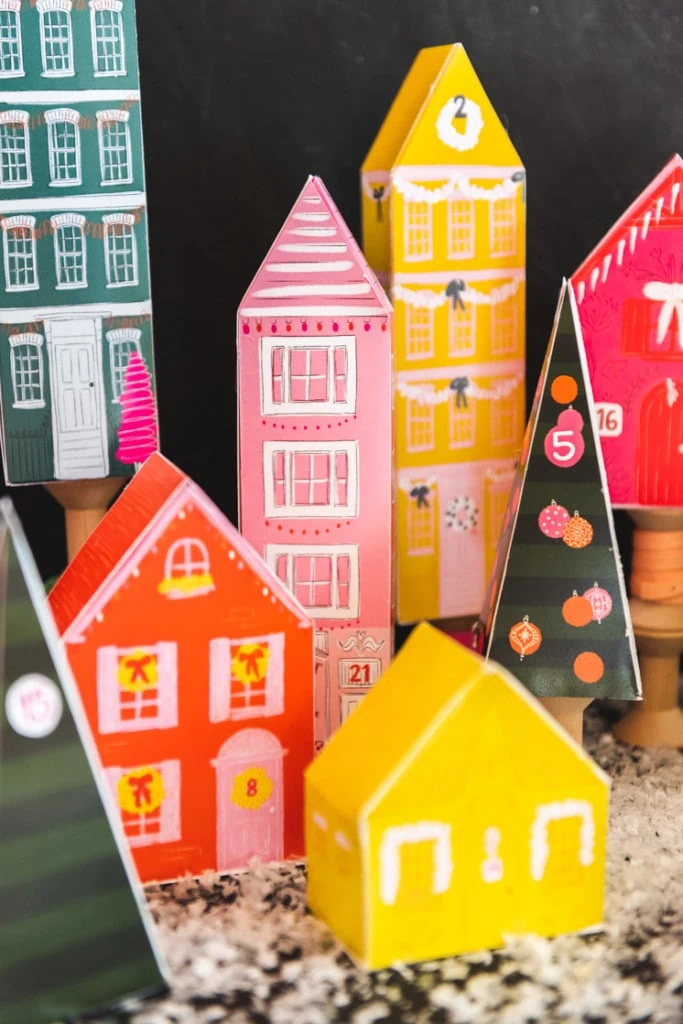
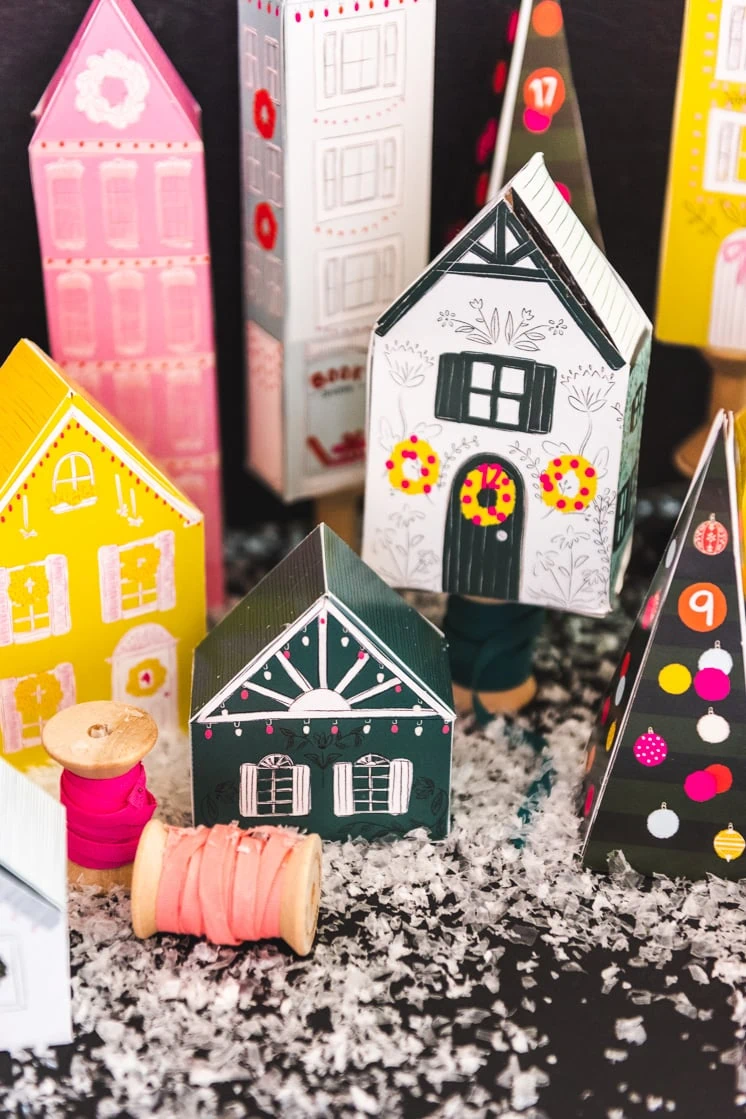
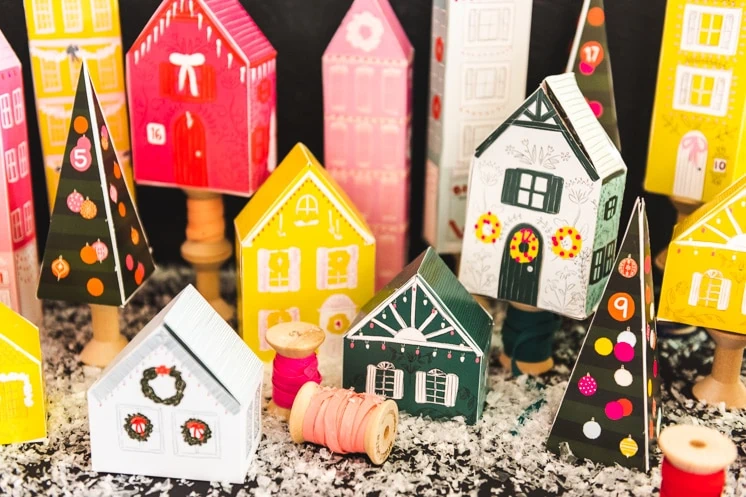
Don’t you think the anticipation to Christmas is so much better than the day? There’s just so much magic in the air. Well, you know that we love a good advent and we came up with this new printable village advent. It’s SOOOO cute! And it’s a perfect Thanksgiving weekend project, no?!
Materials:
What’s more exciting than the delicious anticipation of that Christmas morning? In an effort to maintain some of that magic through the month of December, I love using an advent calendar. When I was a child, we would fight over the little chocolates or treasures my mom put inside the little pockets. Then, mom got tired of the candy and replaced it with wooden stars. We still fought over them. Our printable advent calendar is adorable, easy to assemble, and doesn’t involve any candy…so here’s hoping your kids won’t fight over it.
Printable Advent Calendar
Check out some of our other advent calendars from past years. We did a Christmas Bulb one (like a paper chain, but cuter and more Christmas-y), a Christmas Photo Advent Challenge, and an Acts of Service Advent Calendar (my personal favorite). After all, I think we could all use some extra service this year.
How to make a DIY advent village calendar
Here’s how to make our village advent! It includes some sweet details like a craft shop, book store, market, boulangerie. It’s too sweet!
Materials
- Printable village (found here)
- Scissors
- Glue gun
- Tape
Print off the printable village. There are 25 pieces:
Instructions for cutting out the houses
- Cut out the house around the edges
- With your scoring device (we used a craft knife and lightly ran the blade over the lines), score the tabs, and each side of the house. You’ll also score the lines under rectangle roofs.
- Neatly fold each line.
- Cut the the two tabs between the triangle roofs.
- Glue the base of the house first
- Then glue the side tab of the house
- Lastly, glue the roof together. If you want to be able to access the top of the roof for presents or candy, use a light tape or leave it as is.
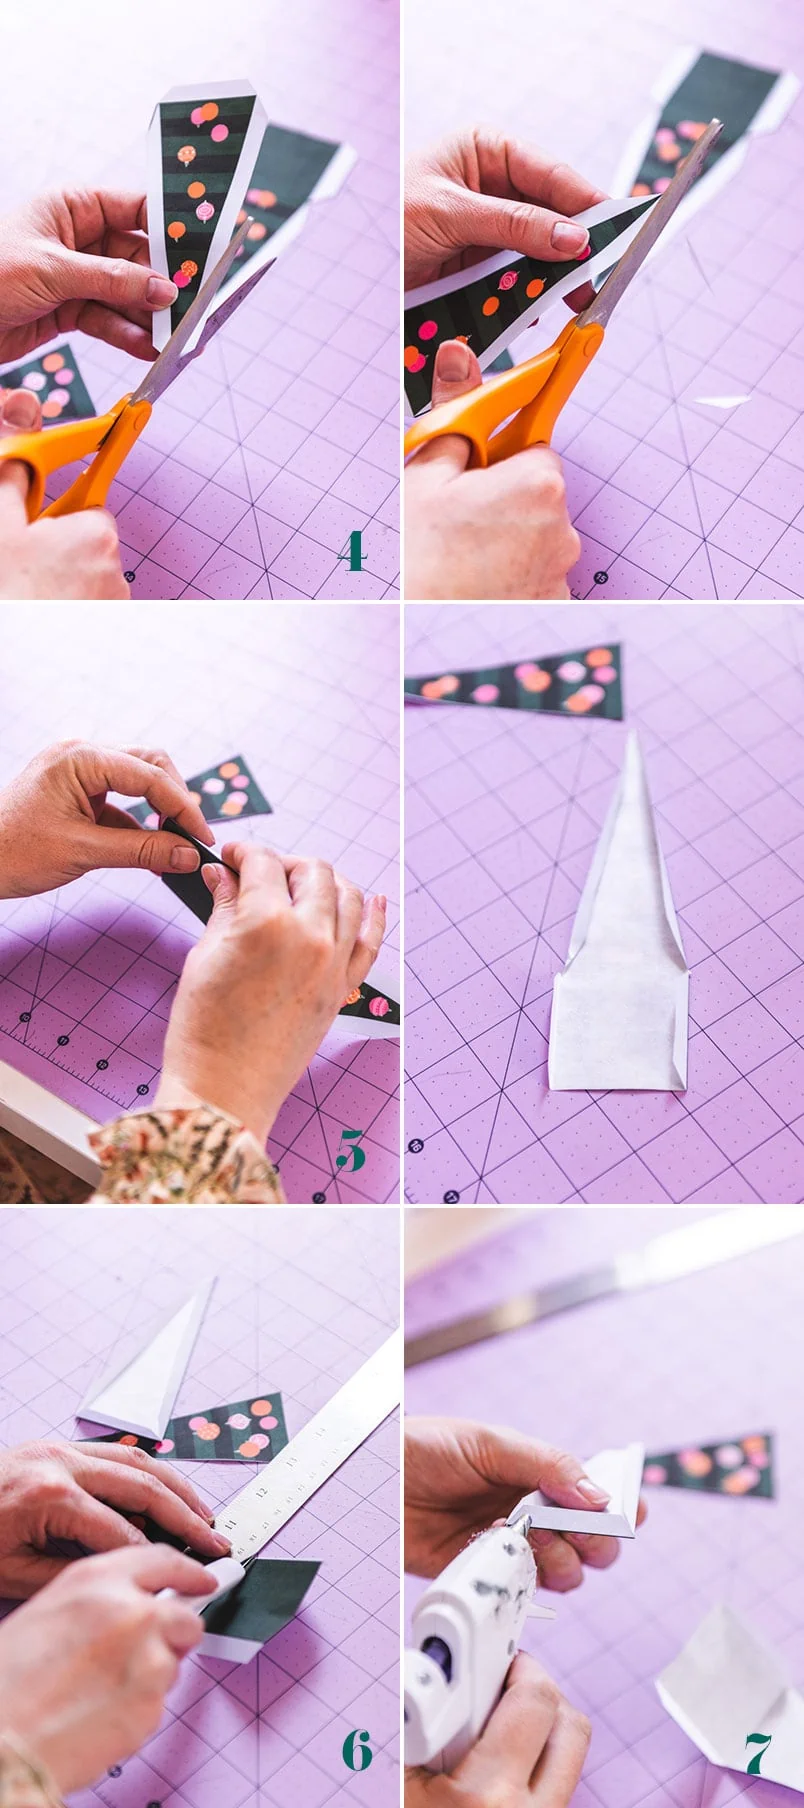
How to make the Christmas Trees
- Cut around the whole shape
- In order to fit the template onto one page, we assembled each of the four faces together. Now you will cut off the pieces so that there are four individual pieces, making sure that you leave the tabs.
- Score the tabs. We did this with light craft knife lines and a metal ruler.
- At the top of the two tree triangles that have the tabs, cut off a bit of the tab so that it is a more narrow angle.
- Fold the scored lined tabs in place.
- Lightly score the bottom rectangle. This will act as the base of the tree.
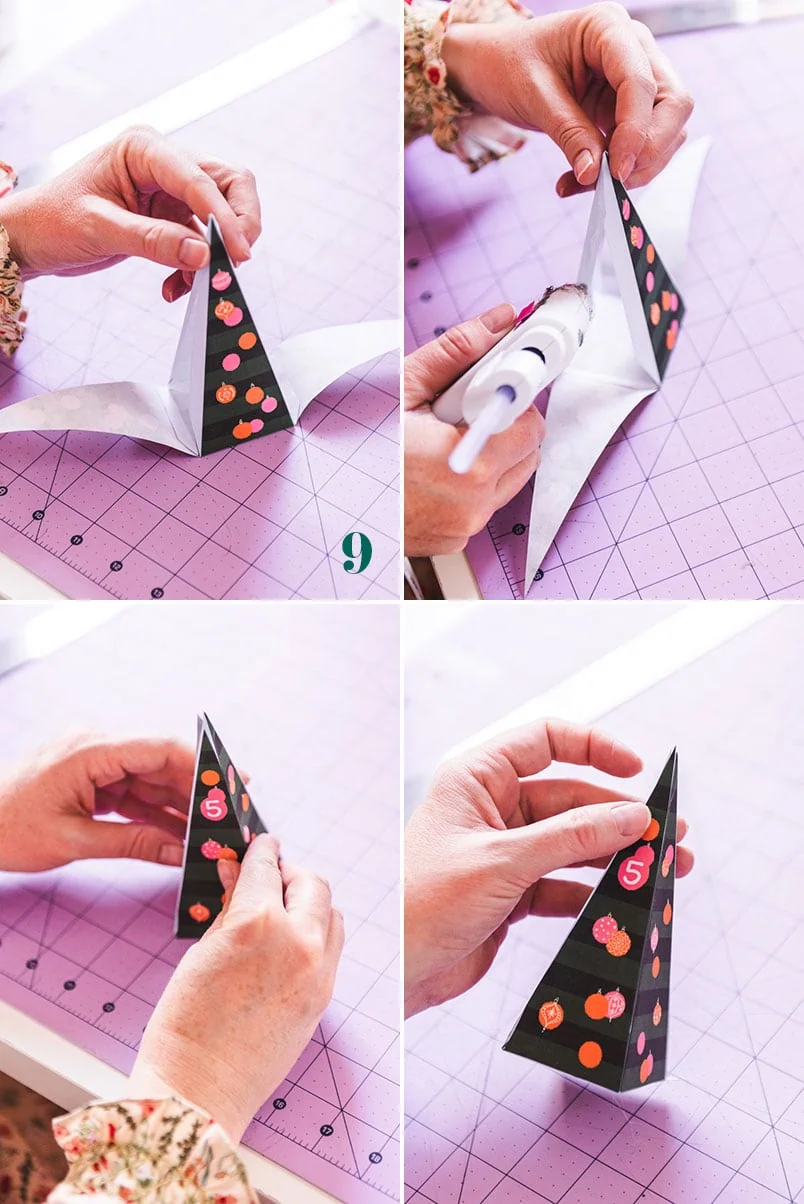
- Now you’ll assemble with glue each of the triangle shapes into a star formation using the tabs.
- Your finished star will glue a tab triangle piece to a non-triangle piece.
- Now, bring up the tabs and glue the sides together. If you’d like to access them, use a non permanent double sided stick tape.
Display tips: Display your village on a mantle or shelf OR you could even tie each one up onto a cute branch.
Would love to see yours in the wild. Tag us with #LarsMakes or #HolidayswithLars so we can check them out!
If you liked this project, you might also like:
DIY oversized paper stockings
DIY Bottlebrush Christmas tree hack
Rainbow ombre advent calendar







Comments