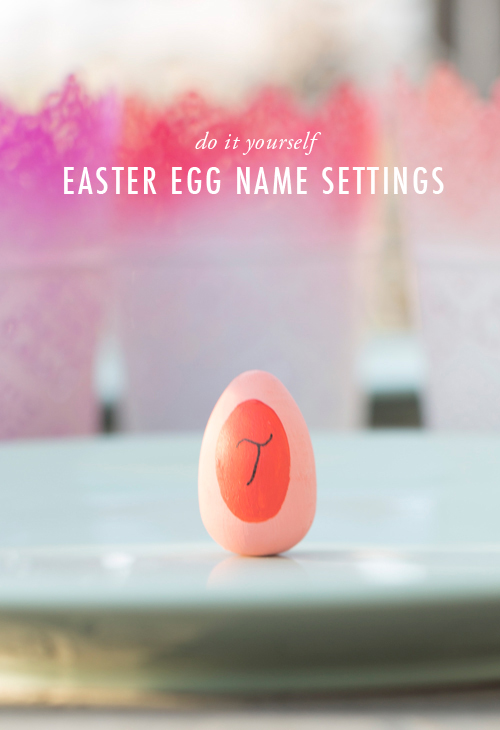
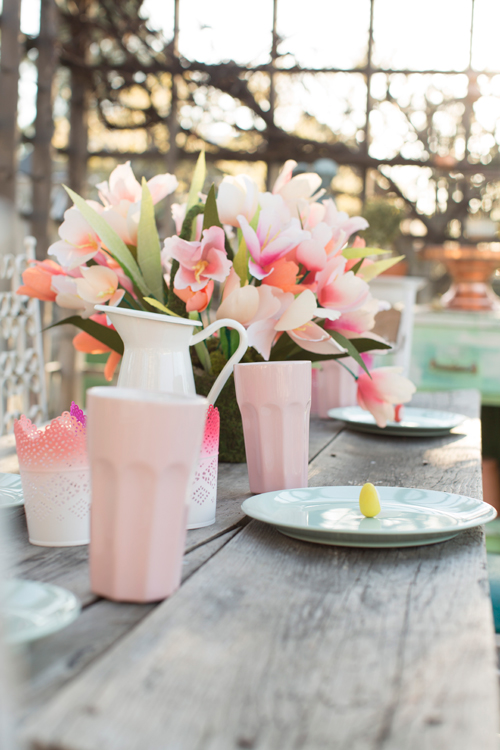
We’ve got the perfect way to personalize your Easter party… with Easter egg name settings! This tutorial is SUPER easy, so you can make them for all of your friends and family! These mini personalized eggs are the cutest, and your guests will love them too!
Read below for the full tutorial on these Easter egg name settings. You can also view more Easter egg crafts linked below!
Materials:
DIY Easter egg name settings
Materials:
- acrylic paints
- paintbrushes
- wooden eggs (I got mine from here)
- black pen
Instructions:
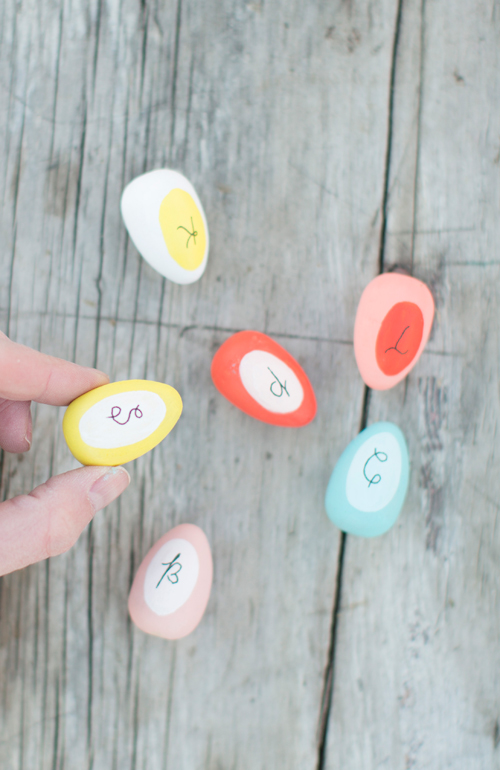
- Paint the eggs in a solid color.
- After drying, paint on an oval shape in a coordinating color. I chose colors in similar tones.
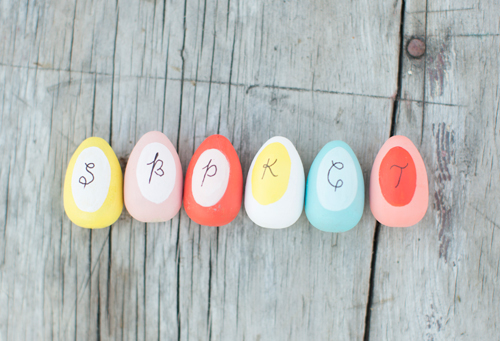
- Top it off with a simple monogram for each person at the table.
I wish this spelled something…missed opportunity. Sigh.
Easter egg crafts and (more!) name settings
If you loved these mini Easter egg name settings, be sure to check out our other name setting tutorials for Easter! We just can’t get enough of the mini place settings! These mini basket place settings are also perfect for Easter parties! These 3D Easter egg name tags are great for adding some color to your dinner table. Plus, there’s a tutorial for matching cupcake toppers here!
Here at Lars, we love finding new ways to decorate Easter eggs! Recently, we’re all about dried flowers (see our dried flower pumpkins and turkey gourds). Now we’ve got a tutorial for decorating Easter eggs with dried flowers! And if you just can’t get enough of the florals, take a look at these botanical Easter eggs. To match your Easter egg name settings, create this Easter egg runner. You can even match the colors to your name tags! To decorate your home, why not create an Easter tree? We have tutorials for a pom pom tree, a naturally dyed Easter egg tree, and a Swedish Easter tree! If you know Lars, you know we can’t pass up a holiday wreath. Check out this rainbow Easter egg wreath to hang on your door!
For more Easter crafts and inspiration, take a look at our Easter Pinterest board, and follow Lars on Instagram.


