When I was a little girl my grandmother taught me to embroider. I embroidered everything: pillows with pictures of tennis racquets and musical recorders (my hobbies at the time), flowers (of course) on sewn drawstring bags. I even remember turning in a math class assignment with embroidered pansies on a paper plate. Who knows why and how that was an acceptable math assignment….
It’s been awhile since I’ve placed a needle to form a flower and I’ve lost many of the techniques so when I had the opportunity to take some classes on Craftsy I was excited to re-learn the process. Together with my intern Kelly Curtis, I took Design it, Stitch it: HandEmbroidery with Jessica Marquez and today I’m giving away an entry to this class (enter here).
Jessica’s class was great because she clearly went over 25 rather new-to-me stitches showing each step of the way. Kelly mentioned that the French knot had always escaped her but she is now confident thanks to Jessica’s clear instruction. Score!
What you’ll go over:
- 7 different flat stitches with design inspirations
- looped stitches
- knotted stitches (like the infamous French knot!)
- Crossed stitches
- Fill stitches
- Embroidering on knits
- And how to create your own patterns, (which we did below)
And what’s great about Craftsy is that you can go at your own pace, bookmark key parts of the videos, and get a full refund if you’re not satisfied. Score again!
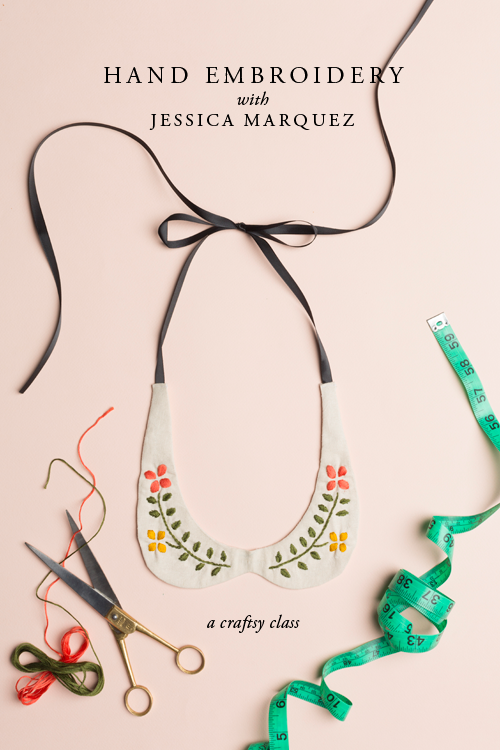
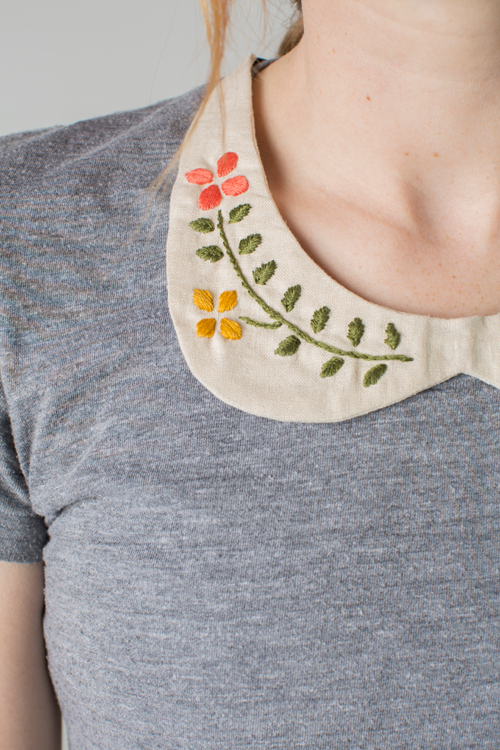
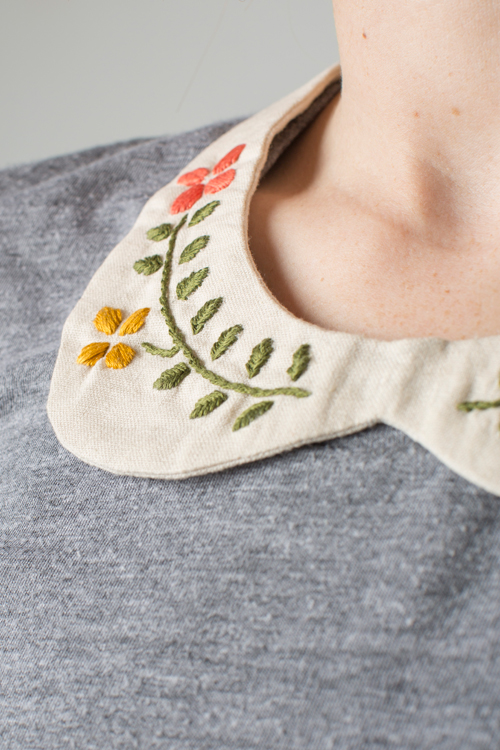
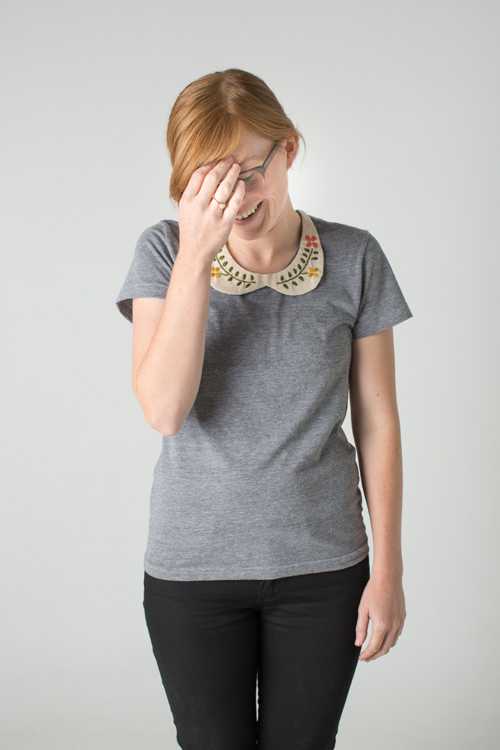
Kelly and I worked on creating a project based on the class and we came up with this floral Peter Pan collar that would be adorable to add to a dress or blouse. Don’t you think?! Continue reading below to create one for yourself with the full tutorial and free template download.
To enter the Craftsy class giveaway, click on this link and register with your email address or Facebook login info. The giveaway will end one week from today. Good luck!
assisting crafting by Kelly Curtis
styling by Brittany Jepsen
template design by Ashley Isenhour
template design by Ashley Isenhour
Full Tutorial Below
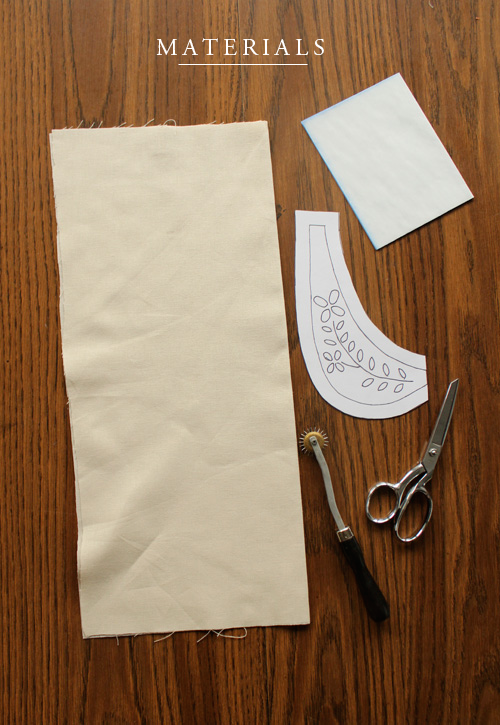
Materials:
- embroidered collar
- template for collar
- scissors
- fabric
- transfer pencil
- transfer paper
- pins
- sewing machine
- ribbon
- string floss
- sewing needle
Peter Pan Collar
Free template download here
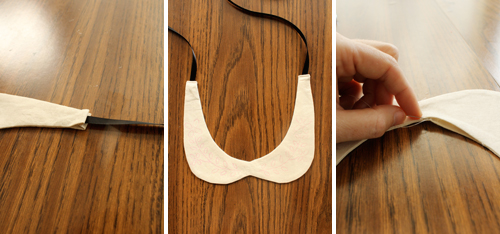
For the peter pan collar using the template (download it for free here), cut two and sew right sides of the fabric together. Start sewing the collar together about 1/2 inch from the ends. Leave about an inch or so open about an inch from the center of the collar, but not the center. Trim the seam allowance and snip about every 1/4″, then turn inside out. Turn the seam allowance of the open part of the collar in and then press. Close the opening by hand sewing. Press both sides of the edges in a 1/4. Insert a ribbon of your choice into each end and then top stitch closed. Now you’re ready to stitch!
Trace the design with an iron on transfer pencil and proceed to iron on. For the flowers and leaves, I used a #3 needle and 4 string floss. The stem, I used a #3 needle and 6 string floss. The flowers were done with the satin stitch, the leaves were done with the fishbone stitch and the stem was done with a split stitch.
Note: This post was sponsored by Craftsy but the words are mine. Thanks to sponsors like Craftsy that make this blog possible.


