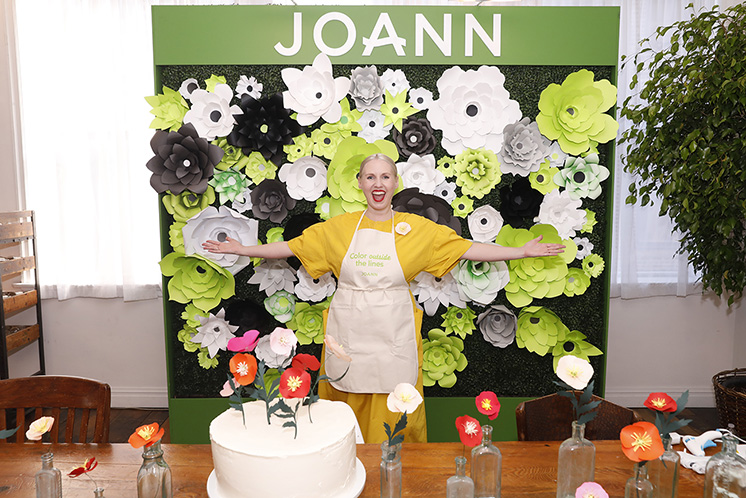
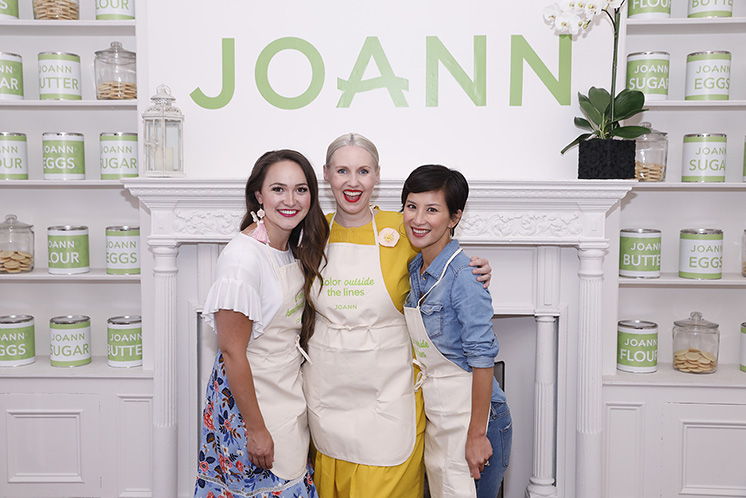
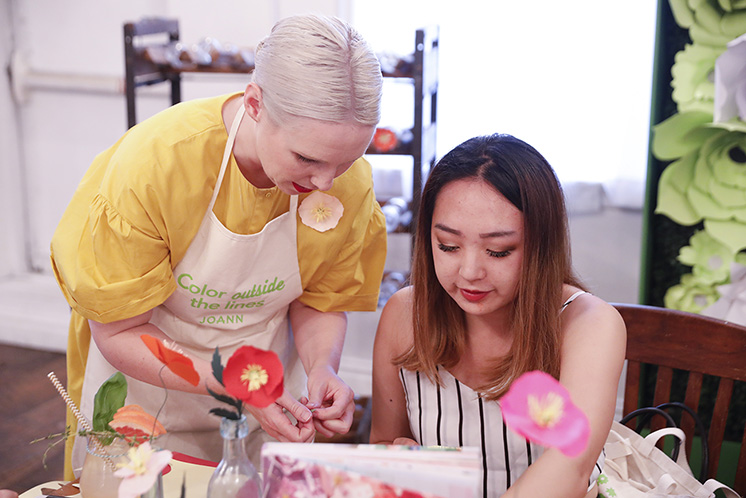
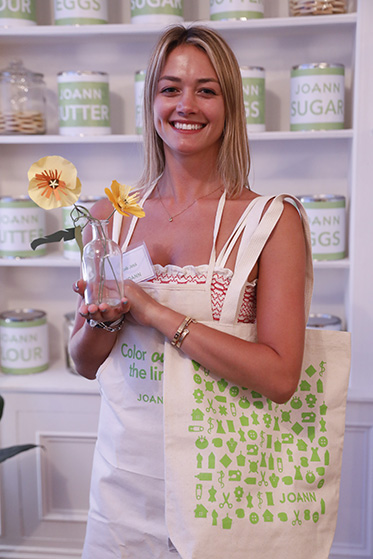
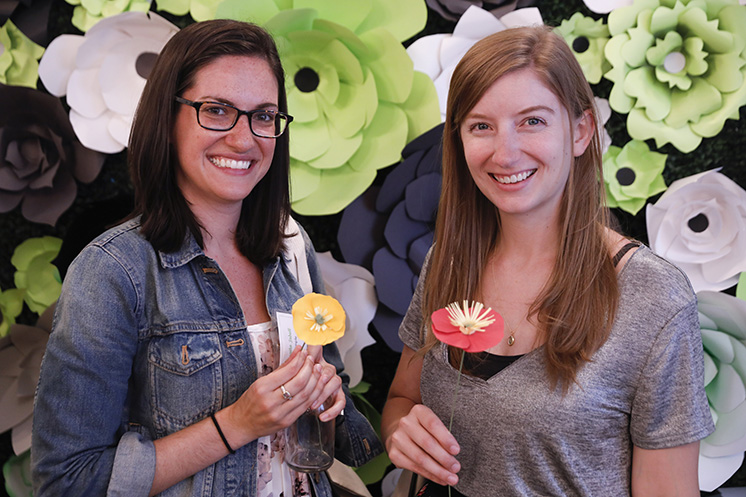
 If you’re a crafter, creator, designer, or maker of any means, chances are you’ve been to JOANN to fulfill your supply needs. Our local JOANN practically knows us by heart we go there so often! We were lucky enough to partner with Joann to help them reintroduce their new and improved brand. Becca and I (and Baby J!) traveled to New York to “Experience the New JOANN” and teach attendees how to create an Icelandic paper poppy. We joined Naomi of Bakers Royal and Kim from Sweet Red Poppy to bring “Handmade Happiness” to life in multiple forms. It was such an incredible night to be amongst so many talented and passionate makers. These are our people! JOANN is no longer just a fabric store. So make sure you go and explore your nearest location!
Make your own Icelandic Poppies and see all the details of the event!
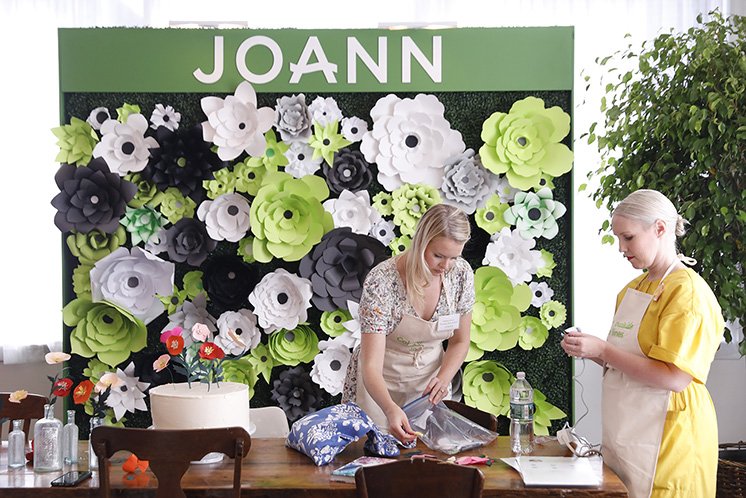
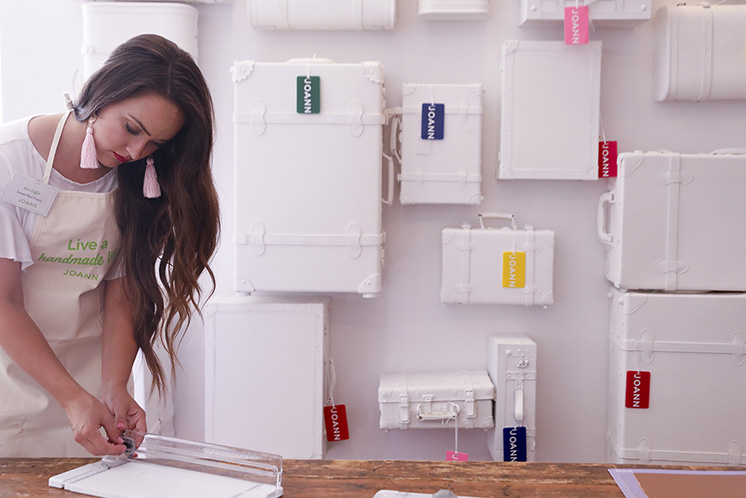
As I mentioned earlier, we were one of three crafting stations participating in the event. We made the paper Icelandic Poppy flowers, Naomi of Bakers Royal made the most gorgeous painted sugar cookies, and Kim of Sweet Red Poppy made a leather luggage tag. It was so fun to see everyone’s creations!
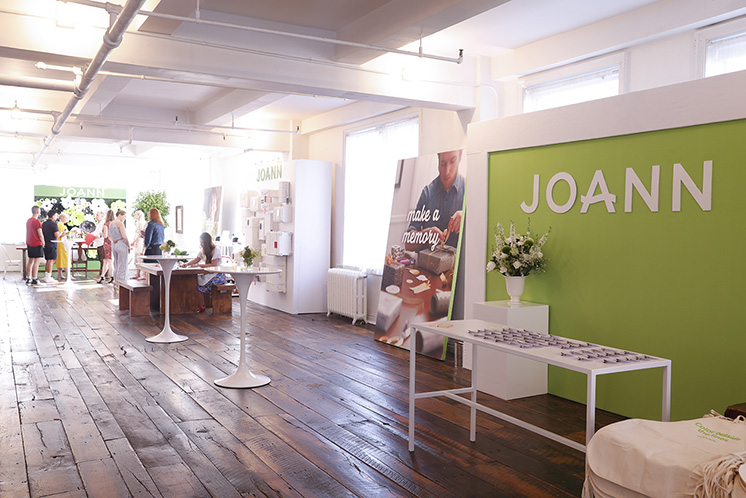
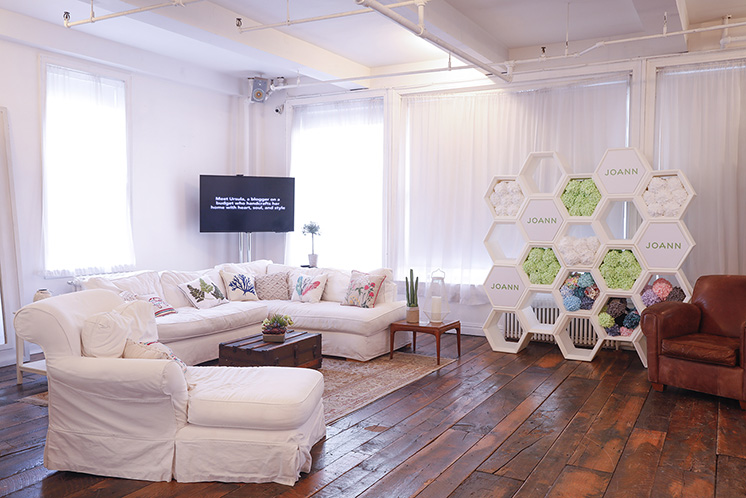
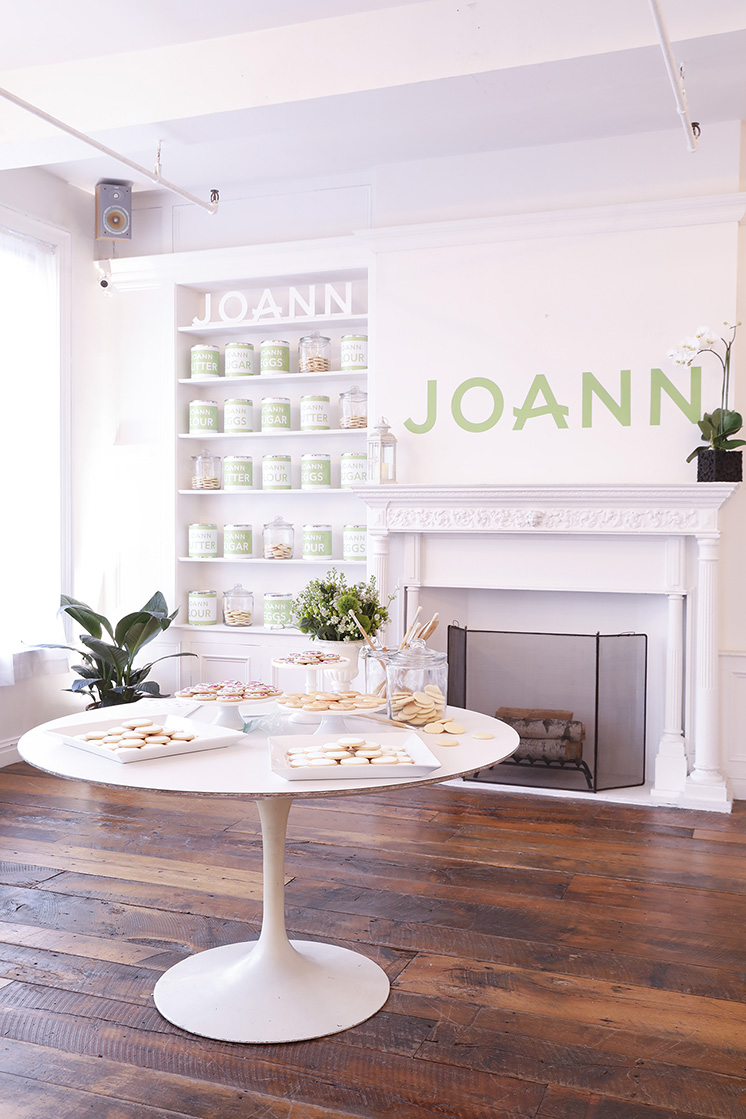
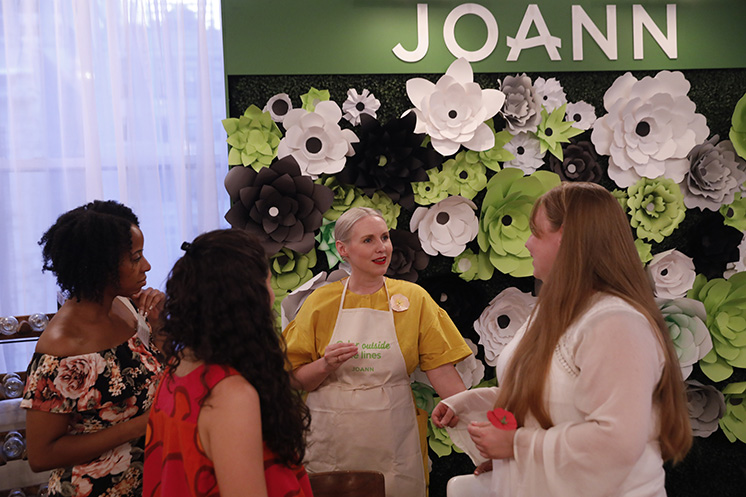
The space was beautifully decorated in JOANN’s signature green and white colors, with lots of greenery and lovely vignettes. There were also delicious hors-d’oeuvres we got to nibble on throughout the night. We love ourselves a good treat (or two or three or four ;)!
The event was attended by various media outlets and by local makers. It was such a delight to get to meet people from across the country that find just as much joy from creating as we do. It made me want to do craft meet-ups on a more regular basis. Anyone interested?
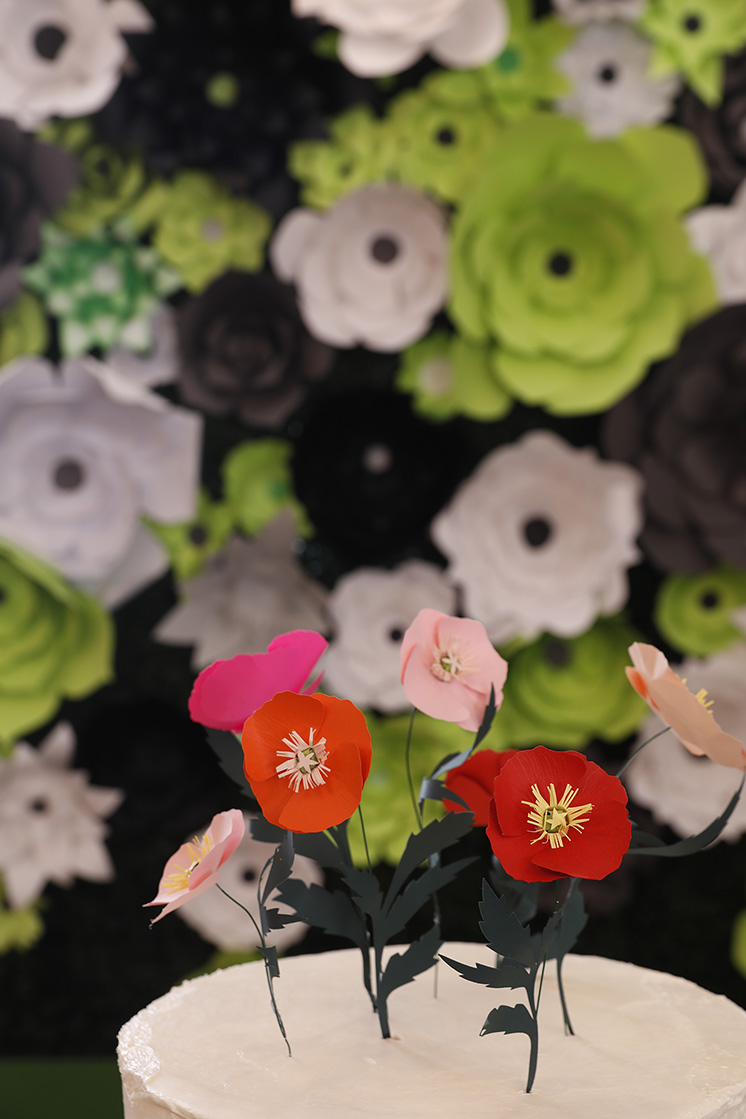
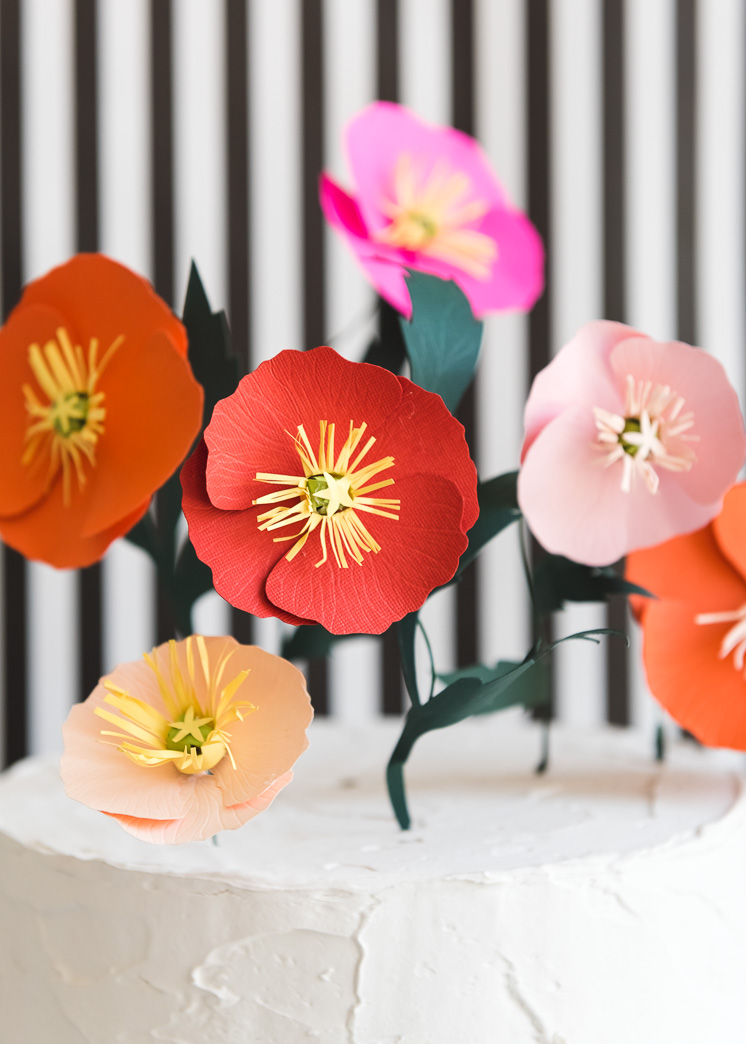
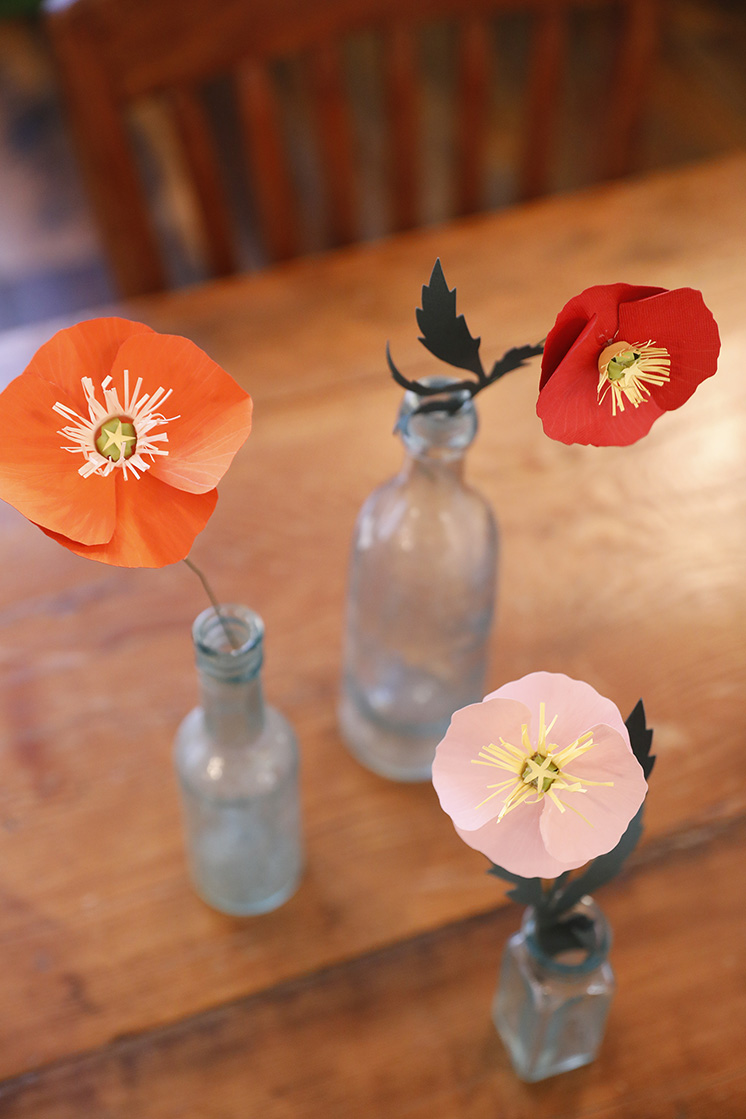
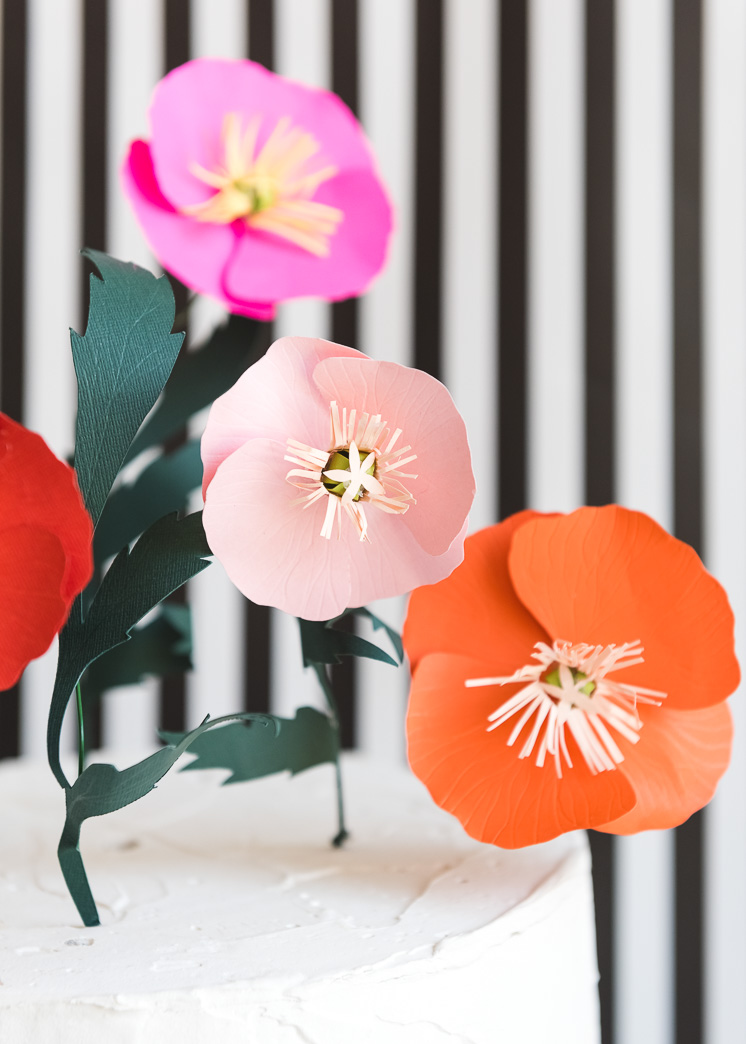
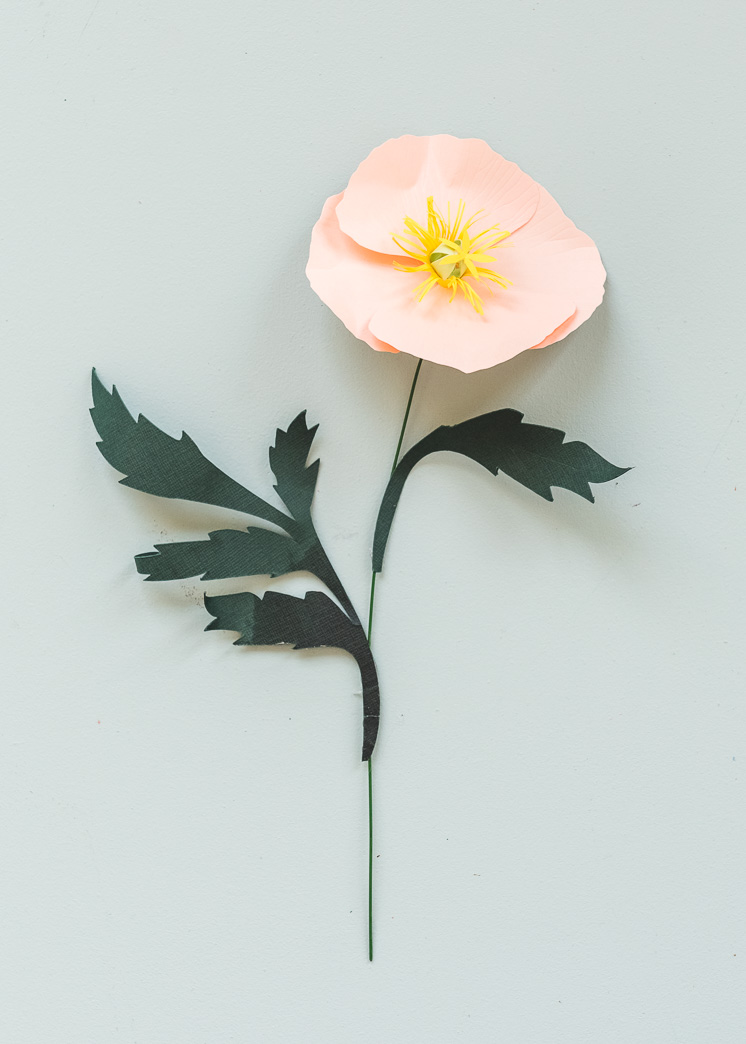
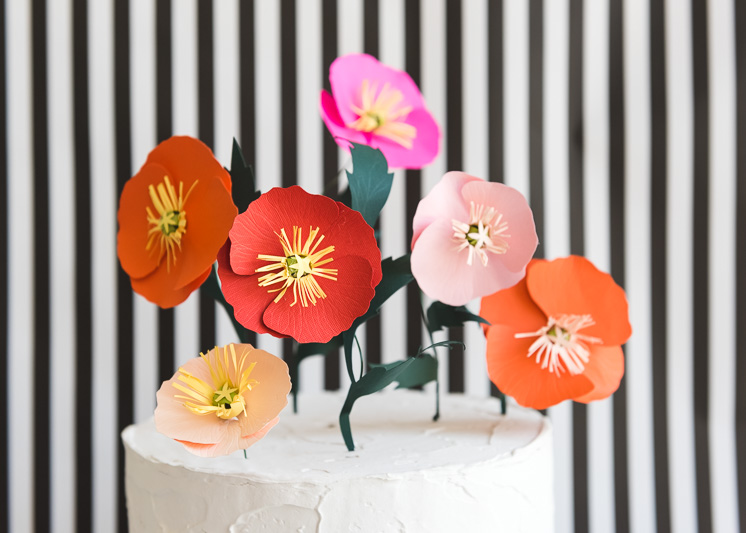
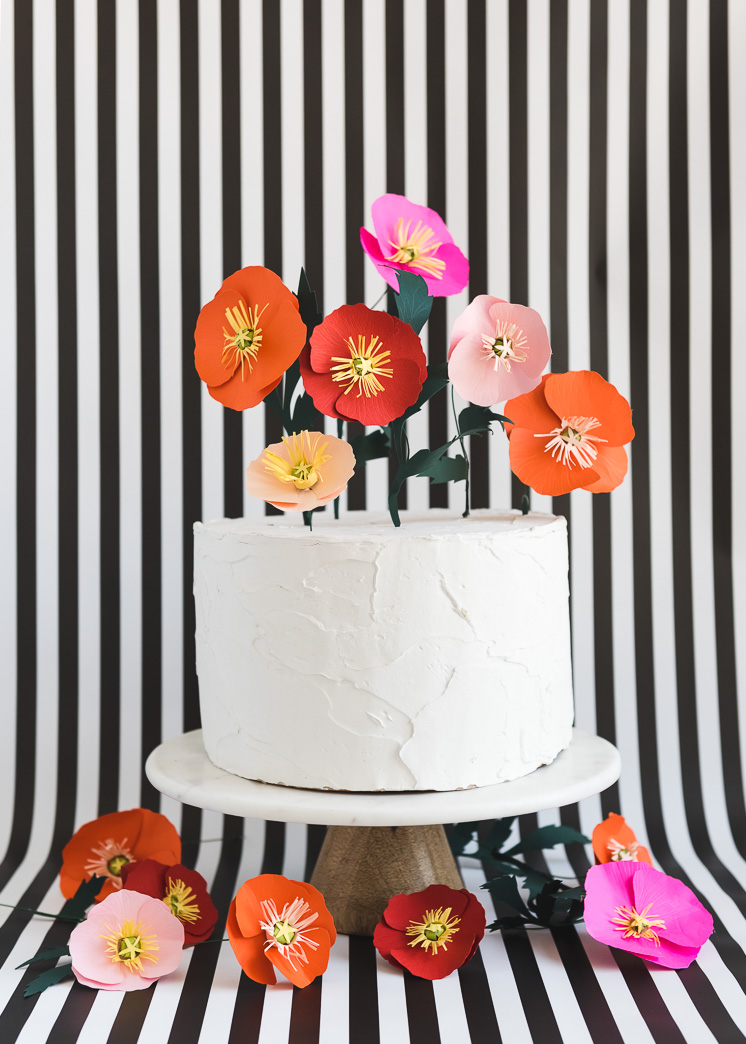
These Icelandic Poppies are really simple to make and you can find all the materials at JOANN. You can use them as a cake topper as we’ve done here, arranged in a bouquet or simple bug vases, or turn one into a brooch! The sky’s the limit.
Icelandic Paper Poppy
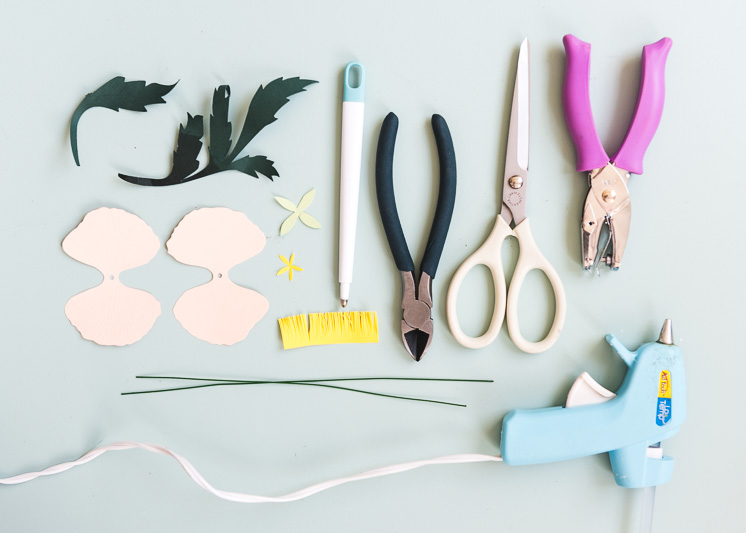
Materials:
- Cardstock in the various warm colors: pink, peach, red, orange, yellow, and green for leaves.
- Scissors
- Floral Wire, 18-gauge
- Hot glue gun and glue sticks
- Scoring tool, optional
- Templates, provided
Instructions:
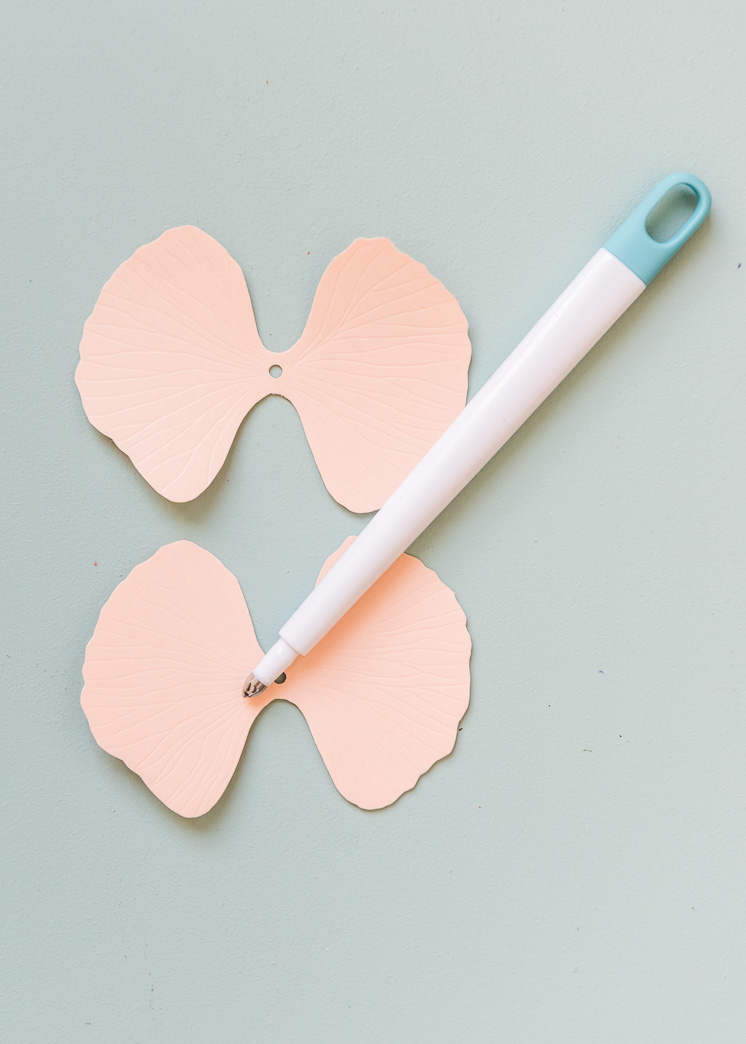
- Trace all the templates and cut out each piece. Cut two petals for each flower.
- With a scoring tool, craft knife, or scissors, draw veins into the petals to give a wrinkled appearance on the leaf.
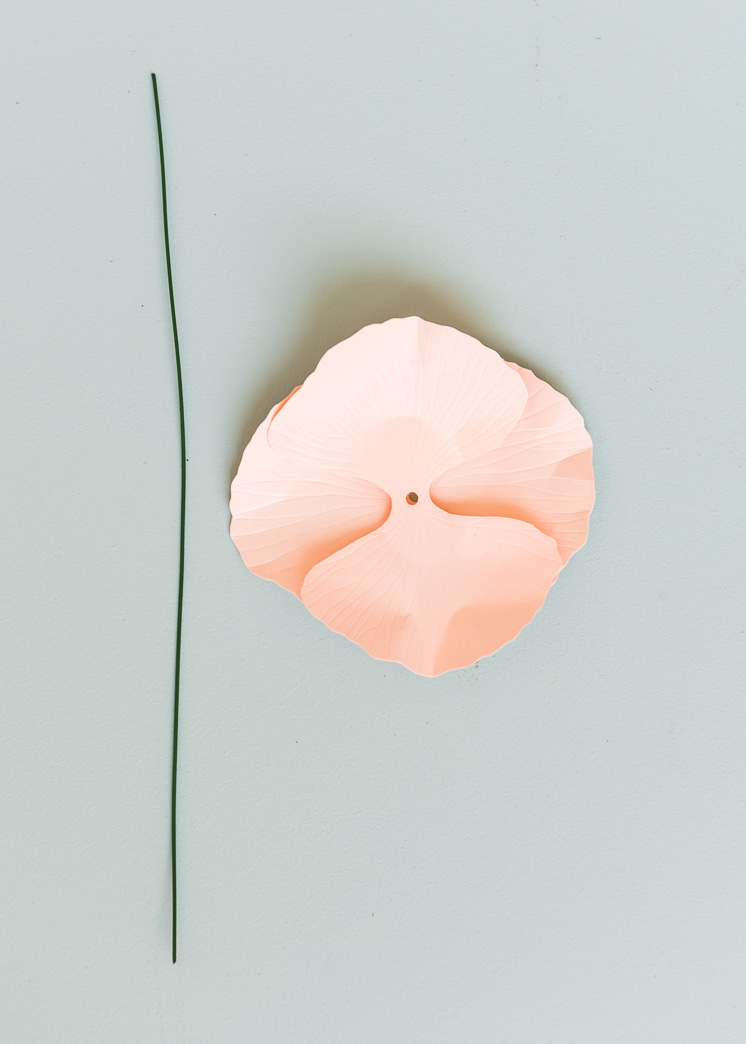
- Bend and shape the petals to give them some movement.
- Punch a hole in the center of both petals.
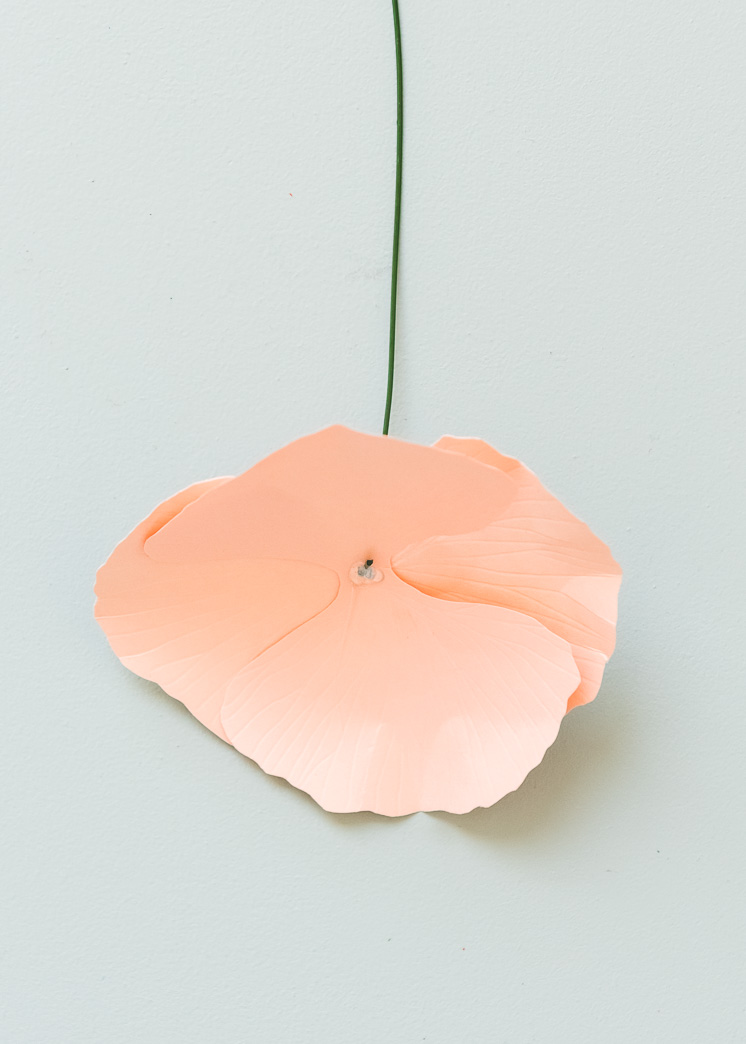
- Insert a wire through the hole in the petals, extending 1/2 inch above the petals, bend slightly and secure with glue.
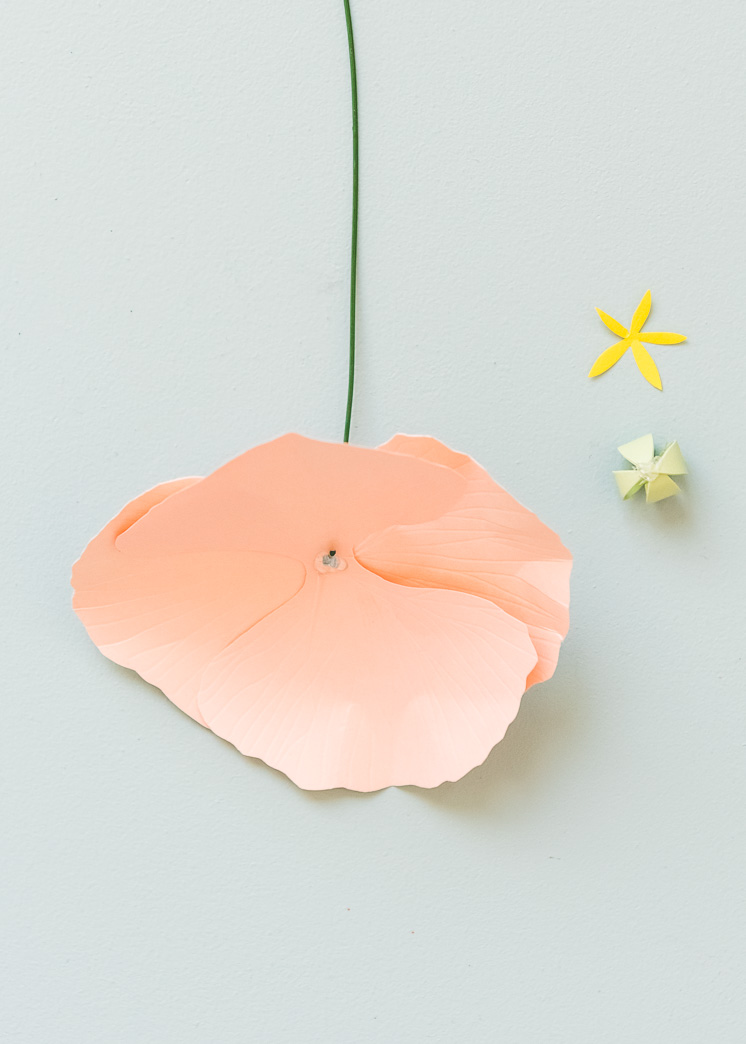
- Take the 4-tipped flower and bring all 4 tips together at the top. You can use scissors to curl the petals slightly to help.
- Secure all the tips together with a dab of hot glue to create the bud.
- Cut out the small 5-point star and glue to the top of the bud.
- Finely fringe the rectangular piece and wrap around the bud. Glue to secure.
- Gently twist the fringe edges to rough them up a bit.
- Hot glue center to the center of the petals, covering the wire.
- Add leaves if desired.
Tutorial and studio images by Jane Merritt | Event Images by Andrew Kelly for Joann


