

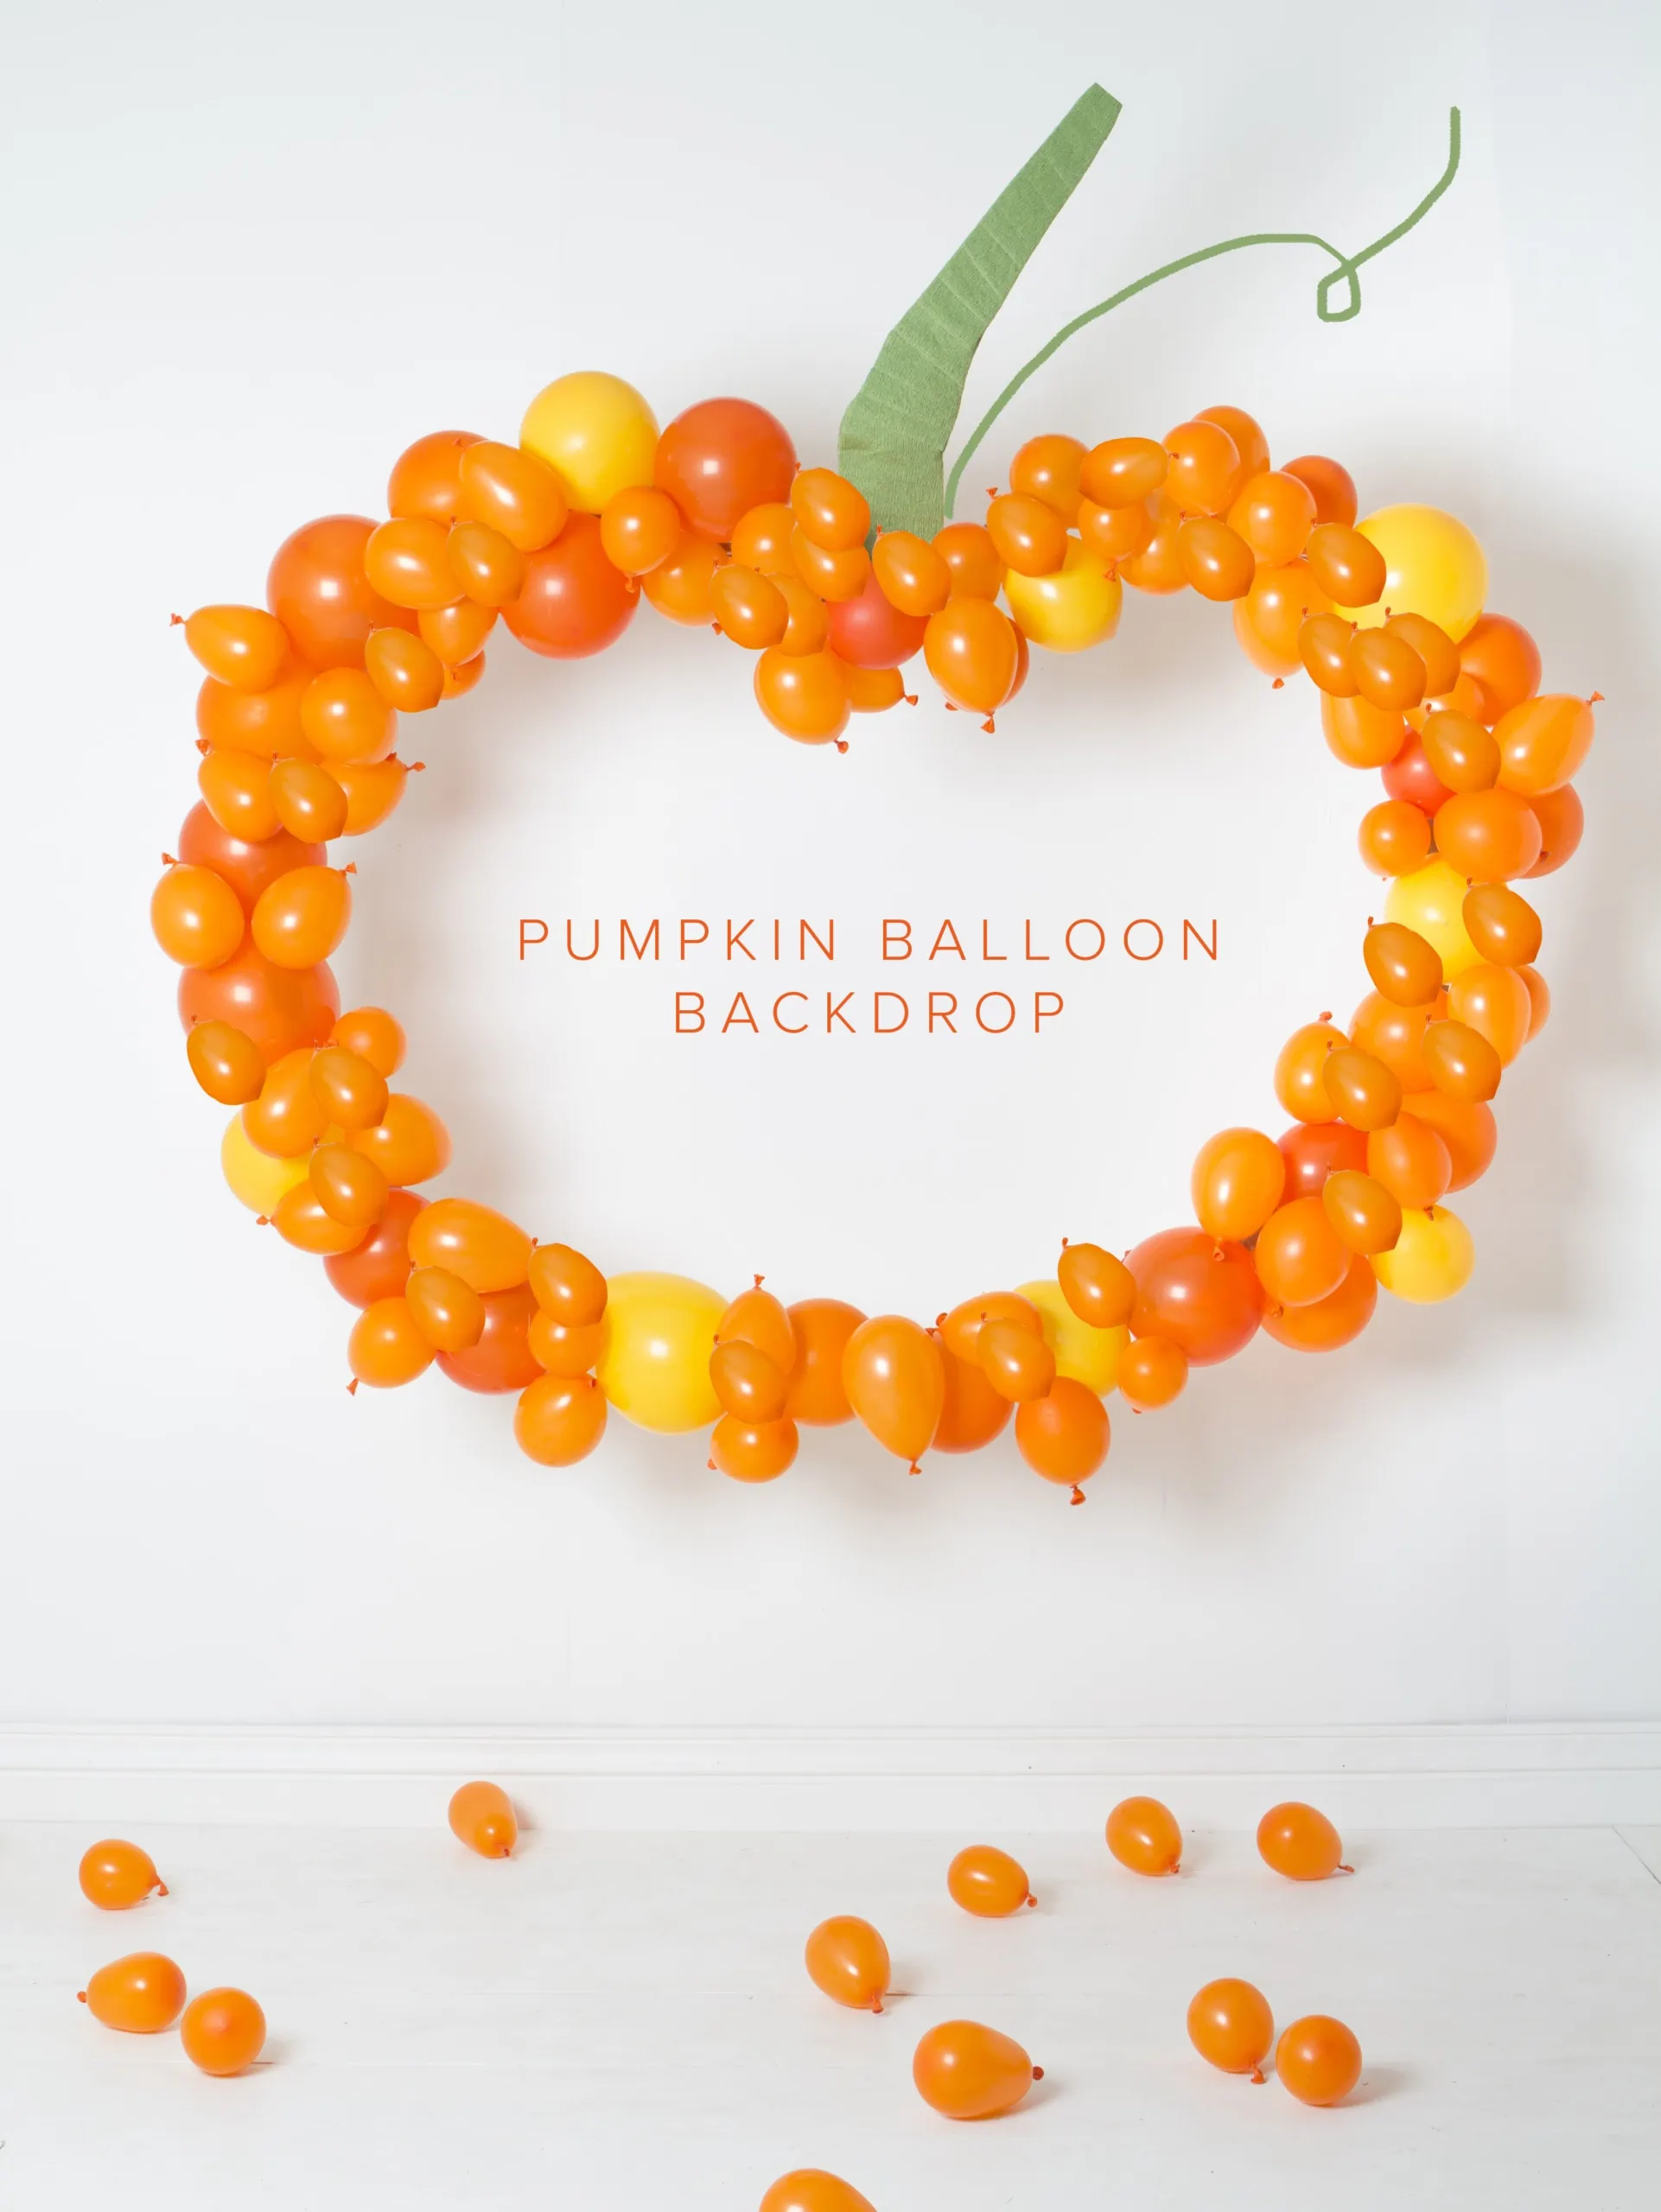
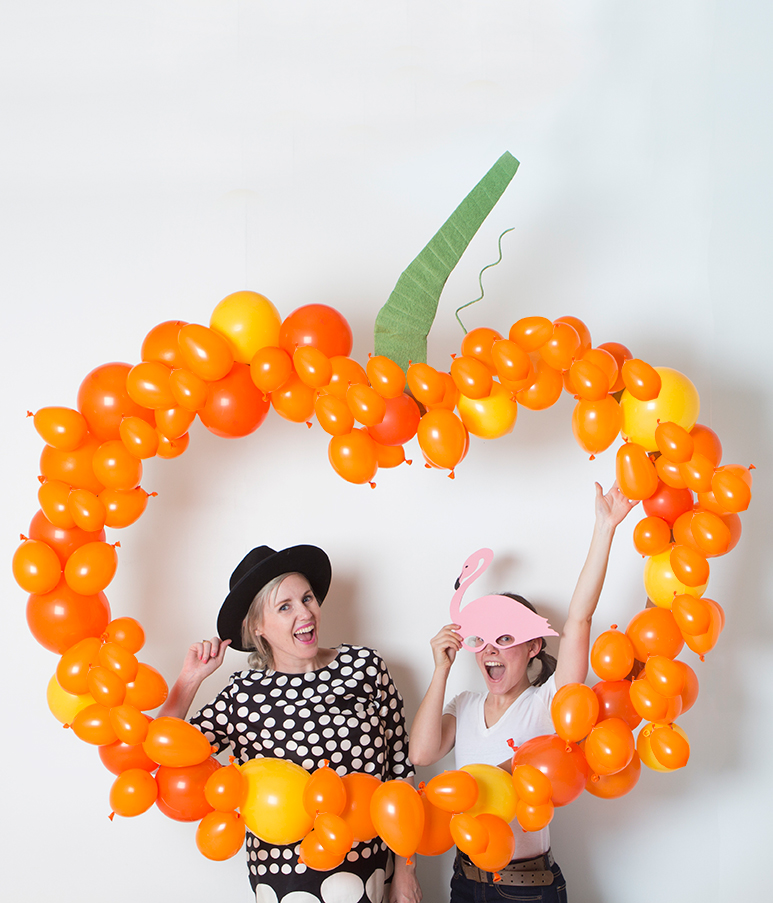
Remember the heart backdrop and shamrock balloon idea we made based on the balloon arch idea? Well, it’s pumpkin time! This DIY pumpkin balloon arch backdrop is super easy to make and would be perfect for a photo booth. Just get a few bags of balloons and you’re set! The more the better
Materials:
Pumpkin Balloon Arch Backdrop
Directions
To make the pumpkin balloon arch photo booth, we used the same steps as the Valentine’s Day Balloon Heart. See below for this festive variation.
- The steps are the same for the balloon arch, but for the form of the pumpkin I used heavy duty cardboard. Choose your favorite pumpkin outline here
- Cut the cardboard into 2 1/2″ wide strips and then at a variety of lengths to fit the curves of the pumpkin.
- Start with the center of the pumpkin and create an “L” by gluing two pieces together.
- Continue gluing pieces onto each other. Trade off gluing under and over. This will help keep it flat.
- Once the pumpkin shape is formed, add on the first base of the balloons. The trick to the effect of the balloons is to make a variety of sizes in various shades. I added on the biggest balloons first with gaffers tape to the cardboard.
- Once the biggest balloons are covering the cardboard, start adding on the smaller balloons with your lo temp glue gun or glue dots.
- Continue until you can’t see the cardboard anymore and you are layering balloons on top of balloons.
- Once the heart is filled with balloons. Attach the string to the top two sides of the pumpkin and hang it in your desired spot.

See more Halloween ideas here!
Comments