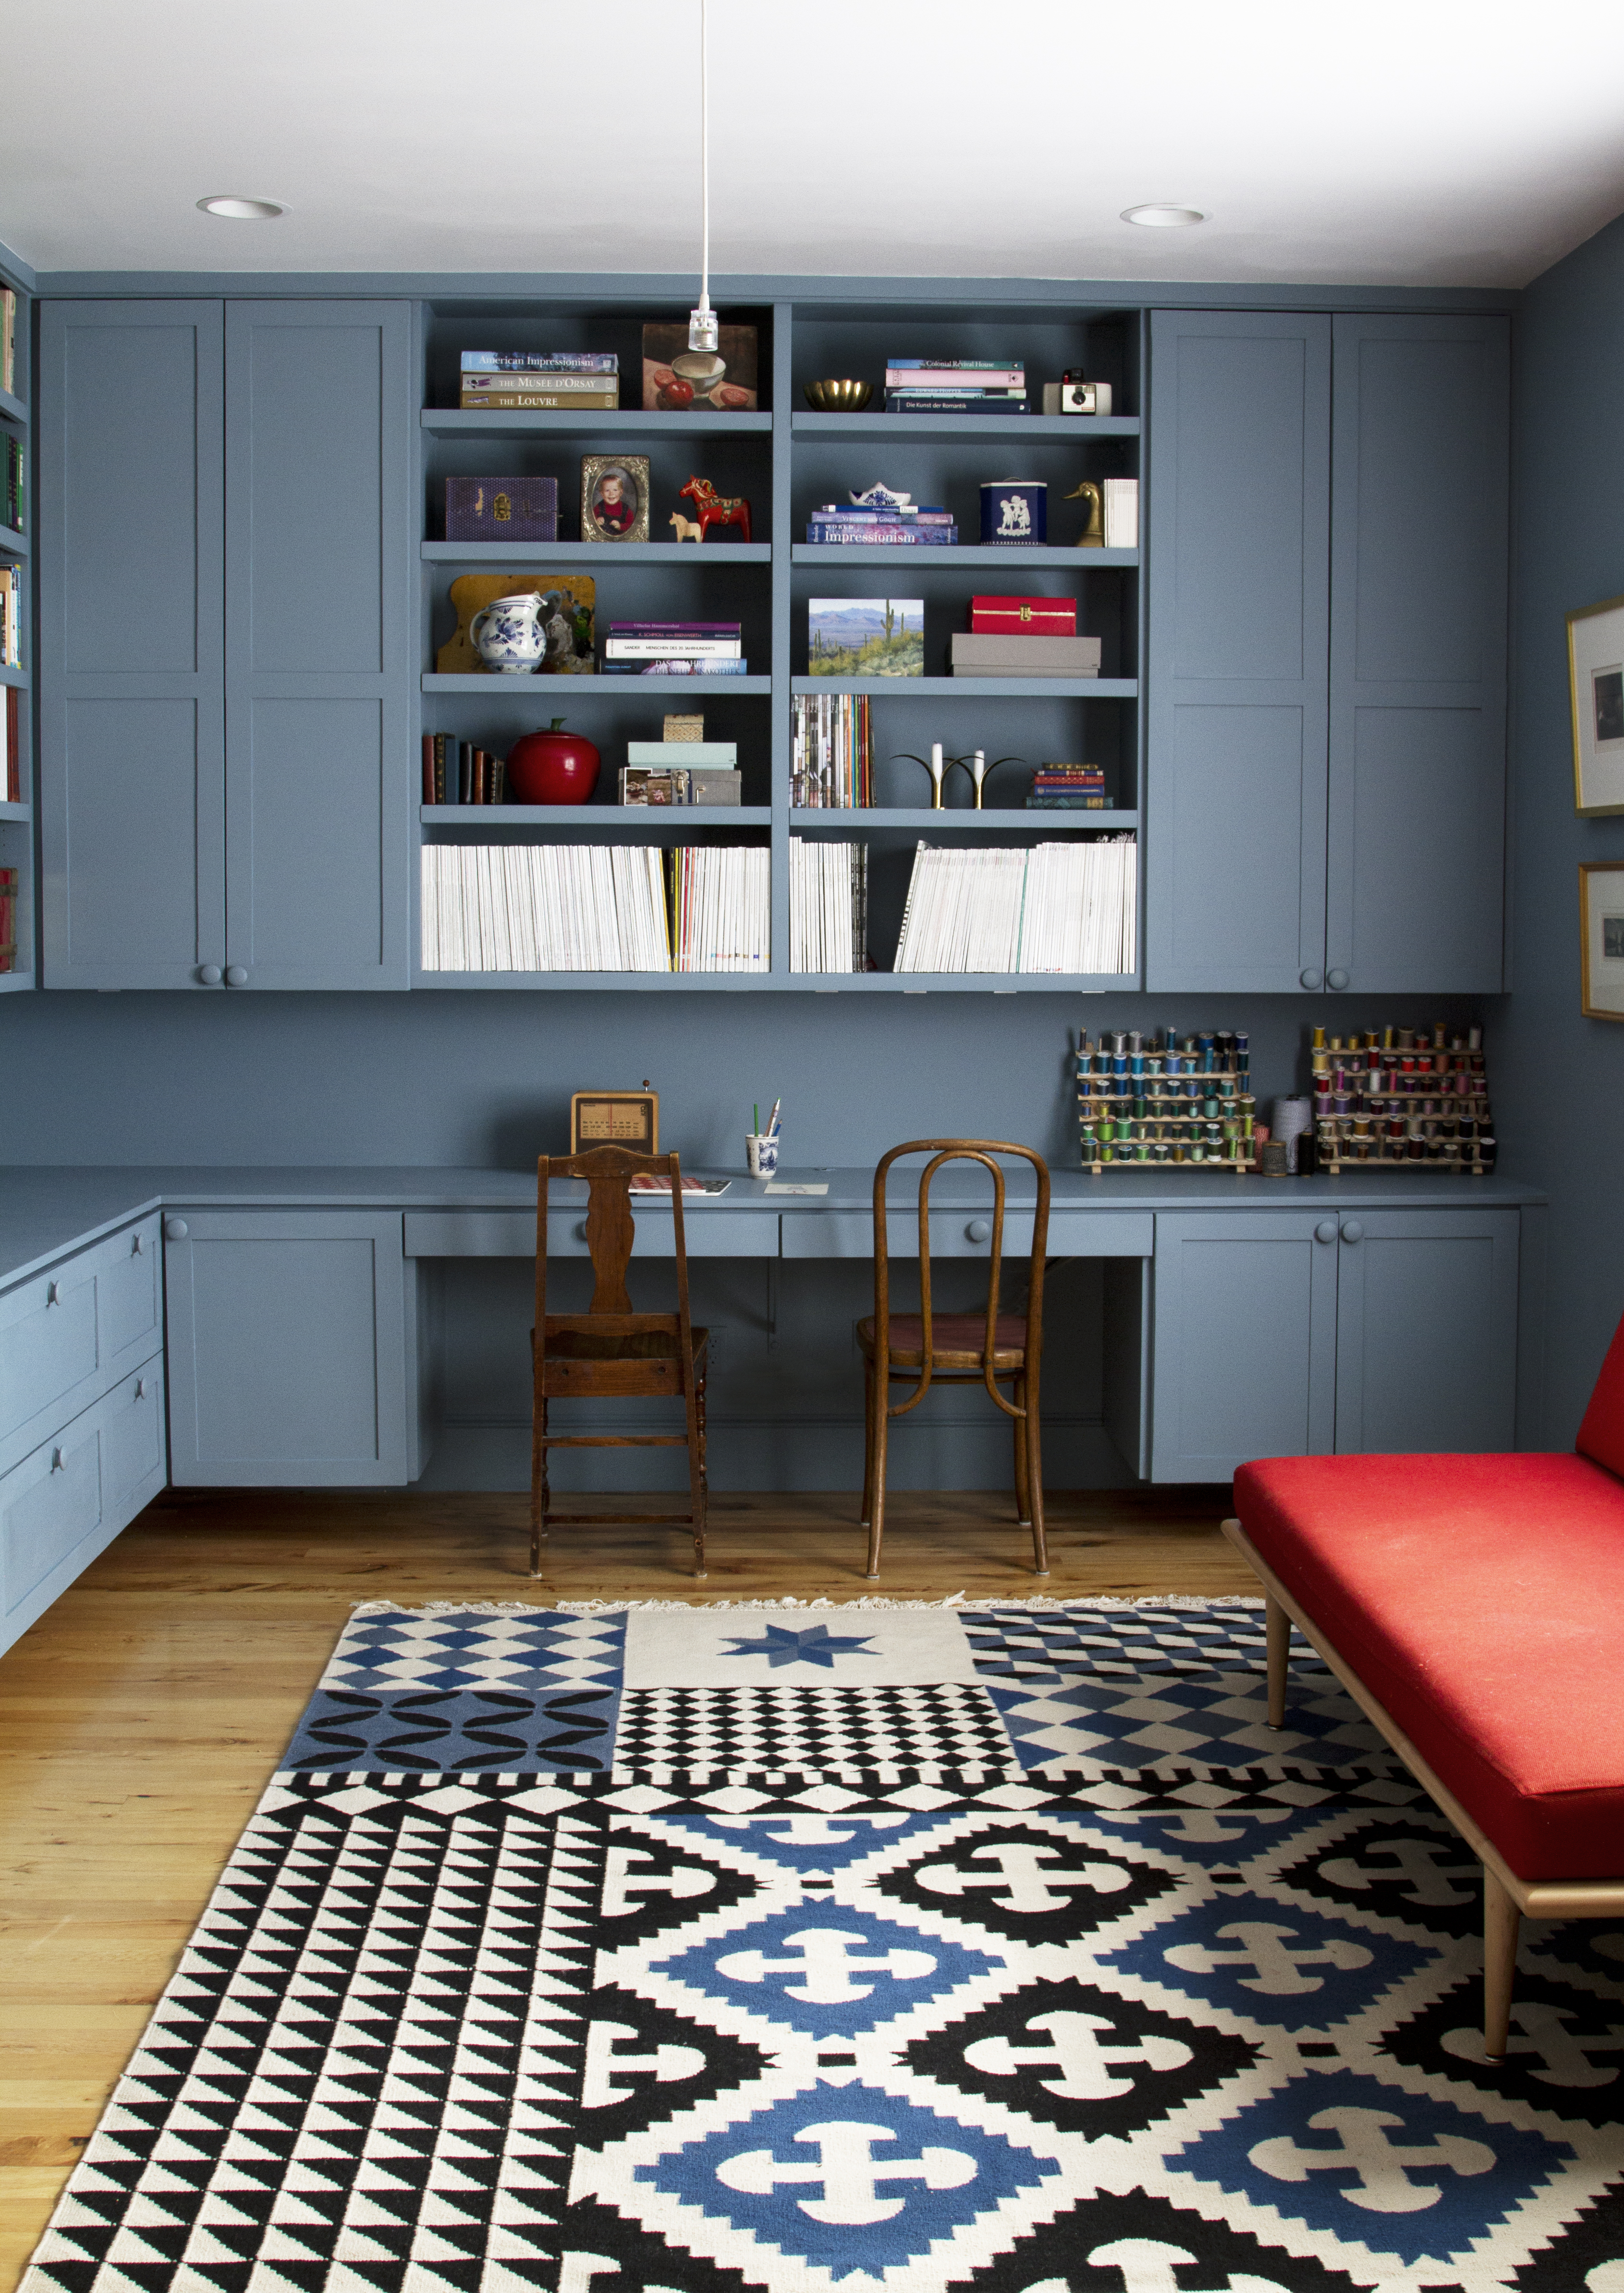
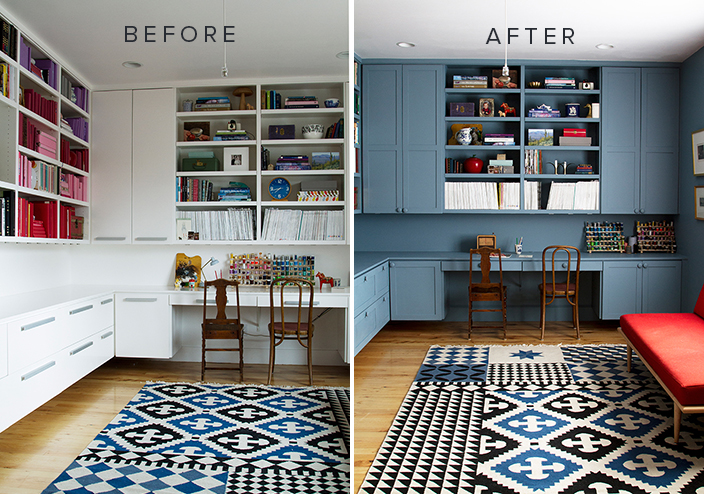
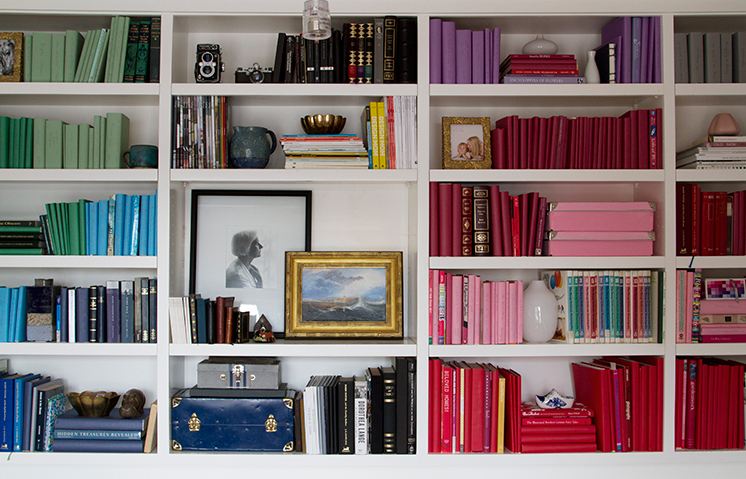
Lars contributor, Meta Coleman, is back for another home renovation and this time we’ve teamed up with Dutch Boy Paints to revamp her studio library. You won’t believe the transformation she made with a single color of paint and the addition of some molding. Plus, we had a fun painting party to boot!

Materials:
- Paint (I used Dutch Boy Refresh® Paint in Lone Wolf (E14-3) on the walls and Dutch Boy Cabinet & Trim Paint in Lone Wolf (E14-3) on the shelving and drawers)
- Painters tape
- Trays (or plastic liners)
- Paint brushes (I used the Purdy brand)
- Paint roller covers
- Paint role roller for ceilings
- Brown paper
- Drop cloths
- Mud or paintable caulk for holes
- Sandpaper
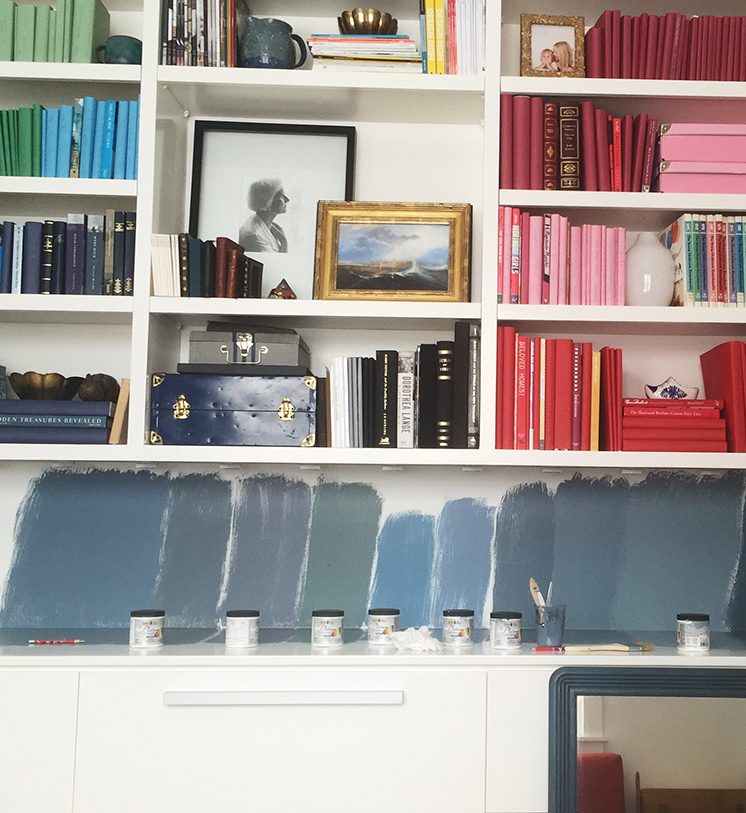
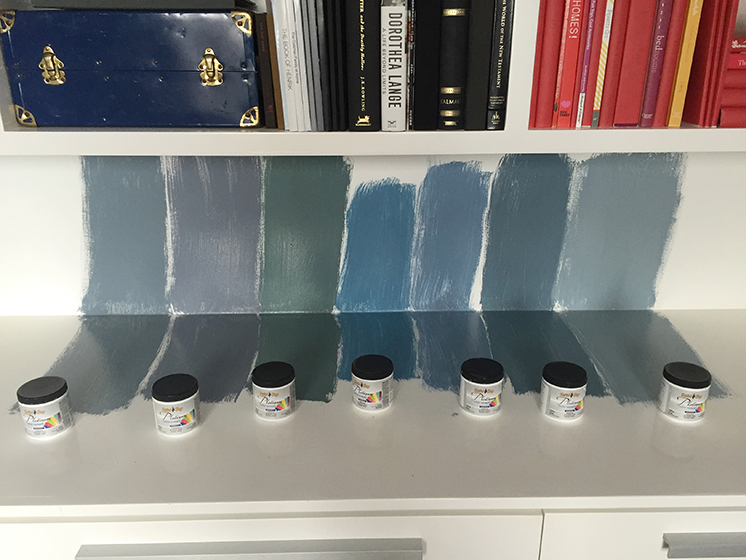
Step One: Picking out the paint color. This might be one of the hardest steps because you have to pick only one color and you have to live with it. When picking out a paint color, it is important to get samples. Basing a decision on a tiny square swatch is not the most accurate. Often times when painting over a larger surface, the color looks darker than it did on the swatch or there is a hint of another color that you didn’t see. It’s worth it to pay a little extra for samples and see the color applied over a large surface. I ended up choosing several different colors and Dutch Boy Paint was nice enough to send me samples of each of them. I painted a small section of each color in my library and lived with the colors for a couple of days to see which one I liked best. It’s important to see what the color looks like at different times of the day, with different lighting, and in your particular space.
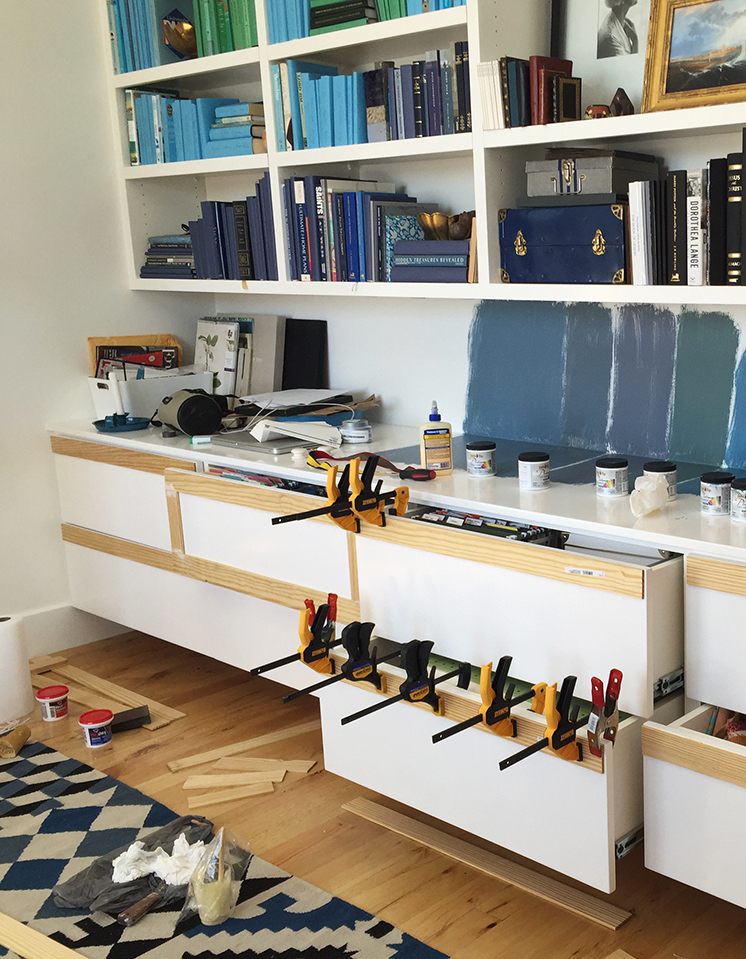
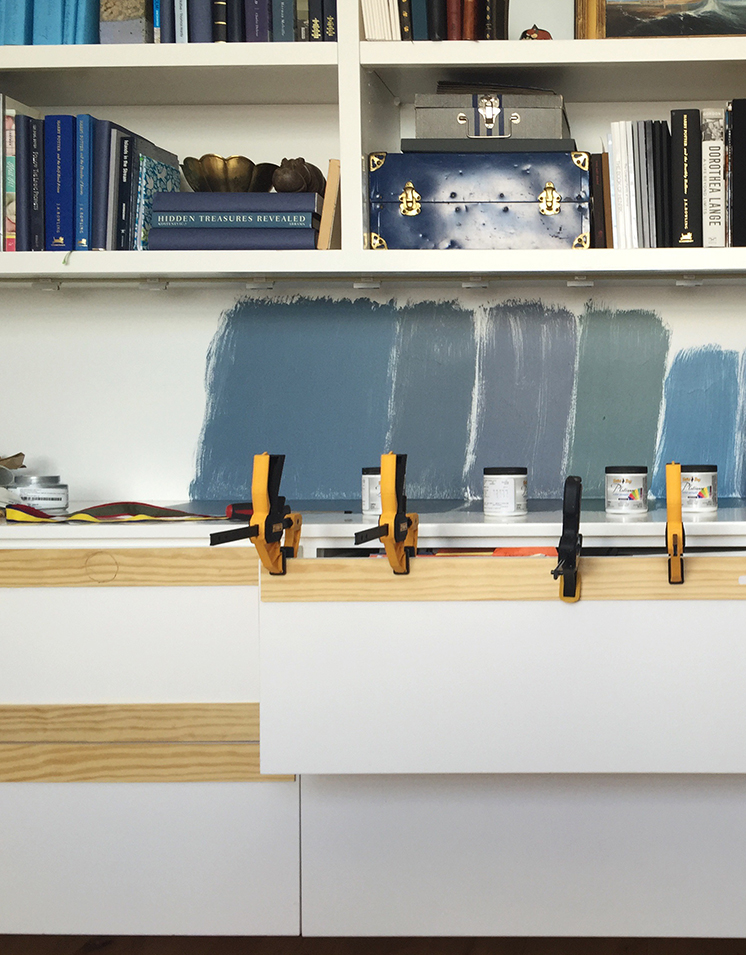
Step Two: Attaching the trim. This step took longer than I wanted because I had to make sure the trim was securely attached and I didn’t have as many clamps as I needed to make the job go by faster. Because I used a very light weight wood I was able to just glue on the trim. Each time I glued a section of the trim I had to make sure I clamped it securely, otherwise the wood would warp. Once I glued each piece of trim, I filled the gaps with spackling and sanded everything smoothly.
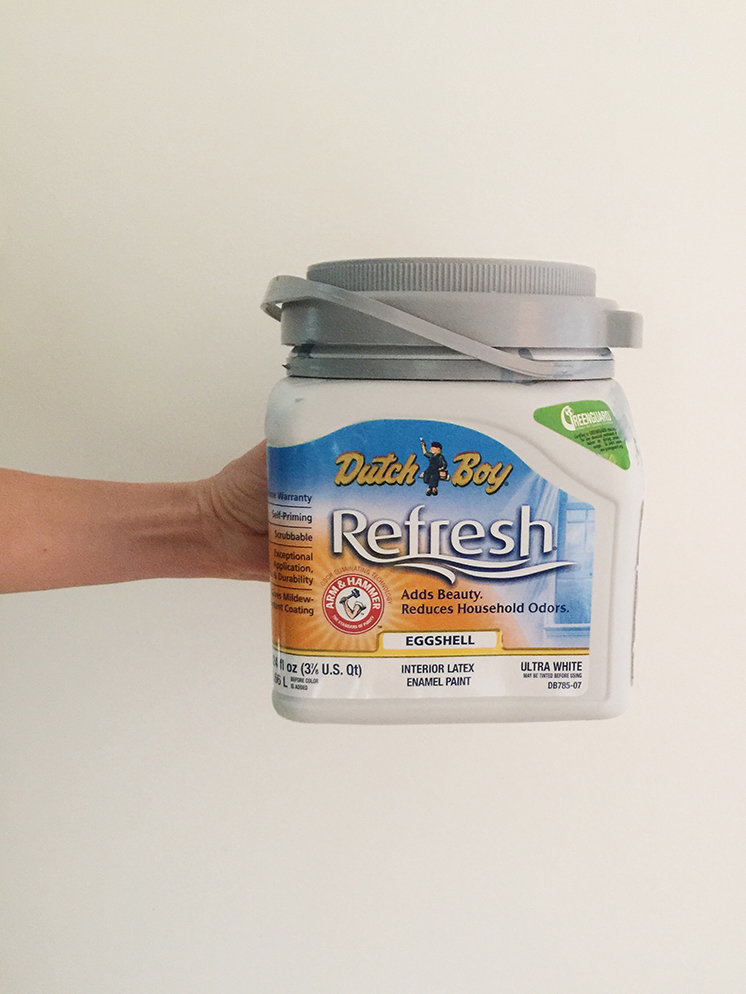
Step Three: Time to paint. Here’s the fun part! Or at least the fun part for the first two hours, ha! Because I was painting shelves, there were a lot of angles and places where I missed the paint and had to go over corners several times. I ended up painting two coats of paint to get a nice even color. I chose the Dutch Boy Cabinet & Trim paint for the shelving and drawers and Dutch Boy® Refresh® premium self-priming paint in an eggshell finish for the walls. I loved using a paint + primer paint. It saved me the extra step of having to prime my trim pieces before painting. When picking a finish I usually recommend using a bit of a sheen. Eggshell is a subtle sheen that will allow you to wipe away handprints and marks. I also really liked the Dutch Boy Twist & Pour® paint container. It has a pour spout that enables you to pour the paint more efficiently with less spilling.
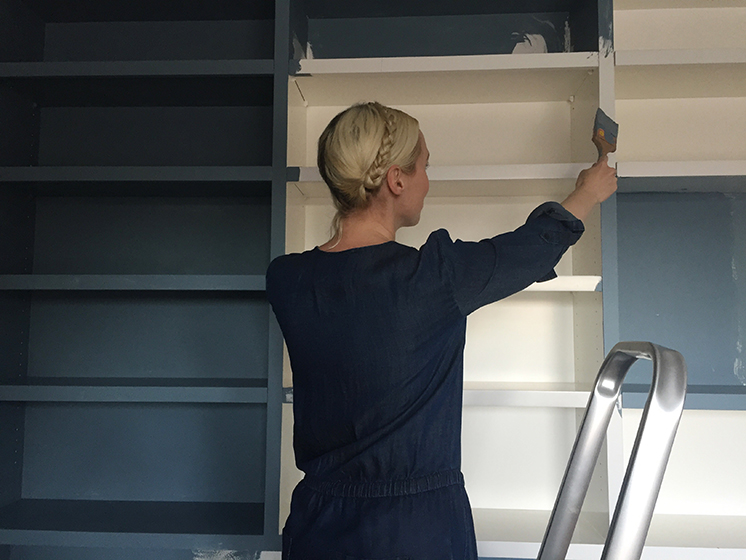
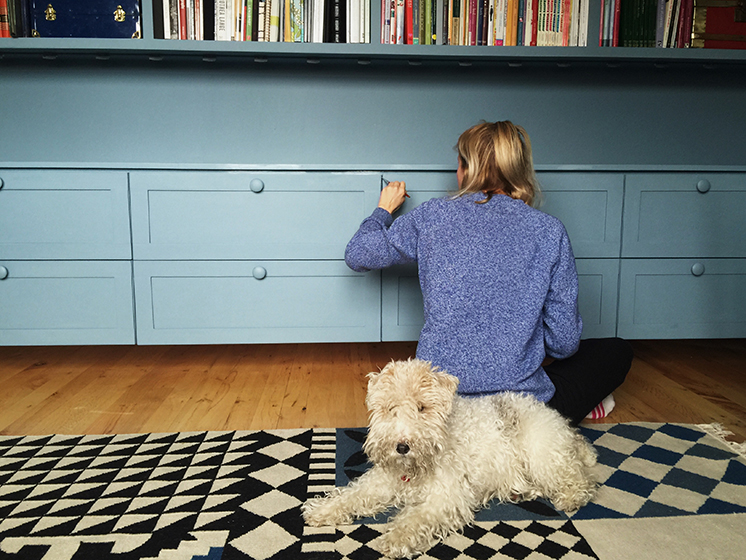
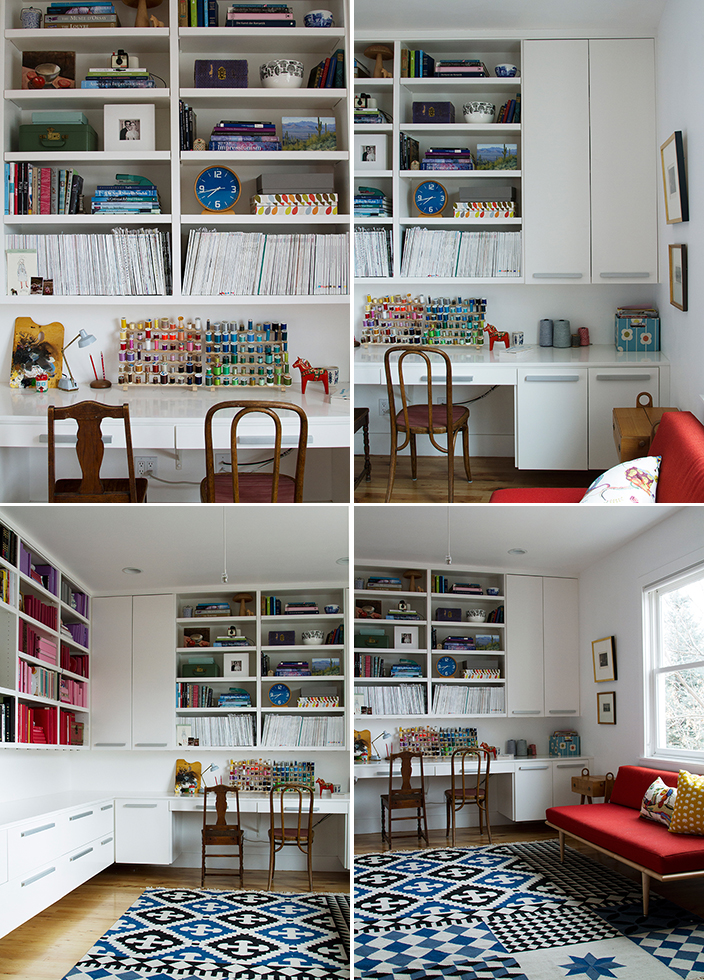
I was so happy to have a couple of friends come over and help me whittle down the task of painting my entire office. My friend Kristen came over one night and Brittany came over one afternoon too. Lucky me! It was fun to visit a little and catch up on each other’s lives while painting. I even had a very useless assistant named Hazel (the dog) sit right next to me, and stand right where I was walking, tripping me every time. For the past several weeks while I worked on this project my office looked like a total disaster and that a tornado had gone through it. I think my family were family was beginning to think it may stay that way permanently!
Step Four: Attach the knobs. Paint the knobs before screwing them into the drawers. I carried the color from the shelving and walls to the knobs as well. To make sure the knobs look perfectly smooth, head to your local paint store and have them create an aerosol spray with roughly 6oz of paint.
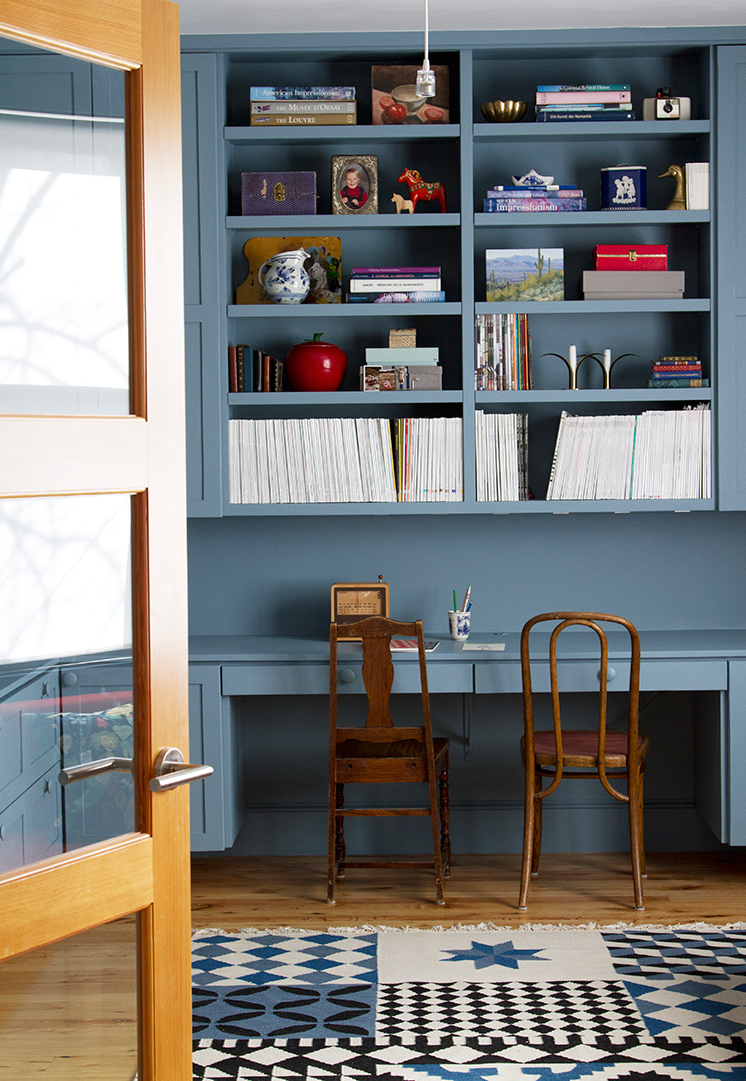
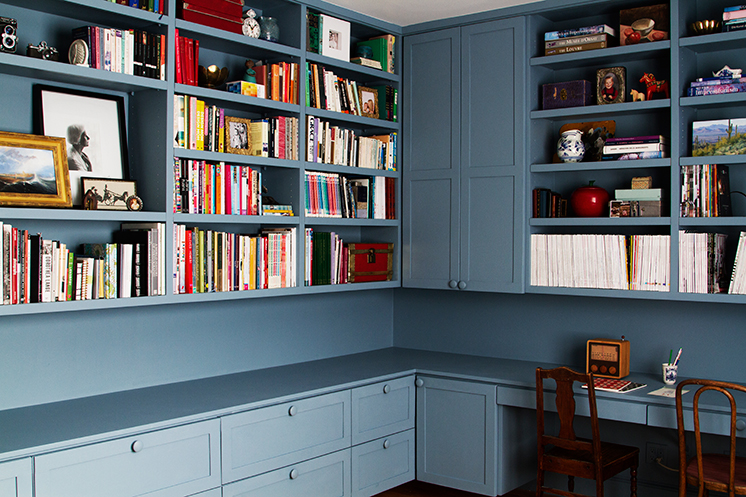
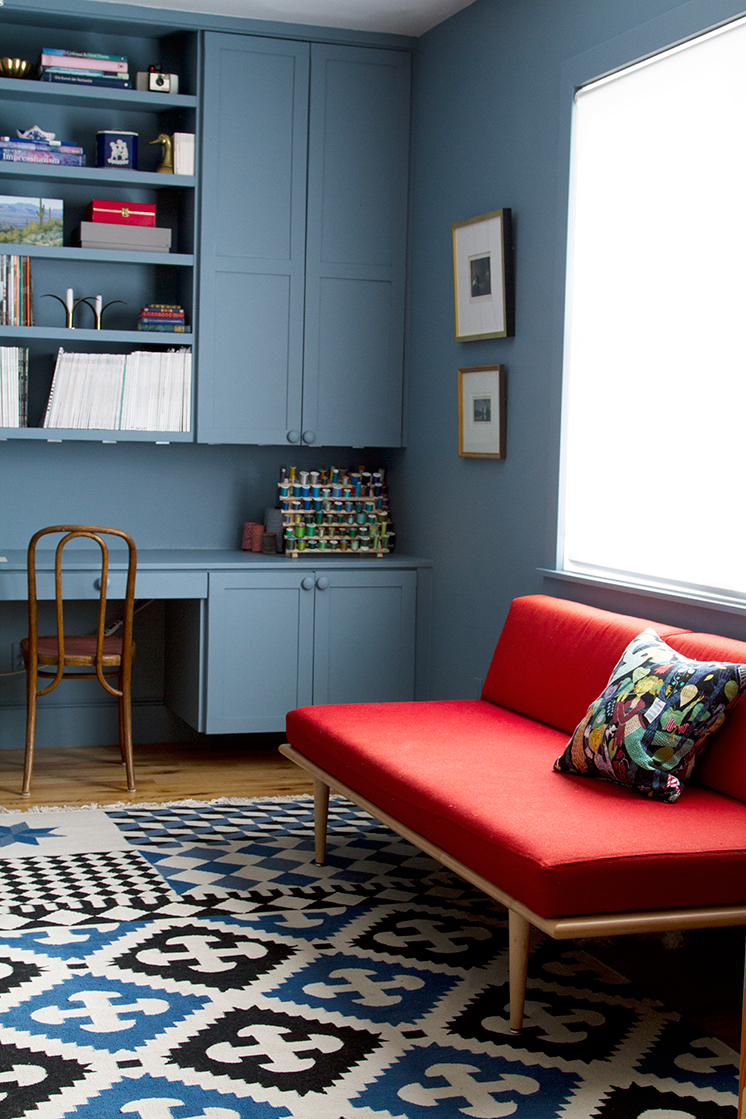
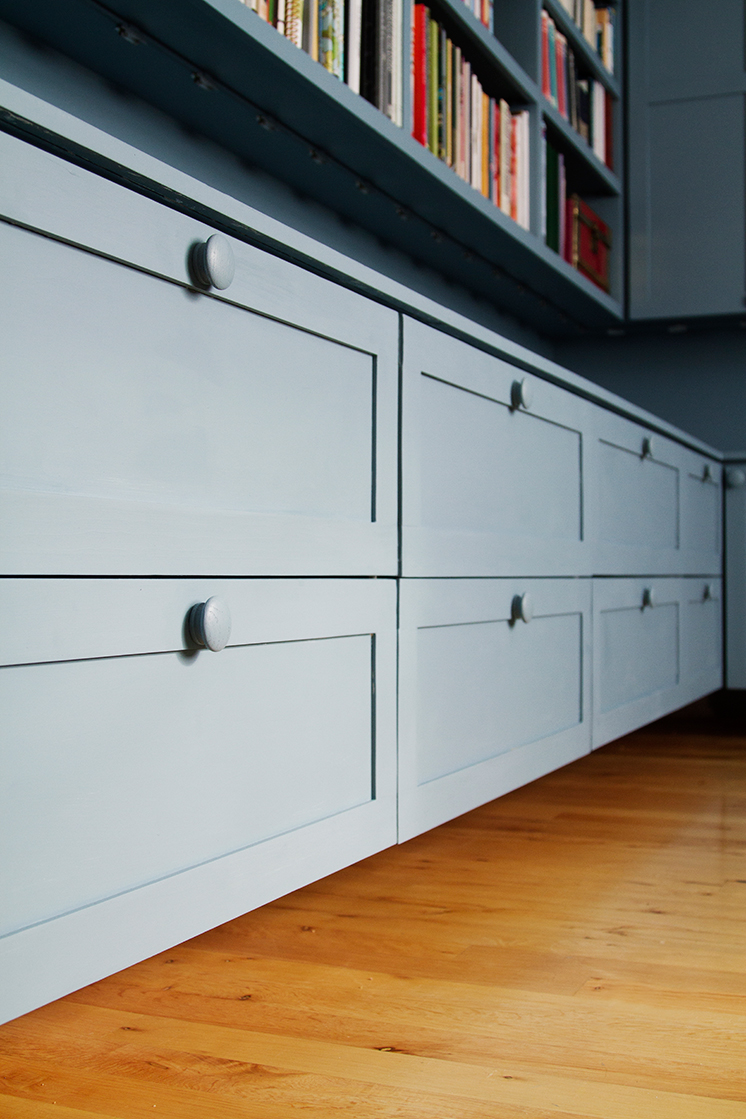
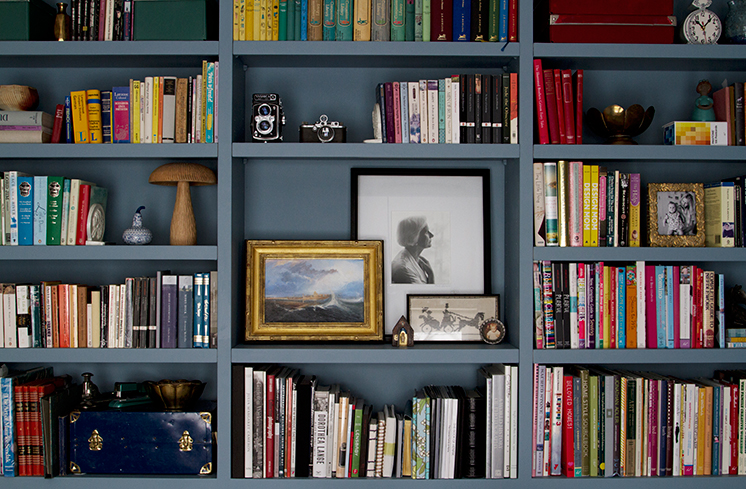
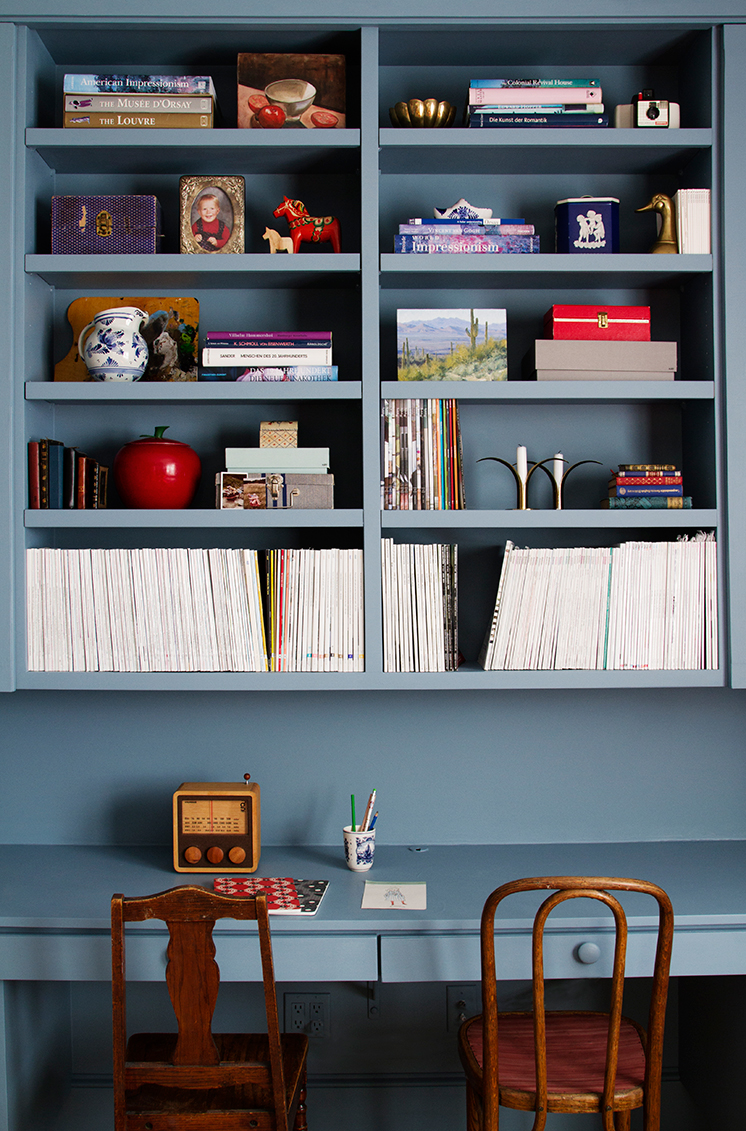

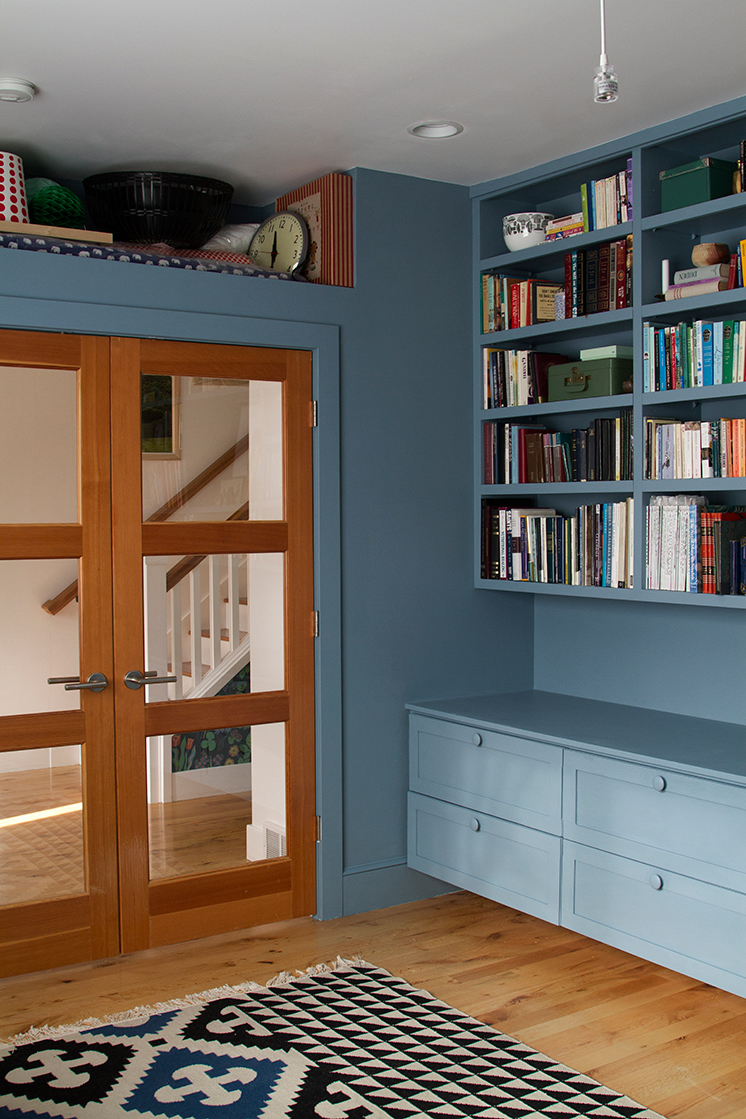
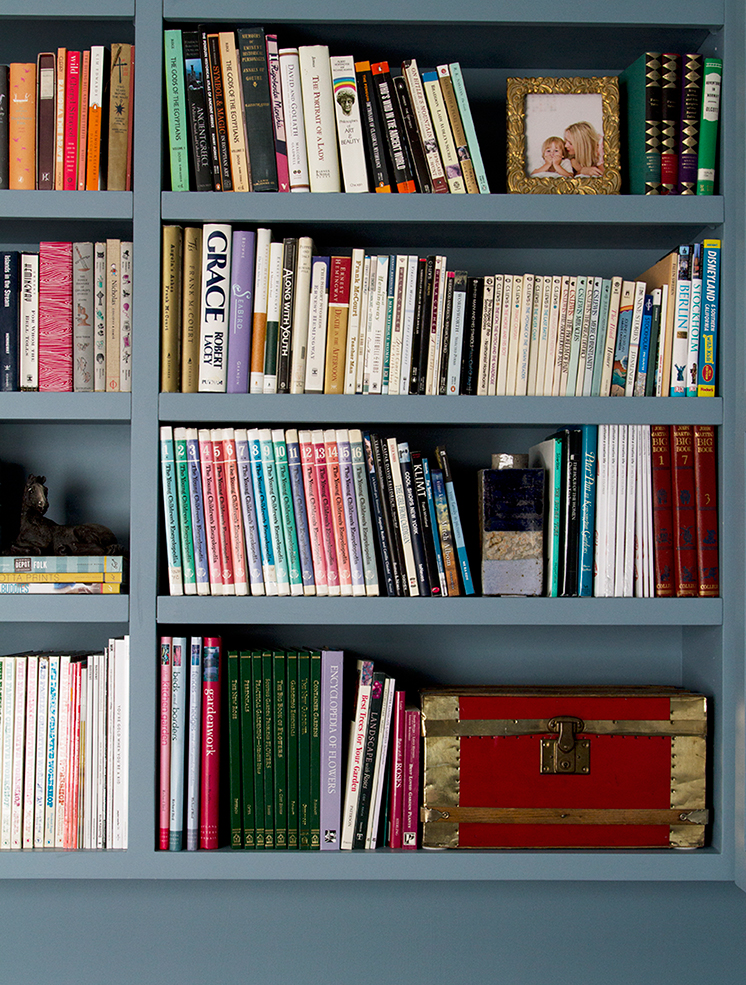
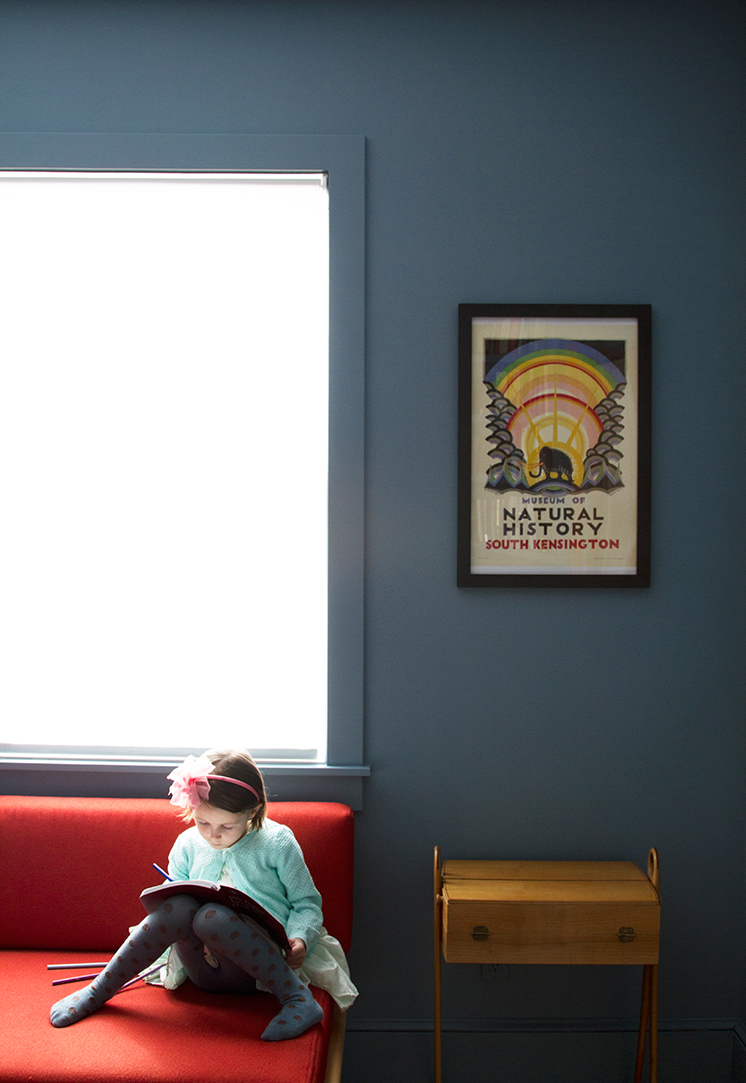
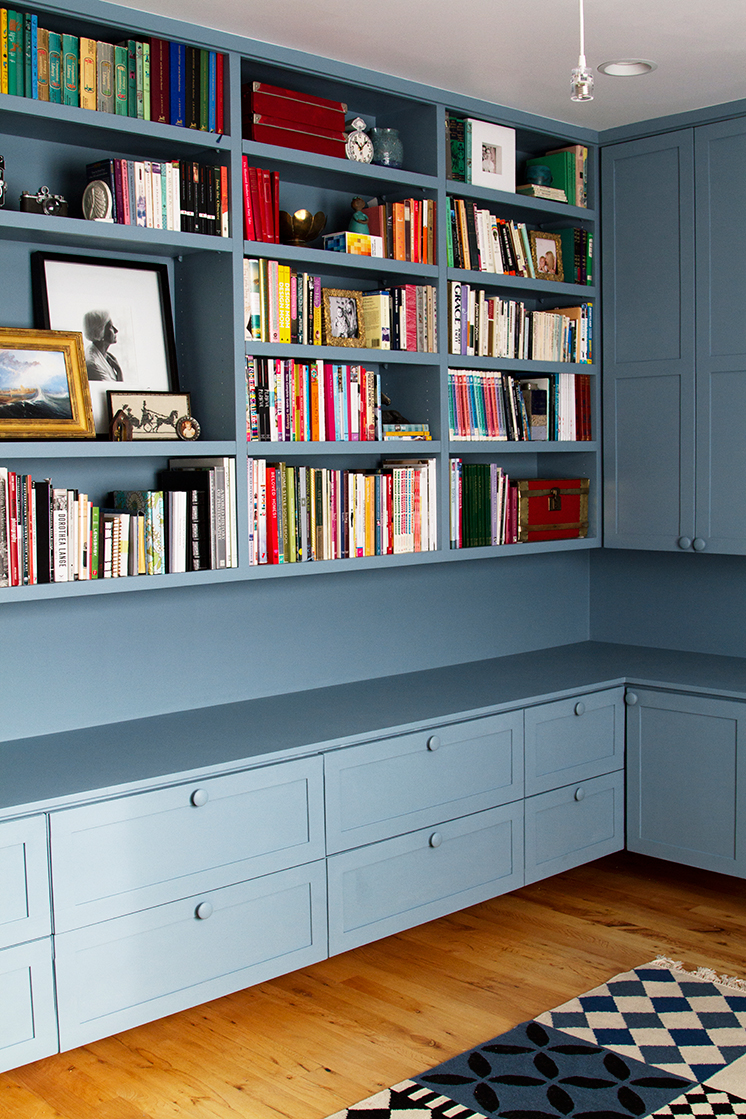
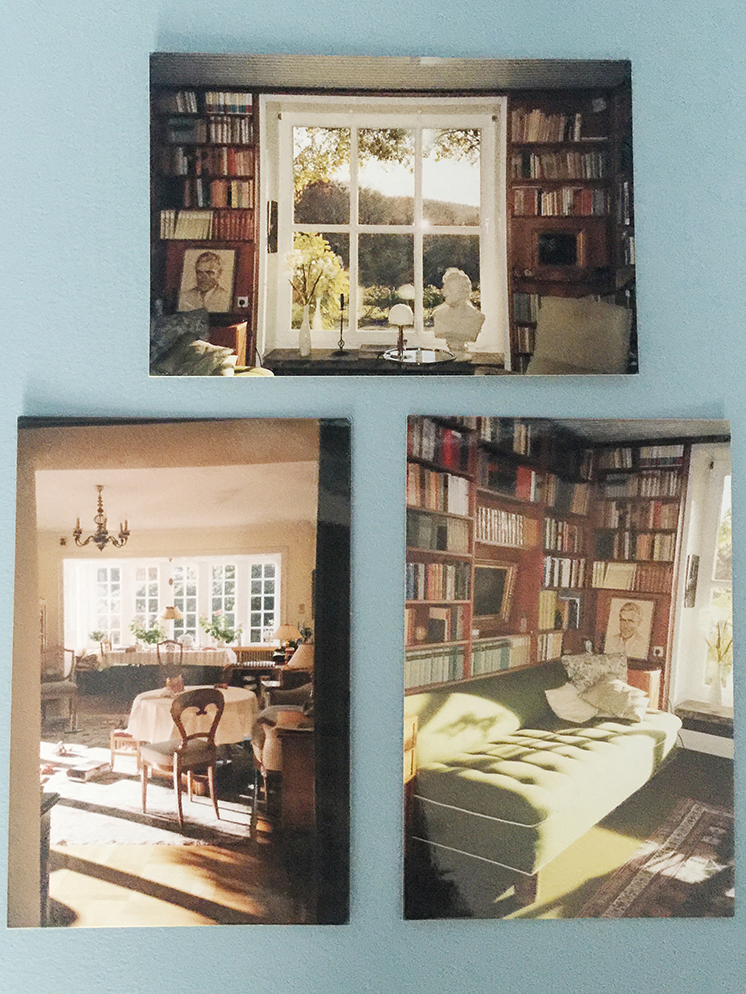
I am so happy to be finished painting and not living in a “work zone” anymore and I am so so so happy with how my office turned out. It’s the perfect color that I envisioned for my office, in fact, it’s better than I envisioned it. Isn’t that the best?!? When something turns out better than you pictured it? It feels like an older, historic, more established office and feels even more intimate and cozy now. The light is also so beautiful. While I was photographing my office for this post my daughter Maja came in and sat down and started drawing. The light was so beautiful on her; the color on the wall absorbed the light around her and kissed her face so beautifully that I had to take some photos of her. I can’t wait to take more photos of my children in my office. I really feel like my “new” office captures the spirit of my grandfather’s library and I look forward to the memories I will create enjoying this beautiful space.
Thanks, Meta! What a gorgeous makeover! And thanks Dutch Boy Paint for making it happen! I LOVE the color!
Check out more projects from Meta Coleman on The House That Lars Built here.


Comments