
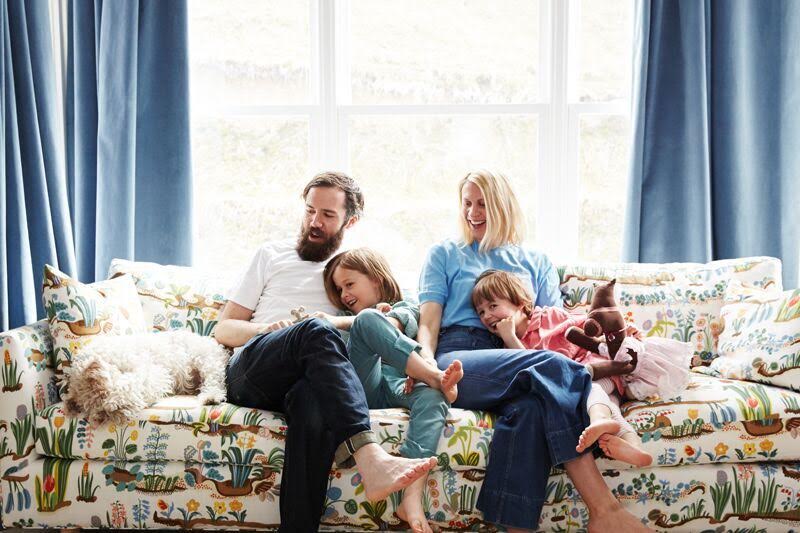
I started The House That Lars Built as a second year graduate student in an interior design program. I was in a residential studio design class and I came up with using a blog for my “clients” (totally fake clients) so that they could see the house I was designing for them in real life. I named the dad Lars and the rest is history.
By that time I had worked for a year in hospitality design for a major hotel chain and I had interned for interior designers Celerie Kemble and Jonathan Adler respectively.
BUT! I did not end up doing interior design, as you clearly know from all the crafts and parties I’ve shown you over the past few years. It doesn’t mean that my heart doesn’t long to have interiors as a focus on the blog. I hadn’t yet found the best way to integrate it into the blog being that we live in a basement apartment rental.

Photo by Chaunte Vaughn
Enter,
Meta Coleman. Meta was one of my earliest friends moving here to Provo, Utah three years ago. I’ll let her explain our meeting story (it’s cute, you’ll like it :). Meta is an prop stylist and interior designer and she has an impeccable eye. AND! She’s going to be joining the Lars team as an interior design contributor. She’s making all my interior dreams come true starting with her 5 tips for finding your interior style! Welcome to the team, Meta!

Photo by Chaunte Vaughn
 Hello! My name is Meta Coleman. I’m a prop/interior stylist, interior designer, and production designer. Brittany and I met a couple of years ago when were were both hired on to style Merrilee Liddiard’s book, Playful. We met at a restaurant for lunch. Both Brittany and I had our hair pulled up in a crown braid of sorts, and were wearing vintage patterned dresses and clogs. We became fast friends and the rest is history. We’ve also had the opportunity to work on a few other jobs since and it’s always a treat.
I received my Bachelor of Fine Arts degree in photography, but shortly after graduating discovered the world of interiors, and props. I soon realized that I liked to be behind the scenes creating a world with furniture, textiles, props, and whatever else was necessary to show a new perspective and tell a story. I’ve had the privilege of working for some amazing brands, and be featured in some beautiful publications and blogs.

See Meta’s 5 tips for finding your interior style below!Â
I really enjoy finding the beauty in everything, whether it be art, nature, movies, interiors, or photography and I have a strong desire to create and make things with my hands. I have quite a few projects and dIys that I’m working on this year and I hope to share them with all of you. I have quite a bit of experience with interiors and have some strong opinions (I hope you don’t mind) on ways to make your house a home. I feel your home is such an important extension of yourself and should reflect the colors, textures, art, and everything that you love. It should be personal to you. It should be a place you feel most comfortable, your sanctuary. I’m not a huge advocate for staying up with all the trends. And what may work in a magazine or in someone else’s home may not work for you. Of course it’s fun to experiment and dabble in a few trends, but most importantly stay true to yourself and what you really love.  It will always be timeless and classic.

Photo by Meta Coleman
My interior style in my own home is very much influence by Scandinavia and Northern Europe. I love mixing colors and patterns and textures and styles.  I prefer to mix antiques inherited from family mixed with mid-century furniture, as well as use of a lot of bold colorful designs from Josef Frank and Stig Lindberg.
Today I’d like to give you 5 tips for finding your own interior style and making your house your home.
1.  Do your homework—Look for lots of inspiration in books, magazines, pinterest, movies, etc.  Look at colors shapes and textures that you are drawn to.  What gets you really excited and makes you want to curl up and get lost in that space.  Are there color combinations that you really love?  Or the lack of colors that are soothing to you?  Do you like low sofas or tufted ones?  The best way to get to know your style is to look at a lot of examples and ask yourself lots of questions, like;  Why do I like this space?  What is it that I like in this space?  Really spend time to find an example image or two that you love and dissect exactly what you love about them.  It will help you start to figure out what you are drawn to in a home.  I tend to love color, but richer, deeper color.  Some of my favorite colors are blue and red, and green.  In the right tone and shade these colors compliment each other nicely like in my living room below.
Photo by Chaunte Vaughn
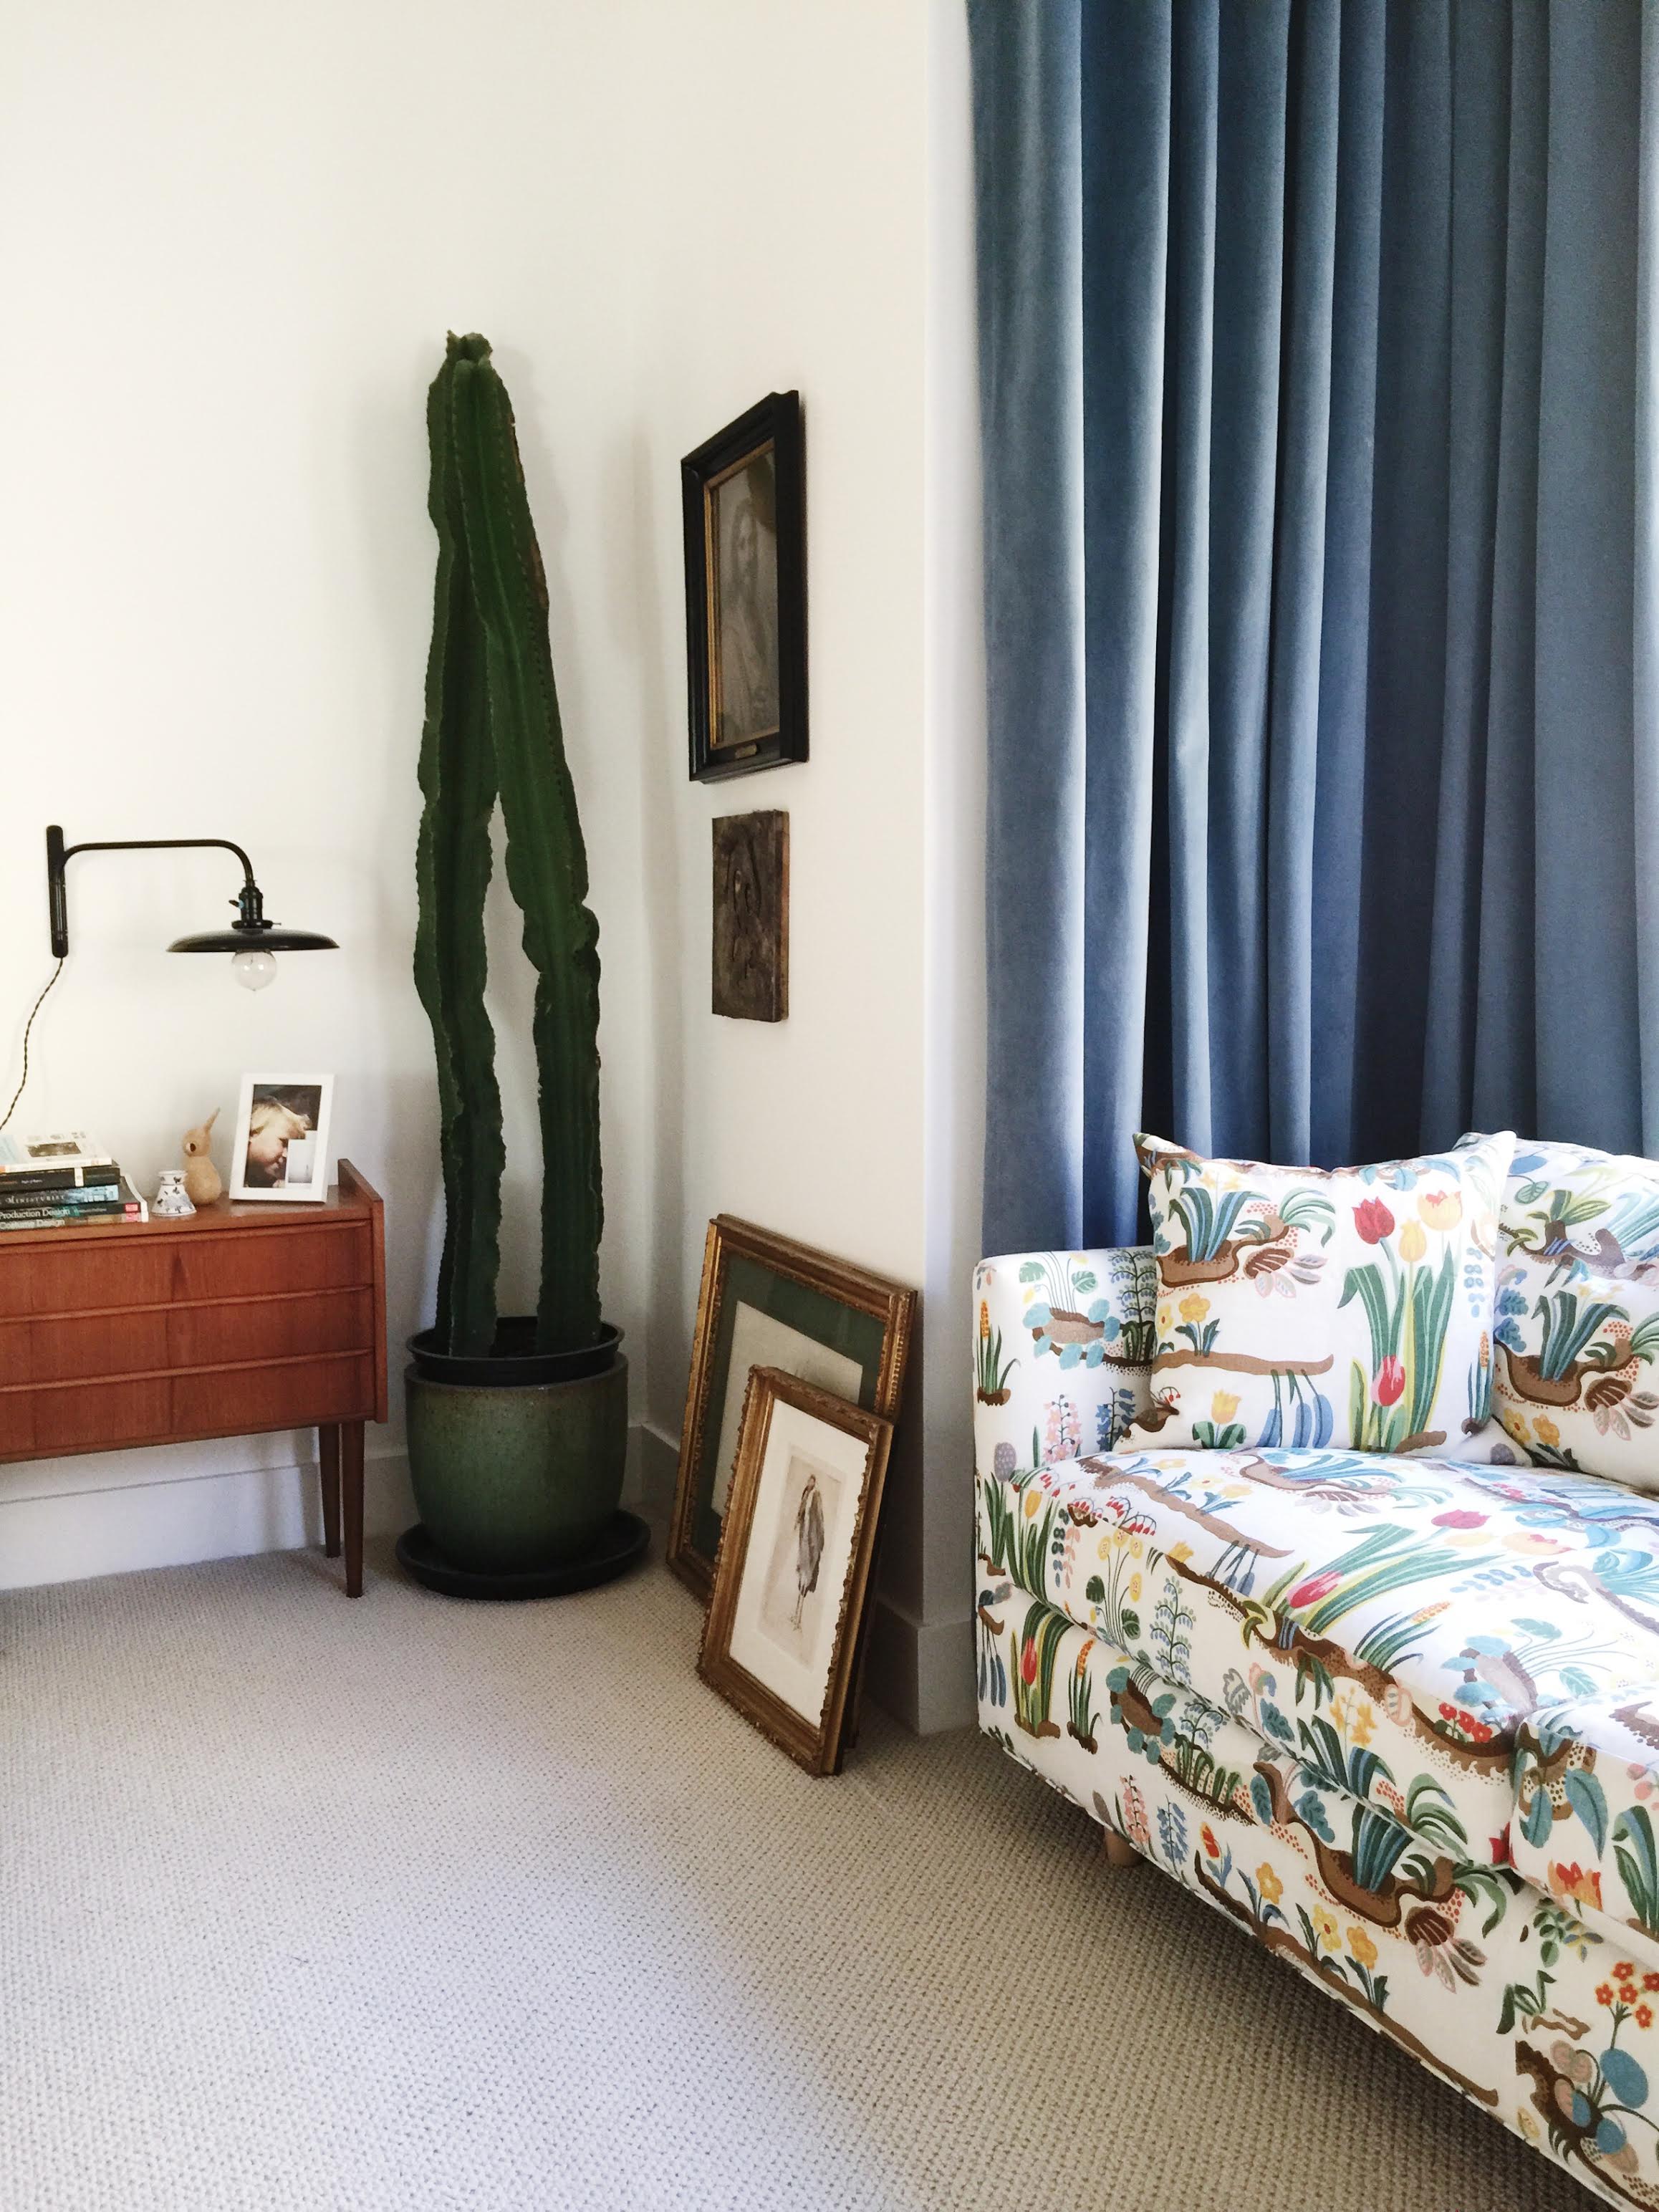
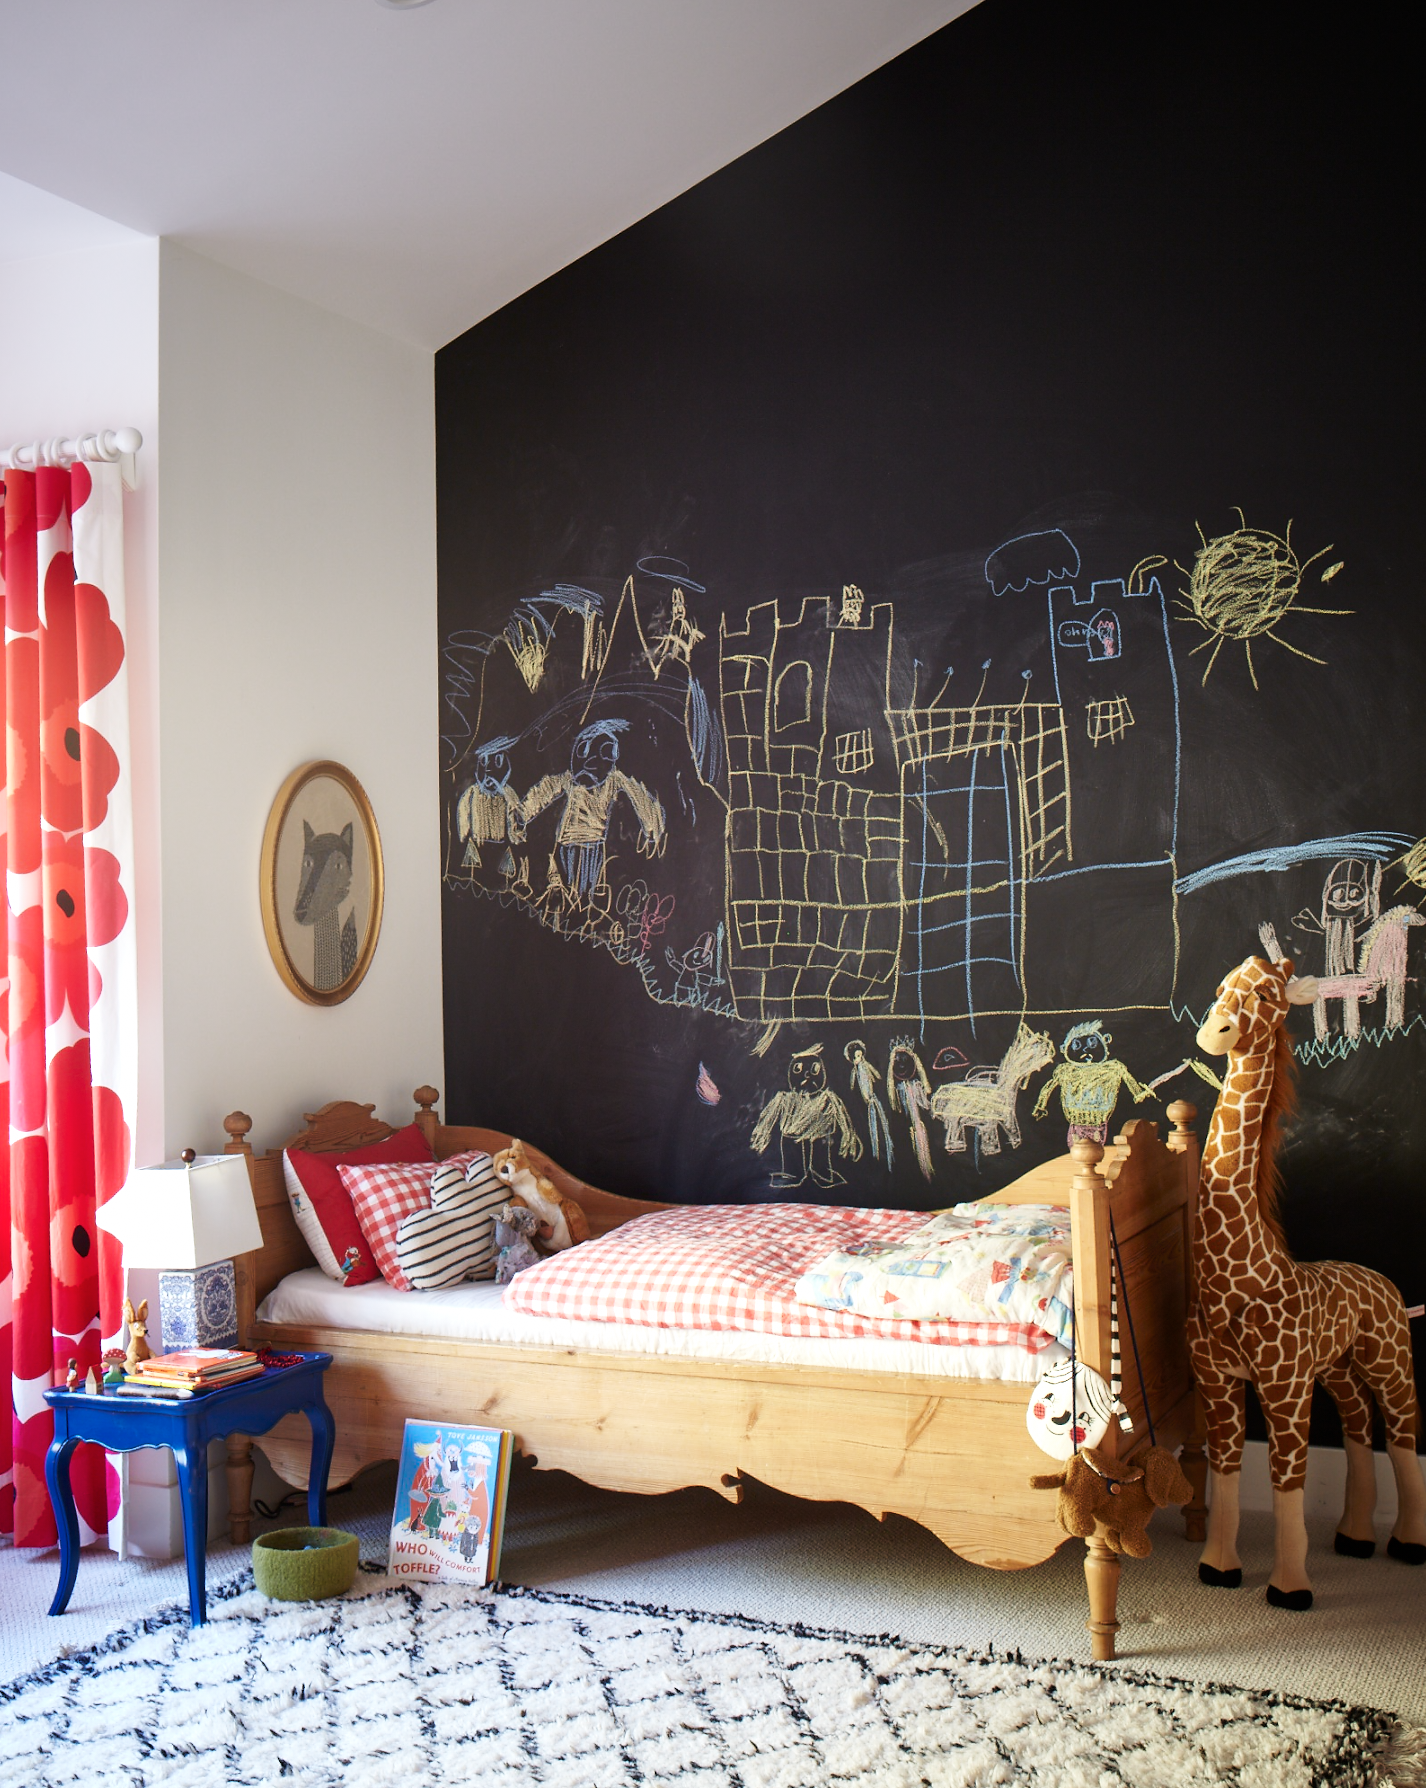
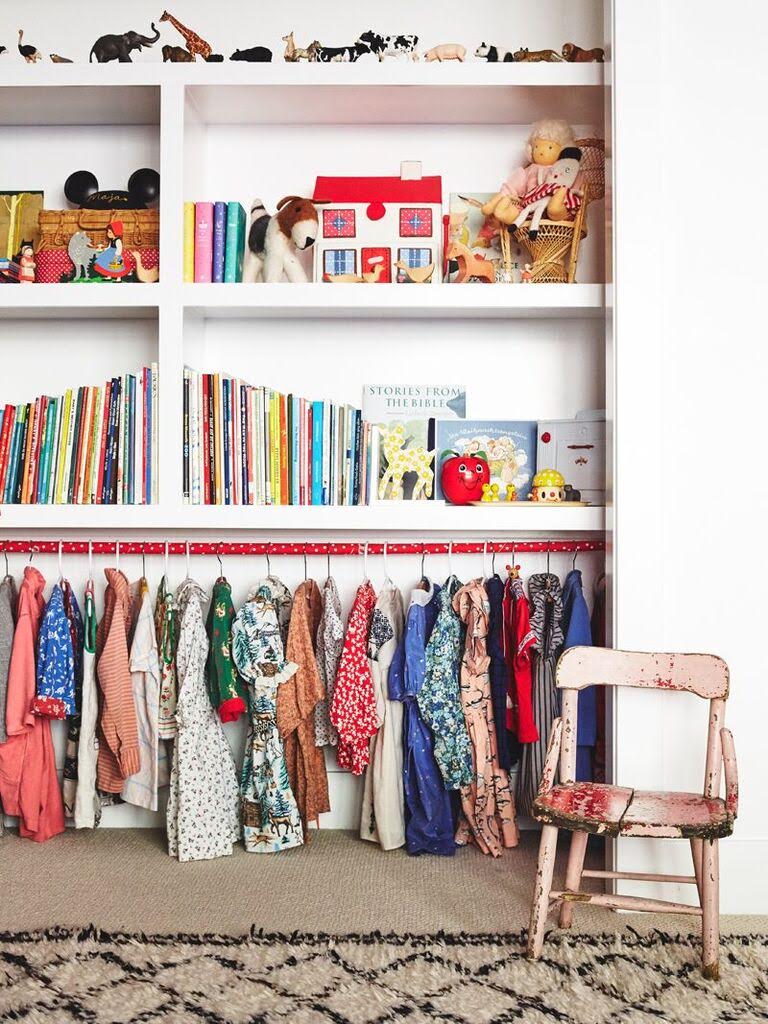
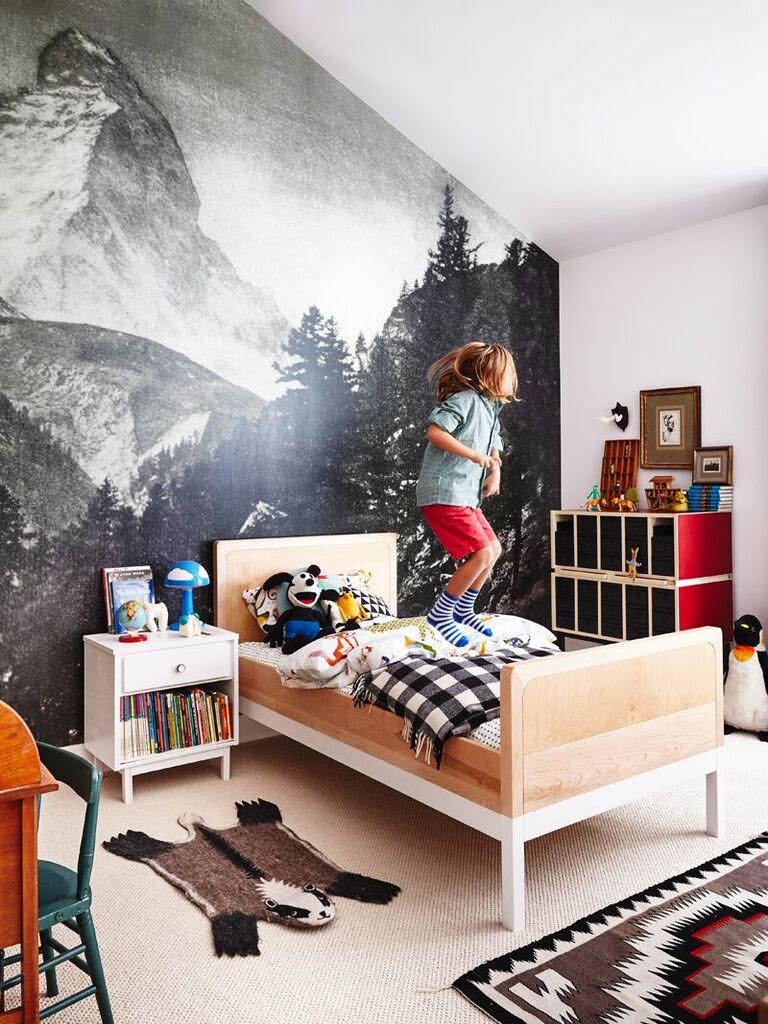
2.  Start a foundation—Once you have established (more or less) what you like and dislike, now its time to invest in the anchor pieces.  The pieces that you will build around your home.  These are pieces like the sofa, the bed, the armoire, the sideboard.  The main furniture pieces.  I recommend investing in quality that you will have for many years.  I’d like to think that I will pass down a lot of our furniture to our children and that makes them even more special to me.  A way to invest in quality pieces that are unique and less expensive is to buy vintage.  It may take a while longer to find the right piece you are looking for, but it is worth it when you find a one-of-a-kind piece that serves your needs and no one else has it.  The antique danish bed below was the bed I slept in as a child and now my daughter sleeps in it. 
Photo by Jenner Brown
3. Give yourself a blank canvas to work with—I think it’s very important to express yourself in your home through your furniture, textiles and art and even wallpaper.  Sometimes if you have too many bright colors on your walls it can be very distracting and take away from what you’re trying to do.  Of course it’s fun to paint a room or a wall a fun color, but in general I recommend adding color in your accessories and try to stay neutral on the walls.  Who says pastel pink can’t be a neutral though?  My office is painted all white, but I had fun with all the books by color coordinating them and covering the ugly book covers in colored paper.  The white walls and shelving allow the colorful books to really pop.  This took waaaaay longer to do than I anticipated, but the outcome is pretty fun and dramatic.
4.  build on your foundation and make it personal—This is the fun part.  Here is where you can really let your personality shine.  Now it’s time to add the textures; rugs, pillows, blankets, art, and chotchkies that you really love and are so you.  In our family my husband and I are really drawn to Catholic milagros.  Milagros are small metal carved emblems of a hand, foot, or heart, or any body part that can be prayed for, in the hopes of receiving healing.  My husband and I have started a tradition where we collect a milagro or two, or four or more every time we travel to a new city.  It has become a really fun scavenger hunt and so far we’ve been able to find them in Germany, Santa Fe, L.A., and San Antonio.  This makes the art on our walls more personal and reminds us of the memories we created while traveling.  The other paintings on the wall pictured below are painted by my (then) seven year old son, my husband, and my father-in-law.  I’ll admit I’m very fortunate to have three generations of artist in my family, so acquiring art may be a bit easier for me,  but I don’t know if there is anything sweeter than a child’s art.  So if you have children, grandchildren, nieces/nephew display their art in your home.  And frame it as if it were a very important piece of art because it is!

Photo by Meta Coleman

Photo by Chaunte Vaughn
5.  Take design risks—Now it’s time to play around a little with your space and take some design risks.  It may feel a bit out of your comfort zone, but if there’s something you’ve been wanting to do and haven’t had the courage to do it until now, do it!  If there is a wallpaper you’ve been dying to try, hang it.  Or a mural to paint, try it.  Sometimes you have to take some risks and a little leap of faith and trust your design instincts.  I promise if you try something a little daring, but exciting, you will be surprised with the outcome.  Below in my son’s room I knew I wanted something dramatic and vintage looking.  I also wanted the scale to be large.  My son loves the outdoors (just like his dad), he loves hiking and the mountains.  I wanted him to feel like he was in the forrest with the mountains in the background.  So, I bought an old photo of the Matterhorn (circa. 1900) scanned it and had a mural made out of the photograph.  More on the process and where to get the matterhorn mural (if interested) later.  In my mind I thought this would be a great idea, but I didn’t know if the picture would scan well, if the images would be too overpowering, etc.  I had to execute it and just go for it.  It ended up turning out much better than my imagination.  Often times reality is like that.  There are dust particles and pieces left over from the scan that enhance the age and feeling of the mural.  These were elements of the mural I hadn’t imagined and couldn’t know until I did it.  Most importantly my son loves it and feels like it is his special space that I personalized for him.  Remember your home is a living thing and is constantly evolving and changing, and that’s ok.  It’s ok to take some risks and have fun.

Photo by Chaunte Vaughn
I hope these tips are helpful to you and I really can’t wait to share more of my tips and projects in the future.
Take a look at more of Meta’s work on her portfolio site here.