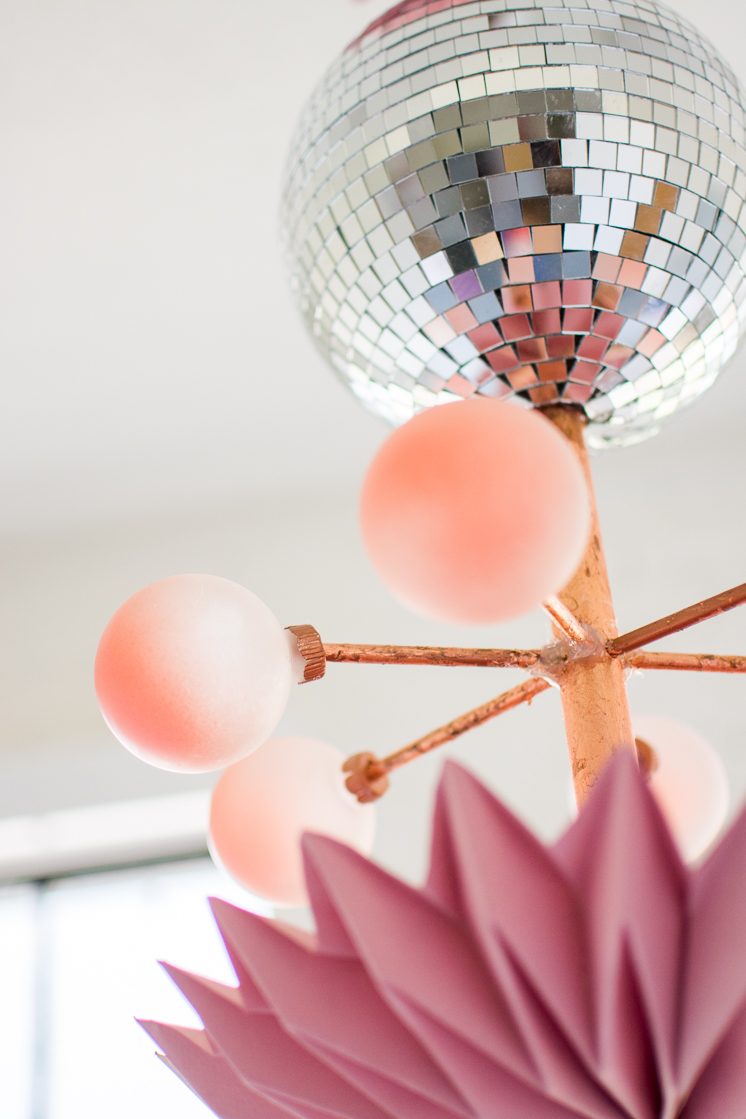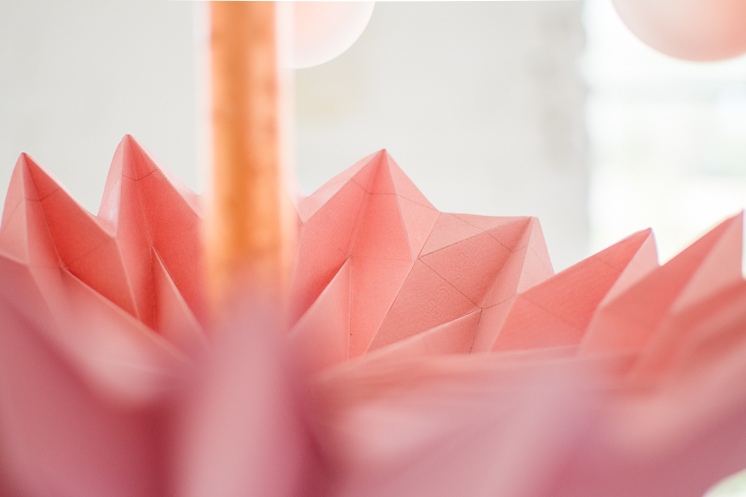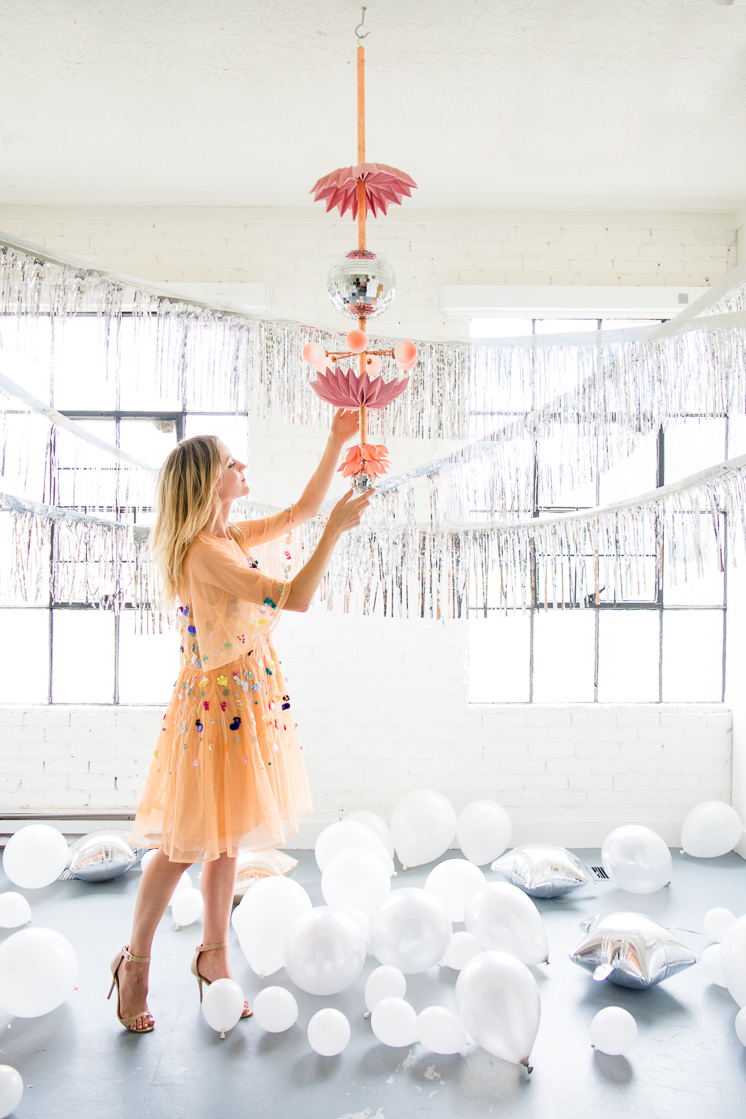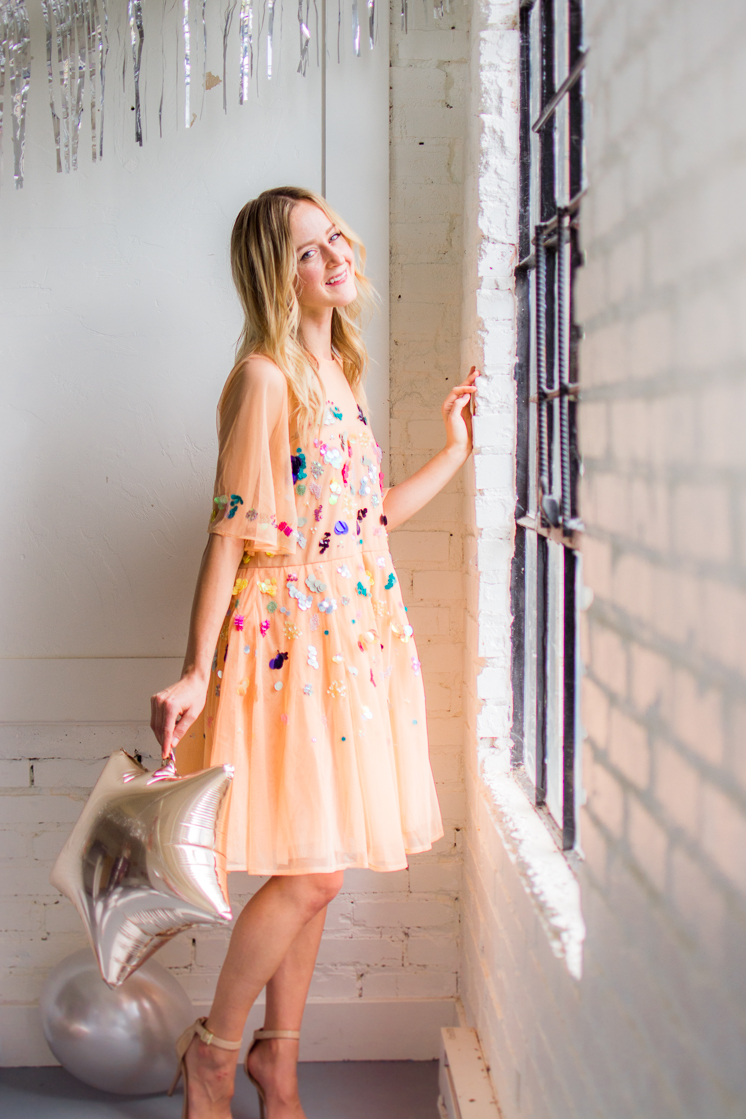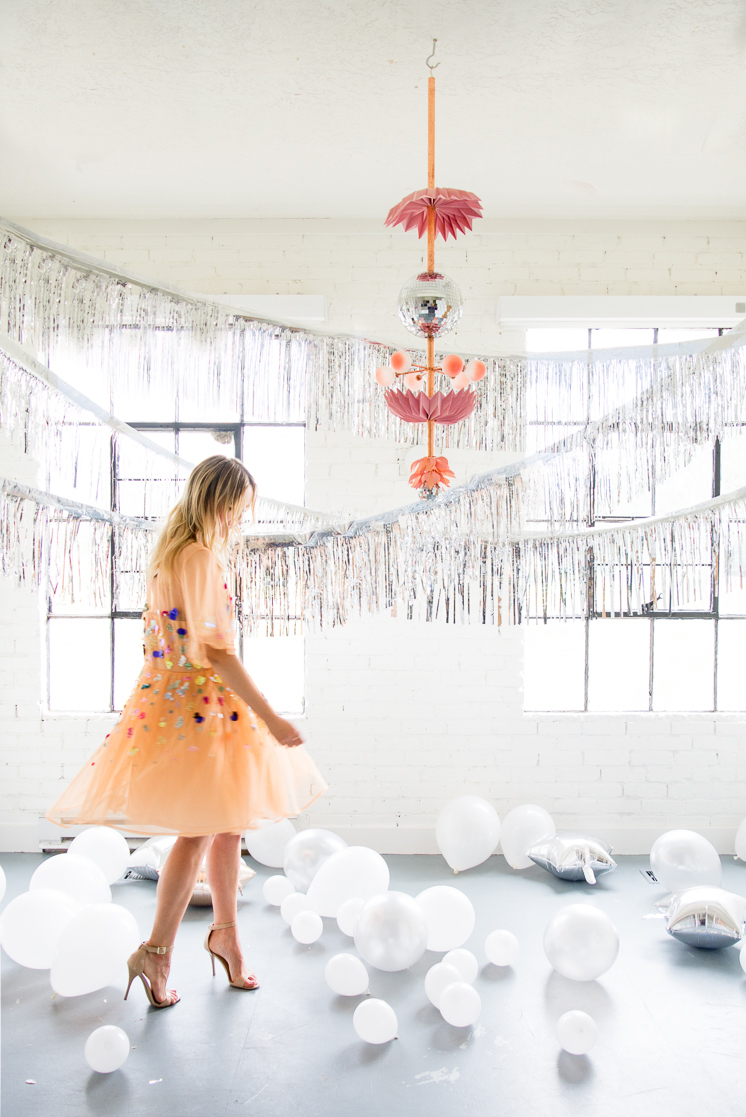
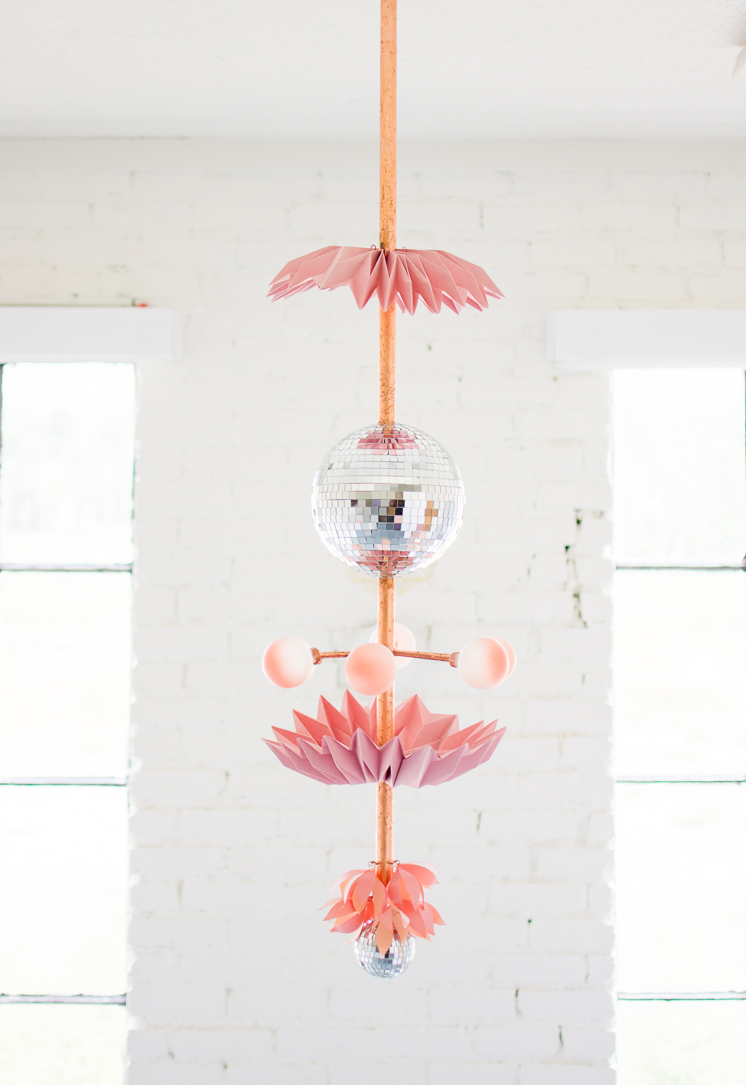
The Disco balls have been trending over the past year and who can complain? With the way it catches the light and the tiny little mirrors, it deserves to have another moment in the sun! The resurgence of the mirrored ball got our wheels turning. We decided we needed to take the traditional disco ball to the next level. This Disco Ball Ceiling Installation is much more elevated than the traditional and will leave everyone gawking at your next shindig. Even if you’re not throwing a party, you can easily use this piece as home decor. And with just a few styling adjustments, this installation can transition from party decor to permanent art piece. A millennial pink color palette brought it all together! Can’t you picture it in a chic little loft apartment with a lush velvet couch? I’m thinking something like this or this. Long live the disco ball!
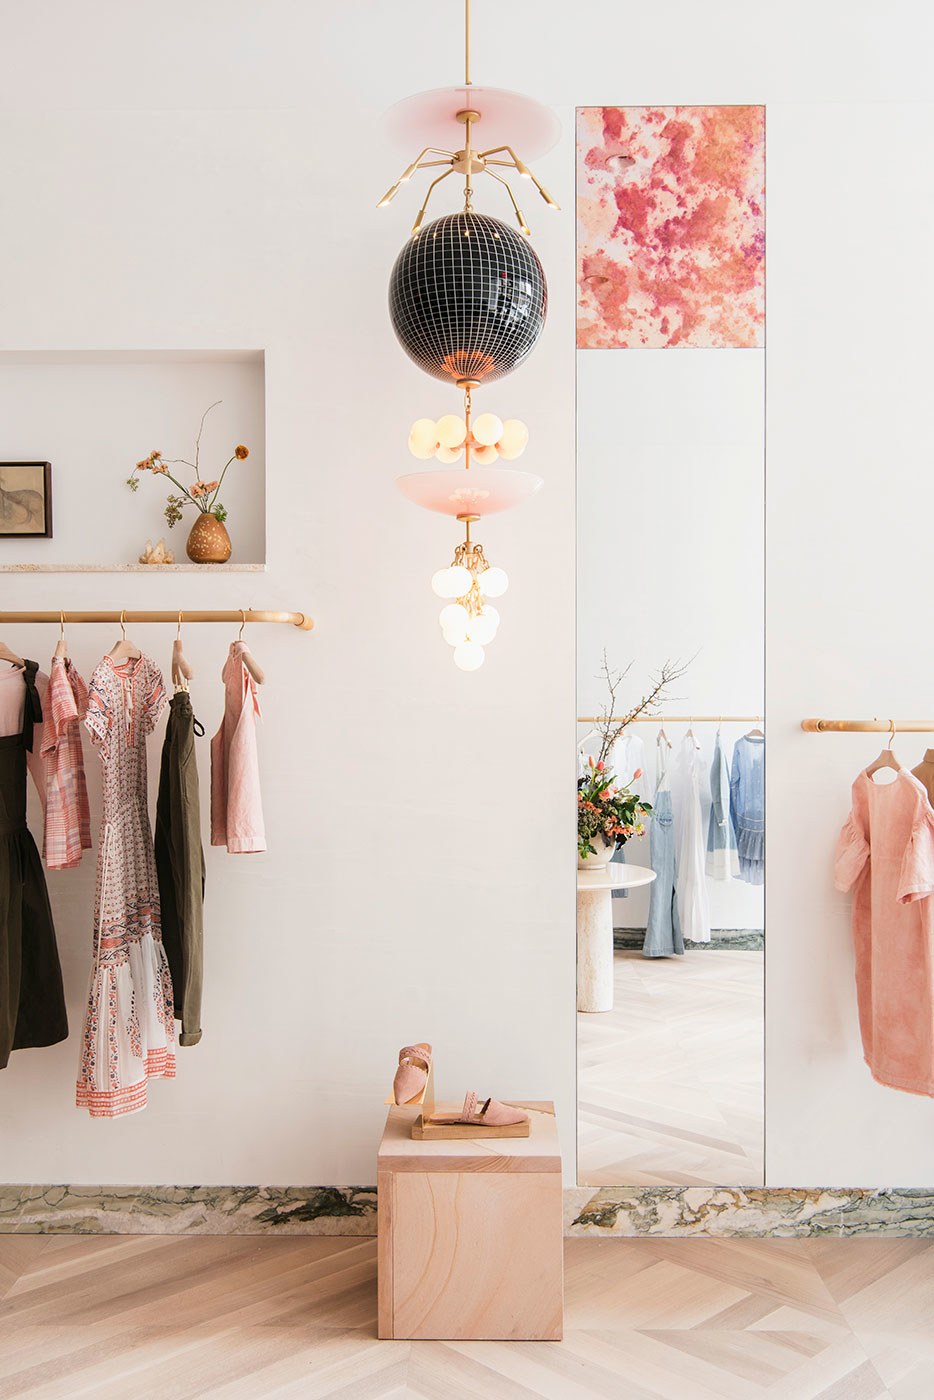
We were inspired by the custom lighting fixture by Lindsey Adelman in Ulla Johnson’s new Bleecker shop. It’s gorgeous, right?
But we used everyday objects like the disco ball and paper to make it more manageable.
 DIY Disco ball installation
Materials:
- 12″ disco ball
- 4″ disco ball
- rose pastel paper
- 1″ diameter wooden dowel
- copper leaf + leafing adhesive
- copper spray paint
- paper folding template
- bone folder
- coral spray paint
- drill
- clear, quick set epoxy
- hot glue gun
- flower template (found here) + die-cut machine or scissors
- craft knife
- 10-11 screw eyes (.5 inch)
- 1 cup hook (1.5 inches)
- 6 frosted glass Christmas ornaments
- sewing needle + pink thread
- scissors
-
Instructions:
- Sand down the large wooden rod down, removing any bumps. Spray paint or if you have more time, copper leaf rod according to instructions on leaf packaging. Let dry.
- Screw 1.5-inch cup hook into the top of the 1-inch wooden rod.
- Cut 6, 4-inch long pieces of 1/4″ thick wooden rods. Sand and spray paint or copper leaf to match center rod. Let dry.
- Make holes in the top and bottom of a disco ball by drilling or cutting a large enough space to slide the large rod through.
- Using transparent glue or epoxy, place small amounts around the holes of the disco ball and secure it to the center rod. Let cure according to instructions on the packaging.
- Remove the top hardware from the ornaments and spray paint copper. Make small holes in the ornament toppers, large enough for the small rods to fit into.
- Spray paint the bottoms of the ornament bulbs with a light coating of coral spray paint. Let dry.
- Place copper ornament toppers back onto each bulb.
- Take the copper, 4-inch rods and insert each one into the top of the ornament, through the hole you made. Glue in place.
- Drill shallow holes, about 1/4-inch deep, in a circle around the center rod to insert the ornament rods.
- Glue the other end of the small rods into the shallow holes with a small amount of hot glue.
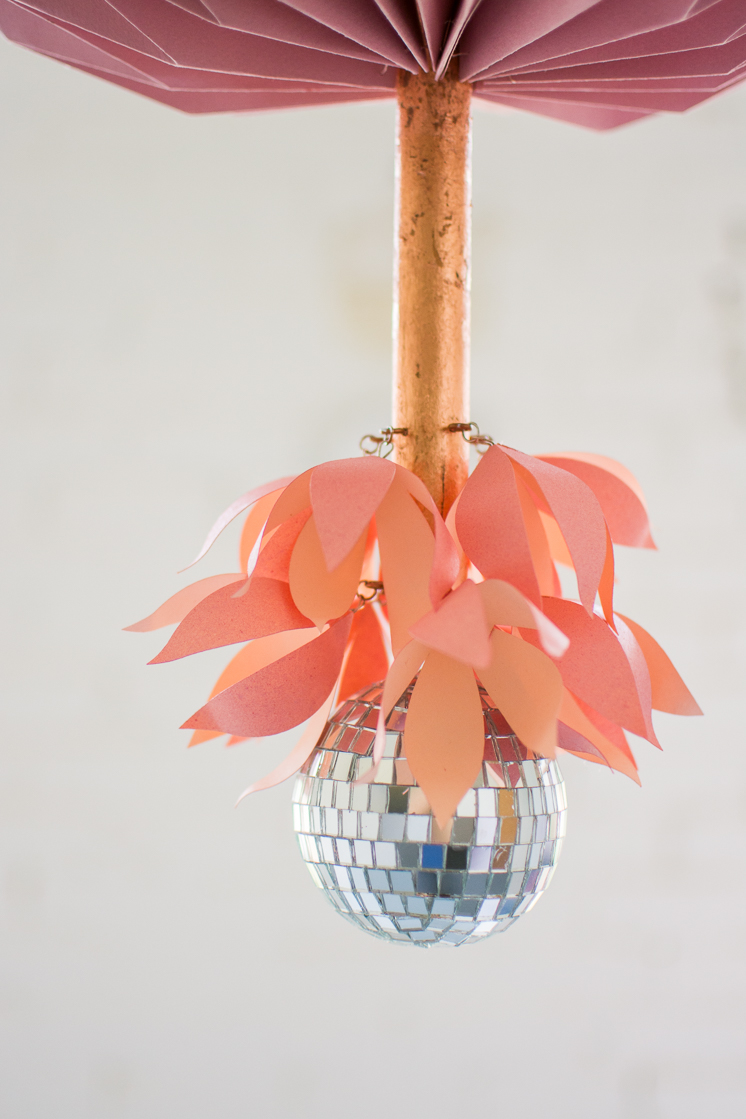
- Cut out the paper flowers with a die-cut machine. Spray paint them if desired. And glue them into a blossom shape. (See instructions here: http://
thehousethatlarsbuilt.com/ 2016/04/diy-paper-lei-for- gradution.html/) - With each flower, make a small loop of wire and glue to the inside of the flower base, so the loop protrudes from the flower.
- Repeat for 10 flowers
- Screw 10 small hooks into the large center rod in 2 rows, 5 hooks for each row. Attach a jump ring to each hook and then attach each flower to a jump ring.
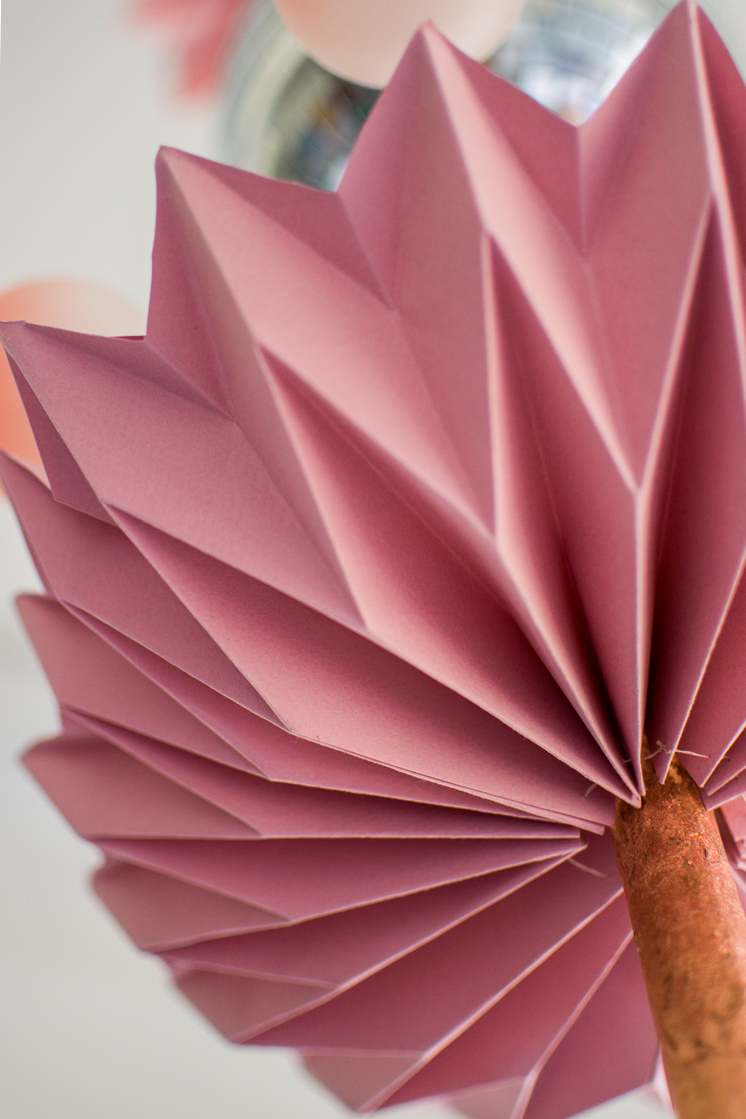
- Make 6 paper fans according to the template provided.
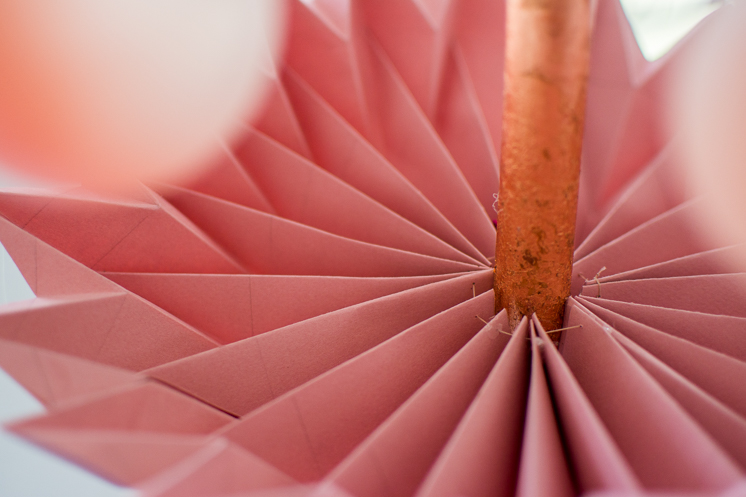
- Take three fans and glue the edges together to create a long piece. Glue the last fan to the first so that the fans are all combined to form a circle.
- Thread a needle and sew through the inside edge of the folded paper fans. Slide the fan circle onto the 1-inch rod. Pull the thread tightly until the opening fits snuggly around the rod.
- Hot glue the inside edges of the paper fans to the 1-inch rod if necessary.
- Use epoxy to attach the 4-inch disco ball to the bottom of the 1-inch rod and allow to set according to the instructions on the package.
Looking for more ceiling pendant projects? Try these out!
Get the look:
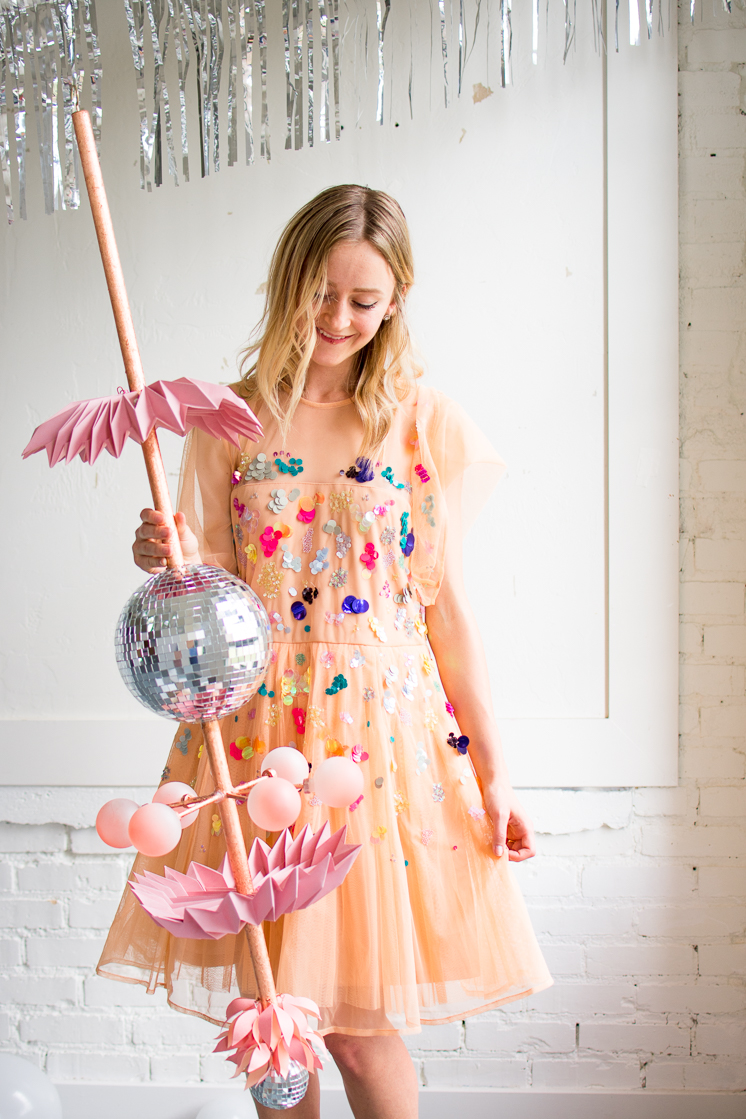
Beautiful sequin dress from here OR here. Also comes in black maternity! And a
Photography by Clara Sumsion | Crafting by Ashley Isenhour and Drew Toolson


 DIY Disco ball installation