These first few weeks having a newborn baby have been a whole roller coaster of emotions, but absolutely and overwhelmingly magical. One of the simplest pleasures I’ve had is dressing Baby J in the sweetest and smallest articles of clothing! Why is everything more adorable when it’s tiny? Yet, I’m already shocked at how quickly he has grown! Someone, please explain how has he already OUTgrown so many things?!
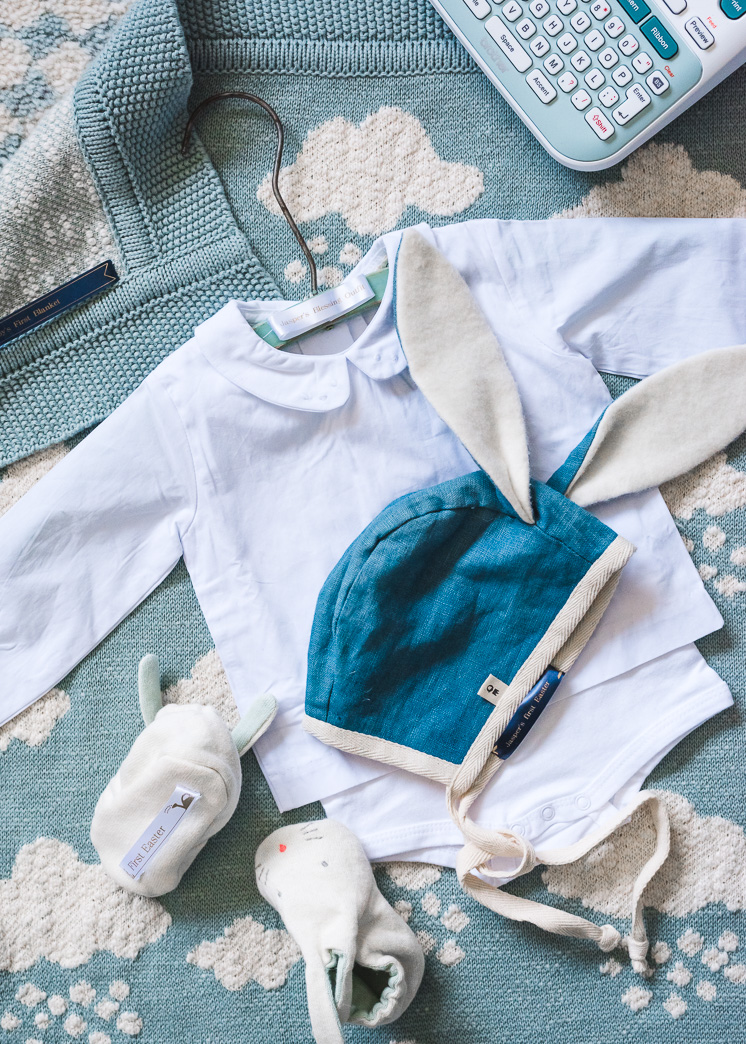
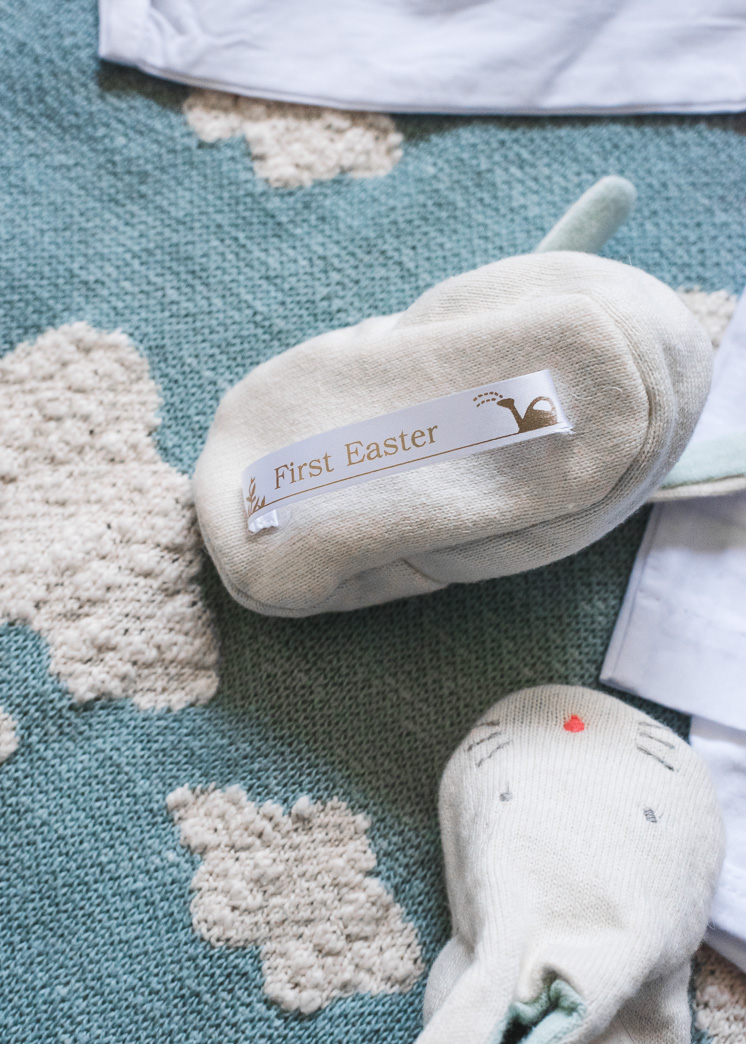
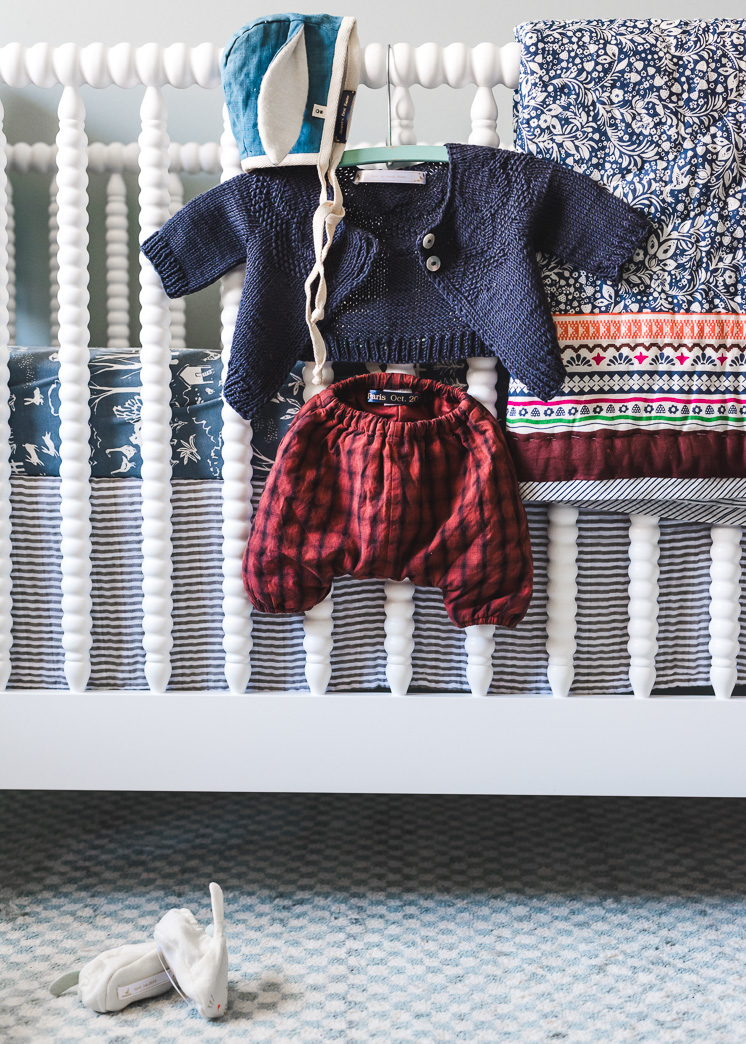
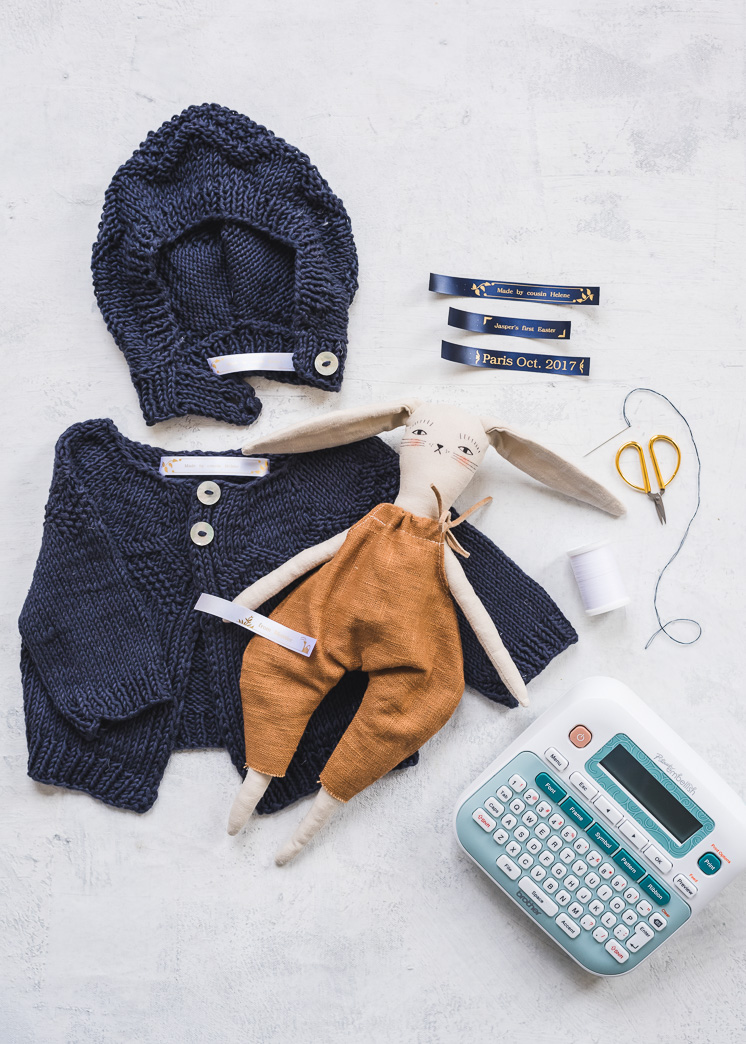
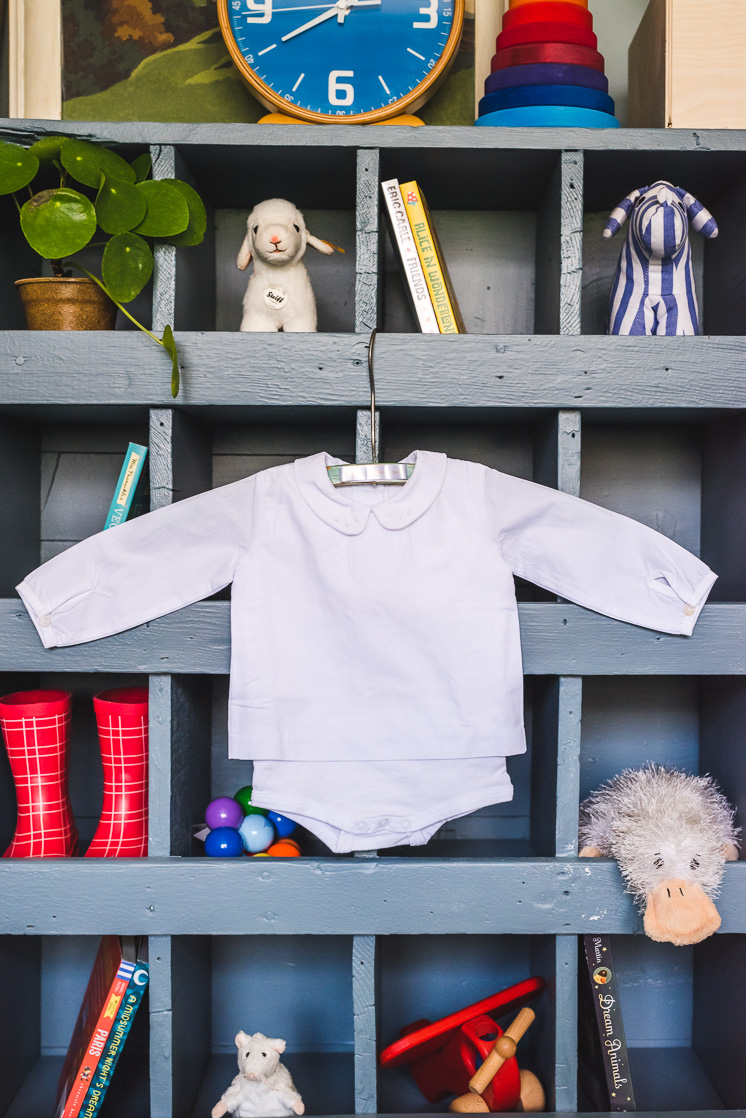
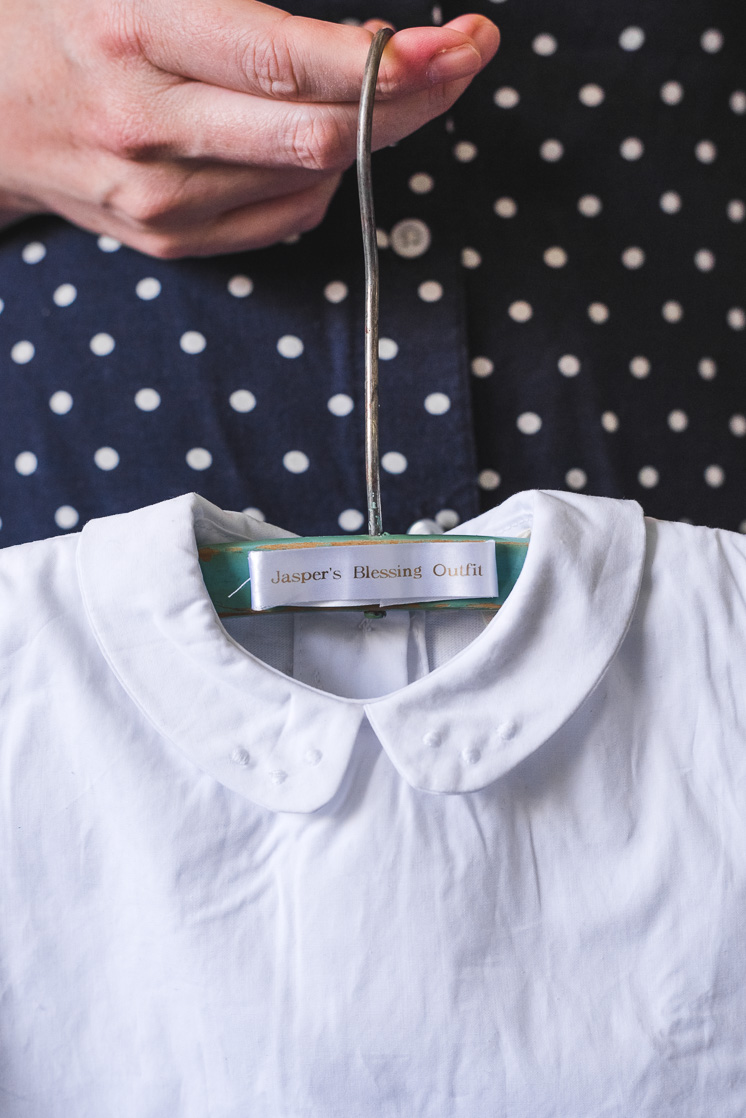
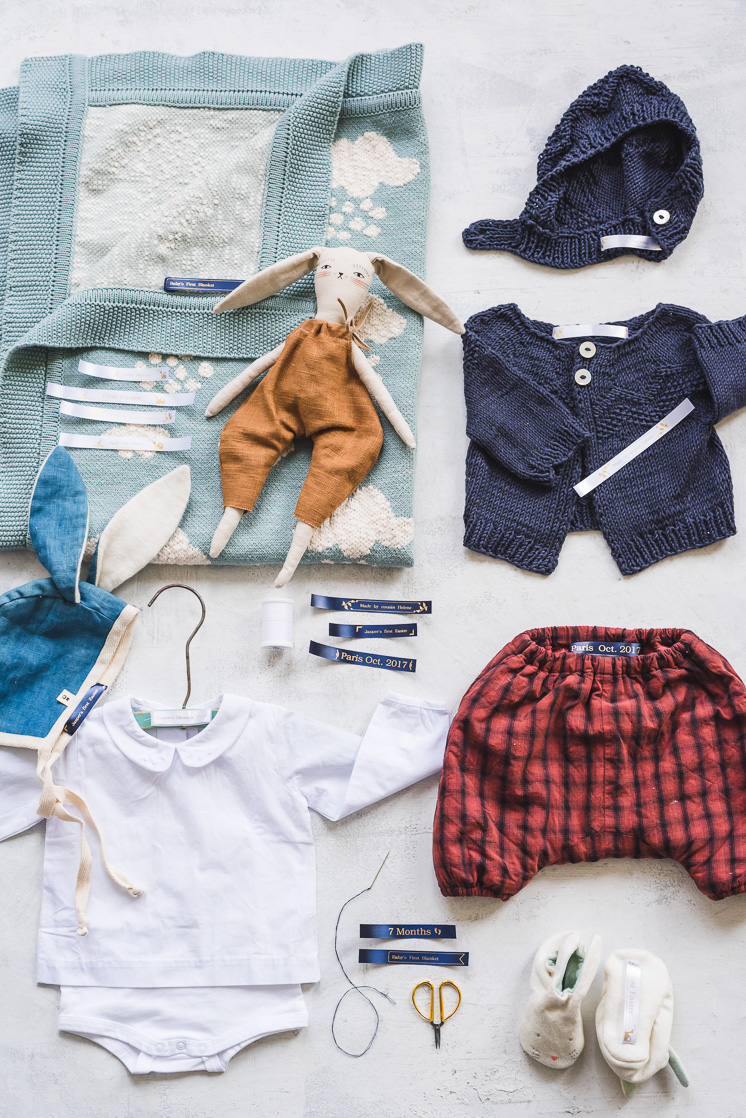
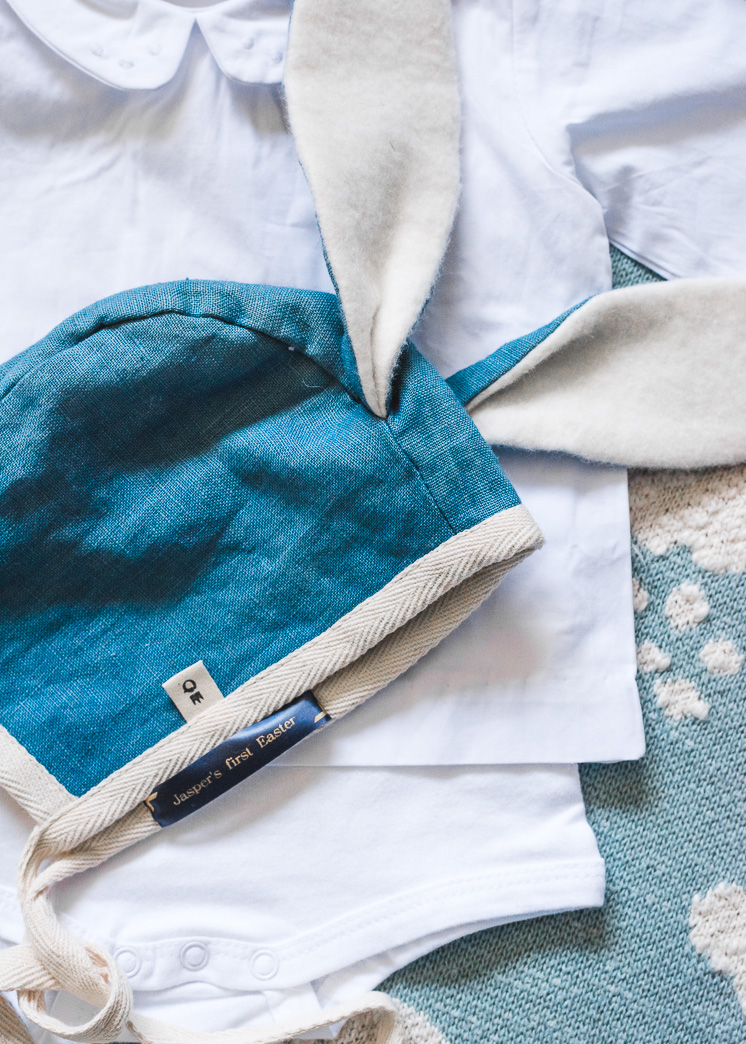
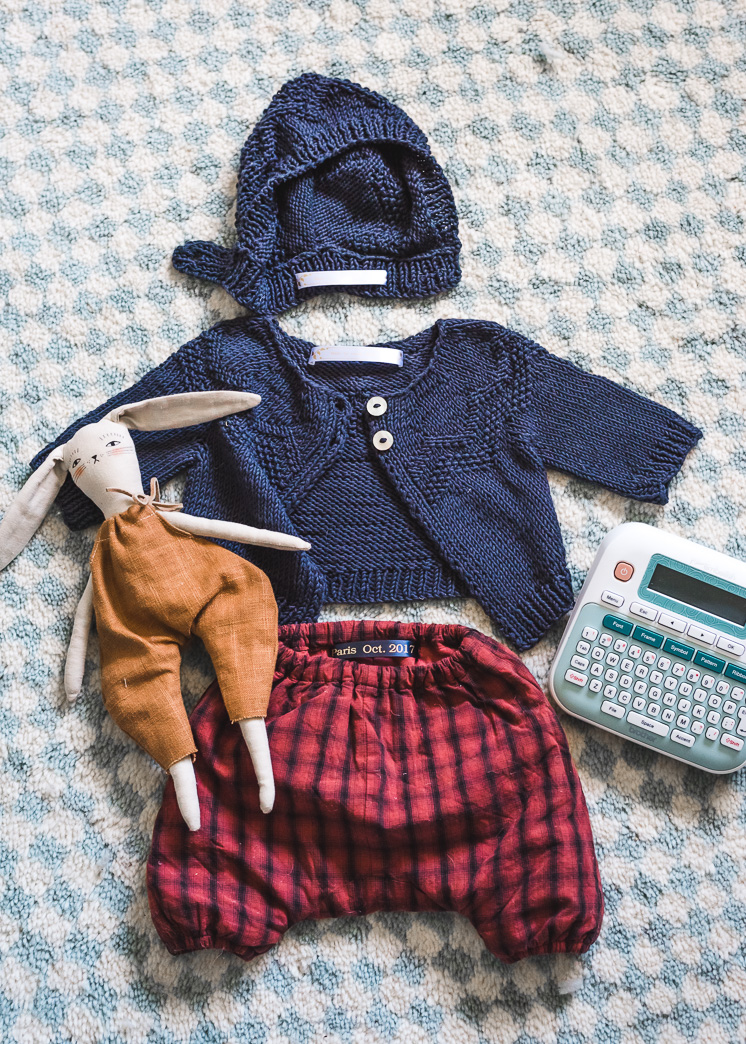
Since I can’t stop time and I can’t seem to slow down Jasper’s growth rate, I wanted to do something to preserve my memories of him at every stage of life. So I made these heirloom clothing labels for Jasper’s special items so I would always remember. The labels are made from printed ribbon using the P-touch Embellish ribbon and tape printer. I was able to document his first blanket, his blessing outfit, a homemade sweater and hat from my sweet cousin, and much more. I’d like to think I’d never forgot those things, but sewing a sweet ribbon label on everything makes me so happy knowing I will have those memories forever.
See how I turned Baby J’s clothing into keepsakes!
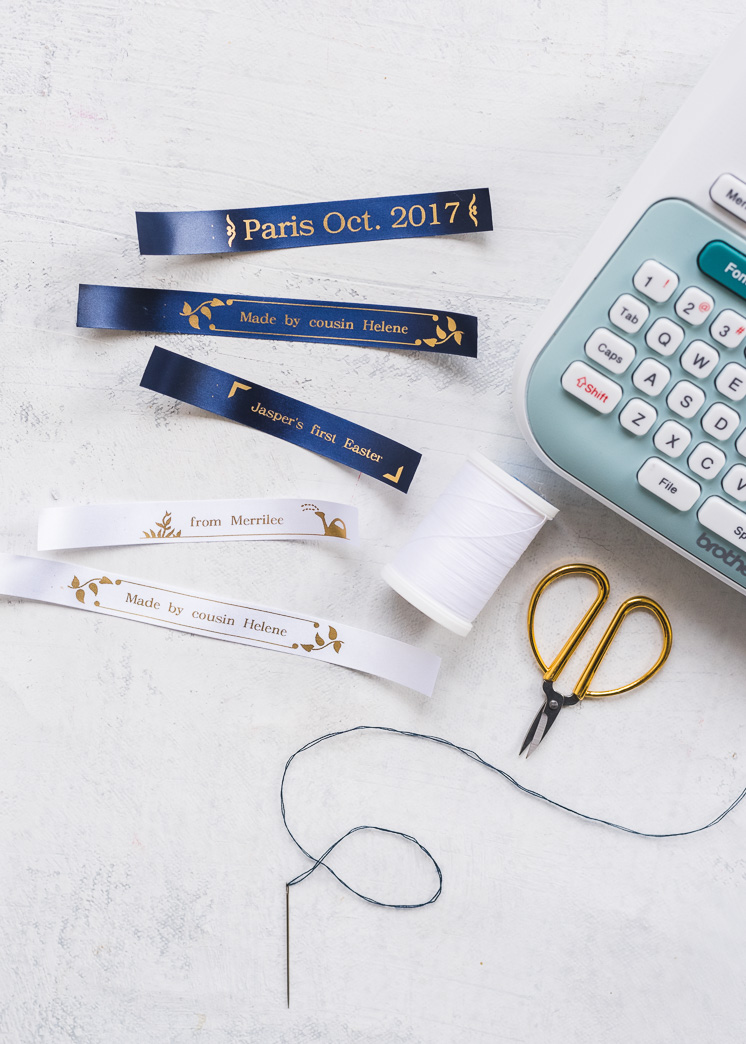
I started by identifying some of Jasper’s more special items. I wanted those with meaning and sentimental value to be remembered. After picking out the clothing items, I wrote down what I wanted to be printed on the labels. Dates, holidays, certain people and places, etc. were some of the things I wanted to document. The P-touch Embellish offers plenty of font choices, sweet symbols, and lovely borders that added that finishing touch to the labels. I used white and blue P-touch Embellish ribbons, but they also have red and pink that would be great for a little girl.
To sew your labels onto your baby items, coat the edges of the ribbon with fray-check to keep from fraying. Then, fold under a tiny bit of the edges of the ribbon and sew the edges to the clothing with a basic whip stitch or another simple embroidery stitch.
Heirloom Clothing Labels
Materials:
- Various clothing items you want to label
- Needle and thread
- P-touch Embellish Machine
- P-touch Embellish ribbons
- Fraycheck, optional
Instructions:
- Print your labels onto your ribbons of choice using the P-touch Embellish machine. Make sure to leave a little extra room on the edges.
- Coat the very edge of the ribbon with fray-check and then fold under so your labels won’t fray
- Sew the two short edges of the label onto your clothing and other items.
This post was sponsored by Brother. All opinions are my own. Thank you for supporting the brands that keep Lars thriving!


Comments