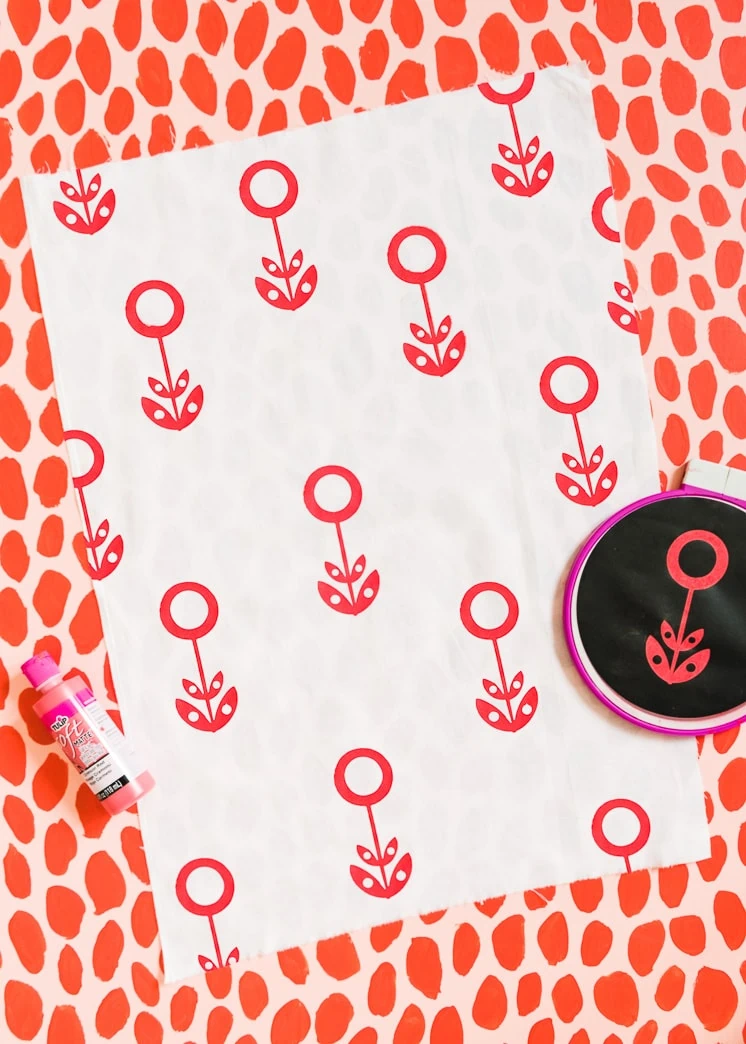
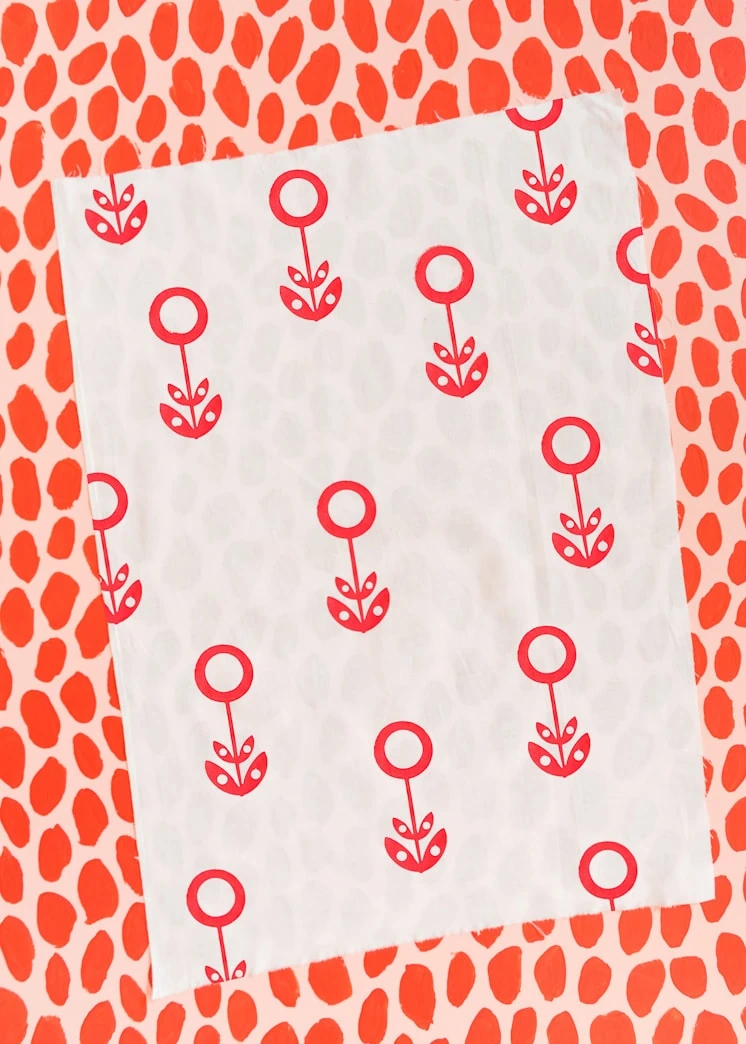
 Who else has been amazed by all of the fabulous fabrics that have been floating around as of late? We have always had an affinity for some well-patterned textiles, but it’s a love that can, at times, get squashed by our least favorite thing: cost. Thanks to a constant mentality of “I won’t buy it, I can make it” (which has gotten us both out of and into quite a lot of trouble) we set out to learn how we could create the fabric of our dreams, for a fraction of the cost. And of course, we had to make sure that we could do it from the comfort of our home.
We tested out a few methods that we found from all sorts of places and ran into hiccups with a good amount of them. Turns out, there’s a reason this stuff isn’t cheap. However, we were determined to find a technique that was functional, mess-free (as much as anything we do can actually be “mess-free”) and time-effective. After a lot of dye-induced dabbling, we realized that there are actually a whole slew of possibilities that come with creating your own patterns for fabric!
We decided to take these techniques and break them down to give each of you the basics. Getting these small steps right are key before jumping into wonderful world of DIY screen printing and all that it has to offer! Today we will be starting with how to create the simplest screen you have ever seen to make a one-color print. We really believe the key to the amazing textiles starts with mastering the fundamentals. Careful, it’s only a matter of time before you start printing something on every piece of fabric you can get your hands on. Here we go!
DIY Screen Printing:
 Materials:
- Embroidery Hoop
- 1/2 yard organza
- Fabric to print on
- Fabric Paint (for one run screens)
- Fabric Ink (for more than one run on your screen, these colors can also be mixed to create more colors)
- Small piece of chipboard
Directions:
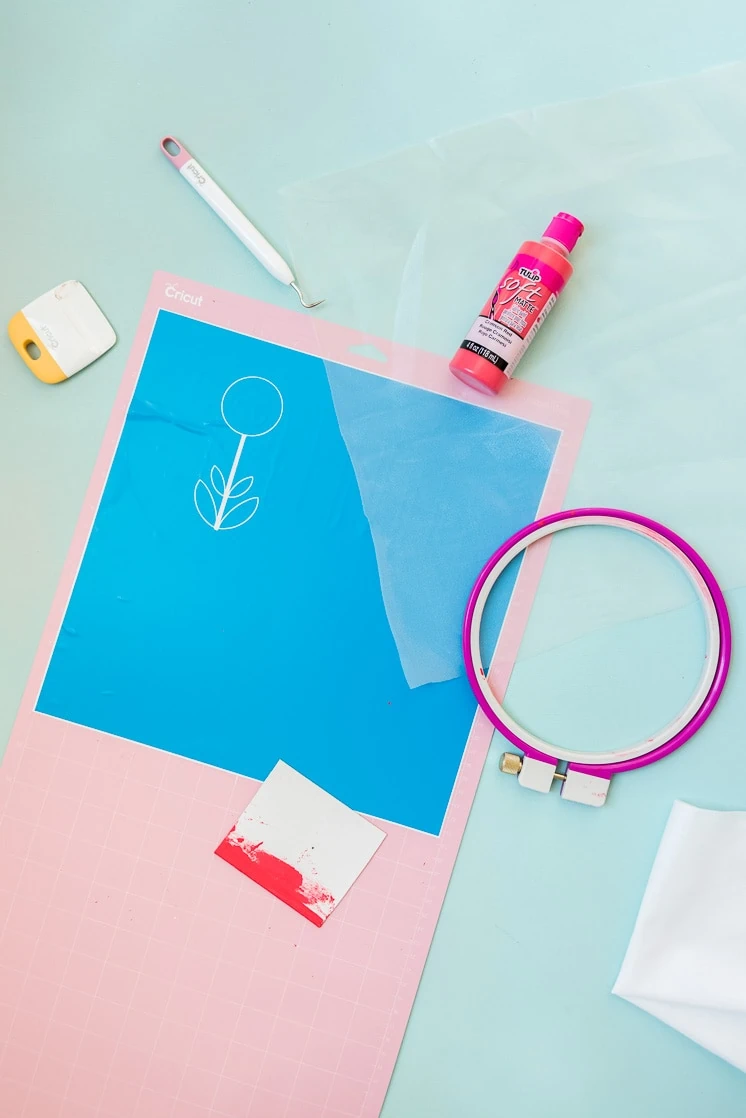
- Use your Cricut Explore Air™ 2 machine to print out your design onto vinyl. Around the print shape, have the Cricut cut a circle that is half an inch smaller in diameter than your embroidery hoop. This piece will be used to mask the fabric and stop paint from getting through where you don’t want it!
- Place your organza fabric in your embroidery hoop. Pulling and adjusting the fabric until it is taught as you can get it.
- Pull your vinyl design off of its sticky backing, using the part you wish to leave unprinted (the negative space around your design.) Place it flat on the table, sticky side up.
- Lower the drum side of your tightened organza in the hoop onto the sticky template smoothing everything and tight as you securely stick the template to the fabric. Run a hard flat edge over the entire surface.
- Lay your fabric out flat on the table, planning where you would like the print to be.
- Place the hoop/template onto the fabric. Make sure the vinyl side is touching the fabric, leaving you a completely flat screen surface to run the ink over, free of any vinyl edges that may catch.
- Place a thin stream of paint along the top of the design, wide enough to cover all of the edges of your design.
- Use a stiff piece of cardboard with a straight edge (or an old credit card) to push the paint over the screen. Start at one side of your design and work sideways, always pushing in a downward direction. Run over the entire area just twice, maintaining the same amount of pressure.
- Carefully lift your screen off of your fabric, lifting evenly to not mess up the paint.
Note:
If you are wanting to create a repeat pattern, it is important to use an ink that is oil-based so that your screen won’t dry out quickly. If you use a water or acrylic based paint the paint will dry on your screen and you will only be able to get one, maybe a two if your quick pulls off of your screen.
We love seeing your creations! Be sure to use #larsmakes so we can see what you come up with!


