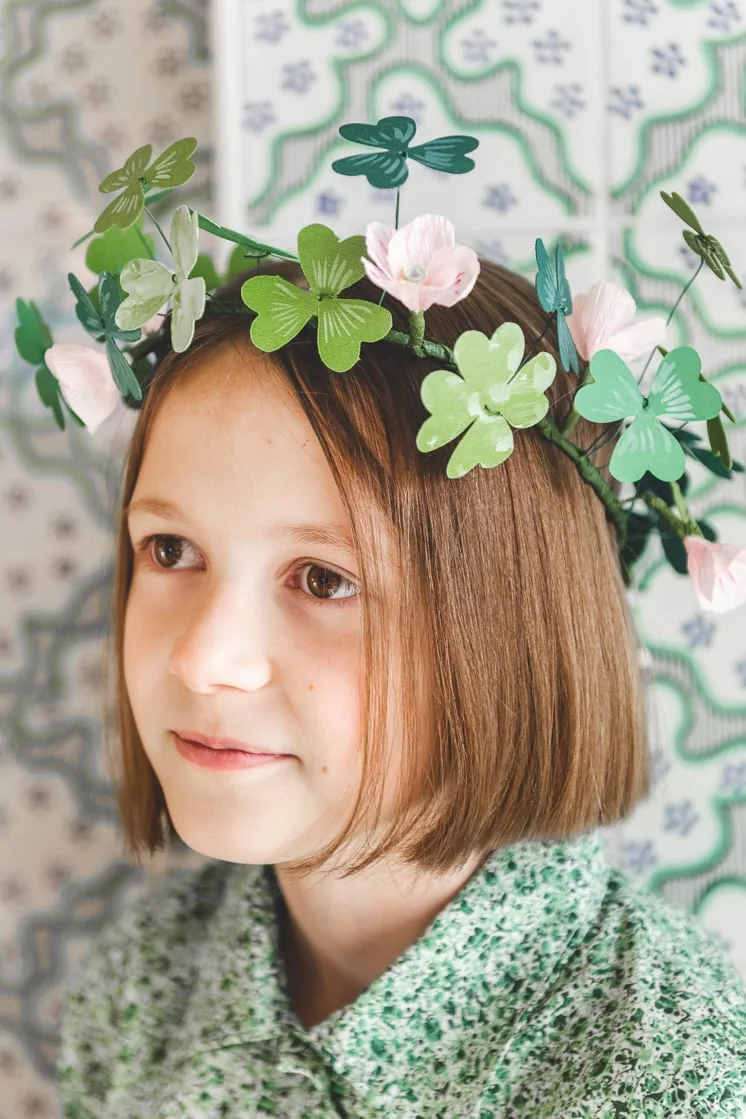
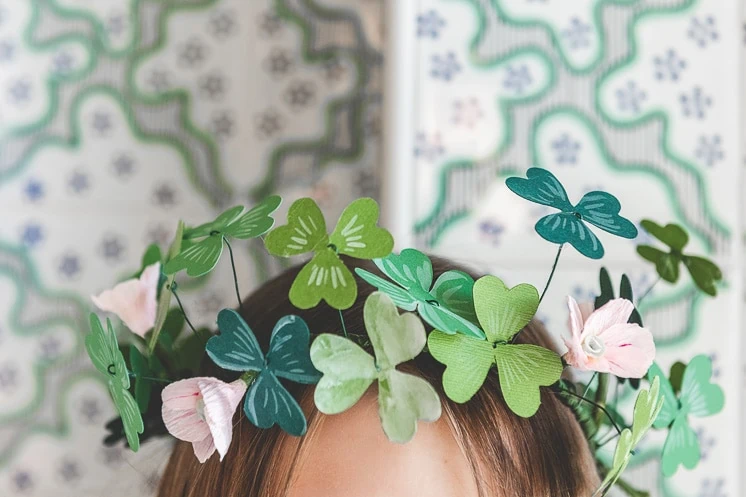
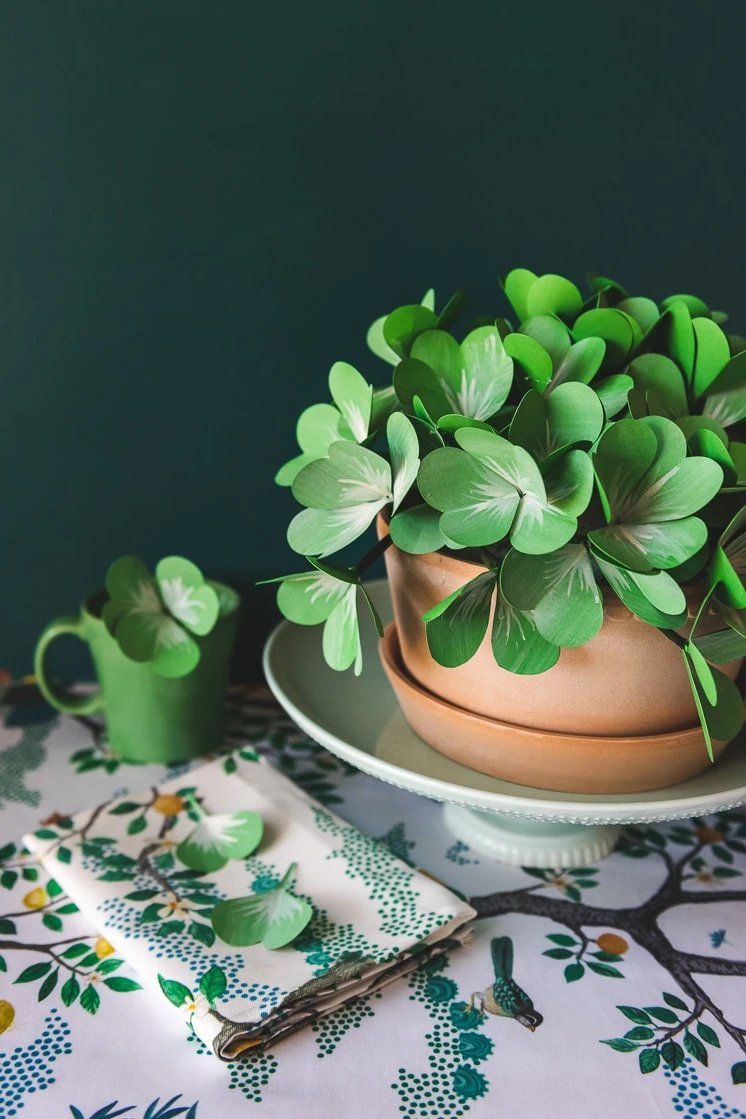
Wearing green on St. Patrick’s Day is not as easy to remember as one may think. Life often keeps us busy and before we realize what day it is, someone may pinch us out of the blue to remind us we forgot! We’ve all been there; it’s a painful lesson to remember for the following year. With that in mind, here is a new variation of our shamrock crown to make for this year’s St. Patrick’s Day craft. Guard yourself from those mischievous leprechauns out to sneak up on you for not wearing green
Here’s a fun fact about shamrocks: There are approximately 10,000 three-leaf clovers for every four-leaf clover, and shamrocks and four-leaf clovers are not the same thing. The word ‘shamrock’ refers only to a clover with three leaves. Our St. Patrick’s Day craft includes both shamrocks and four-leaf clovers so that your crown can display the lushness of the shamrocks mixed in with some luck from the four-leaf clovers.
How to Make Your Own Paper Shamrock Crown
Supplies:
18 gauge wire: 2 14″ pieces
Green paper (3 shades, we used half of 3 12×12 sheets for ours)
Pink crepe paper: 3 inches x 20 inches
Green-yellow crepe paper: 3 x 7 inches
White acrylic paint and paintbrush (optional)
Pink acrylic paint (optional)
Floral tape (6 feet is plenty)
Hot glue gun/glue sticks
11 feet of Floral wire
Instructions:
- Download the svg files for the three-leafed and four-leaved clovers.
- With your cricut machine, cut out about 30 clovers. Because we used three kinds of paper, we did 8 three-leafed and 2 four-leafed clovers of each color. (You can also cut your shamrocks out by hand using the same template if needed.)
- With a small hole punch, put a little hole in the middle of each clover.
- Dilute your white paint with water and use a small paintbrush to add a few little lines to your shamrocks for texture.
- Bend your 18-gauge wire into a circle and attach them together with floral tape. We had 14-inch lengths of wire and it took two pieces to make an 8” diameter crown
- Assemble your shamrocks by following steps 7-9.
- Cut floral wire into pieces from 2.5-3.5” long. These will be your shamrock stems, and it looks nice for them to be varied in length. Bend the tip of each length of wire down about a third of an inch.
- Thread the wire through the hole you punched in your shamrock and gently bend it to secure the leaf top in place. Be careful! It’s pretty easy to tear the leaves in this stage.
- Put a dot of hot glue on the bottom of the leaf top to secure it in place
- After you assemble all your shamrocks, it’s time to make your blossoms by following steps 11-17. We made 7 blossoms, but repeat these steps until you have your desired number of flowers.
- Cut a rectangle about an inch and a half tall and about 2 inches wide from the light yellow crepe paper. Stretch the top so that it flutes and roll it into a tube. Secure with a dot of hot glue. This is your flower center.
- Cut small oval petals (about an inch tall and tapered more at one end) from your pink crepe paper. Each flower has five petals. Glue the extra tapered end to the rolled flower center just below the fluted tip. There should be extra paper at the bottom of the flower center.
- Glue the remaining petals to the attached petal so that they overlap. Put a line of glue along the bottom of the petals and wrap them around the flower center so that they meet up at the first petal.
- Gently stretch the petals so that they curve up a bit.
- Use your pink paint to put thin lines on the petals leading to the flower center.
- Cut a piece of floral wire about 3 inches and poke it through the center of the flower, down the middle of the rolled crepe paper. Put a bit of hot glue on the top of the wire before you finish pulling it into the flower to secure it inside.
- With floral tape, wrap the bottom of the flower and down the wire. Flowers are done!
- It’s time to attach the shamrocks and flowers to your wire crown form. Wind the bottom of the wire stems around the crown to attach them. At this point, some of the stems might be wobbling loosely and not all staying on one side of the crown. Don’t worry! We’ll address this in a few steps.
- Repeat for all your shamrocks and flowers, and distribute the colors, shapes, and stem lengths so that it’s nicely varied.
- With your wire cutters, trim any wires that are poking out. Don’t skip this step, or your crown will be painful to wear!
- Wrap floral tape around the crown to cover all the coiled wire and pokey bits. It is easiest to do this part with sections of tape about a foot long each rather than juggling all of the tape.
- After that, adjust and arrange the stems of all your shamrocks. Voila! You’re done!
These shamrock crowns are a fun St. Patrick’s Day craft and can be saved and used for years on end. Be sure to be on the lookout for anyone not wearing green. Instead of a pinch, if you feel so kind, you can crown them with some luck to save for next year.
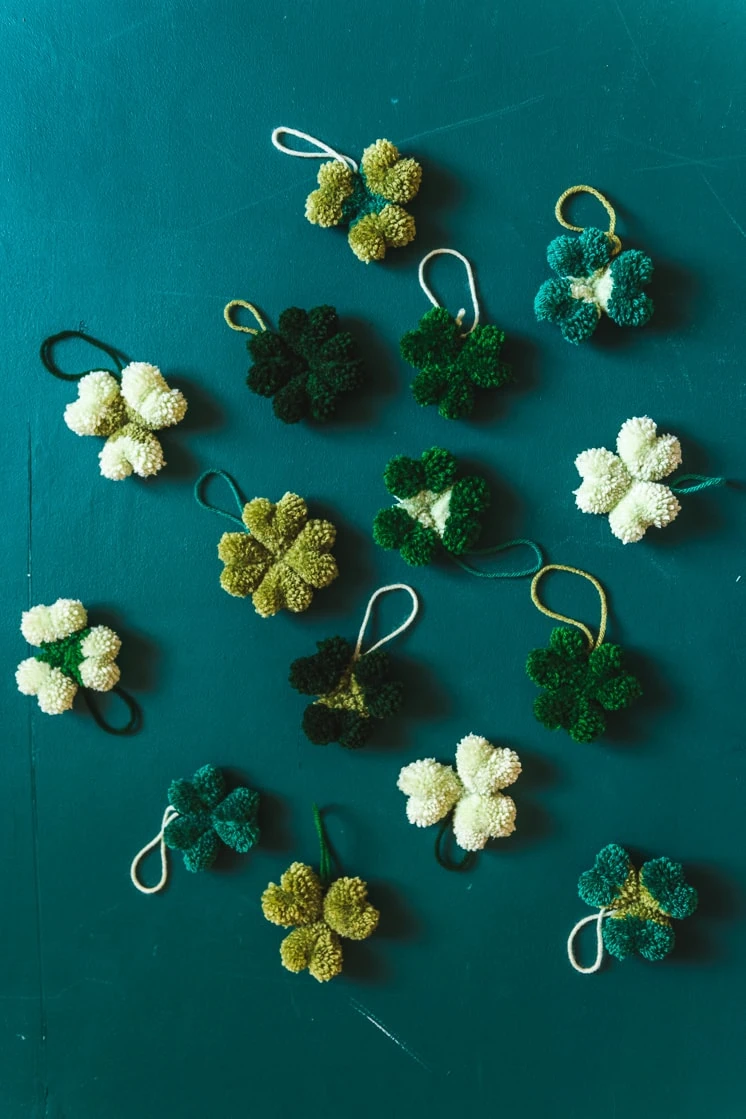
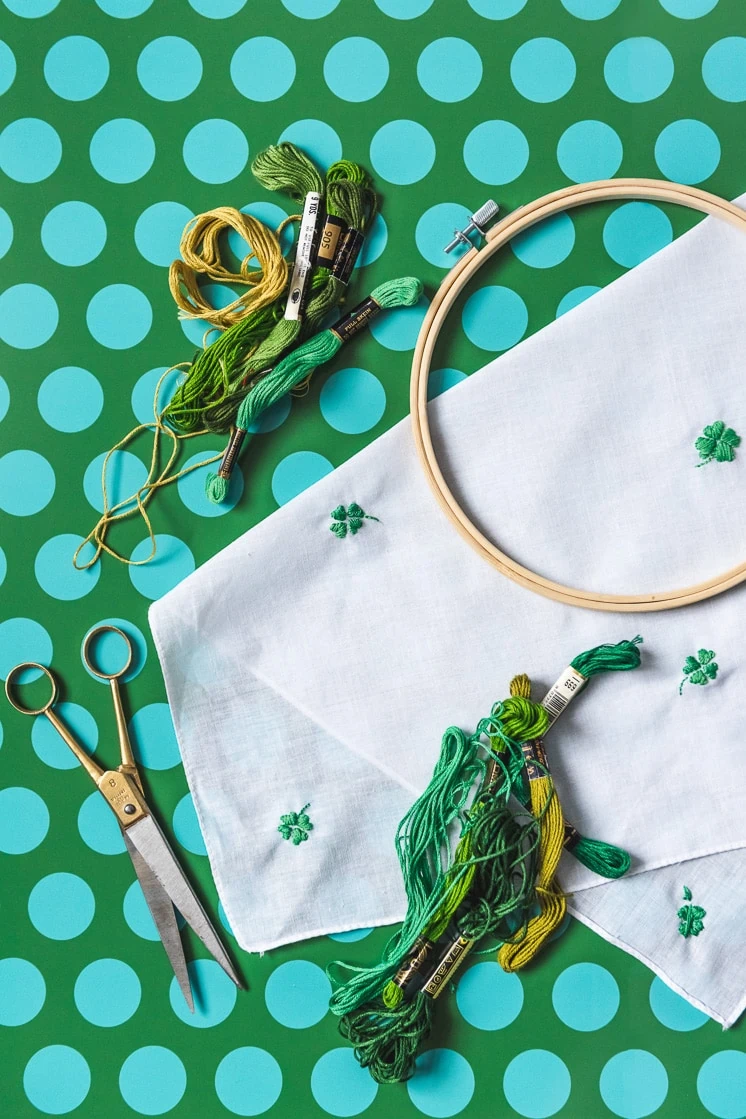
Other St. Patrick’s Day Craft Tutorials
In addition to our most popular St. Patrick’s Day craft tutorials above, you can also check out our Pinterest here for even more ideas!


