

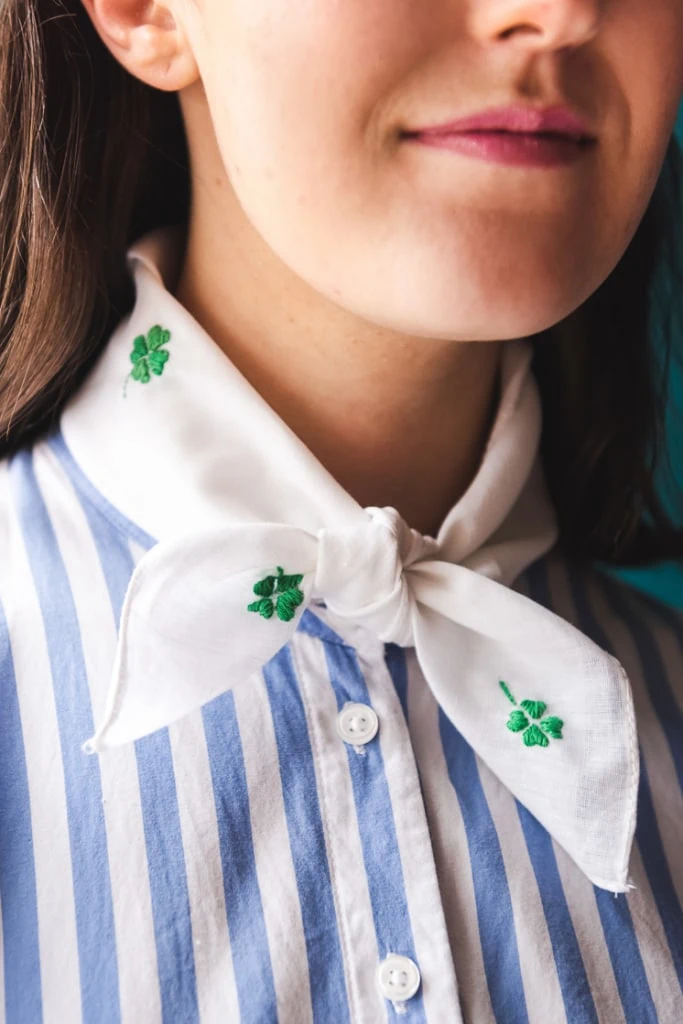
If you were worried about getting pinched this St. Patrick’s Day, let your fear disappear! We’ve turned “green” into the perfect theme for your St. Patty’s Day outfit this year with these awesome DIY Embroidered Shamrock Handkerchiefs! Tie them in your hair, around your neck, or on a loop of your jeans for the perfect shamrock accent piece. No pinches here! Download the pattern to make it extra easy, and you’ll learn how to embroider a shamrock, which we consider an essential life skill of course!
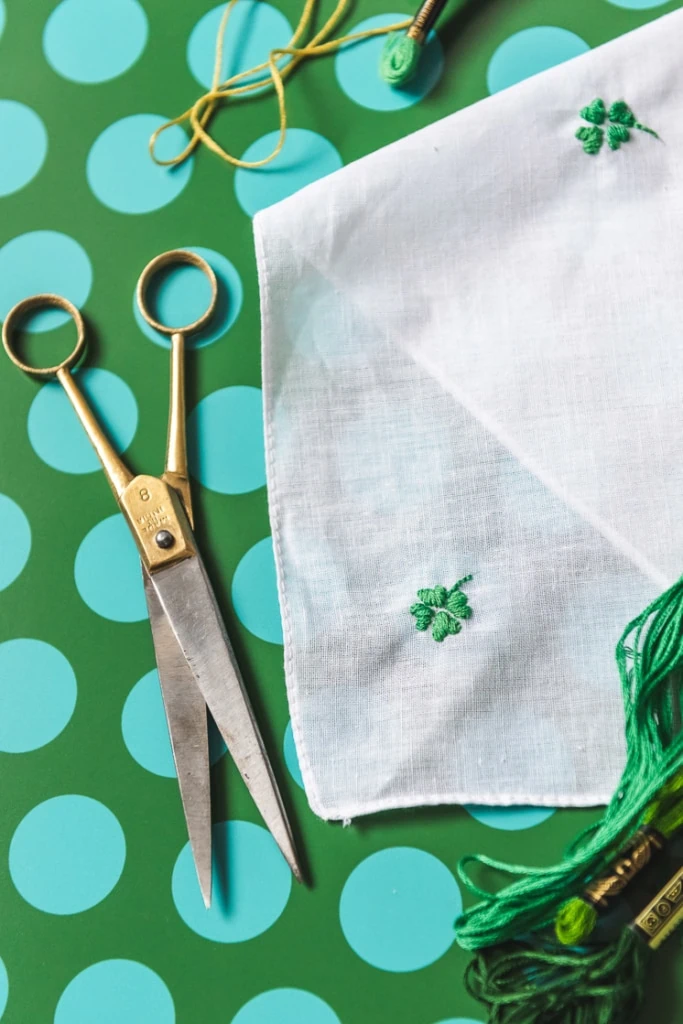
Materials:
DIY Embroidered Shamrock
If you’re a beginner to embroidery, check out the Lars embroidery guide for help. We’ll coach you through a handful of simple stitches that will elevate your embroidery into beautiful designs.
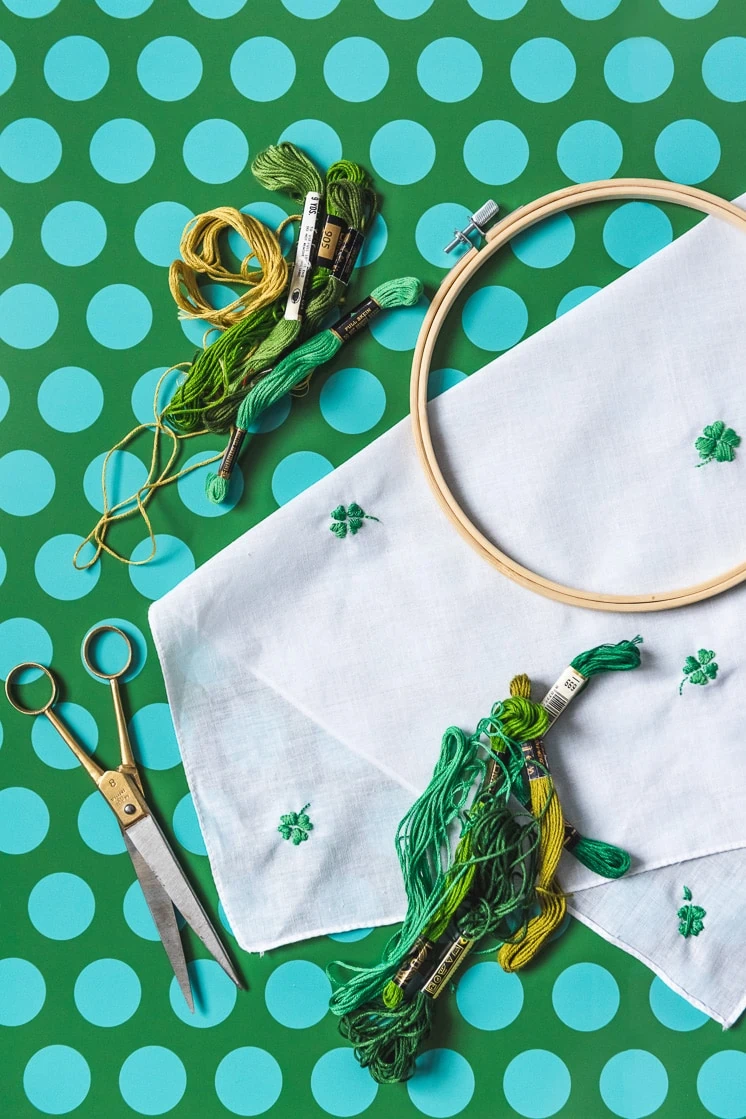
Materials:
see above
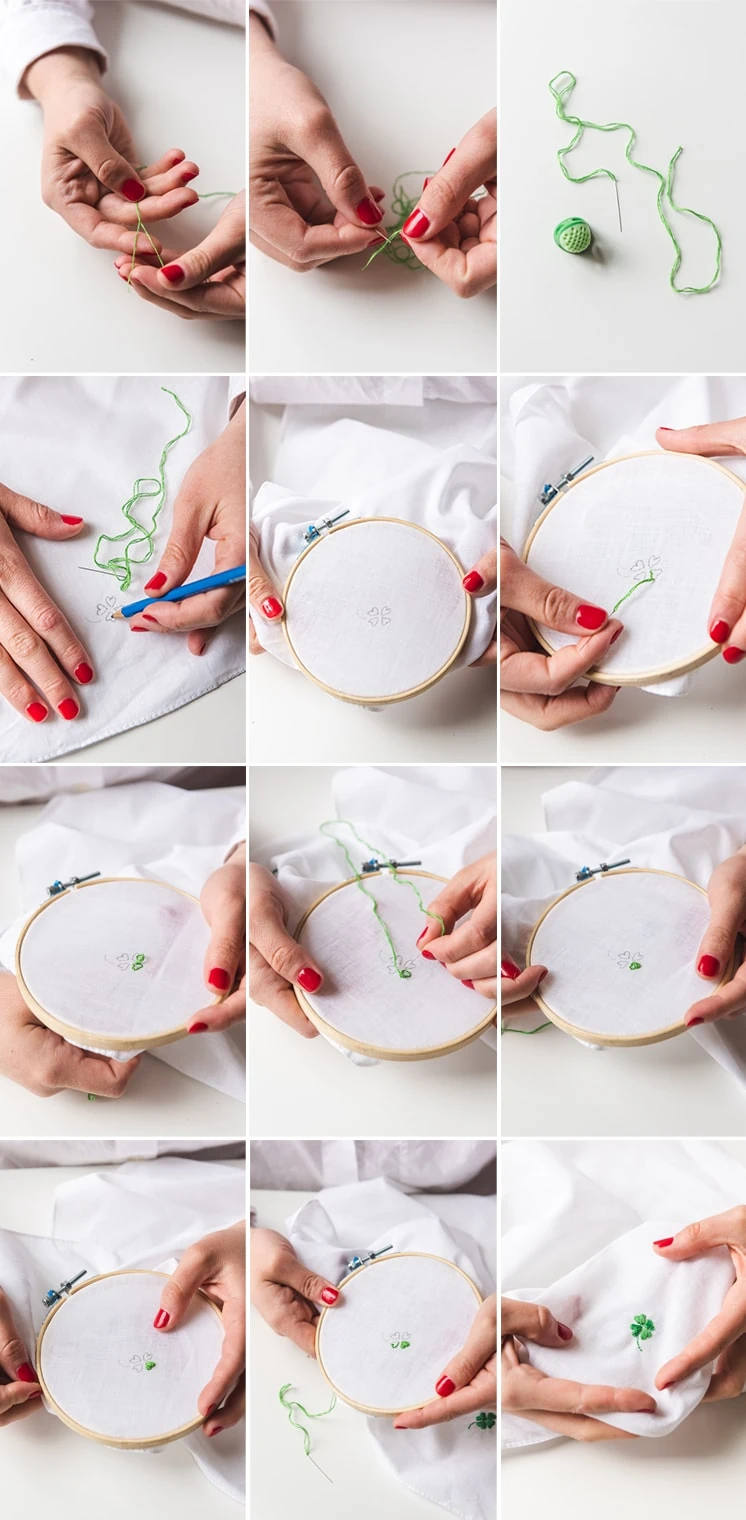
Directions:
- Separate out embroidery floss strands so you only have two stands. Keep the remaining strands.
- Thread your needle and then tie off the ends so that the thread is 4 thick.
- Use a simple backstitch to outline the leaves of the shamrock.
- Once outlined, use a satin stitch to fill in the leaves starting from middle of the leave and working outward. Once you have filled one half, return to the middle and fill the remaining half.
- Once your shamrock is embroidered, use a backstitch to embroider the stem.
- Tie off.


After you master the shamrock handkerchief, consider some other fun elements to add to your St. Patrick’s outfit, like our Rainbow Stripe Bangles or our favorite DIY Painted Shoes!
We can’t wait to see the way you are wearing green this coming St. Patricks day! Be sure to tag us with #luckylars!
Comments