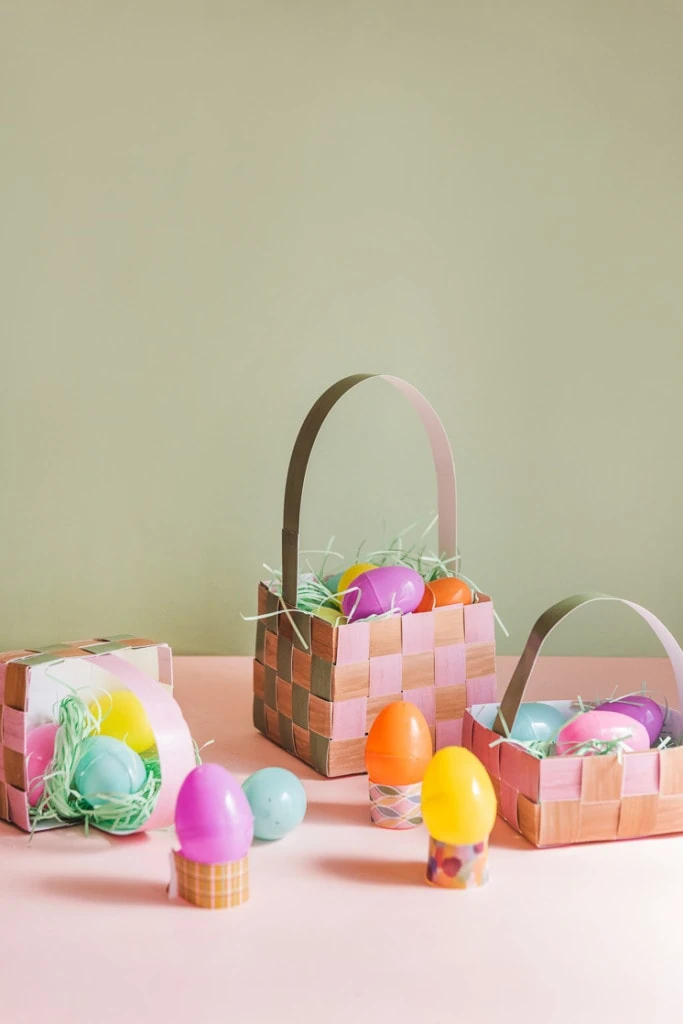
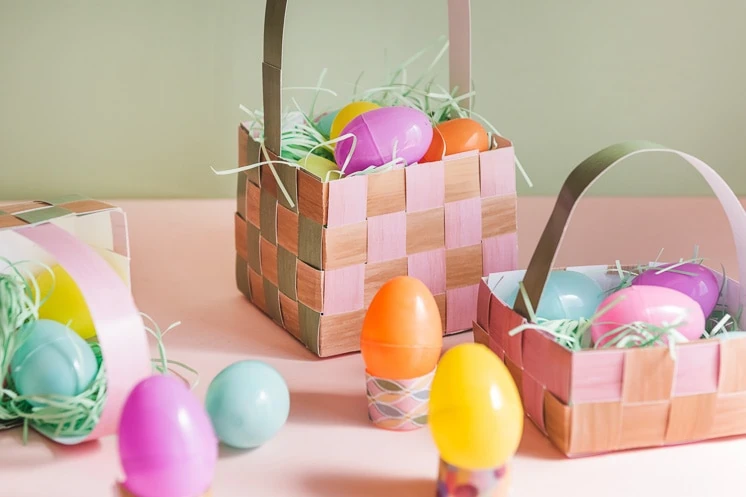
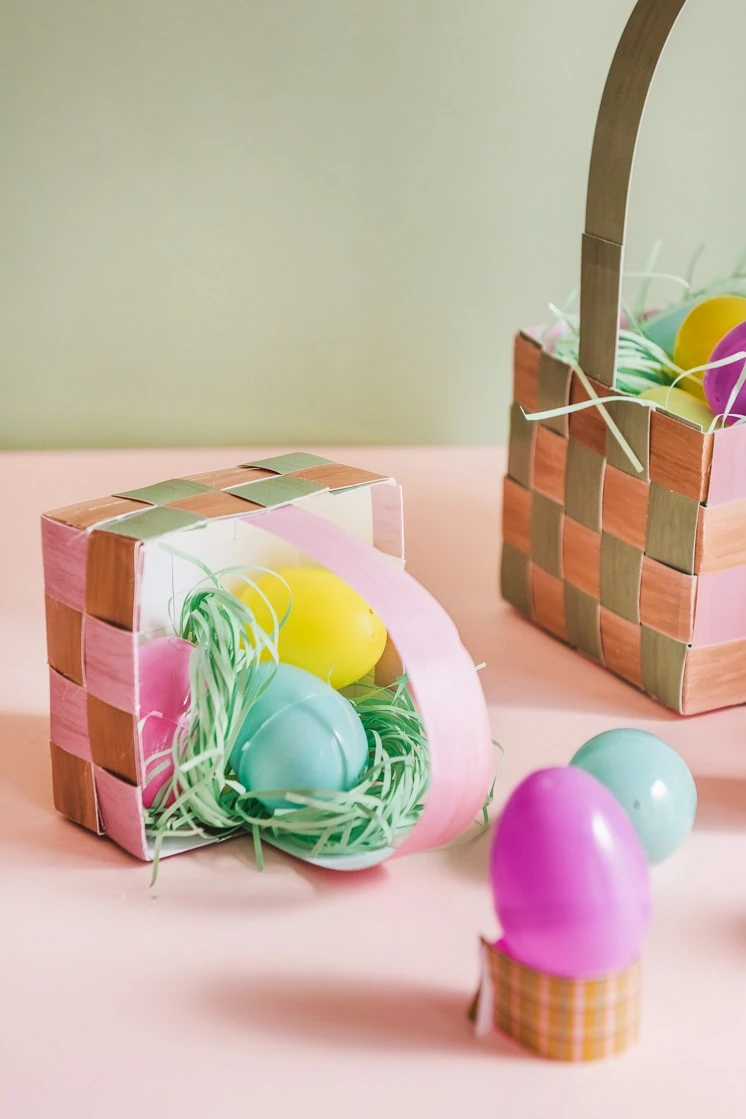
As we’re gearing up for Easter celebrations, we’ve come up with an Easter basket you can make for all the goodies you have been collecting. If you haven’t already, check out our Easter shop for tons of fun treats. The basket is not only cute and functional, it’s also a more sustainable and unique option for its recyclable nature. Check out our tutorial below to find out how to weave your own paper Easter basket!
Materials:
There’s no need to head out to a store to buy any Easter baskets this year, or ever! You can make one right at home, right now, without any special materials. As the title suggests, these paper Easter baskets only need paper. Print out of our woven basket pattern, grab some scissors and glue and you’re good to go! Once you have finished assembling your basket, fill it with all the goodies and treats. If you want to avoid scouring stores, head to our shop to find a variety of Easter goods for your kids to enjoy. Check them out here.
We love our paper Easter baskets! Not only do they involve the personal touch of being crafted by hand, they are recyclable! You can also teach your kids how to make the baskets and once they lose interest after Easter, you can either save them for next year or peel off the glue and toss them into the recycling bin without much guilt. No need to buy plastic baskets every year!
Be sure to use our tag #EasterWithLars to show us your Easter crafts!
Supplies
You’ll need our printable Easter basket pattern, scissors or a paper cutter, a glue gun, hot glue sticks, and fun Easter gifts to fill your basket!
Instructions
- Download and print the printable Easter basket pattern.
- Cut out your basket strips. The printable comes with lots of extra strips so you can make quite a large basket, but we had our best success when we sized ours down. We ended up using about 12 strips in each color for our best basket.
- Decide which colors you want on the bottom of the basket. We used green and pink on the bottom, then wove them together with the natural wood color on the sides.
- Glue your strips together (unless you want to make a tiny basket, which is a valid, very cute choice that we wholeheartedly respect)! Making sure that they are lined up straight, put a line of hot glue along the short end of one basket strip. Firmly press another strip of the same color down, forming one long strip.
- Repeat step 4 with your other strips. We made 5 long strips each in green and pink and 4 long strips in brown, and set a few single-length strips aside for later.
- Weave together the strips that will form the bottom of your basket. Make sure that they are lined up neatly and centered.
- Secure the overlapping corner strips together with a dot of glue.
- Flip your weaving over so the blank side is up. Fold the strips up so that they can form the sides of the basket.
- Take one of your side strips (ours are brown) and fold it over itself close to where you glued the two shorter pieces together. This makes a basket corner.
- Place the corner you just made a the corner of your basket base and weave it through the colored strips. It can help to secure the side strips with a dot of hot glue here and there.
- Fold the brown side strip again when you reach the end of the basket, and weave it through the strips on the other side.
- You will likely need to add more length to the brown side strip in order for it to wrap all the way around. If your side strip isn’t reaching all the way around, simply cut a piece of one of your leftover strips (remember when we set some aside in step 5?) and glue it onto the strap.
- When you have woven all the way around the base of the basket, glue the ends of the side strip together where they meet. Congratulations! You just made it through the hardest part!
- Repeat steps 9-13 a few times until your basket reaches your desired height, making sure to weave your strips with an alternating over-under pattern.
- When you have reached your desired height, glue the top side strip to each of the colored vertical strips.
- To form a handle, glue the short ends of one of your extra strips to the matching colored vertical strips that are centered on the basket.
- Trim any excess paper from the colored vertical strips you didn’t use for the handle.
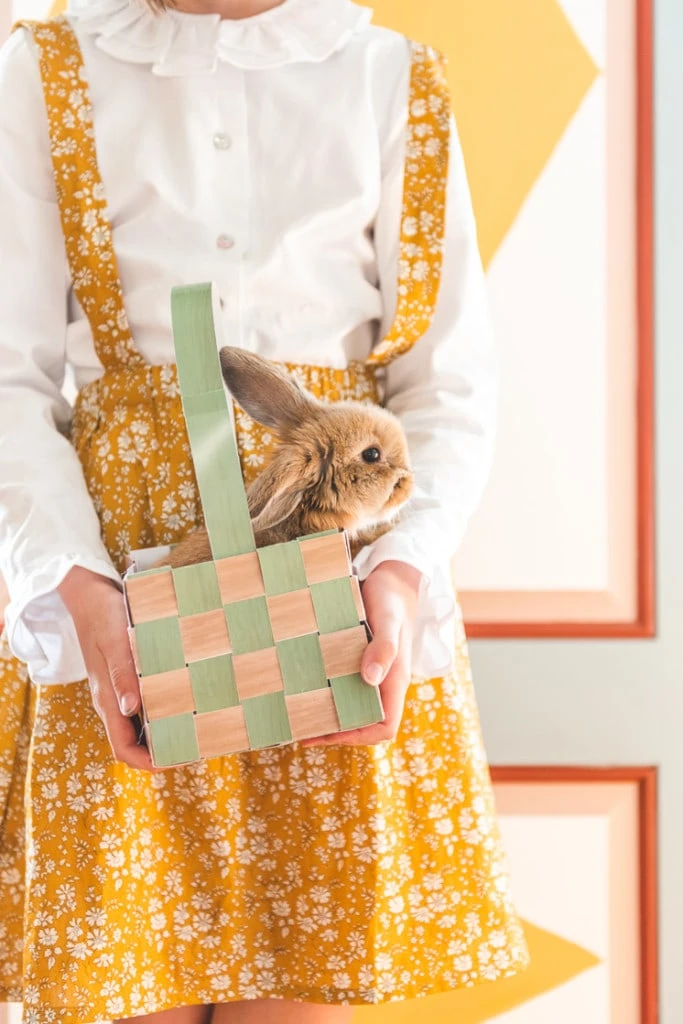
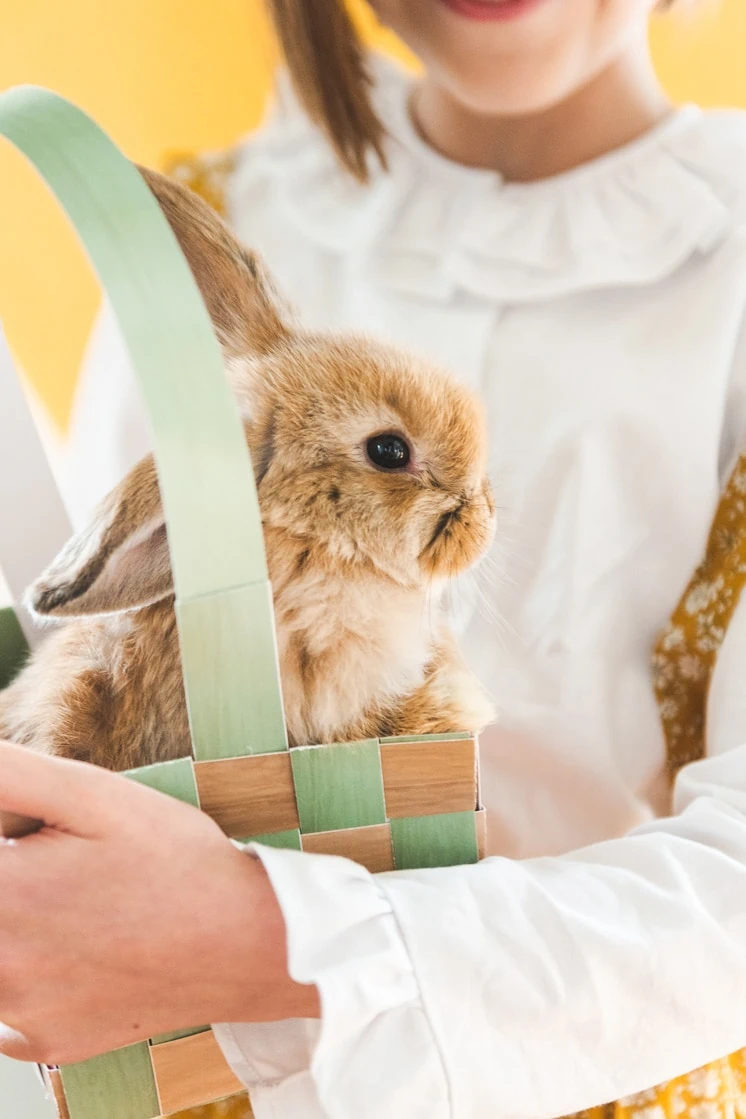
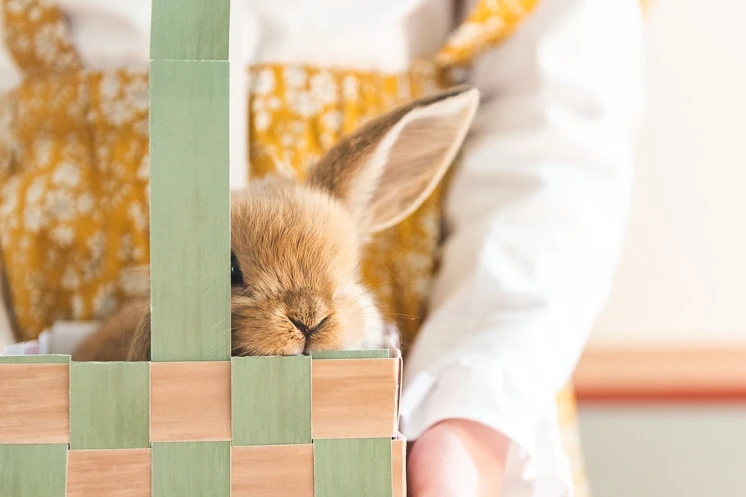
- Fill your basket with Easter treats and enjoy! (Also, please be extremely careful when using this basket as bunny transportation. We highly recommend holding it from the base as pictured.) 😉



Comments