This spring we teamed up with Rust-Oleum to finish our garage floor with their epoxy, and the results are amazing. Best of all, DIY epoxy is totally doable! We learned a lot (and cut way down on costs!) by epoxying the floors ourselves. Learn from our process so you, too can DIY a durable, modern, easy-to-maintain garage floor!
Check out these other home renovations, then read the tutorial below:
Design your ideal home office
Felix’s New Nursery
Everything we’ve done to our home in the last year
Brittany’s new rainbow office
Designing our main bathroom
When we moved into our home, our garage definitely became a dumping ground for all our “I’ll get to it later” things. Getting it in shape was the last thing on our mind as we prepped for baby and settled in. I mean, I dreamed of an organized, comfortable garage, but it definitely wasn’t a priority, you know what I mean? We needed a working toilet and a kitchen faucet. However, as luck would have it, Rust-Oleum reached out and asked if we’d be interested in using their products to create a DIY epoxy garage floor. Oooo, now that’s tempting!
DIY Epoxy garage floor
So, we readjusted our “to-do” list and added epoxy garage floor to the top of the list. I’ve seen epoxied garages at friends’ houses, but after finding out the pricing to have professionals come do it, I realized it wasn’t something I wanted to spend my money on. (Well, we ended up doing it to our studio floors in pink here, but that’s a story for another day).
Turns out, you can DIY it, which is always music to my ears (though I’m sure not to my team’s 😉 and today we’re going to share how it went.
Here’s everything we used to do it:
Step 1: Storage
First thing was to get all of our stuff out of the garage. Because it was springtime in Utah, we decided to rent a storage pod to put our stuff in in case it rained. We were charged a fee to deliver it to our house, a fee for a month, and a fee to remove it. I want to say it was like $300 total or something like that, which was worth it for us because we didn’t want to live in our junk for that time. The whole process ended up taking longer than expected for a few reasons, which we’ll mention so I’m so glad we did it.
Remember, the cost of having it done professionally is exponentially greater. I’m thinking like $3-7k depending on where you live.
Step 2: Clean the floor
Once everything was out, we could really see just how dirty our garage had gotten. With pressure hoses, leaf blowers, and brooms we were able to get all the debris out. Another once over with the pressure hose and we were golden. (We used this one HERE)
Step 3: Degrease
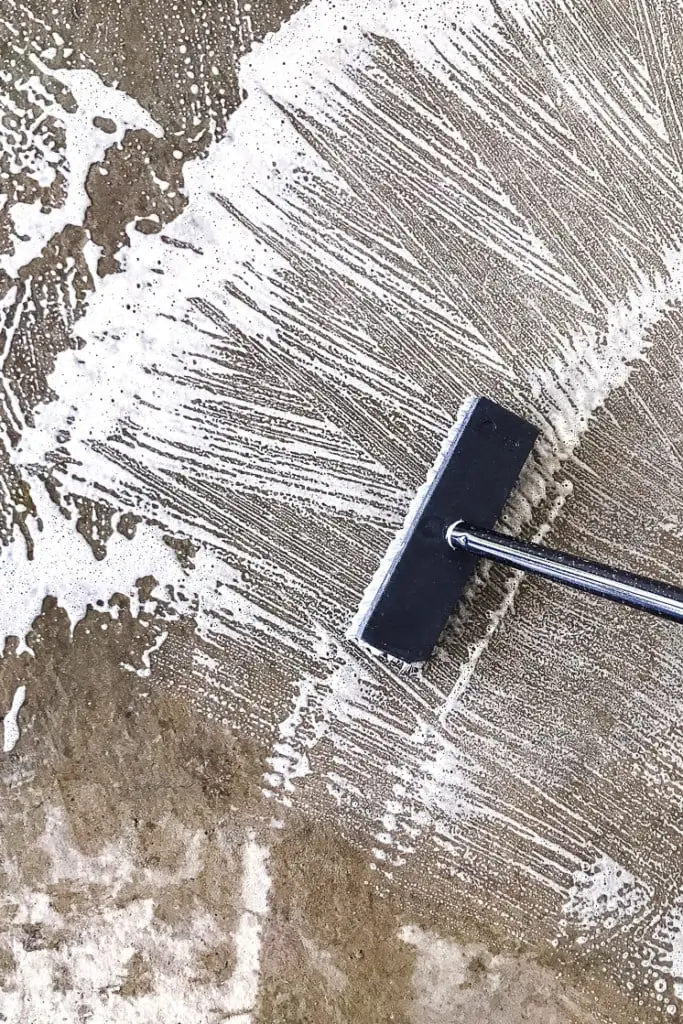
When you DIY epoxy you need a clean surface, so the next step was to get the degreaser and scrub scrub scrub. You have to let it sit on wet concrete and keep it wet. A little bit of misting from the hose worked well. A deck scrub brush was the best to really get any oil and grease stains out of the concrete. Once it was all scrubbed, it was time to get the pressure hose out once again.
Step 4: Rinse
After a thorough rinsing to make sure there were no more suds from the degreaser, it was time to let it dry. We used my old landlord’s (you know the one who is basically our dad now) fans (he’s a carpet cleaner) and it dried the garage quickly.
Step 5: Prime
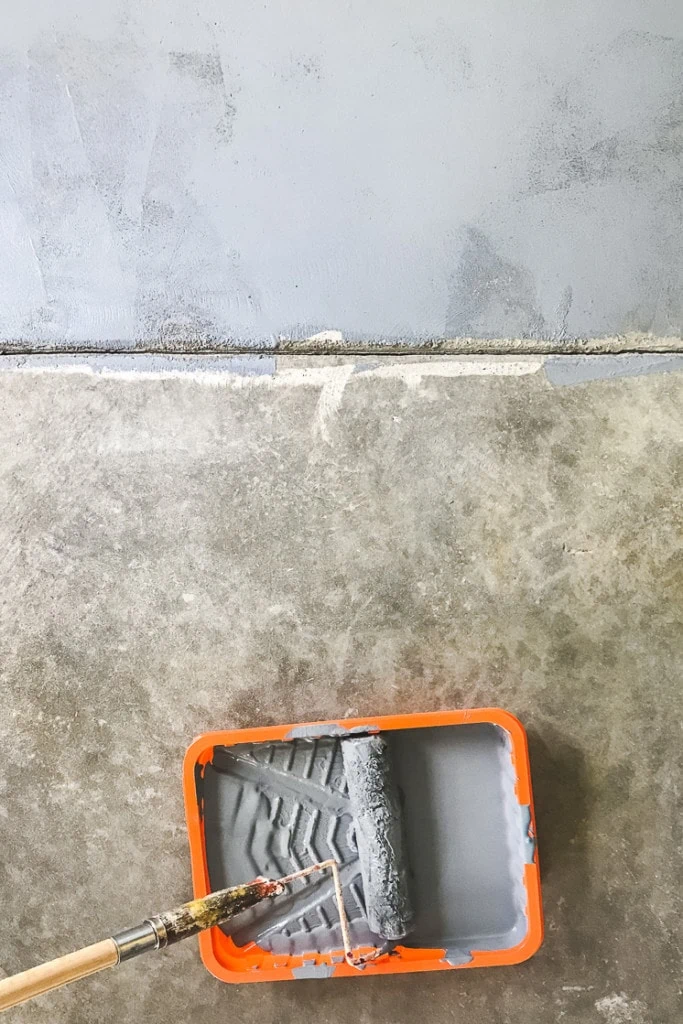
Then it was time to prime. The tricky part about the primer and epoxy in the next step is that we had to wait for the temperature to get higher. The product requires a temperature of 60 degrees or higher and it just happened to get cold that week so it delayed the whole process by a few days. Once it got warmer, we painted the stairs and all around the edges where the floor met the wall. Next we filled it in. Paint roller extenders will be your best friend for this part. You can get your whole garage painted in less than an hour with the extenders.
Step 6: Epoxy
Once we let that dry, it was time to paint the epoxy. We had the choice between grey and tan and I chose tan, but later found out that everyone else had secretly voted for grey. Ha! When in doubt I’ll always go for the warmer color.
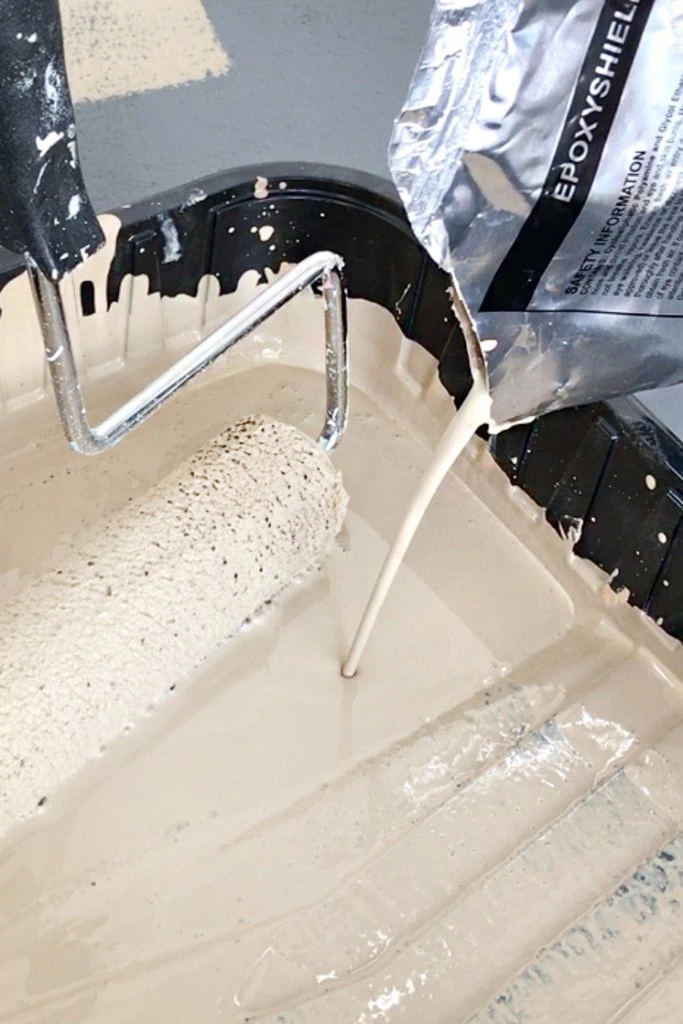
After carefully following the mixing instructions, we also hand painted the stairs and edges again before grabbing the paint rollers. Once we did, however, we had to work in small squares (roughly 7’x7’). While the paint was still wet, we sprinkled colored vinyl chips (included with the epoxy) all over before moving onto the next section, which gives it the appearance of terrazzo but honestly, is great for amateurs because it’s hard to get a great clean finish with epoxy. Once the whole garage was done and dried, time to do the same thing with a top coat. Edges, middle, dry, check.
Step 7: Wait!
After 3 days, you’re good to move your car and heavy items back in. Voila!
What we learned
The DIY epoxy garage floor turned out SO MUCH BETTER than I could have imagined and though I know it’s an unsexy project, it added a level of comfort and dare I say luxury to our space. I feel WAY more comfortable walking on it barefoot to grab a drink in our beverage fridge or taking out the stroller.
Here’s the thing I will say–the process was LONG! Because of the drying times for water and the primer and epoxy along with the temperature dipping, what we thought would be a week turned into three. We had a pod full of lots of our stuff on our driveway for that time. It wasn’t comfortable, but that’s just how it goes! Do it when the weather is awesome and you’ll have a much better experience.
Ok, happy to address any questions you have! This is certainly DOABLE and it totally increased my confidence in tackling more home renovation projects, which, as I’ve mentioned, is not always my forte. I’m much more comfortable with paper flowers. 😉
Check out our video explaining our process!


Comments