-Working with Meta to design it
-cutouts
-painting
-sanding
-installing
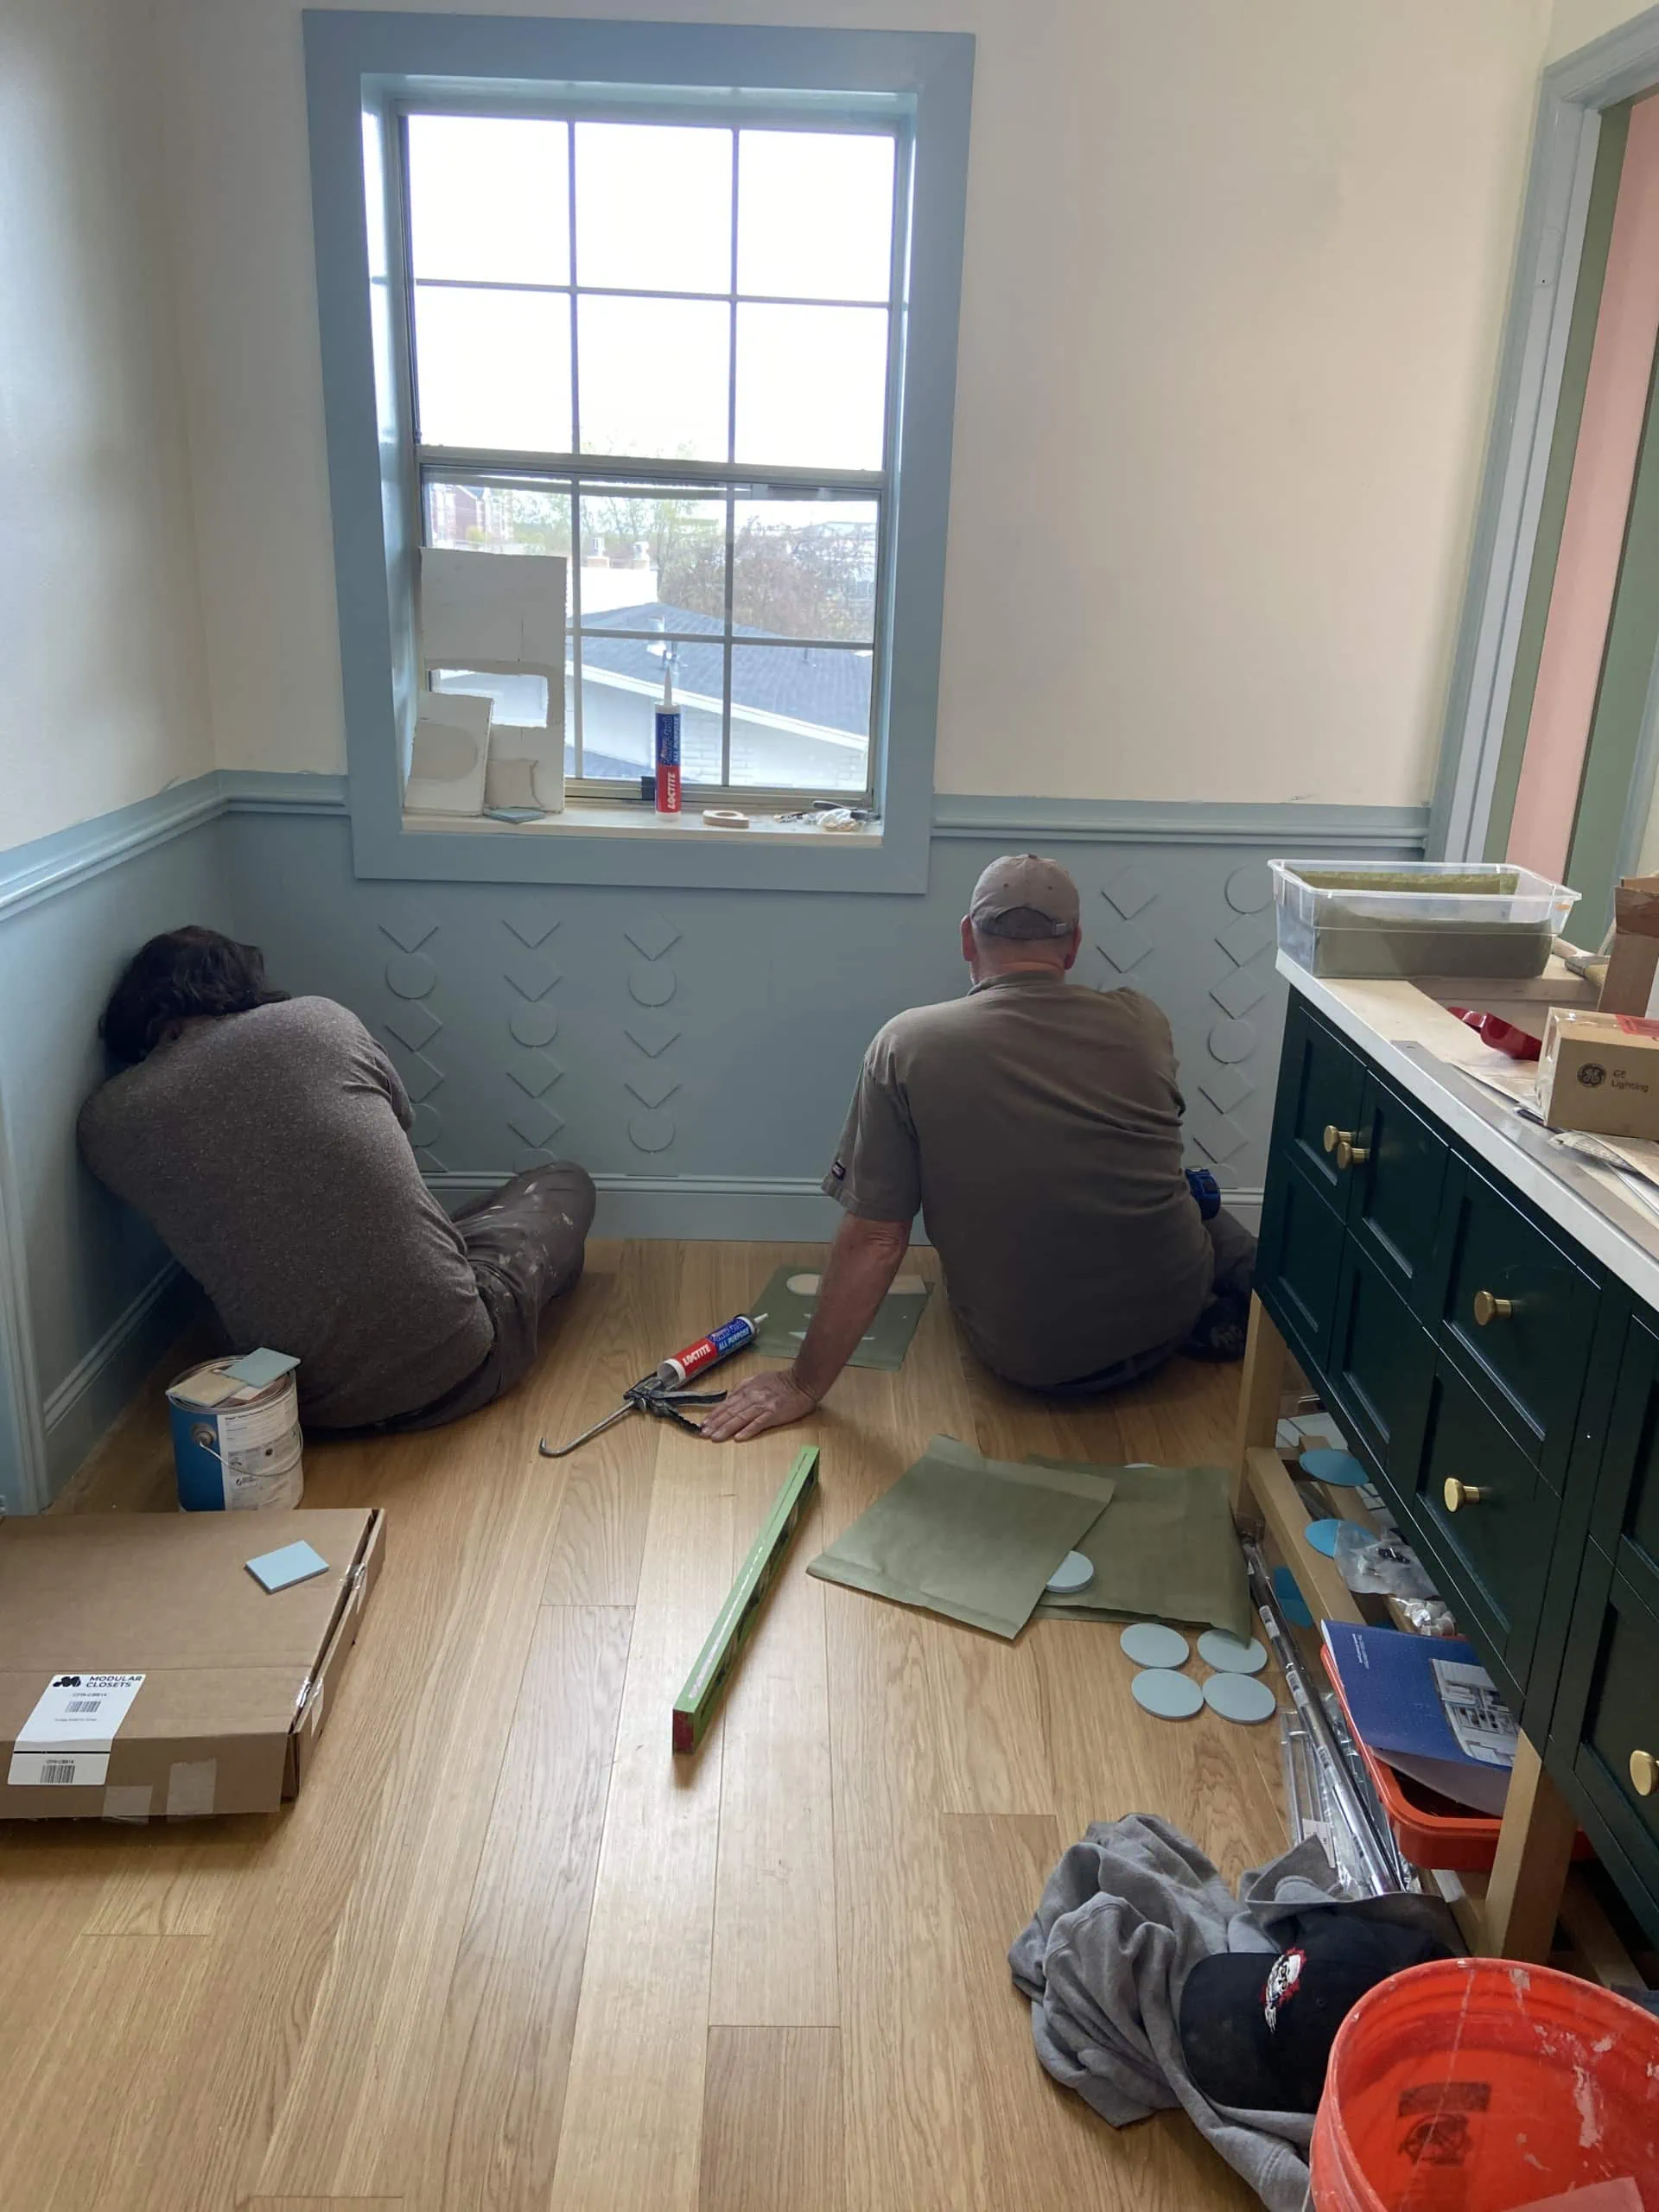
-thanks to our installers
-installing top part
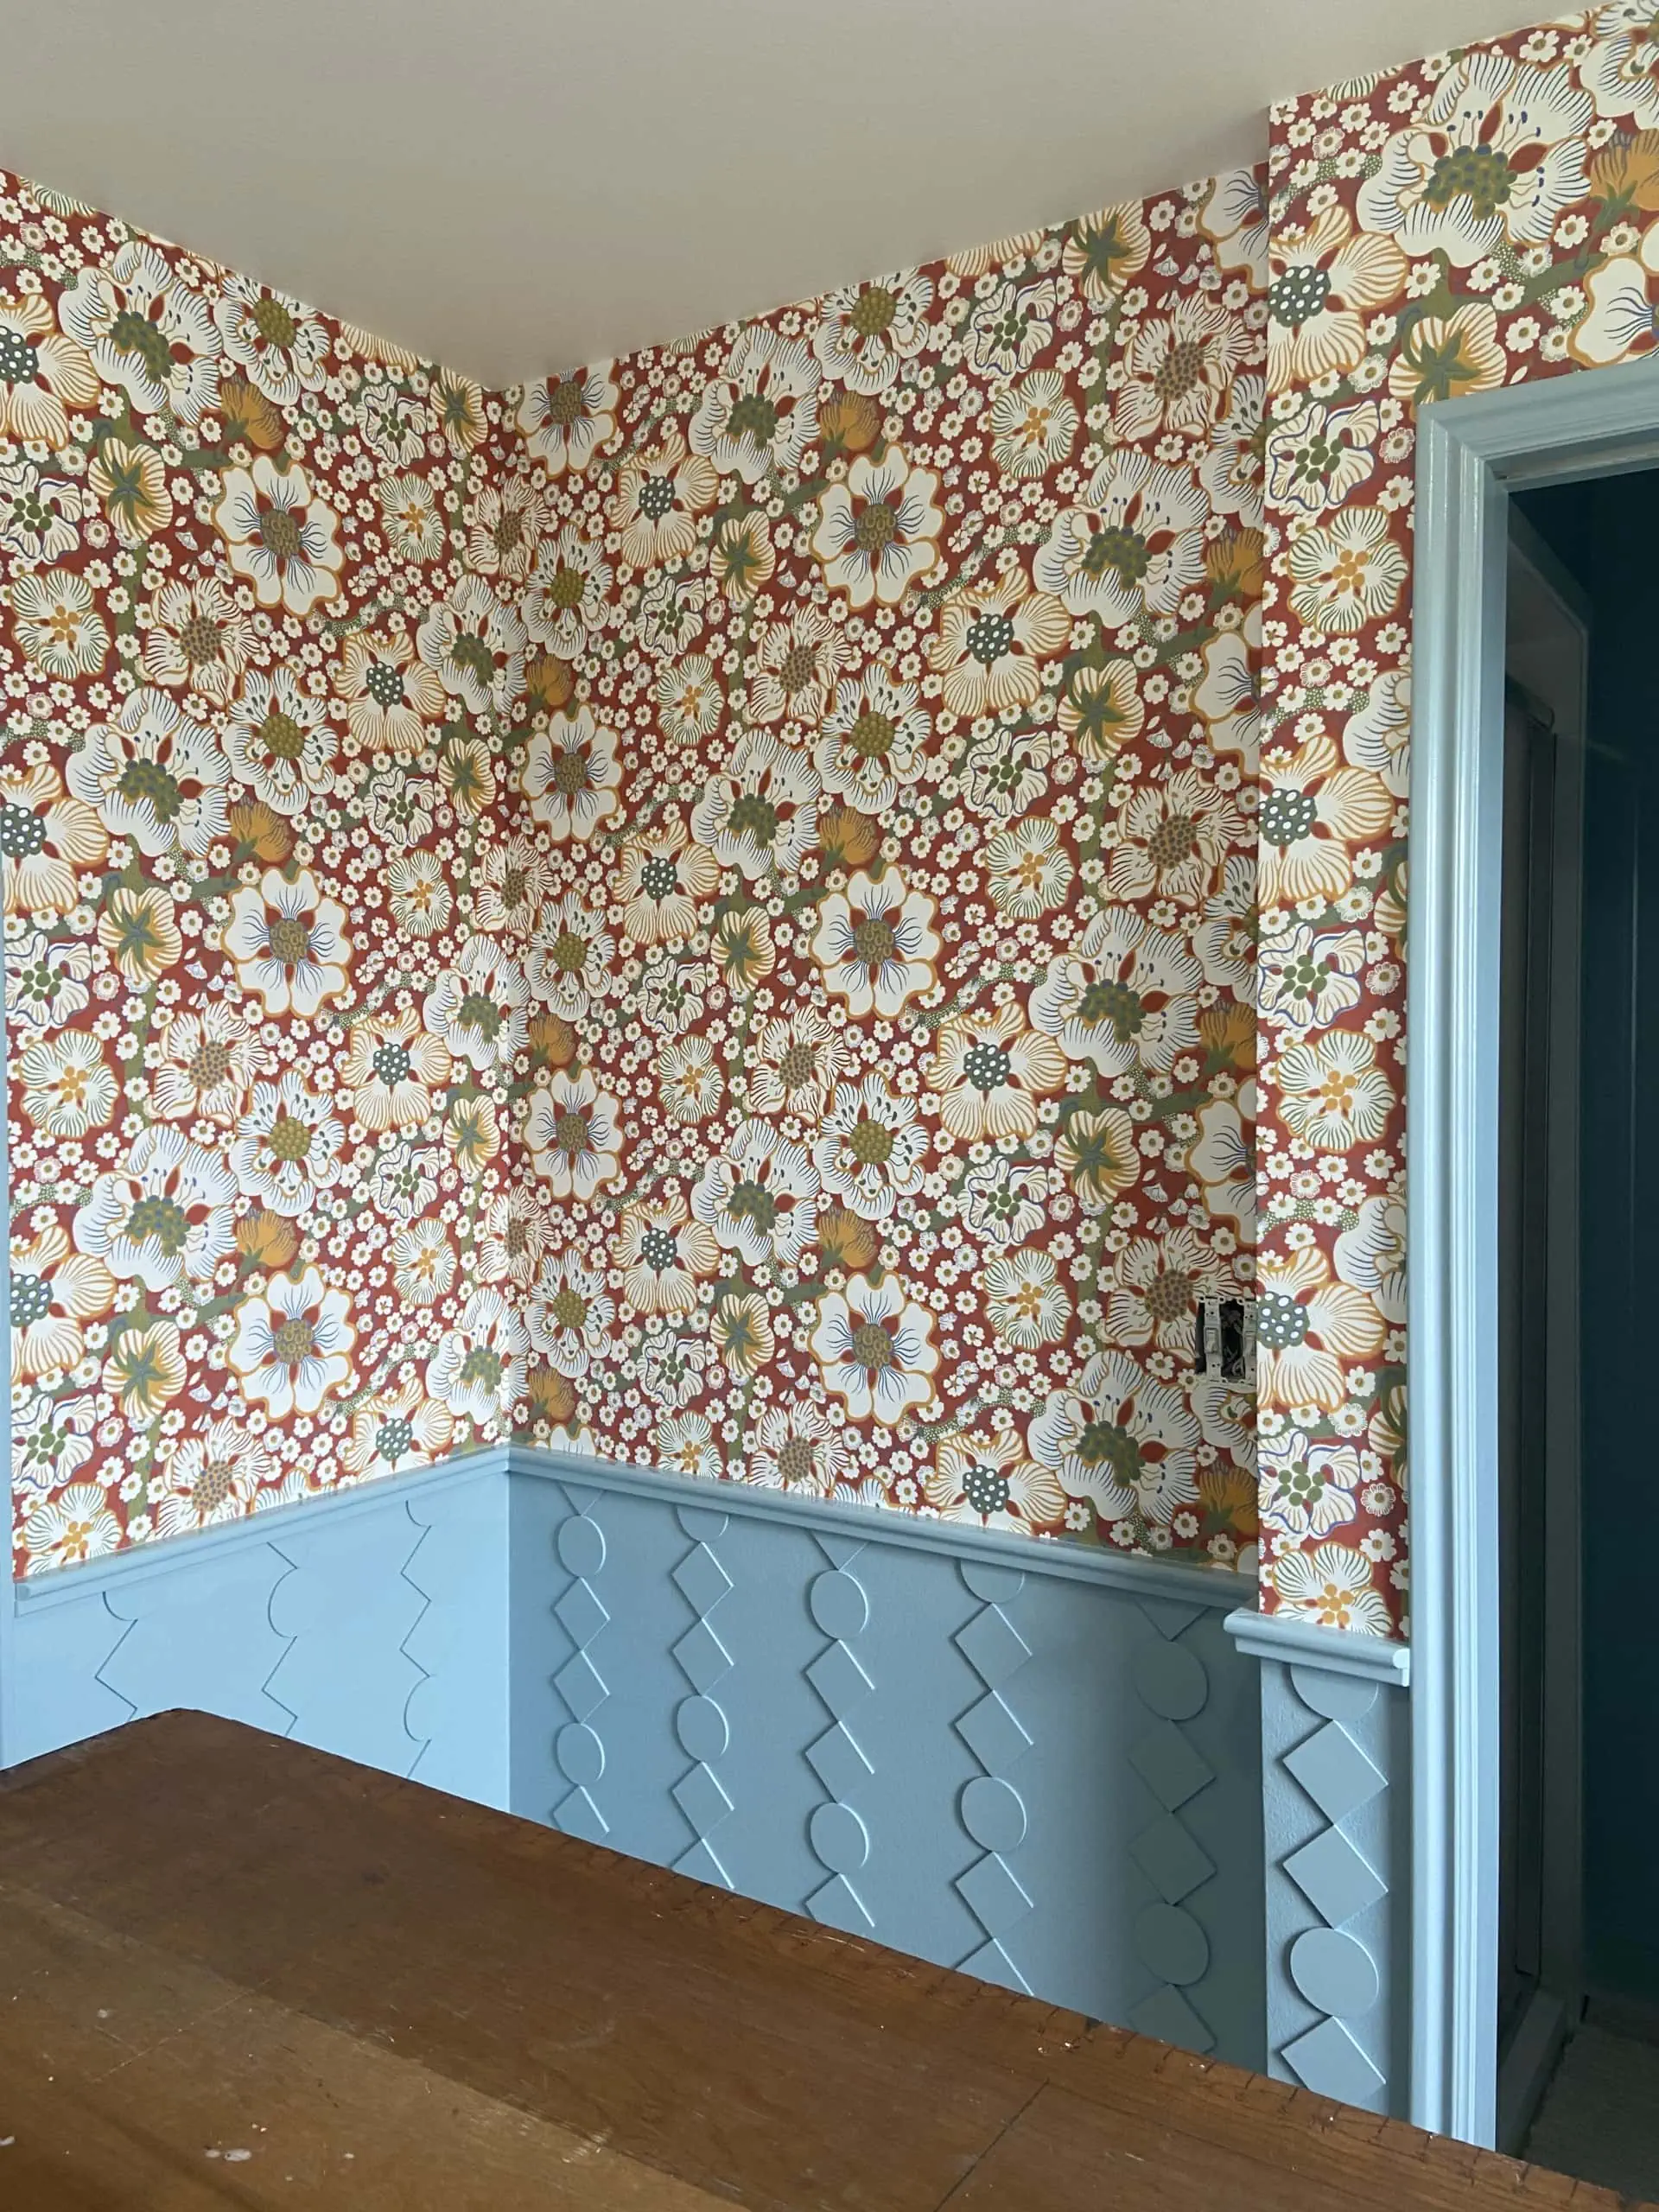
-then the wallpaper
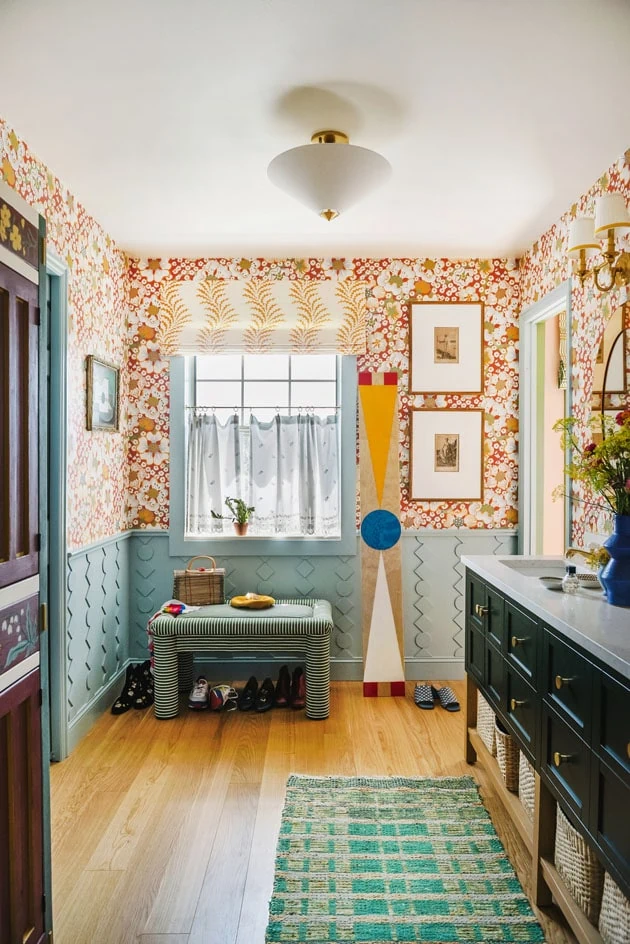
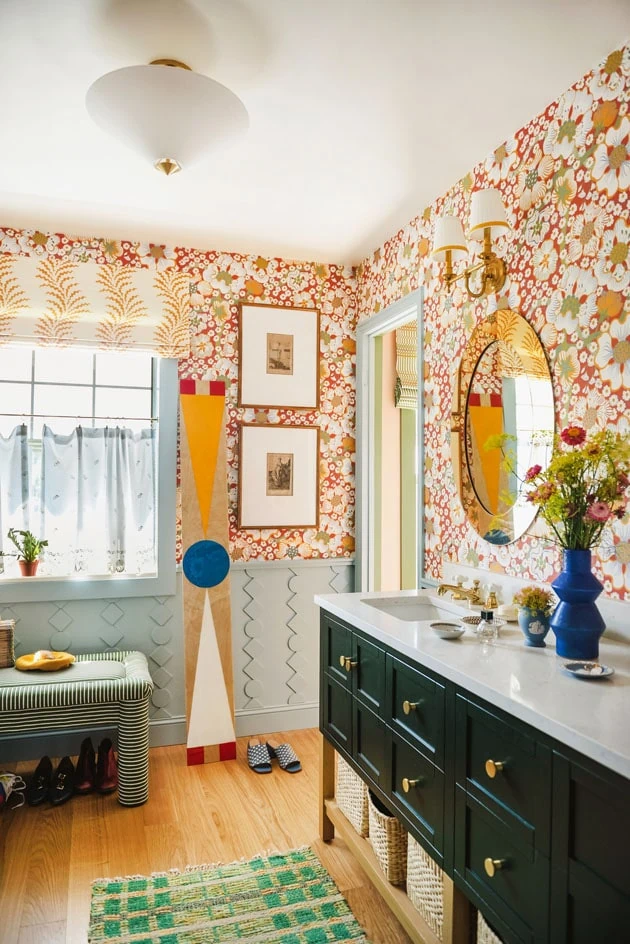
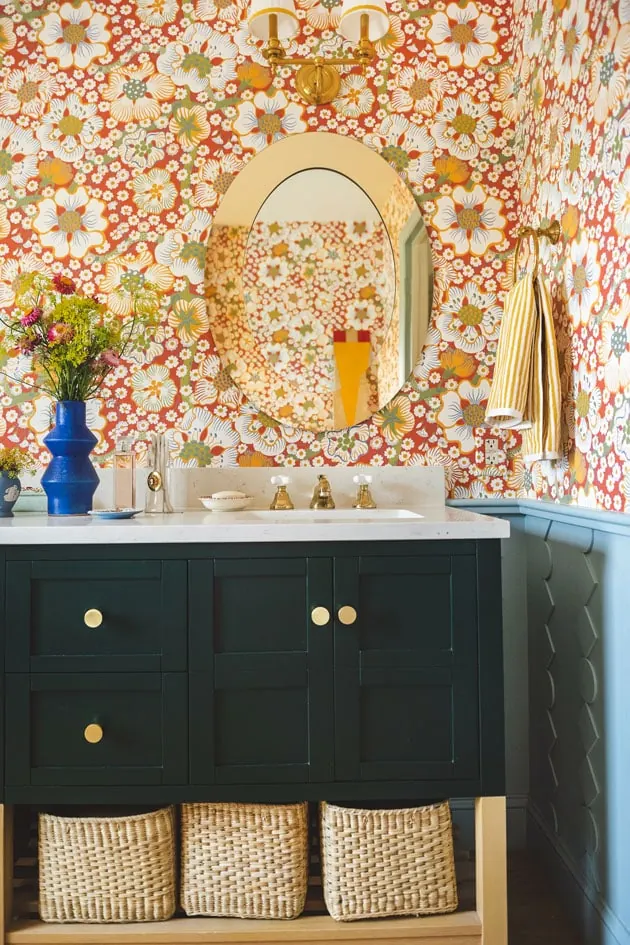
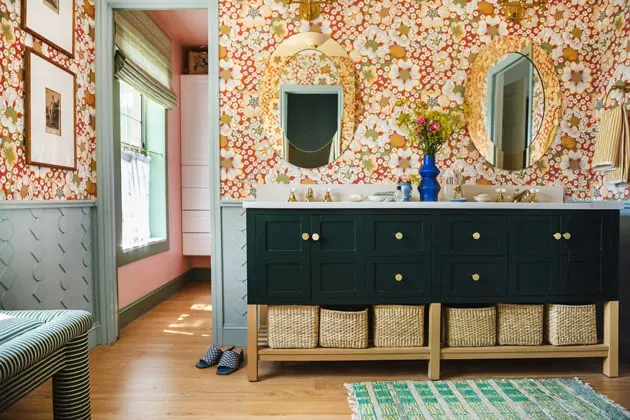
Last week I showed you my full bathroom remodel reveal and I promised I’d share more about one of the biggest parts of the remodel: the DIY circle and square wainscoting.
Like every DIY, it ended up being a lot more work than I originally thought. That’s pretty much the story of my life, though, so I don’t mind! I love the way it turned out, and I hope I inspire you to DIY some structural changes in your space, too!
The inspiration for my DIY wainscoting came from a picture that my friend, interior designer, Meta Coleman, saw of a door frame in Paris. You can see it in the collage below (bottom right). She presented the idea to me in her mood board below: and though I didn’t totally get it at first, I never saw no to Meta. I say yes and then I figure it out!
You can DIY wainscoting, too!
Look. I know that any time a room remodel starts means bringing out the power tools a lot of you probably sigh and put the project on the shelf. DIY wainscoting is pretty involved, and it can seem overwhelming! Fear not, though, because I’m here to show you that it’s actually totally doable.
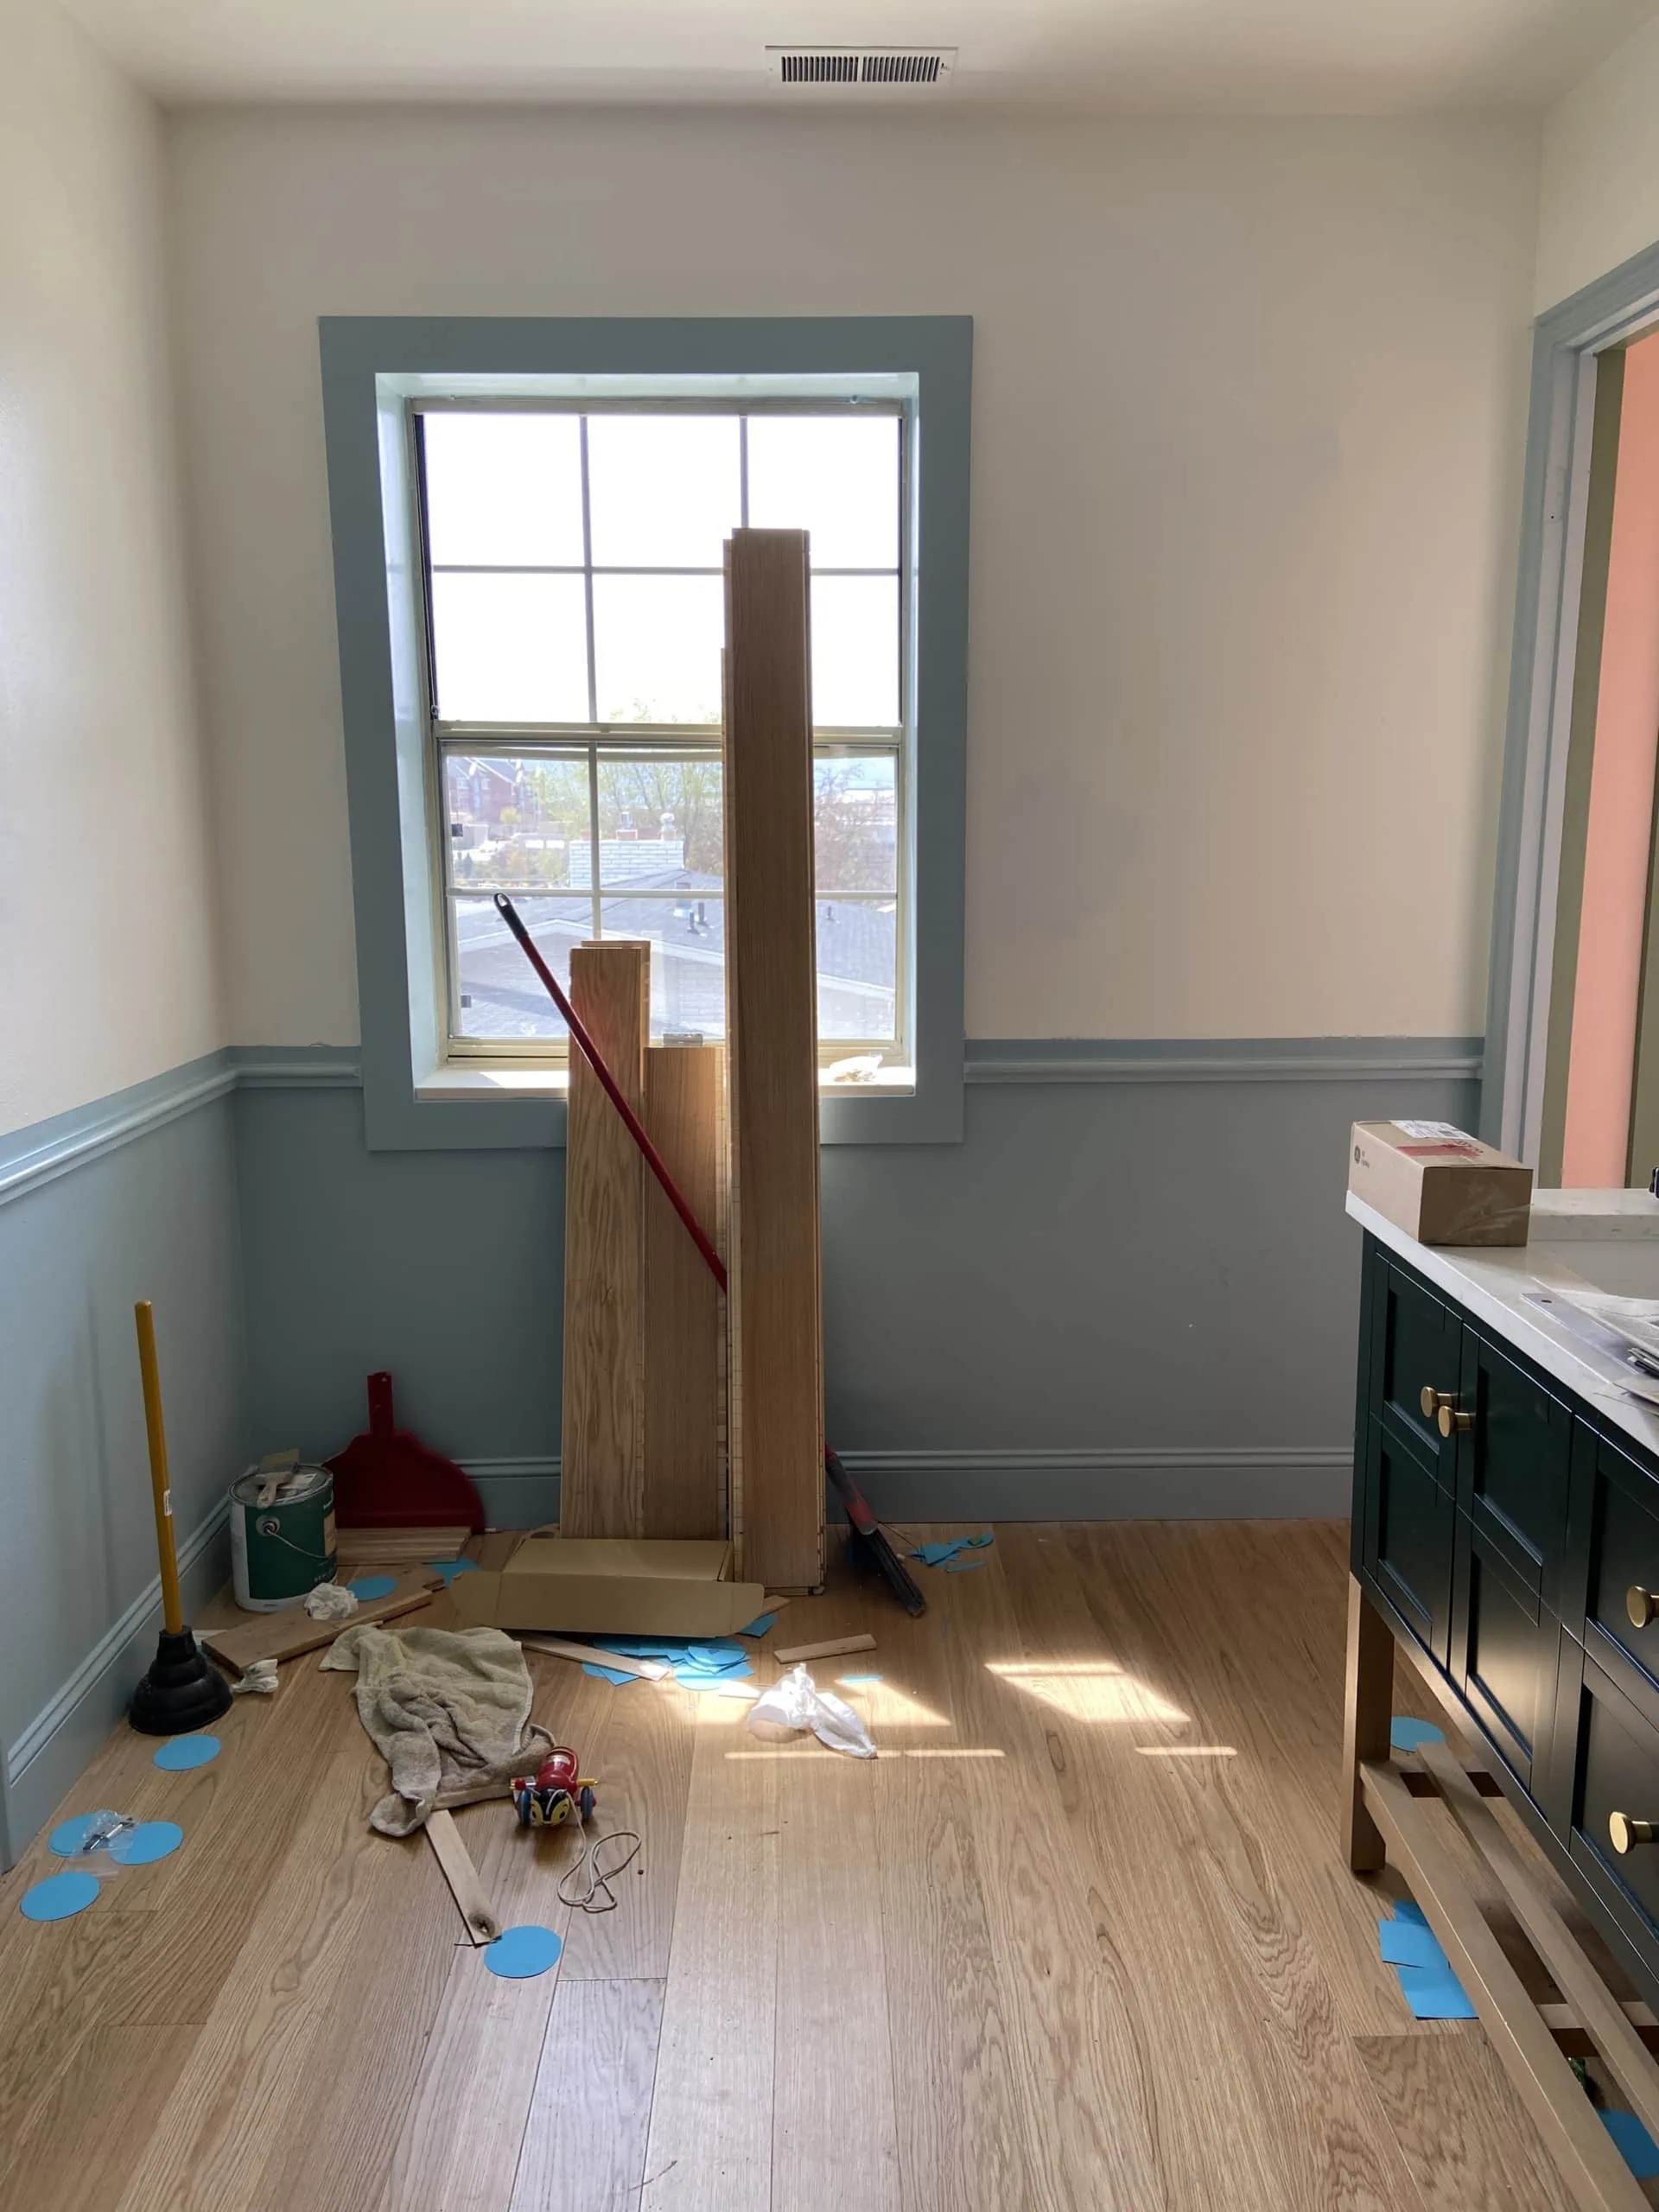
The first step in our remodel was the flooring, which we got from Stuga Studios. I mention it here because it made a HUGE difference in our space, which was truly unfinished. Being able to walk through your house without shoes on makes a big, big difference!
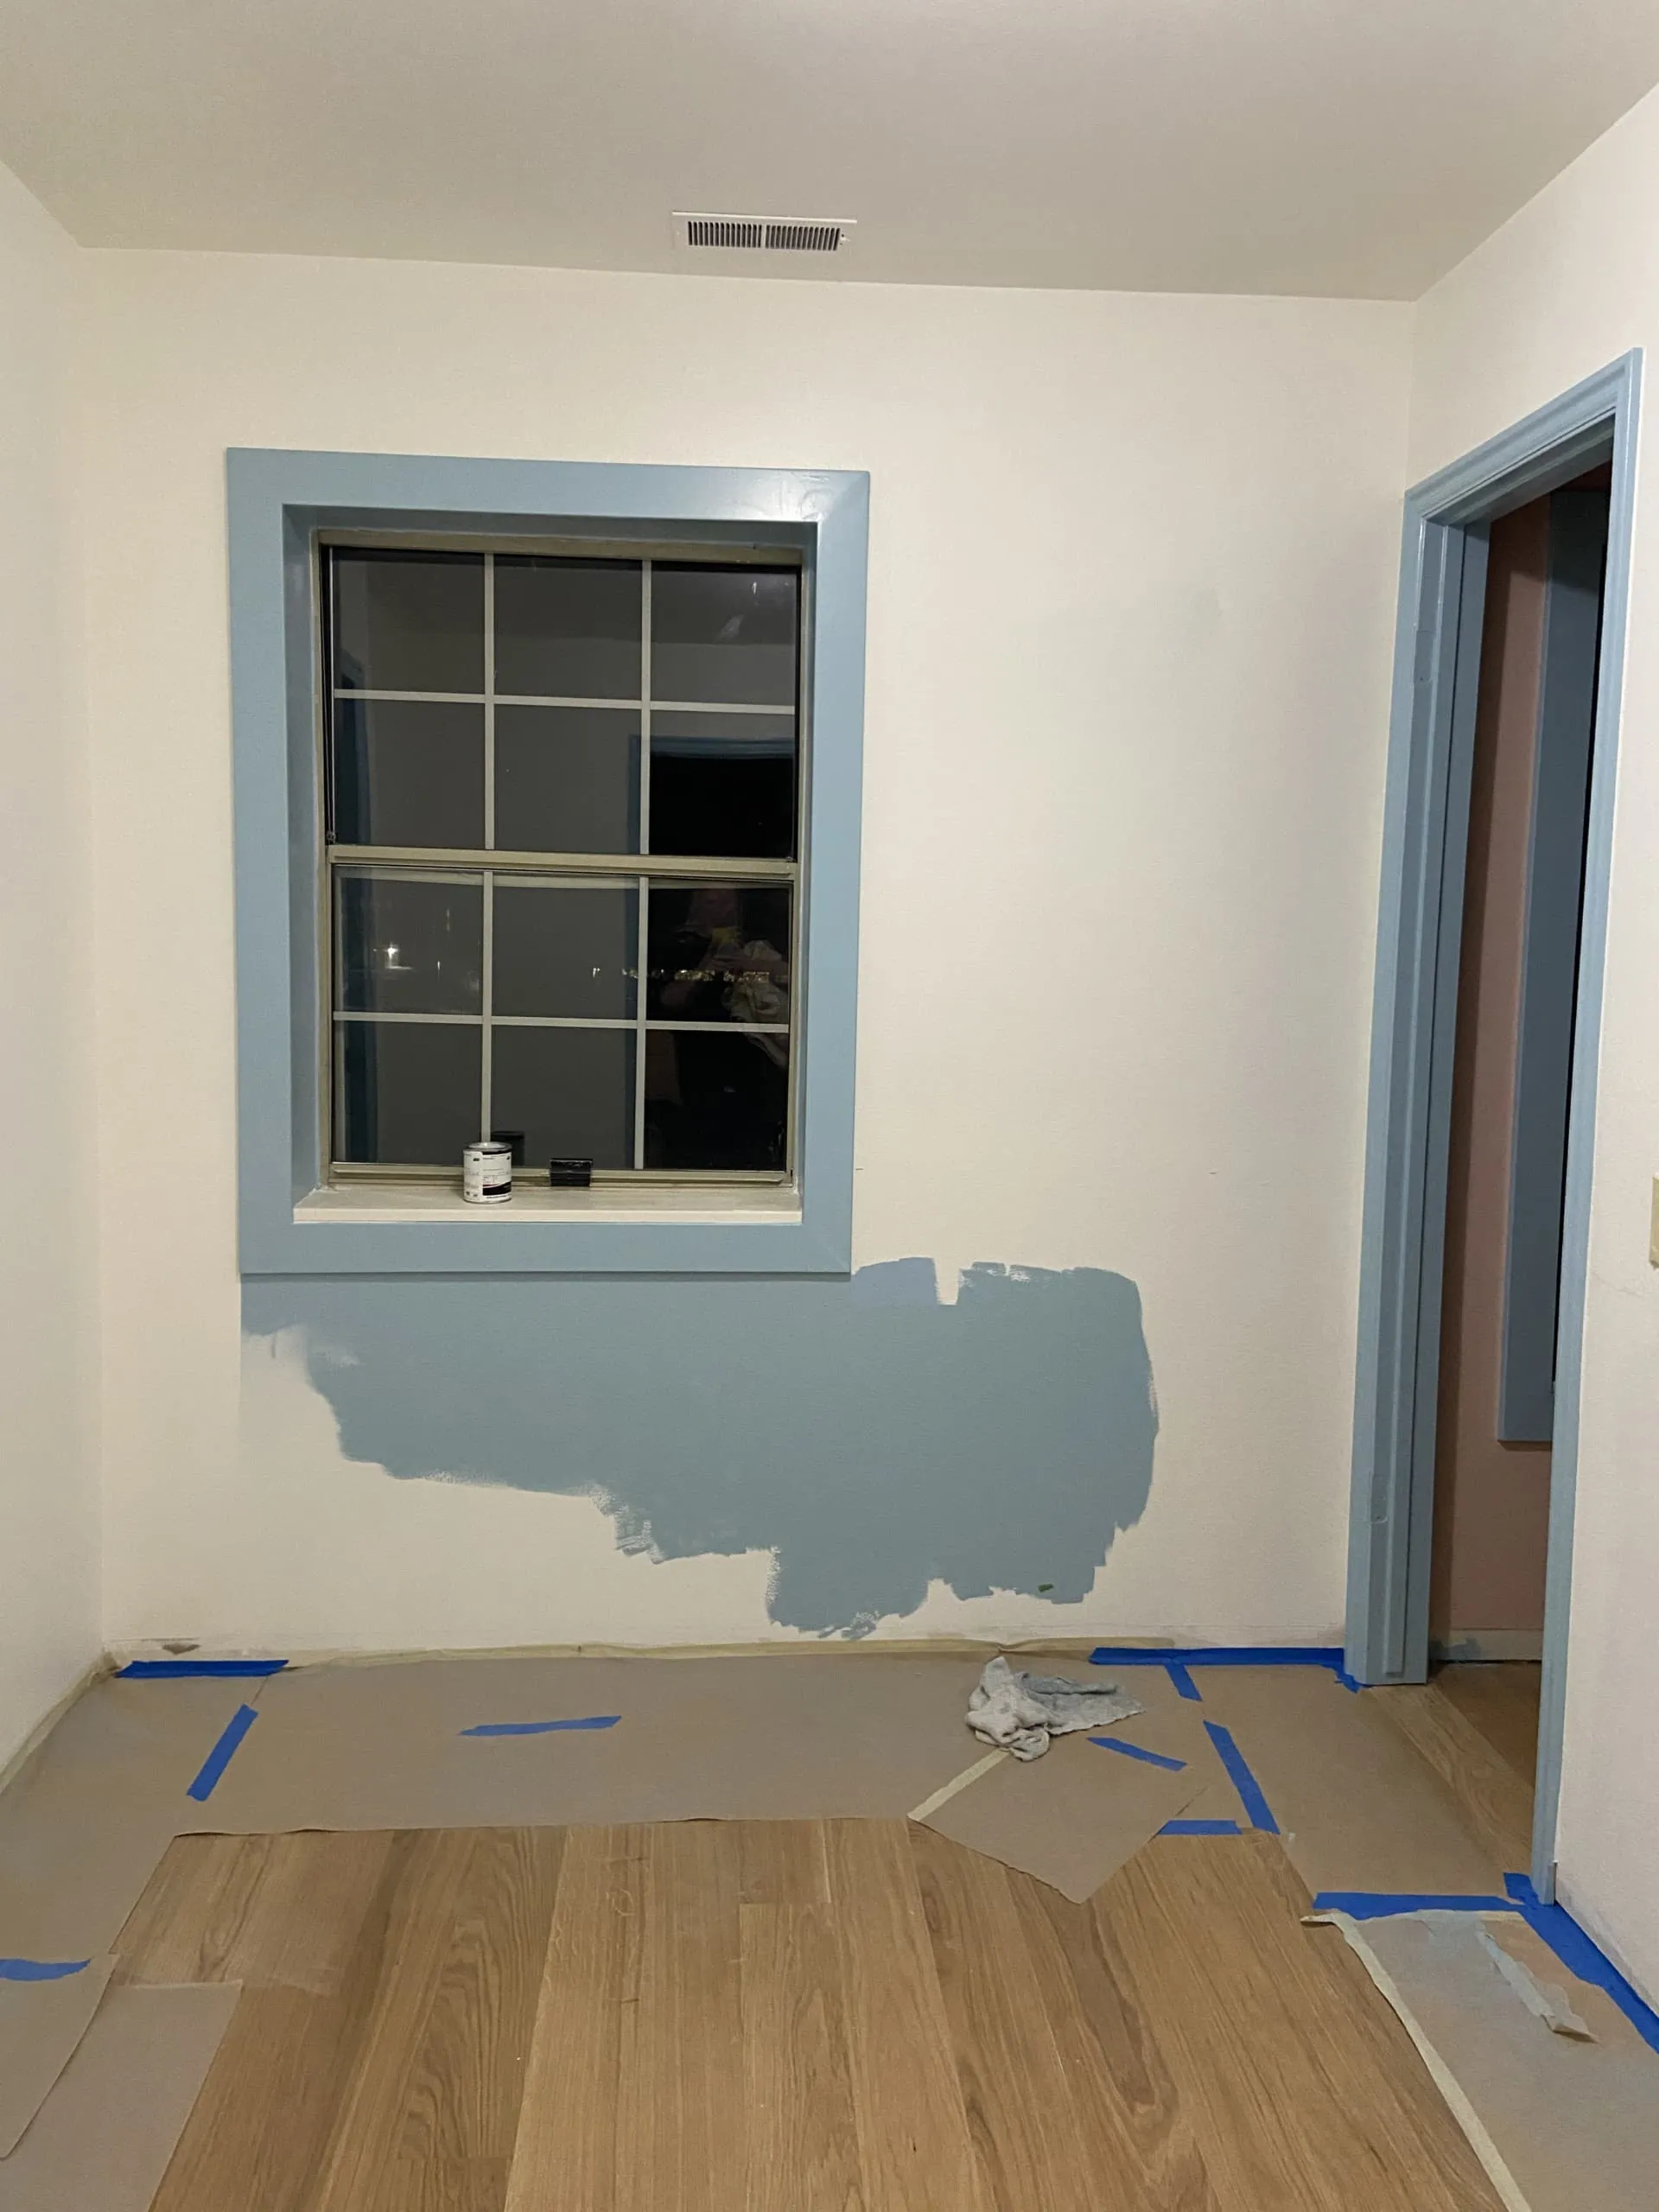
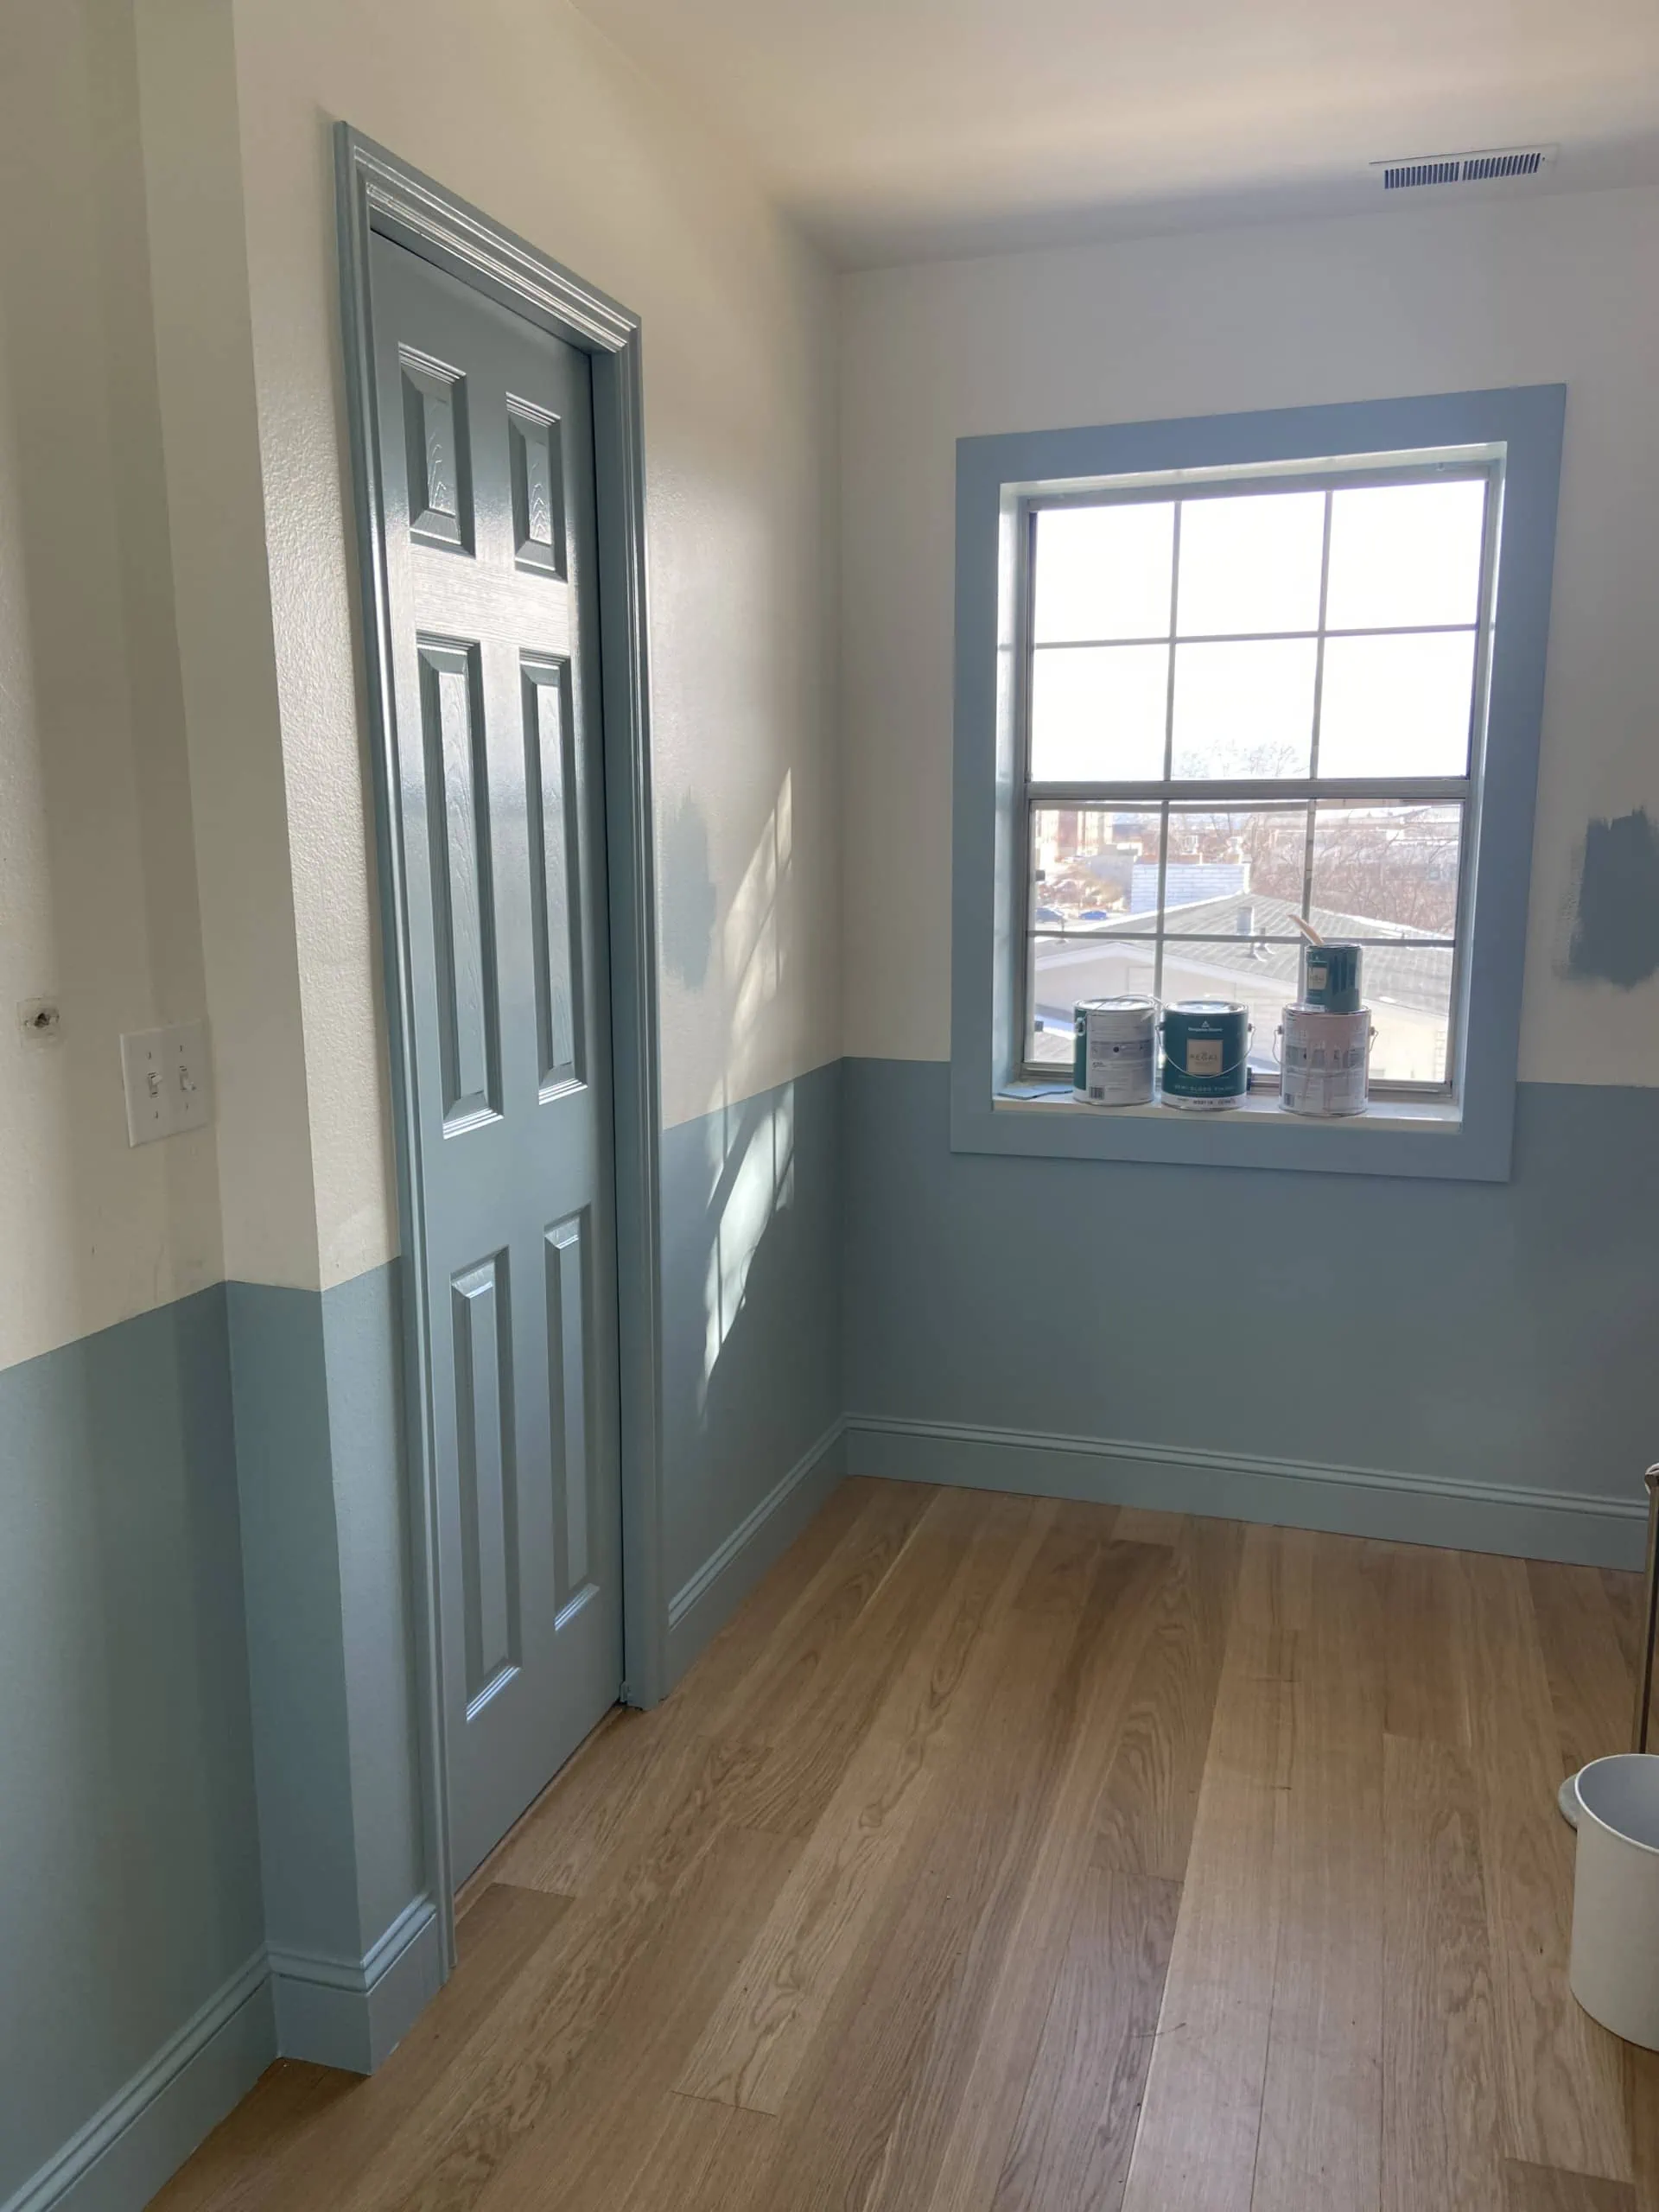
Things got really exciting after the floor was installed and it was time to take care of the walls. I knew from Meta’s original design that I wanted the bottom half of the walls to be a light blue color to offset and cool down the red Josef Frank wallpaper that would cover the rest of the walls. So one night I just started painting!
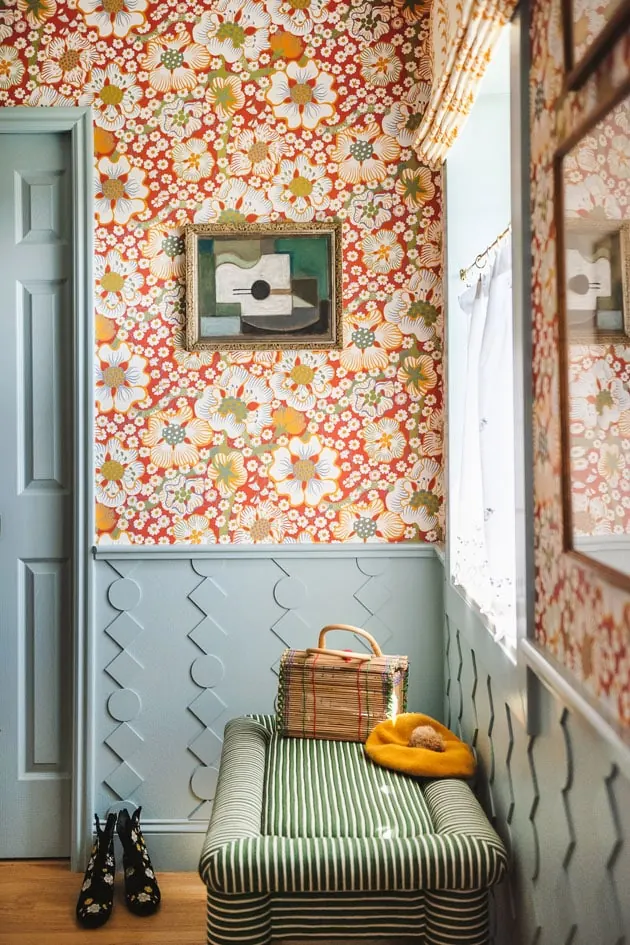
The circle/square pattern
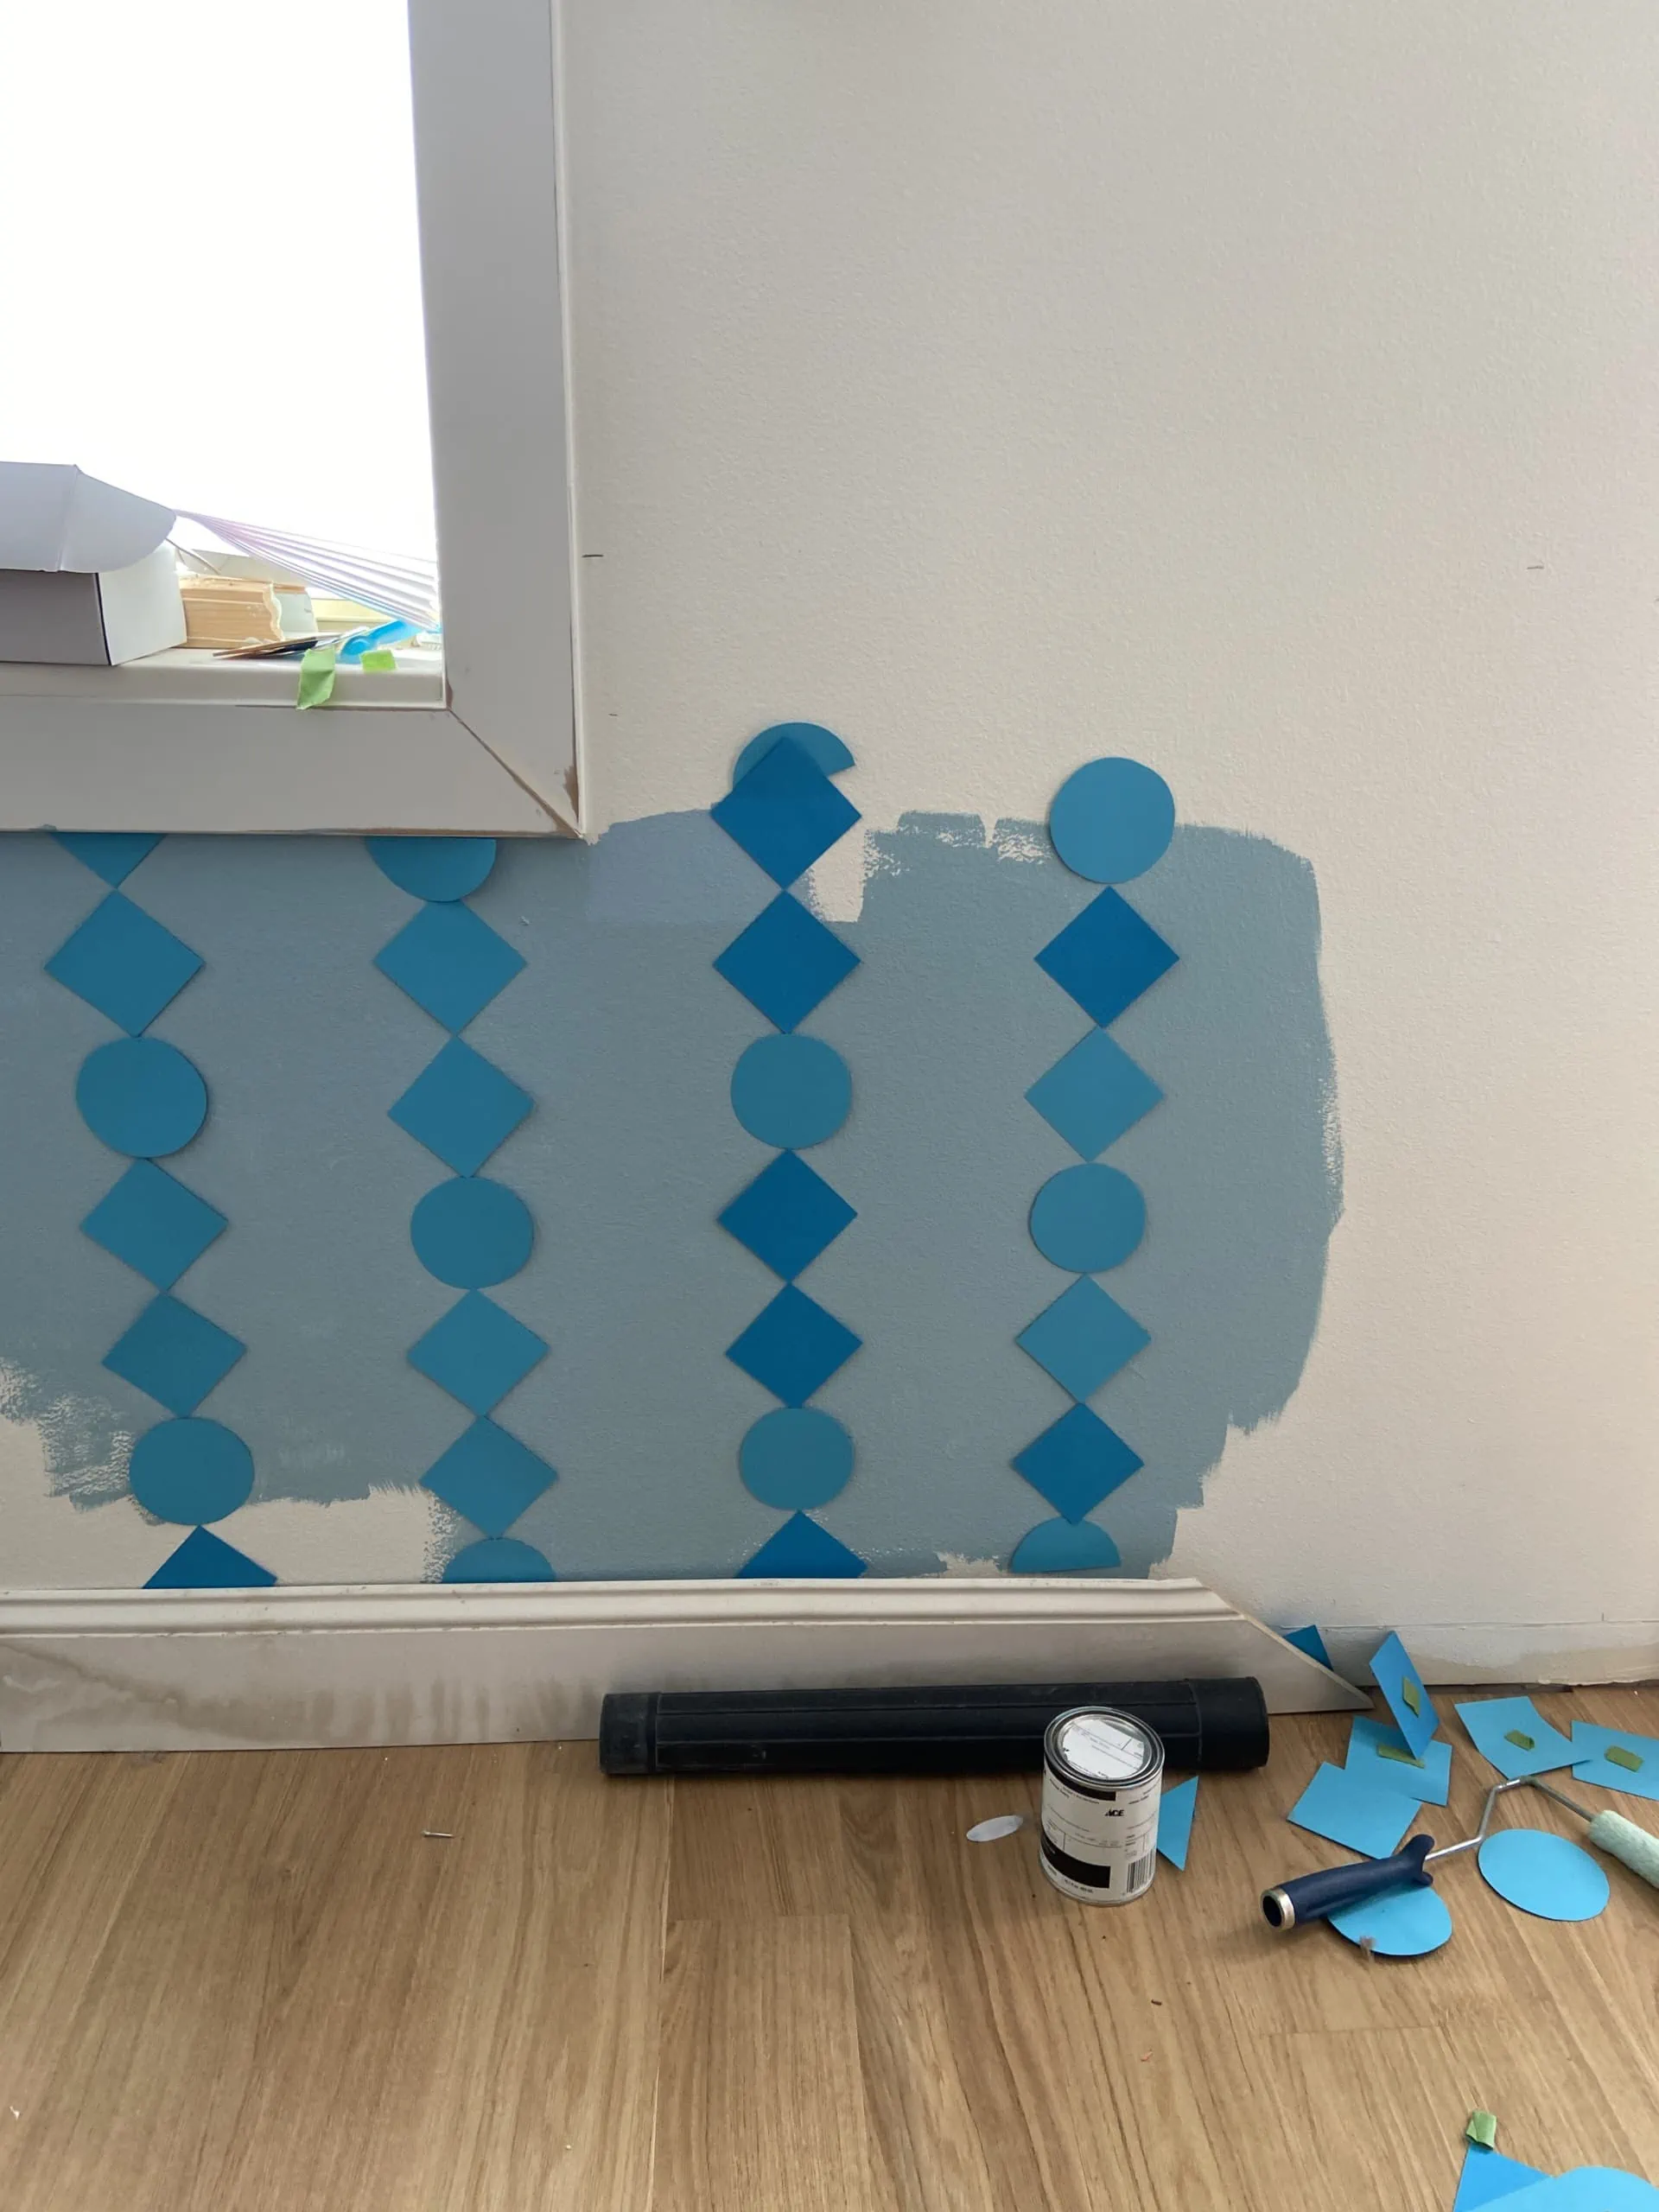
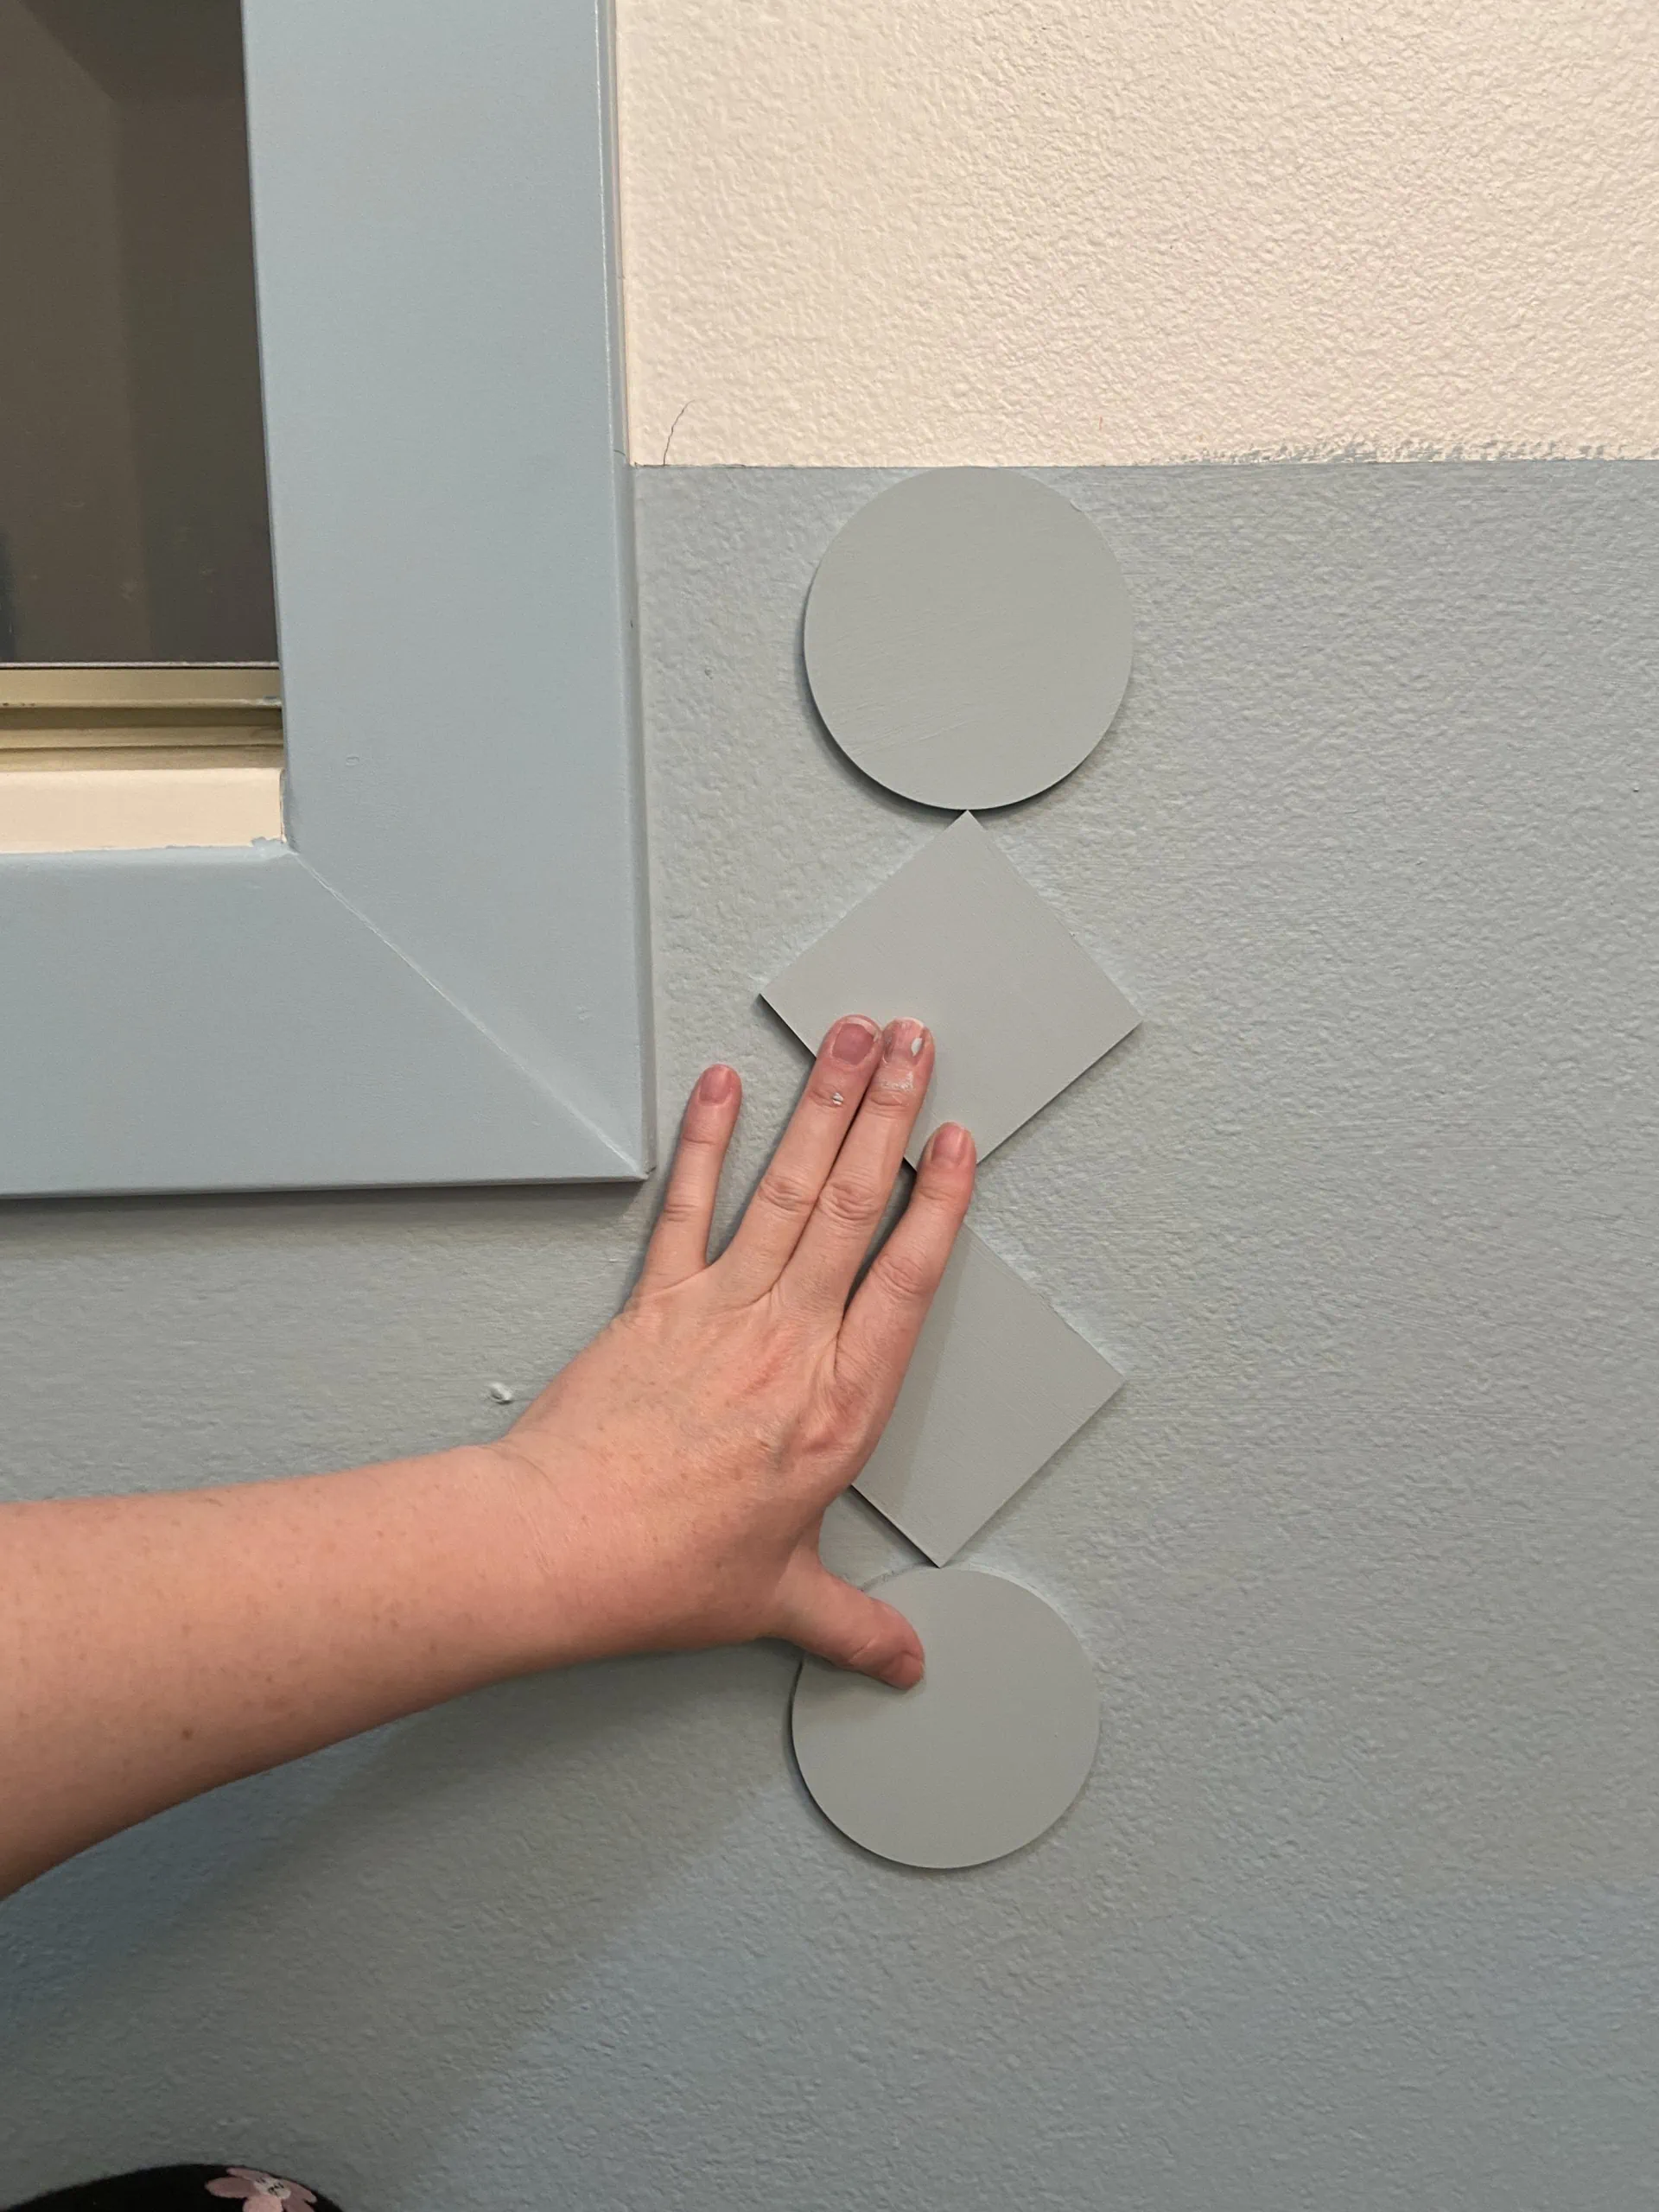
One of the trickiest parts of my DIY wainscoting installation was mapping out exactly how tall I wanted the chair rail to be, how I would fit the wooden cutouts, and where I needed to cut some of them down to size. I taped up paper diamonds and circles to figure out the wainscoting height as well as distance between columns.
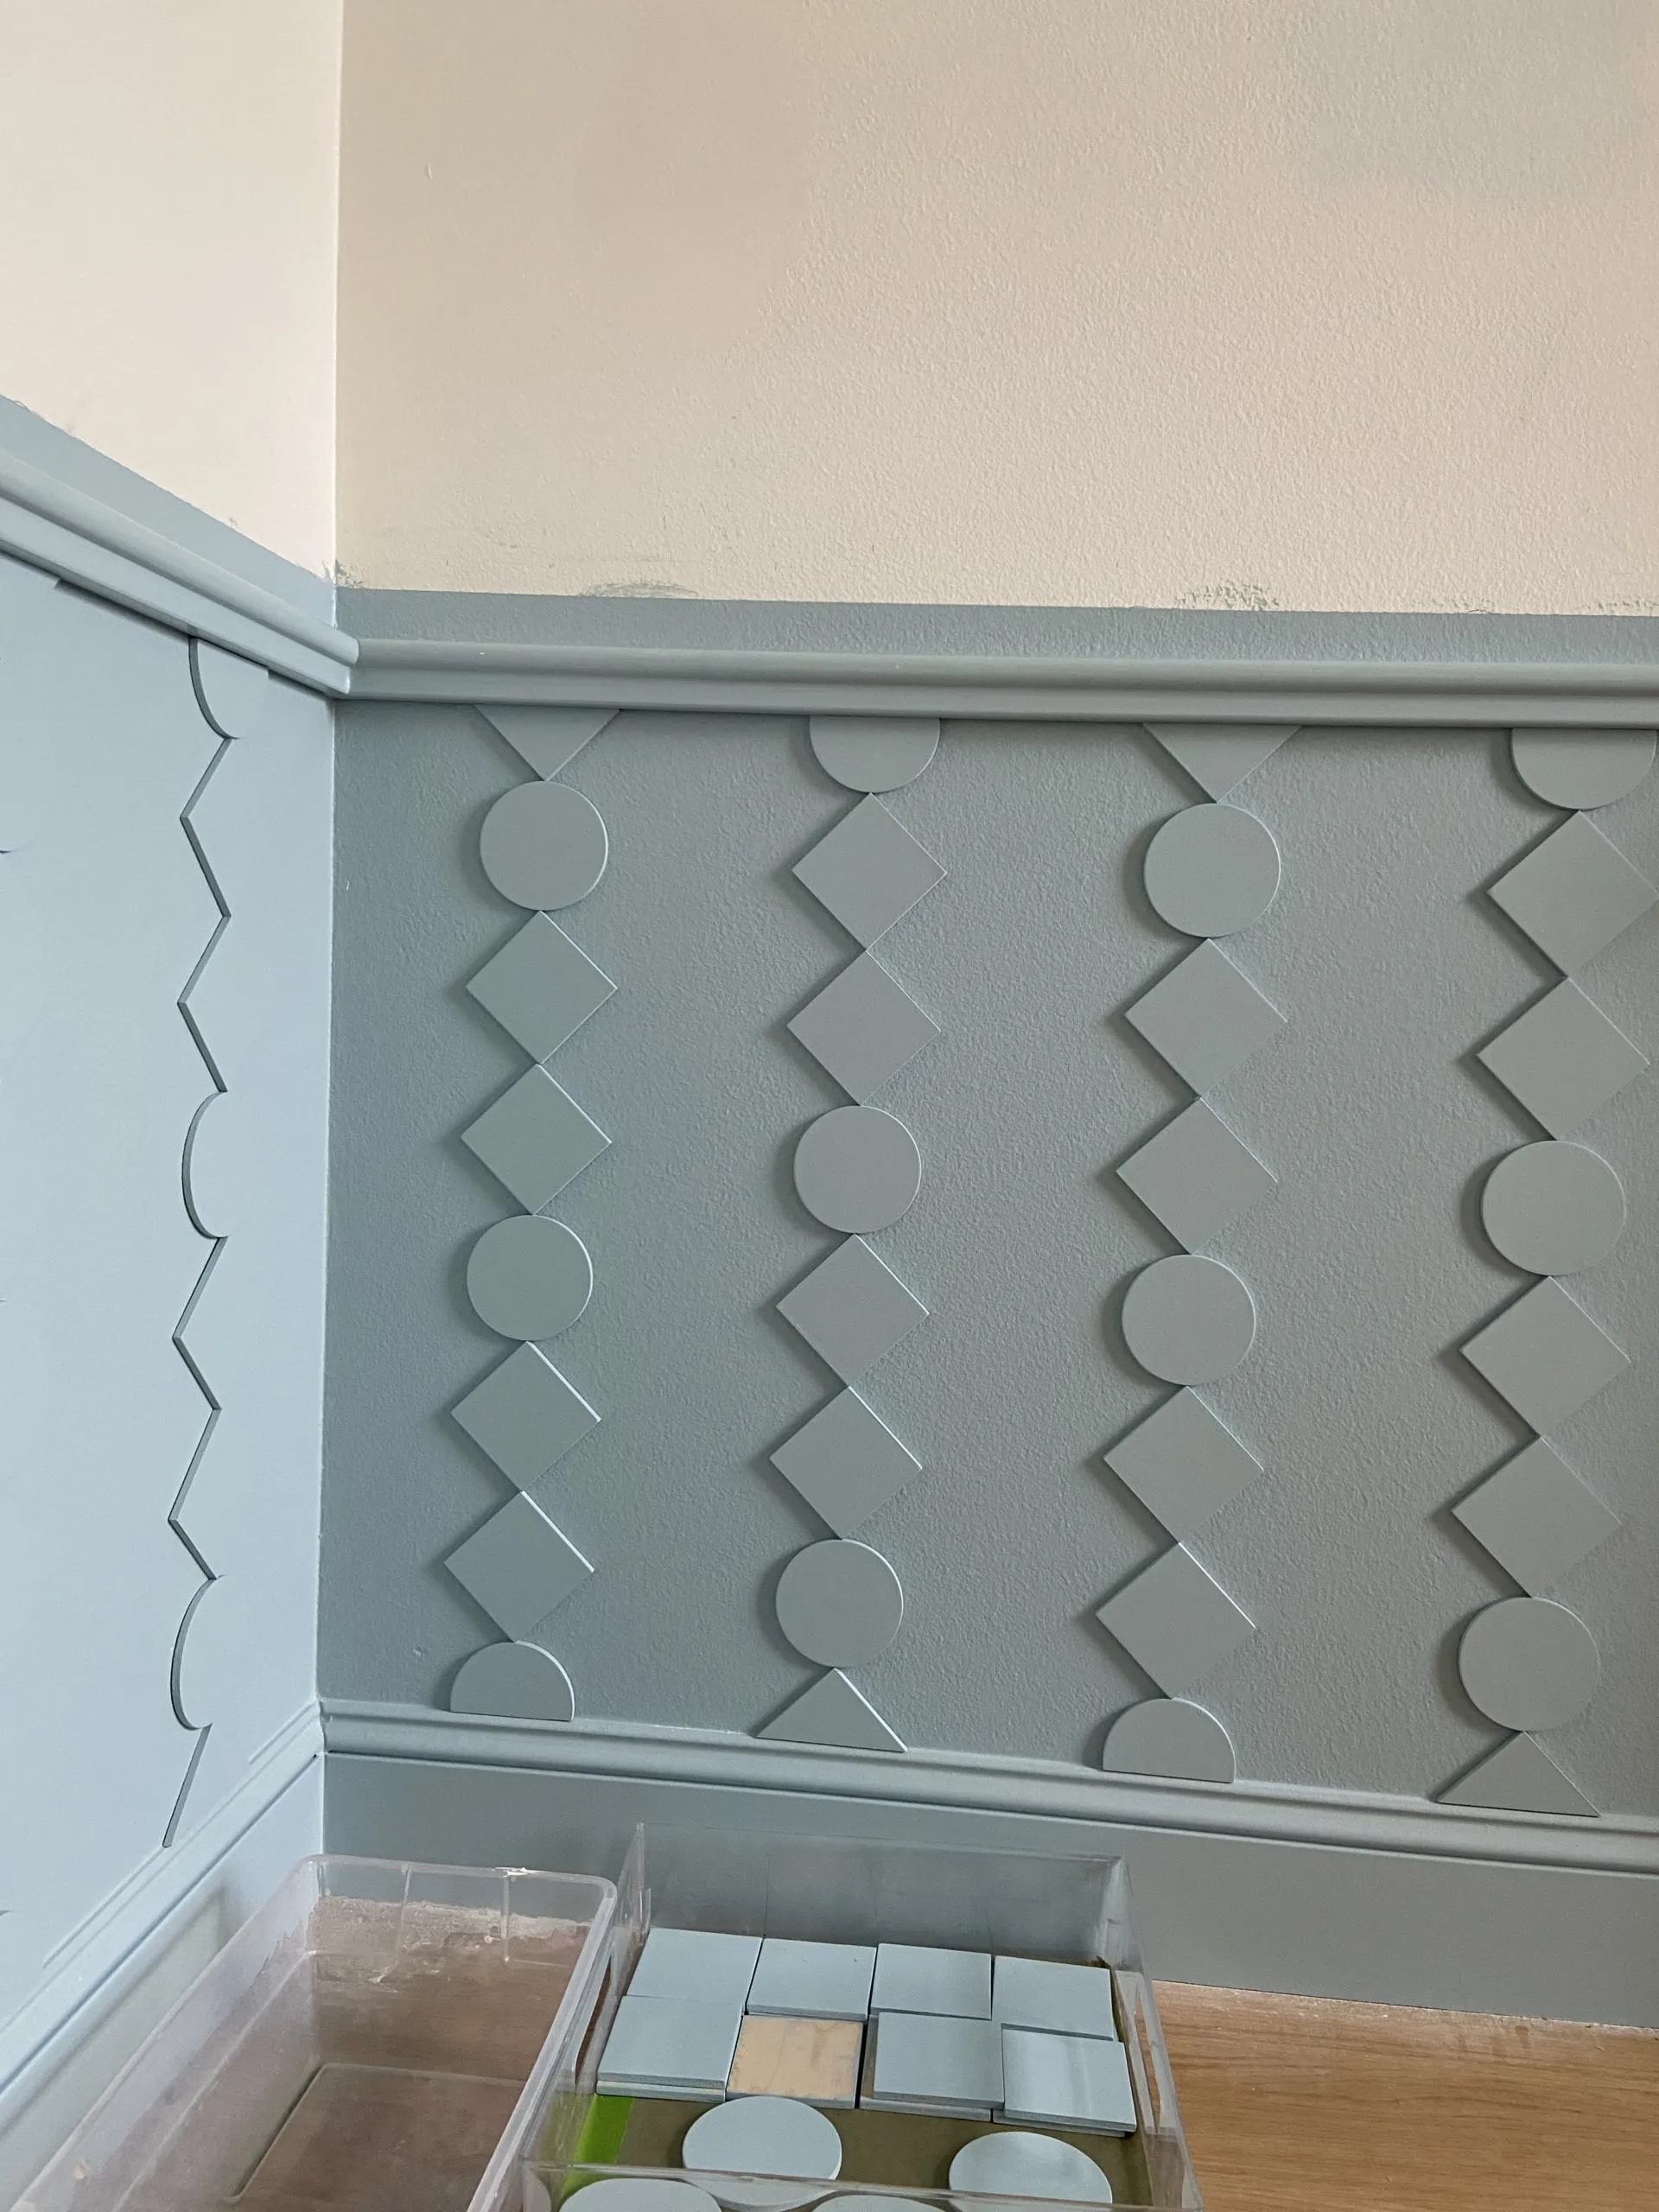
I highly recommend making paper mockups whenever you do a DIY like this, because they’re so easy to adjust and tweak. I tried a few variations: each column with the same pattern and then switched it around so every other one was the same. I tried an ABA pattern as well as an ABBA pattern and decided to go with every other row being the same and starting at a different point.
I also had to play around with how big each one would be and how many shapes I would need. All of them were made from maple plywood 1/4″ thick. The circle was 3.5″ in diameter, but the square had to be slightly smaller at 3″. I worked with Zach at Laser Lingo and he was wonderful. He even gave me a 20% discount for ordering so many. The circles were a ready made product he already had here. It came out to about $200 for the shapes.
How many do I need?
First, I had to figure out about how many columns I would have in the room. I spaced them out every 9″ and drew a line. I figured out how many squares/circles each column would have and multiplied that by the amount of columns and then added 10% more to make sure I had enough.
Figuring out the height
First, I placed the shapes at the bottom of the baseboards and realized that they would look better if they were cut in half at both the top and the bottom. Chair rails feel best when they are about 1/3 from the bottom so that’s what we were aiming for, but we also had to take into account where the shapes were going to end. We took into consideration the width of the chair rail too, so we stopped the pattern at around 32″ and then the chair rail took up another few inches leave it at around 34″ ish.
Trim and finish painting
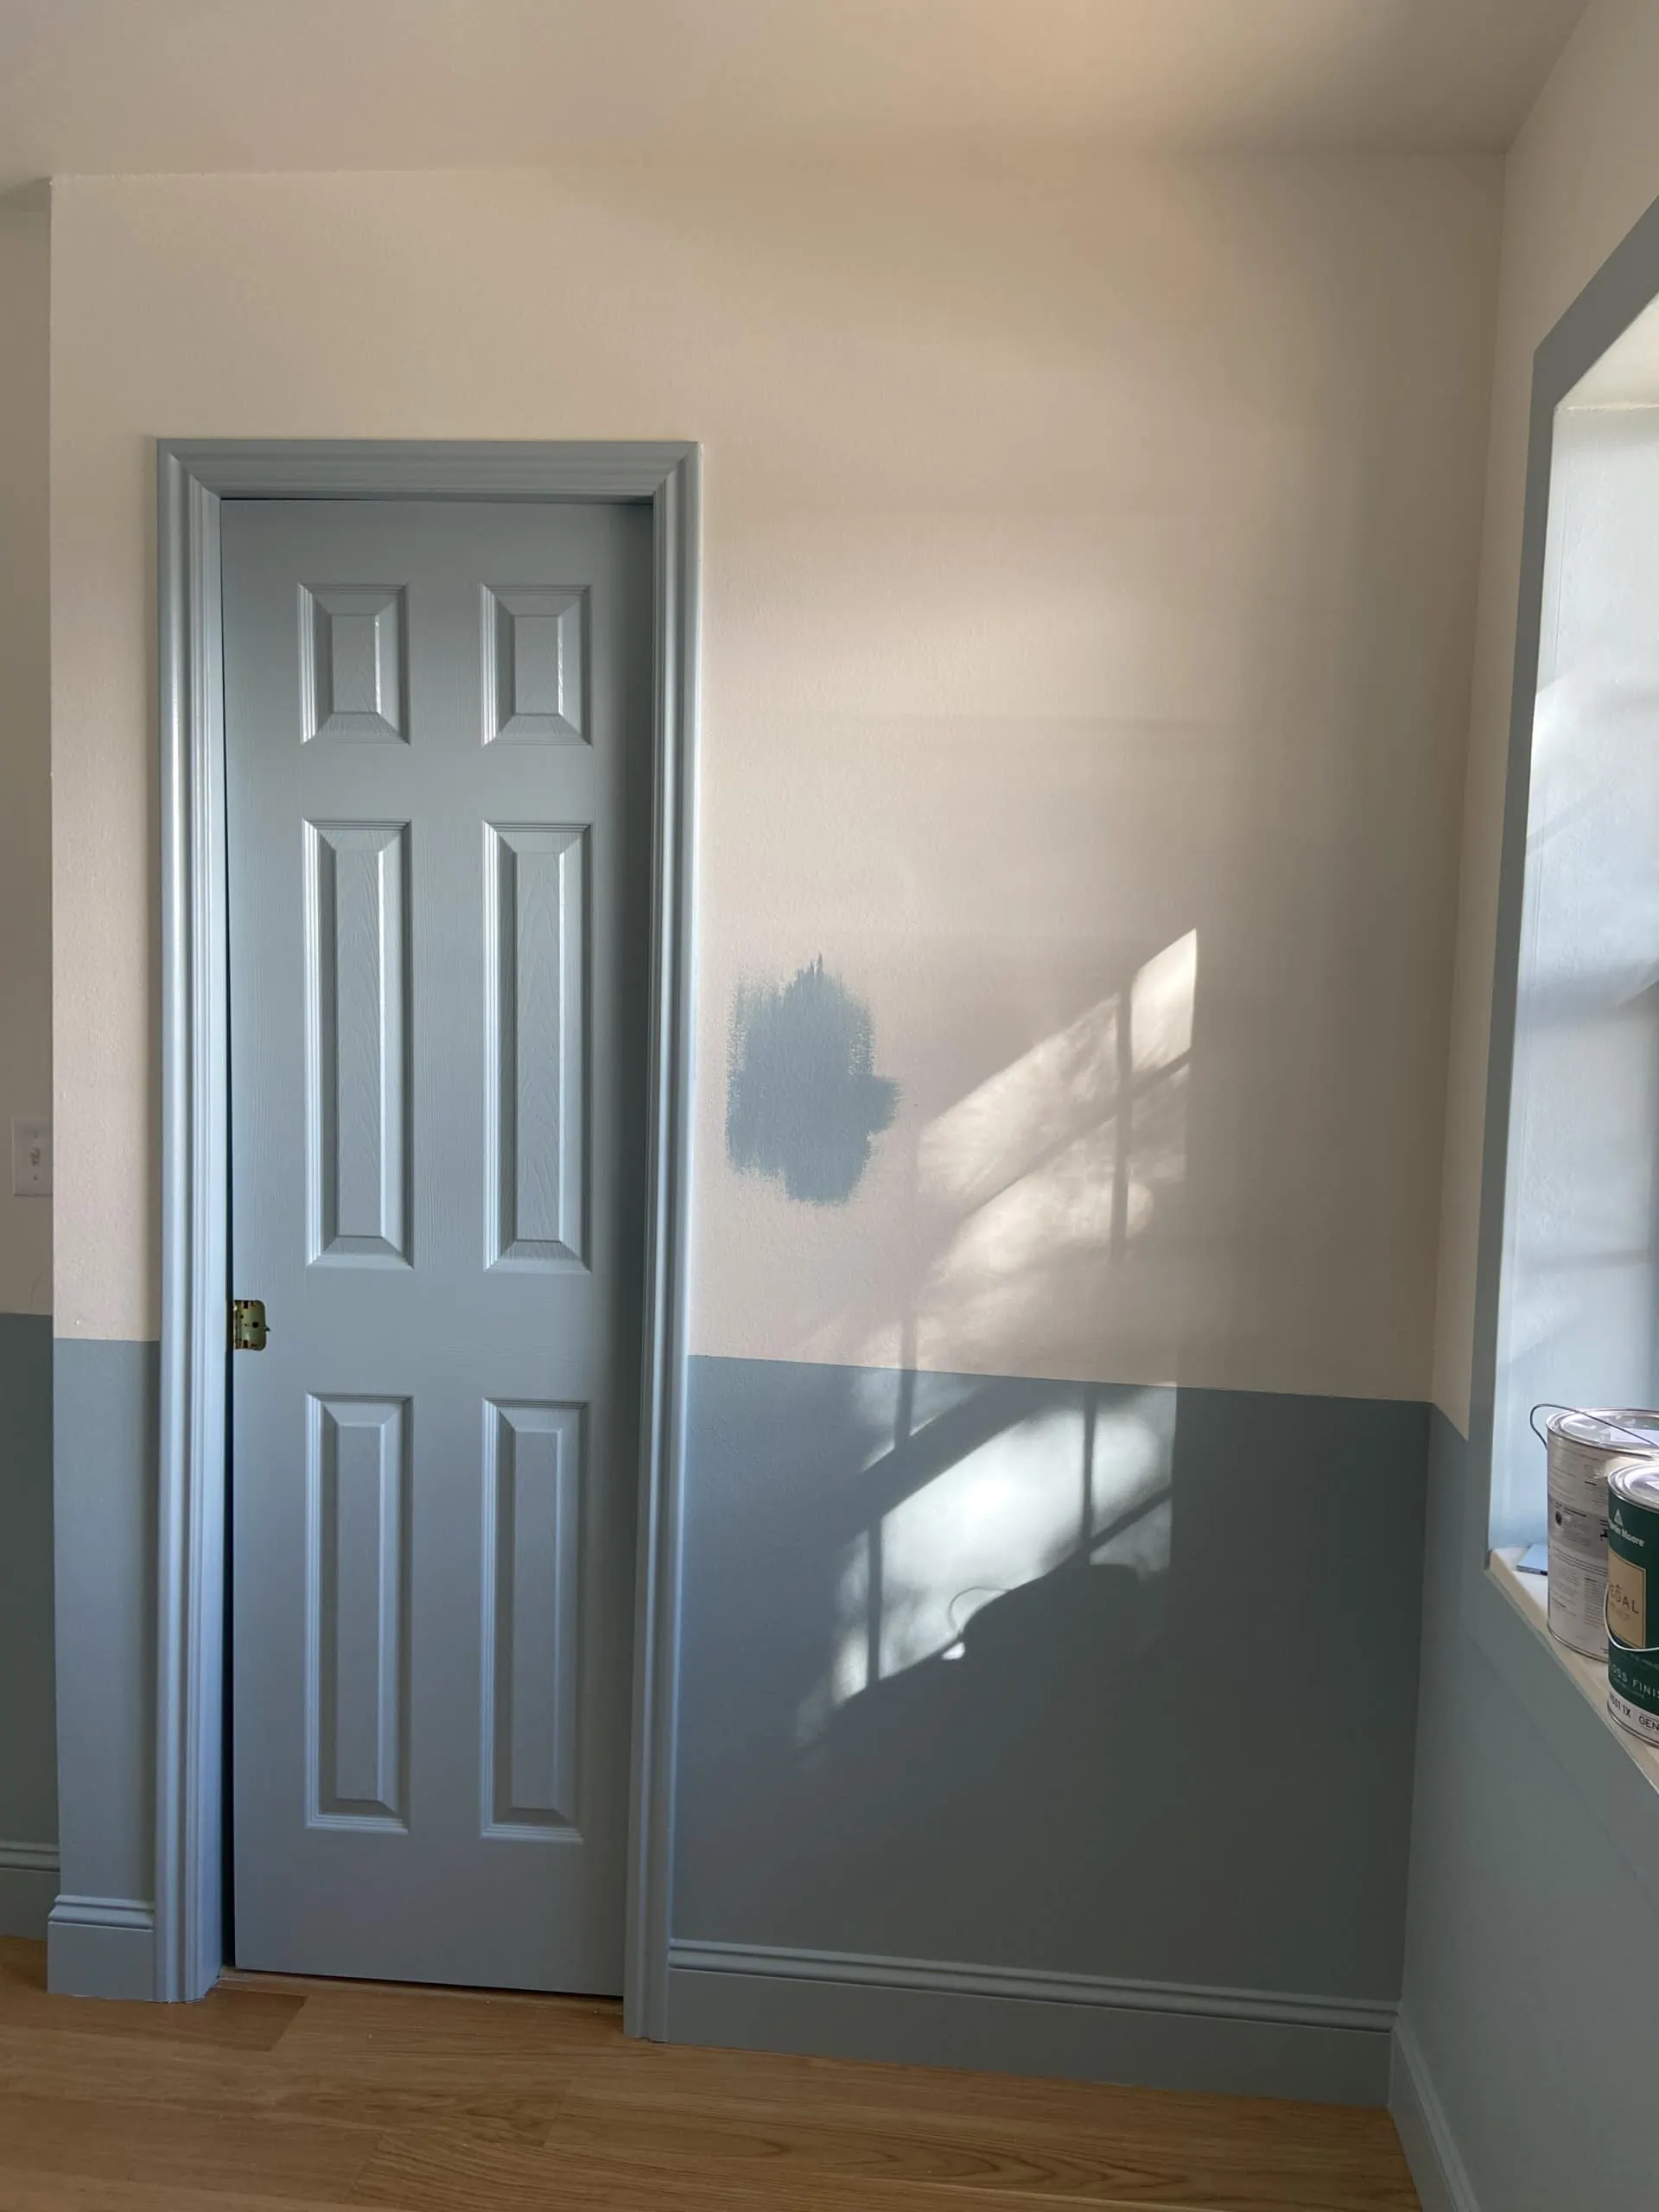
Once I decided on a height, it was time to install all the trim and finish painting. Don’t you love the feeling of a space progressing with every step? I remember walking into the bathroom once it was painted and breathing a sigh of relief. It was coming together!
Prepping the squares and circles for paint
You will paint the squares and circles before applying them to the wall. My painter, who is the absolute best, took him the squares and circles, sanded them, sprayed them lightly from 4 different angles with an airless gun (you can rent them for cheap!) two different times. He placed them on plywood to spray them. He said it’s all about the prep! We had 280 pieces total so it was a bit of a process.
Applying the squares and circles to the wall
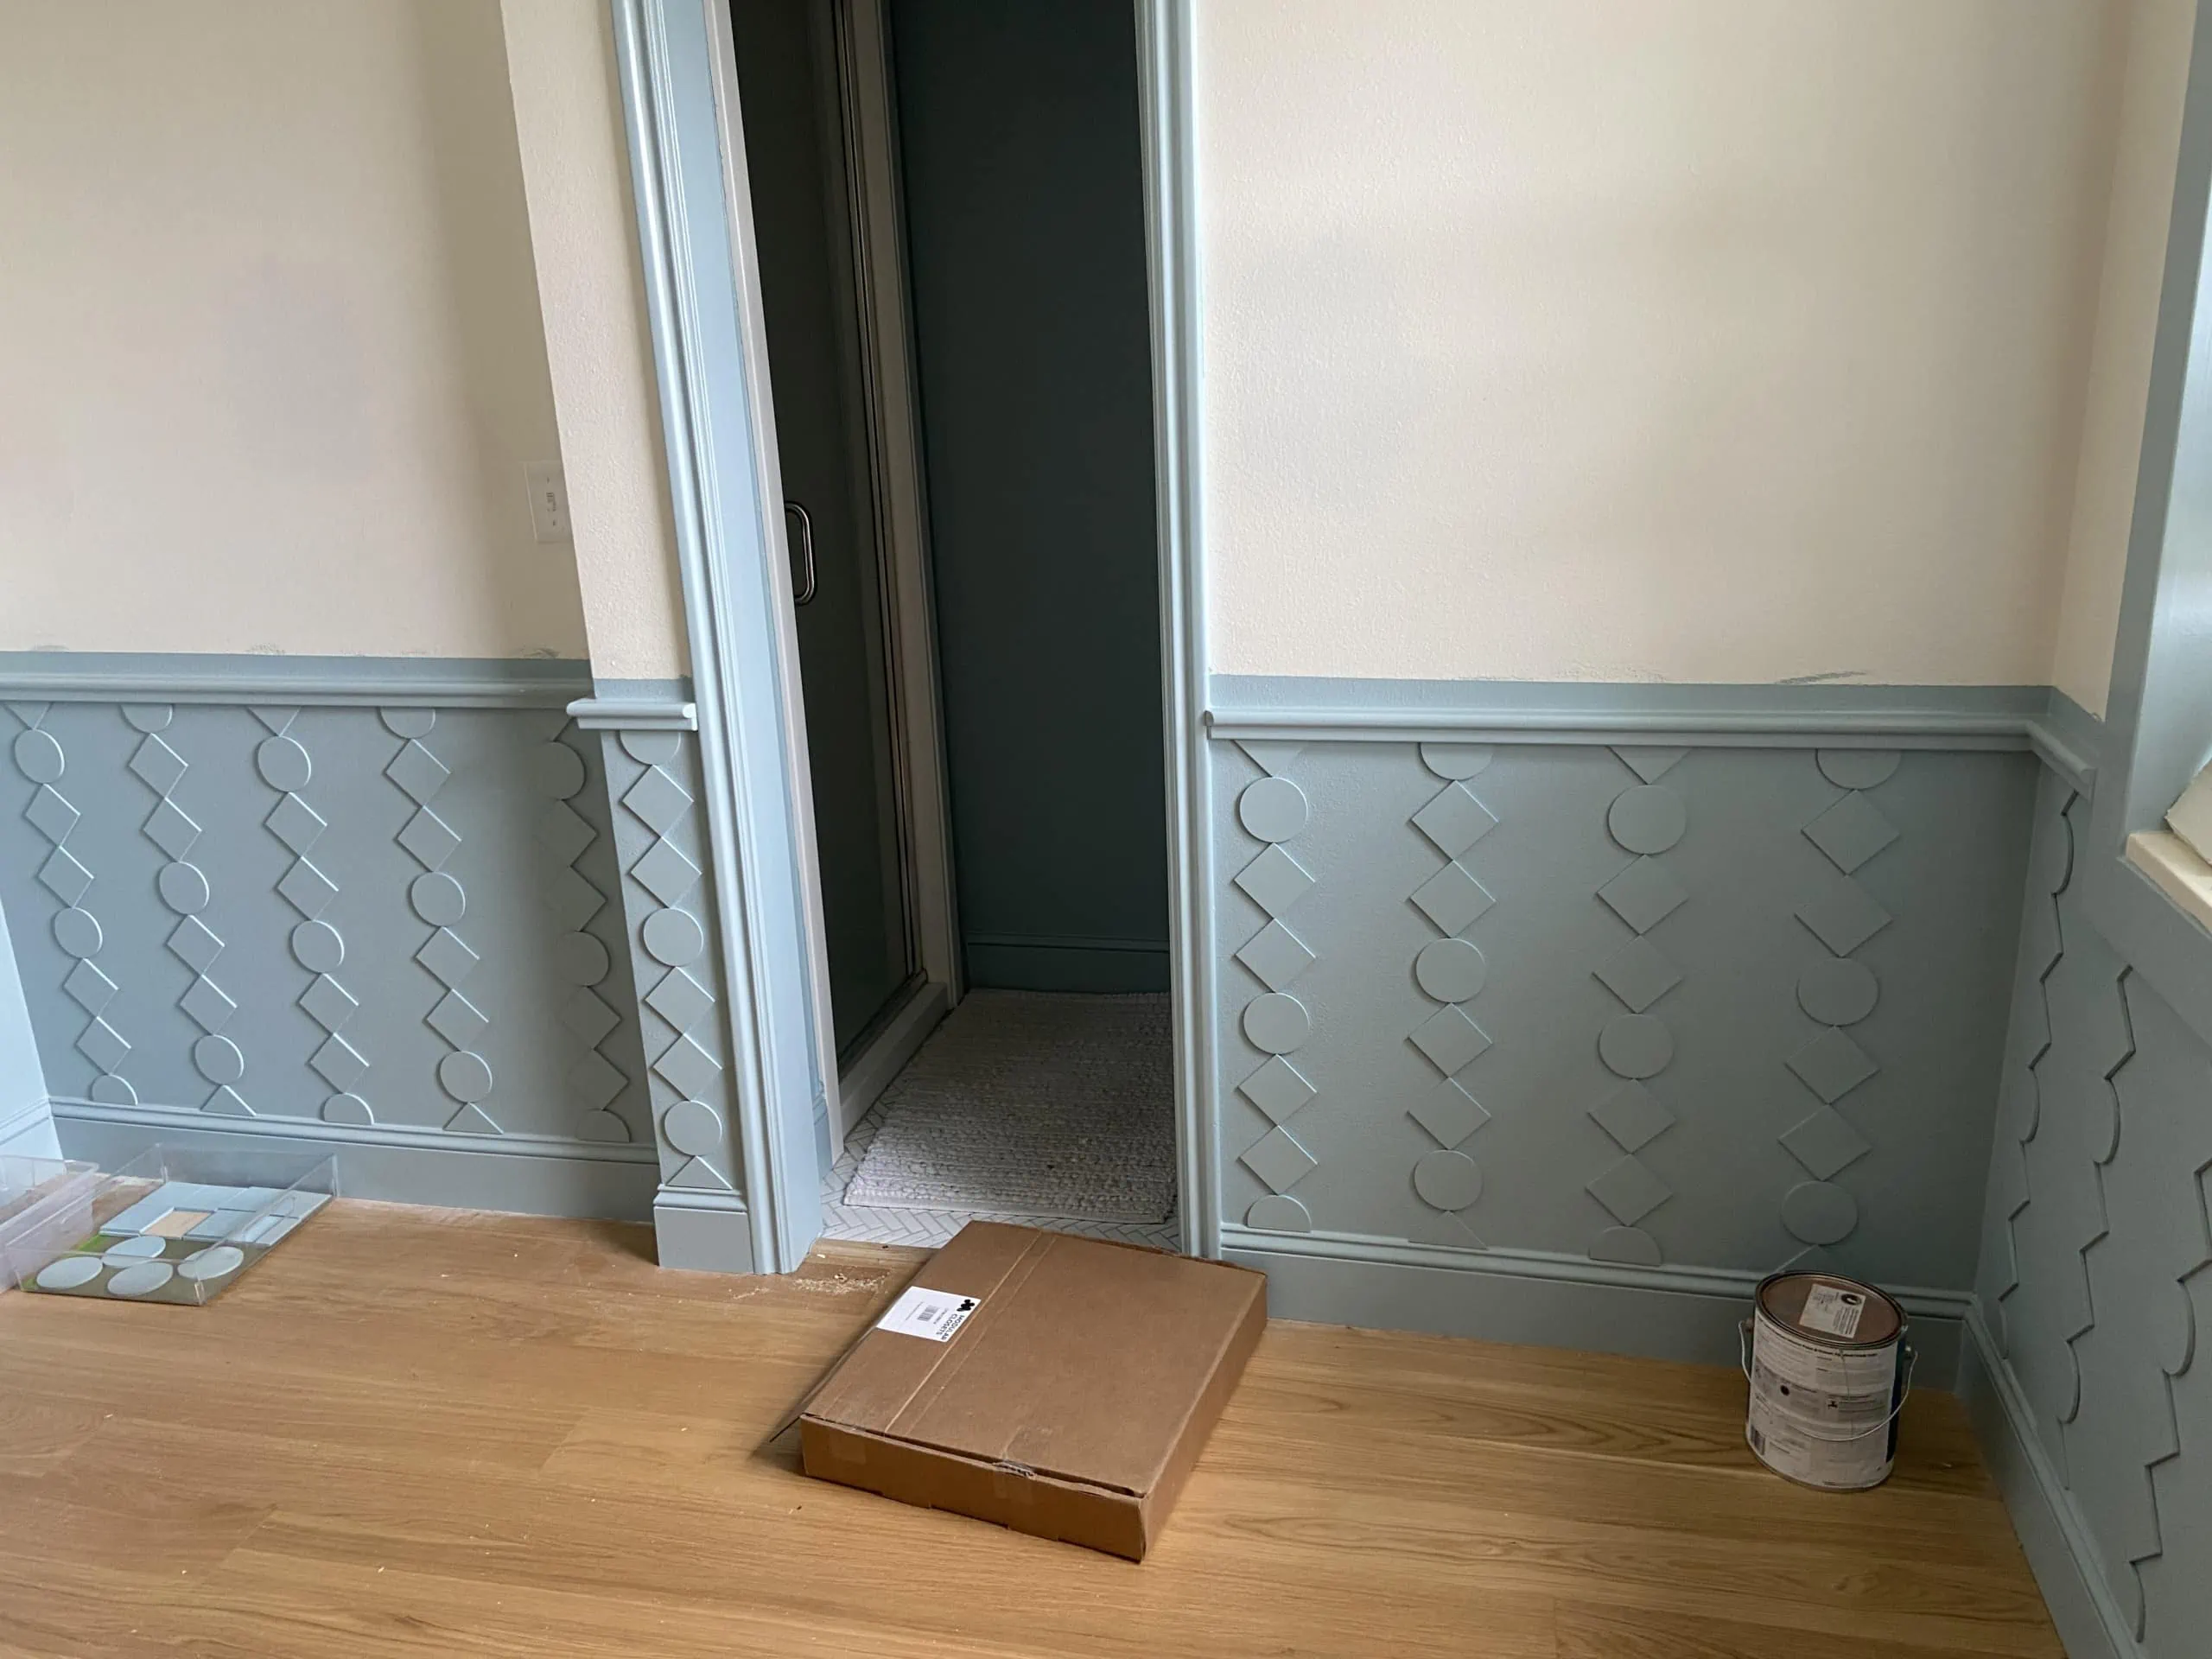
After painting and verifying my design, it was time to start the installation. We had a great team installing molding and trim to the exactly correct height. Then came the fun part: gluing up the wooden cutouts!
How to do a DIY geometric 3D wainscoting
Materials:
-
- Standard construction adhesive (He used Liquid Nails)
- pencil
- ruler/measuring tape
- circles and squares (I got mine custom sized from this Etsy seller)
Instructions:
- Draw a straight line on the wall of where you will be installing the squares/circles. Make sure it’s level and perfectly straight.
- Use standard construction adhesive (he used Liquid Nails) like 3-4 dabs per square/circle. You don’t need too much of it. The squares are easy to affix because we placed them on each points like a diamond so we could align them perfectly. The circles were eyeballed.
- He used a saw to cut off the bottoms prior to painting so that the ends were nicely finished.
Because I knew that I’d be installing wallpaper after we finished the DIY wainscoting, I didn’t worry about any paint that reached above the waist-level wainscoting. It all got covered up once we wallpapered!
Why Custom Design
I know that some of you are wondering why I insisted on installing my own custom wainscoting design instead of using a pre-made one. It certainly would have been easier! But I love living in a space that I designed myself. There’s just something about seeing something develop from the very beginning and tweaking it along the way so that it’s just right. Having Meta’s help was also very encouraging, because she has such a talent for making a space really reflects its occupant. I knew that with her help, we could make my custom DIY wainscoting dreams a reality.
More Bathroom Remodel Inspo
Remodeling the bathroom took a lot of time and turned out to be a lot of steps. You can read more about everything that came together for our remodel here, so even if you aren’t ready to install DIY wainscoting there’s lots of bathroom inspo for you on the blog!



Comments