Welcome to the fourth week of our Sewing Basics series!
We know that many of you are already familiar with the sewing basics, but we also know that many of you have a lot you would like to learn. In order to bring everyone up to speed, we’ve decided to help you out with some essential sewing skills that will help you succeed at a wide variety of basic sewing projects.
This Sewing Basics series is designed to give you the basic skills you need to get sewing! It’s for sewing projects you’ve wanted to make but have been a bit intimidated by until now. For those who’ve already learned the basics at some point, it’s a great refresher. For those who are completely new to sewing, it’s the perfect place to start.
On week one, we learned how to thread a sewing machine. Then, week two, we learned how to choose the right fabric. Last week we learned how to sew mitered corners. This week we’ll be learning how to sew buttons and buttonholes. Let’s go!
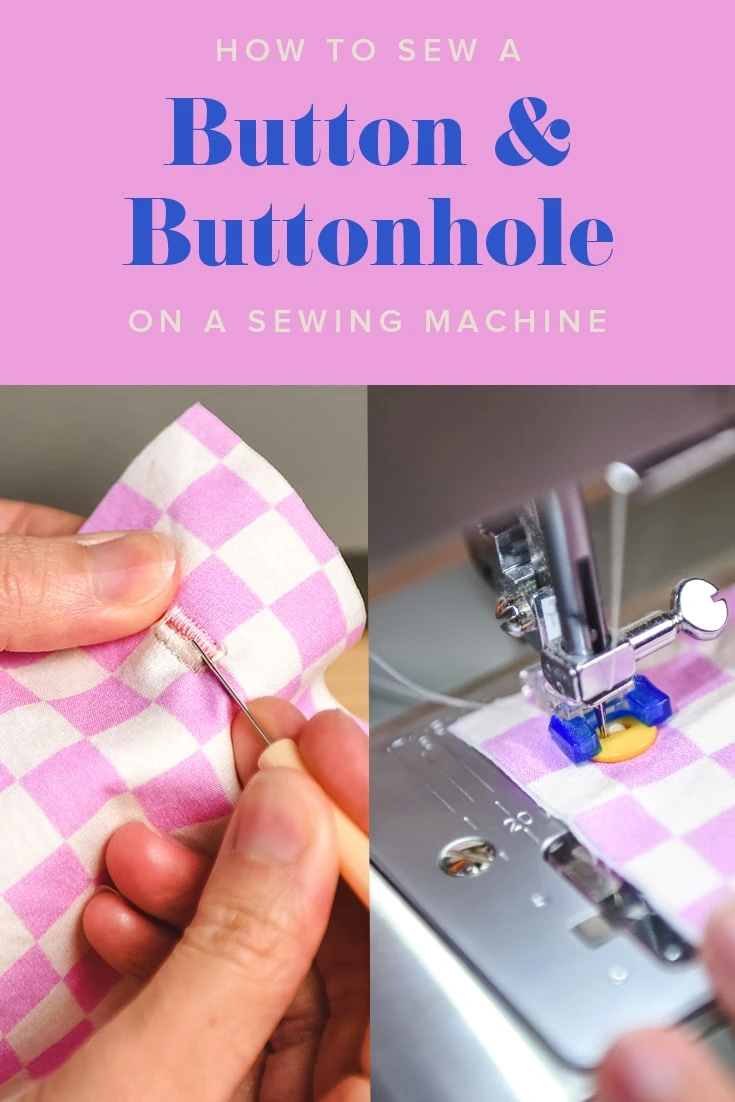
How to Sew Buttons and Buttonholes
Sewing buttons and buttonholes is an essential skill that will open up so many possibilities for you! In this edition of our sewing basics series, we’ll be teaching you three skills. First, how to sew buttonholes. The most common way to sew buttonholes is on a machine, which is the technique we’ll be teaching you. You can sew buttonholes by hand, too, but for this tutorial we’ll stick to the machine version, which is easier and quicker. Next, we’ll teach you how to sew buttons in two methods: on a machine and by hand. Both have their pros and cons, which we’ll discuss later.
First up: machine sewing buttonholes!
How to Machine Sew Buttonholes
The nice thing about machine sewing buttonholes is that once you have your settings set, many machines are automated and will sew the buttonhole for you. We’ll be using our Singer sewing machine, but you should be able to apply the basic principles to most machines.
Here’s how to do it:
Prepping the Settings
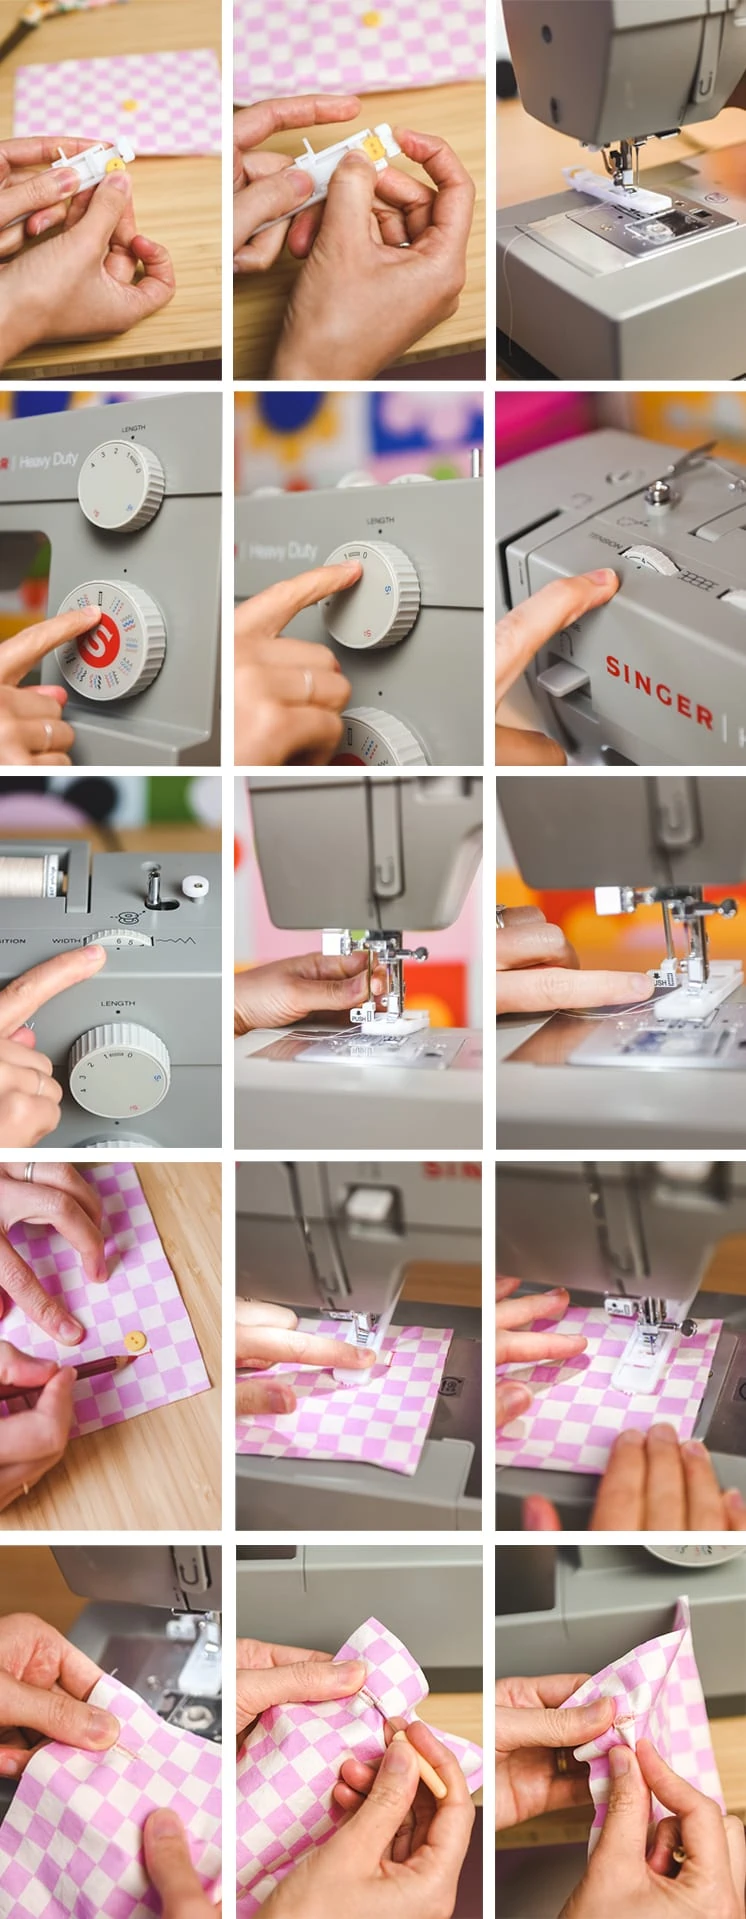
- First, slide a button into the buttonhole foot. Then switch out the regular presser foot for the buttonhole foot (this foot is large with a rectangular hole in the middle of it).
- Now, you’ll need to change some of the machine’s settings.
- The first setting to change is the stitch width. Change this all the way to the highest width.
- Next, change the stitch length to the buttonhole setting (the little rectangle icon).
- Now change the stitch type to the buttonhole setting (again, the little rectangle icon). You’ll also need to change the thread tension–twiddle the dial so the top tension is a bit looser than normal. This will make the thread wrap around nicely to the back side.
- Last, pull the buttonhole lever all the way down until it clicks, then push it forward, away from you so it clicks again. (The buttonhole lever is the little white lever to the left of the presser foot. It has the same little rectangle on it as the other settings).
Sewing the Buttonhole
Now you’re ready to sew the buttonhole!
- For this, simply make sure you’ve pushed the white buttonhole lever forward. Then press down on the foot pedal and the machine will do the rest! Let up on the foot pedal when the buttonhole is done.
- Next, clip threads.
- Last, take a seam ripper and open the buttonhole center. Take care to not cut through the threads at the top and bottom! If it helps, you can put pins across the top and bottom to stop the seam ripper from cutting all the way through.
How to Machine Sew Buttons
As I mentioned above, machine sewing buttons is so quick and easy! It’s great for projects with lots of buttons that require efficiency.
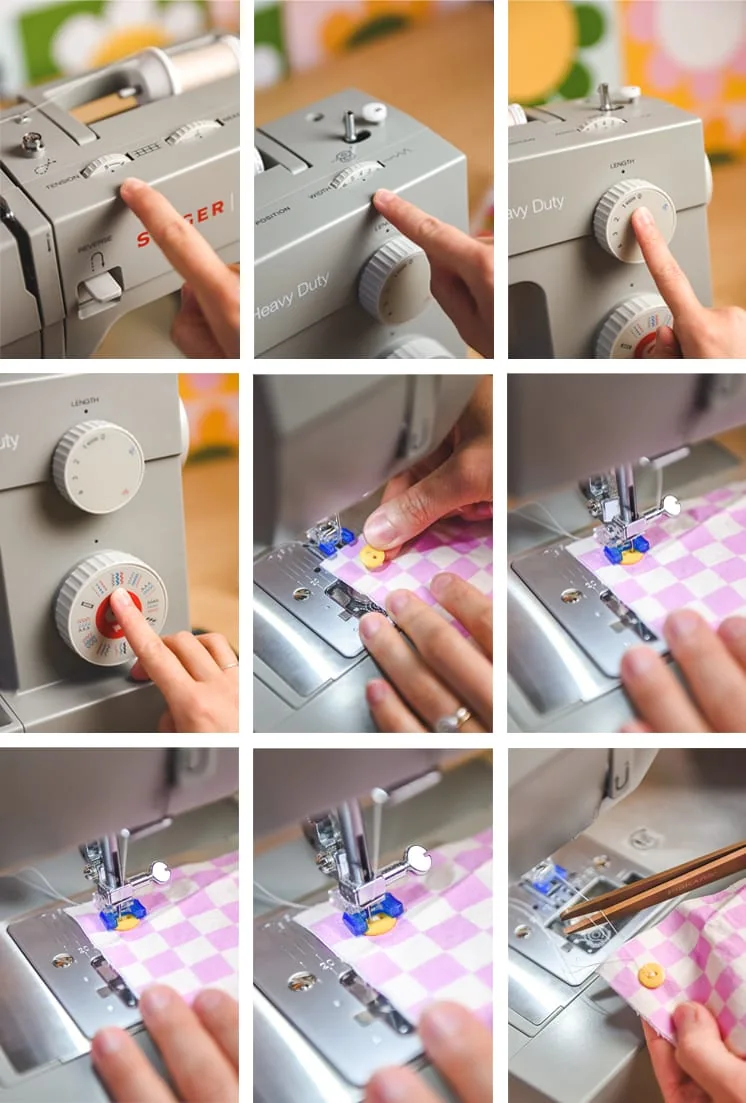
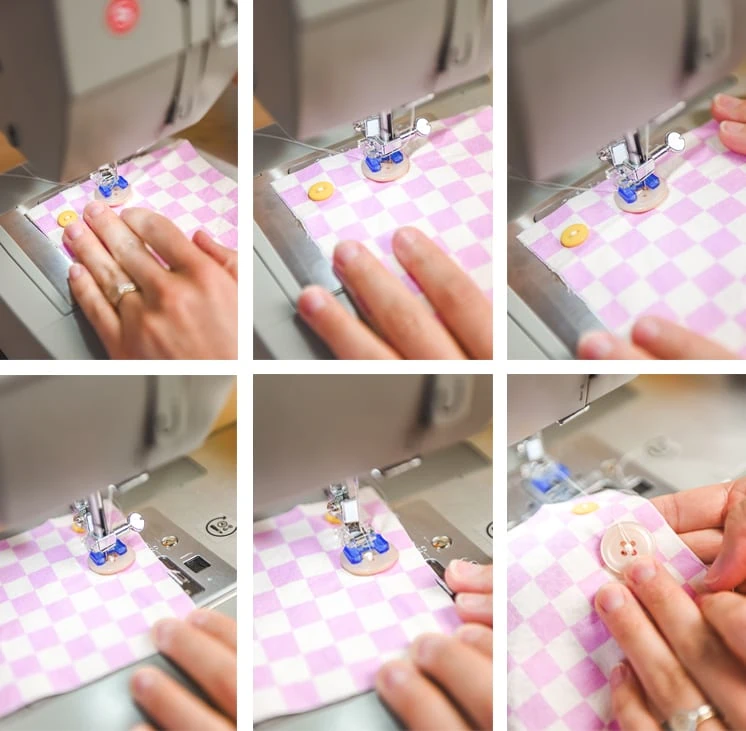
- First, switch out the regular presser foot for the button foot. This is the small, blue-tipped foot. Make sure the blue tips are facing towards you.
- Now you need to change your settings. Make sure your tension is normal, the stitch width is at about 4, stitch length is 0, and stitch is set to zig zag.
- Next, slide your fabric and button into place beneath the presser foot. Drop the presser foot to hold in place.
- Now, slowly turn the hand wheel one rotation to make sure the button’s holes are aligned with the zigzag stitch. Once you’re sure everything is in place, you can press down on the foot pedal until the button is securely in place.
- For buttons with four holes, simply sew two holes at a time, then rotate your button and fabric to sew the remaining two holes.
- Then, clip threads and you’re done!
How to Hand Sew Buttons
You may be wondering: why would I need to hand sew buttons if I can use a machine? First, knowing how to hand sew buttons is an awesome skill to know if you don’t have a machine handy. It’s also great for projects with buttons that need a little extra strength, like the button at the top of a zipper fly on pants. That’s because hand sewn buttons are usually less likely than machine sewn buttons to fall off over time.
Here’s how:
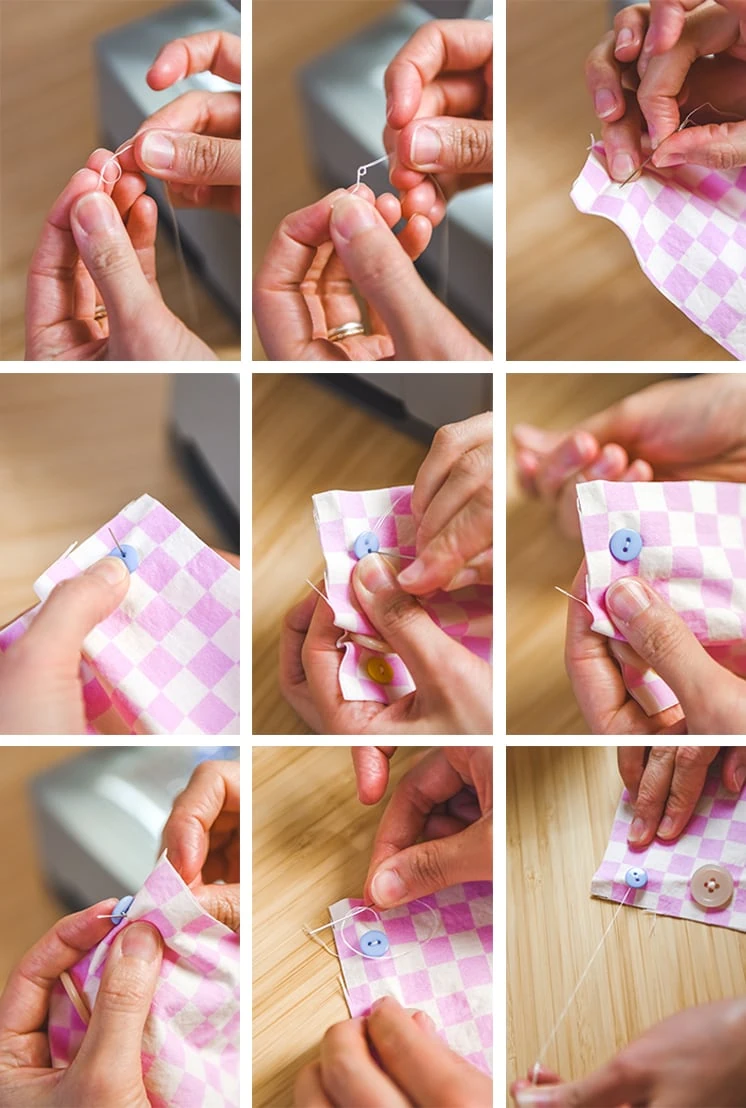
- First, pull a length of thread as long as you need, thread through a hand sewing needle, and double knot at the ends. It’s best to double your thread for this kind of thing.
- Next, holding your button in place, poke your needle up through one of the holes from back to front.
- Now, poke the needle down through the other hole to the back side, making sure to pull the thread taut as you go.
- Keep looping the thread around through the holes until sufficiently secure.
- Now poke the needle through to the front of the fabric but not through the hole this time. Keep the needle underneath the button.
- Last, loop the thread around the button and tie a knot. Repeat, then clip threads.
- Done!
Project Inspiration
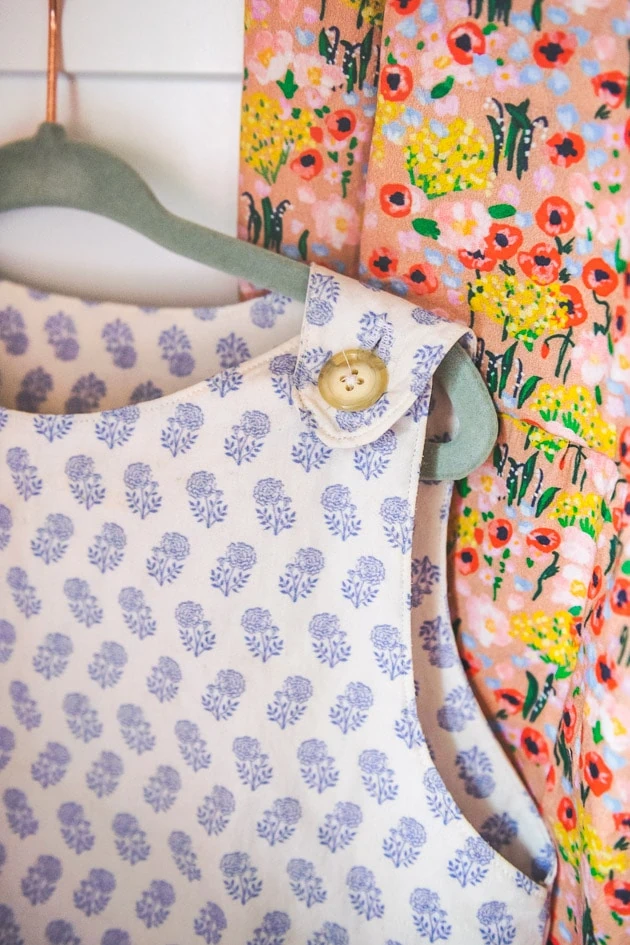
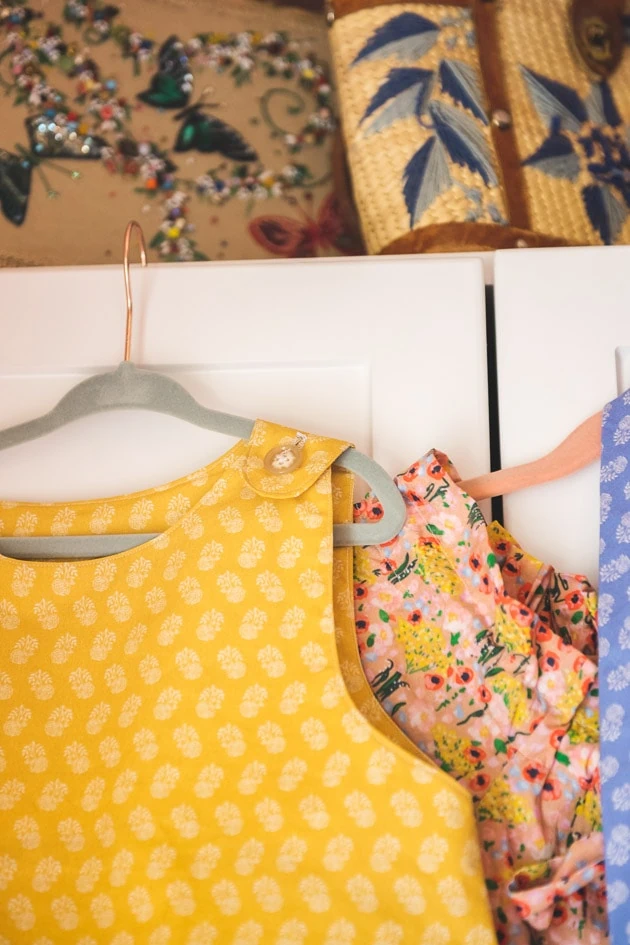
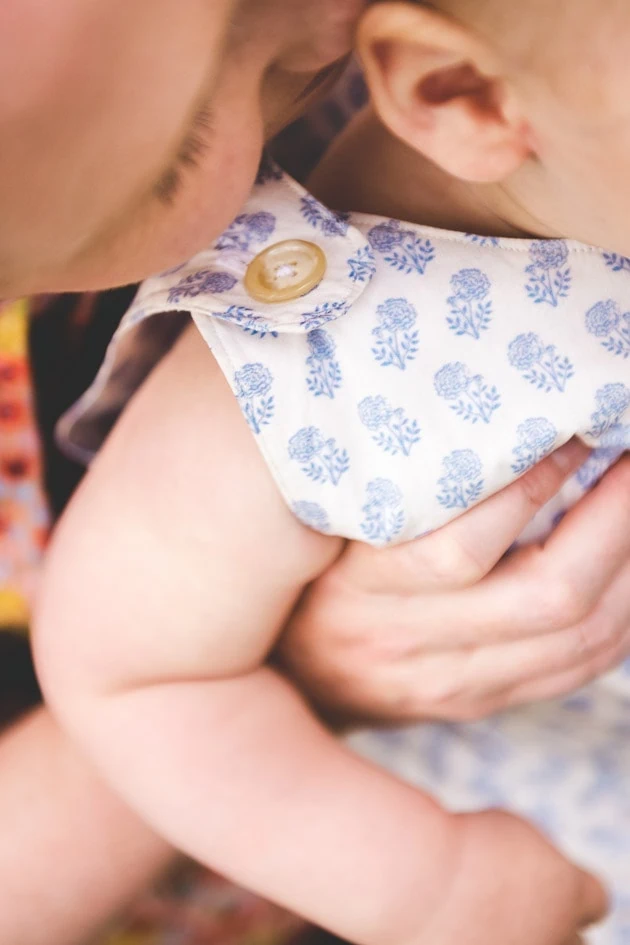
Now that you can sew buttons, apply them to these projects from our archives. Try these simple Rainbow buttons (perfect for pride month)! Oh, and remember these adorable rompers we made for Jasper and Felix for Easter? It’s the perfect way to test out your button and buttonhole skills.
What are you going to do with your buttons and buttonholes? Let us know in the comments!


