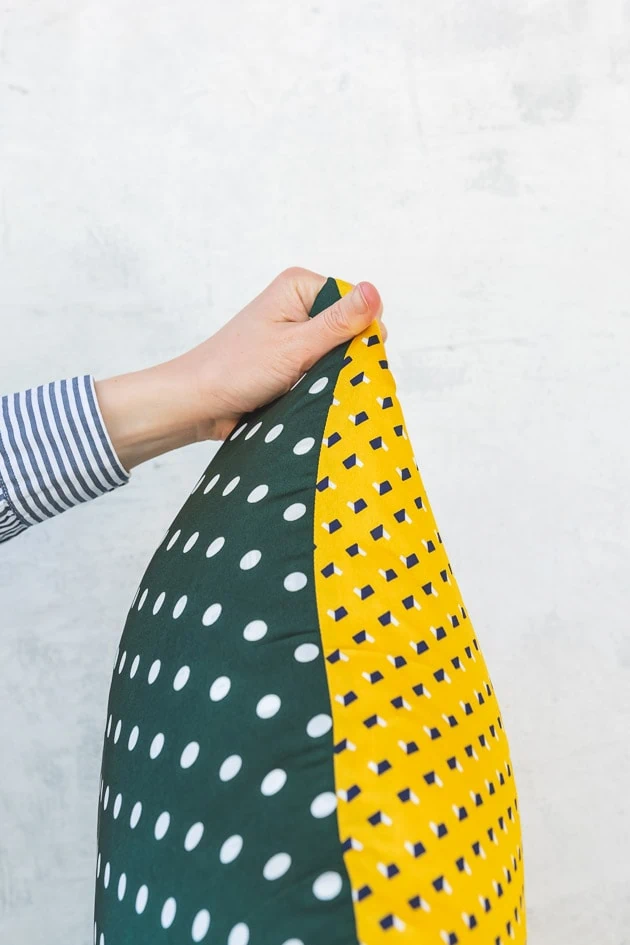
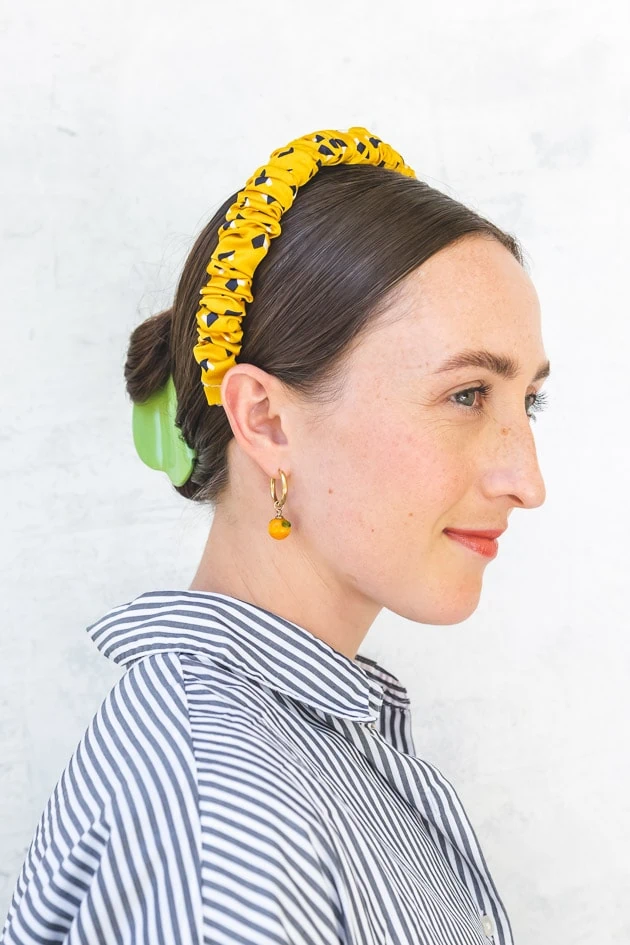
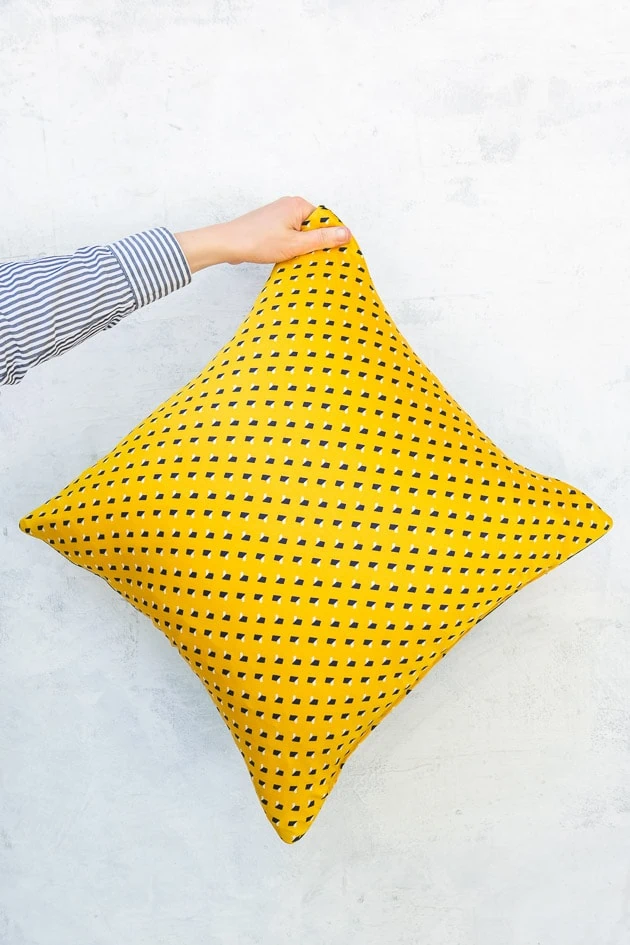
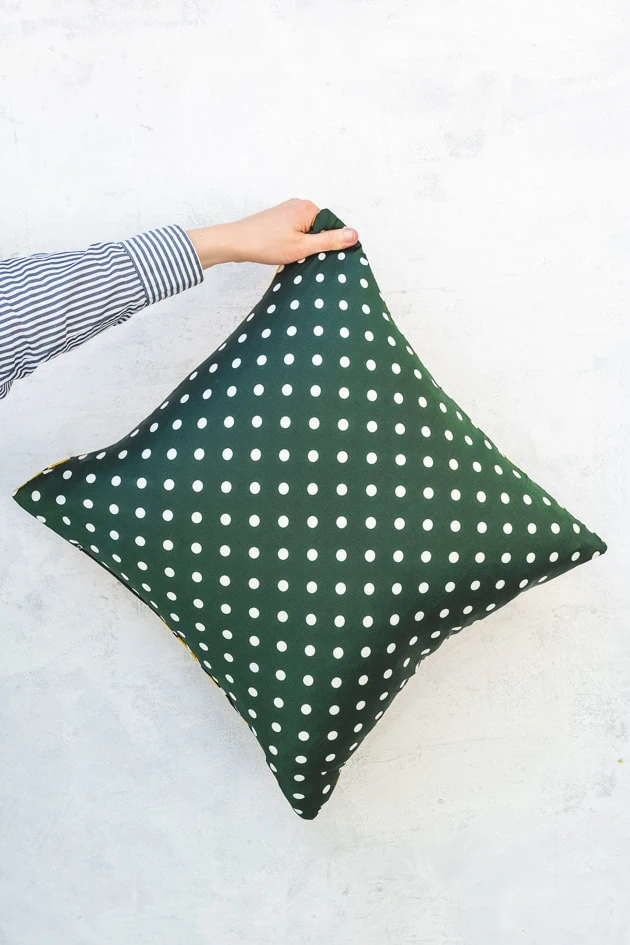
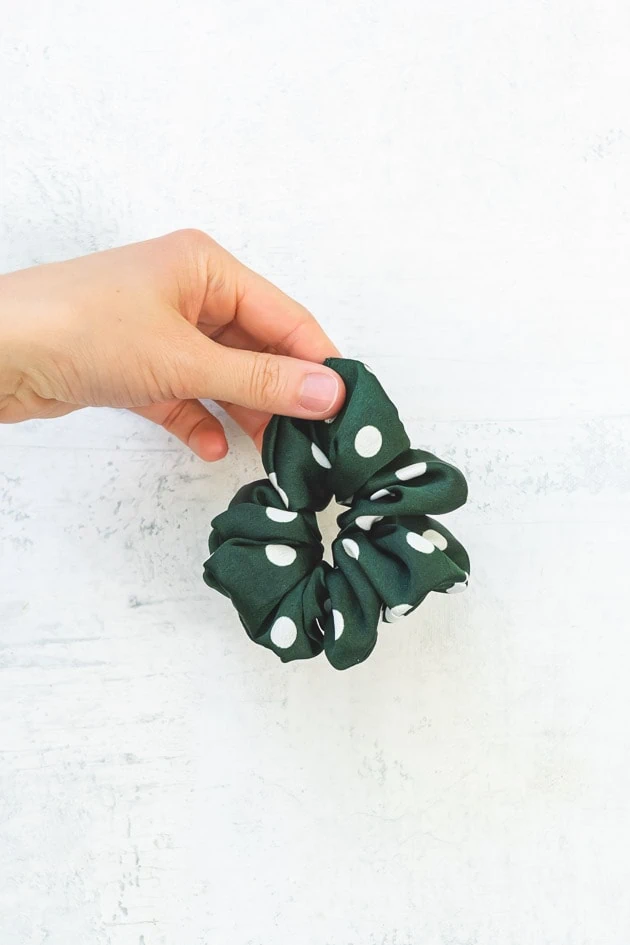
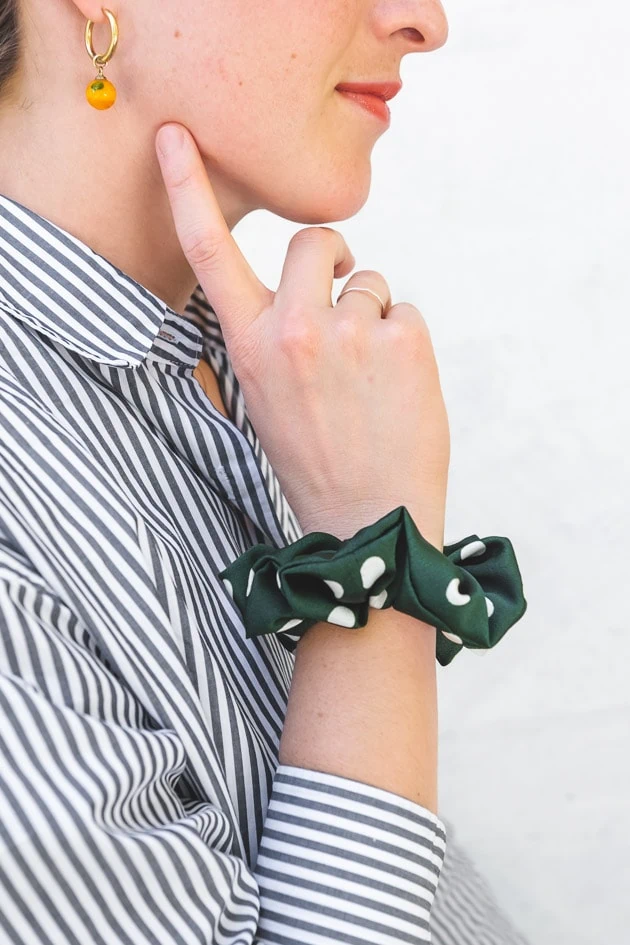
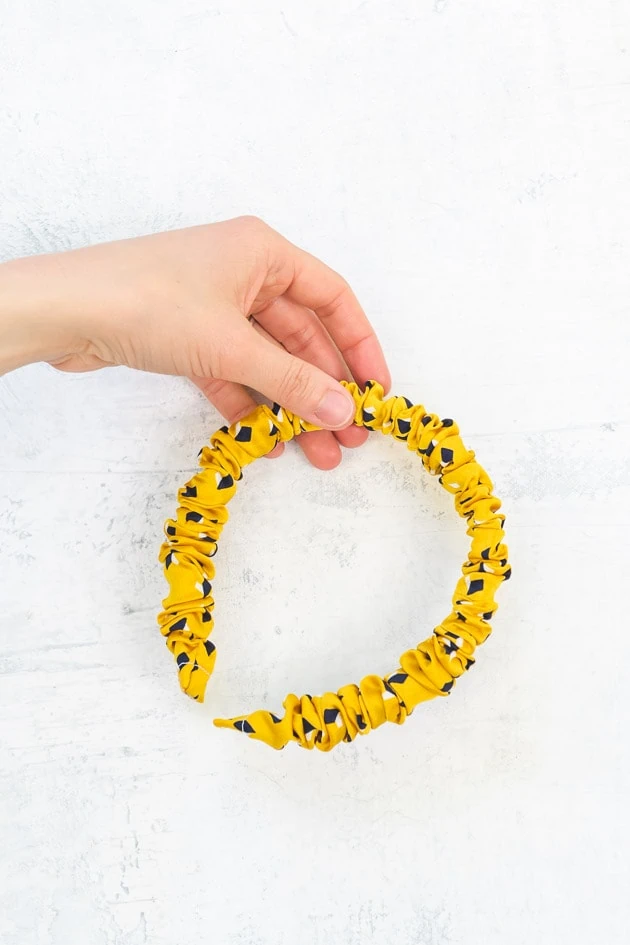
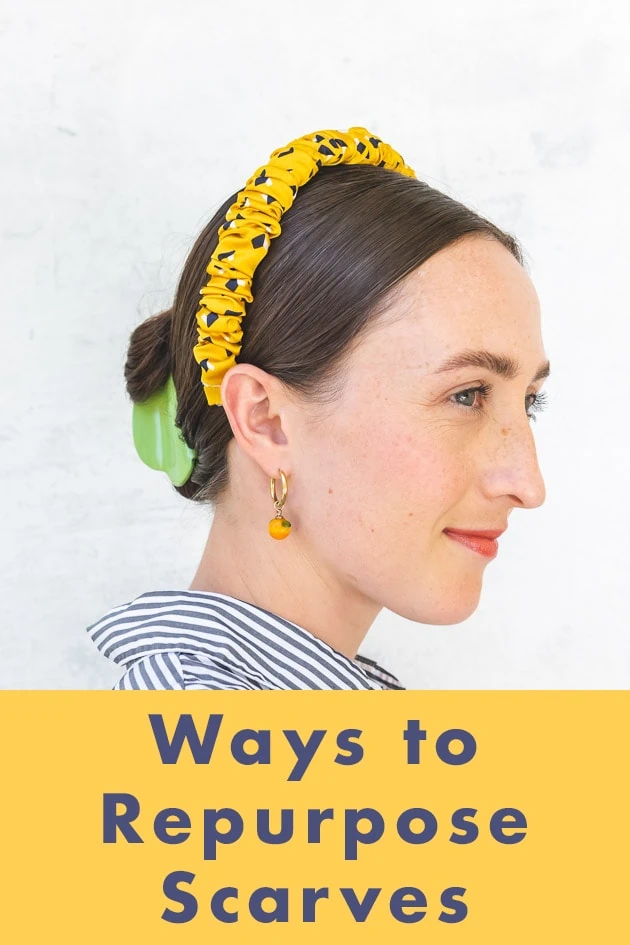
A while back, I bought these adorable scarves. I thought they’d be such a great staple for so many outfits! But for some reason I just didn’t wear them much. They ended up sitting in a corner gathering dust. Well, I hated to see them go to waste, and it was way too late to return them. So I consulted the team and we thought of some great ways to repurpose scarves! Scroll down to see how to add these quick and easy hacks to your repertoire!
Materials:
Repurpose Your Scarves Three Ways
Today we’ll be showing you three ways to repurpose your old scarves: throw pillow, scrunchie, and headband. First up? a throw pillow.
Throw Pillow
Making a throw pillow just made sense, since the dimensions of many scarves are about the same as the dimensions needed to make a pillowcase for a 20” throw pillow. The scarves we started with were roughly 18” square. That was perfect for a 20” throw pillow since generally you want your pillowcase to be a few inches smaller than the dimensions of your pillow insert for maximum fullness.
How to Make a Throw Pillow From Scarves
- First, take two scarves and line them up, right sides together.
- Now, sew all the way around the perimeter of your square with a ¼” seam allowance. Leave a gap that’s almost the length of one side of your square so you can flip it right side out after. Make sure to backstitch at the beginning and end.
- Next, iron the opening down along the seam allowance. This will make sewing it together easier later.
- Now flip your pillowcase right side out and stuff your insert inside.
- Last, pin the opening and sew it closed using your sewing machine. For this, it helps to stuff the pillow down so you have a little room to work with as you sew.
- All that’s left is to adjust the insert and make sure it’s evenly distributed inside the pillowcase. Done!
Scrunchie
Next we’re making a scrunchie. This is such a simple little project that doubles as the perfect accessory! Here’s what to do:
How to Make a Scrunchie From Scarves
- Cut a piece of fabric that’s 4” x 30”. Also cut a piece of elastic that fits loosely on your wrist, plus a few inches. Ours was around 8”.
- Next, finish the 4” ends with a zig zag. Then fold and iron both ends over about ¼”, wrong sides together.
- Now fold the fabric together lengthwise, pin and sew along the raw edge.
- After it’s sewn, flip it right side out with a safety pin.
- Then feed the elastic through, again with a safety pin.
- Once the elastic is in, tie the elastic ends together in a knot.
- Now layer one end of the fabric over the other and sew down the width to secure in place.
- Done!
Headband
Last but not least, here’s a simple headband tutorial! It’s so simple, but looks lovely when finished. Like the scrunchie, it’s a great accessory, especially if you’re in need of a little pop of color. The great thing about this headband is that it’s almost the same as the scrunchie with a few variations. Here’s how to make your own:
How to Make a Headband From Scarves
- First, pick a headband to use as your understructure. Then cut a piece of fabric that’s 4x the headband width and roughly 55” (give or take a little depending on how full you want it).
- Next, follow scrunchie steps 2-4.
- Once your fabric casing is flipped right side out, you can feed the headband through one end.
- Secure that end with hot glue, then feed the headband all the way through the casing so it’s scrunched up evenly. Make sure the seam is on the bottom of the headband so it doesn’t show when you’re wearing it.
- Now, just secure the other end with a dab of hot glue and you’re done!
More Inspiration
Loved this post on ways to repurpose scarves? If you’re looking for more sewing hacks, try our Sewing Basics series! You might also love this tote to drawstring backpack hack. Also, see some of our recent blog projects like this DIY Fanny Pack, DIY Pencil Case, or Casetify Inspired Fabric Projects.


