

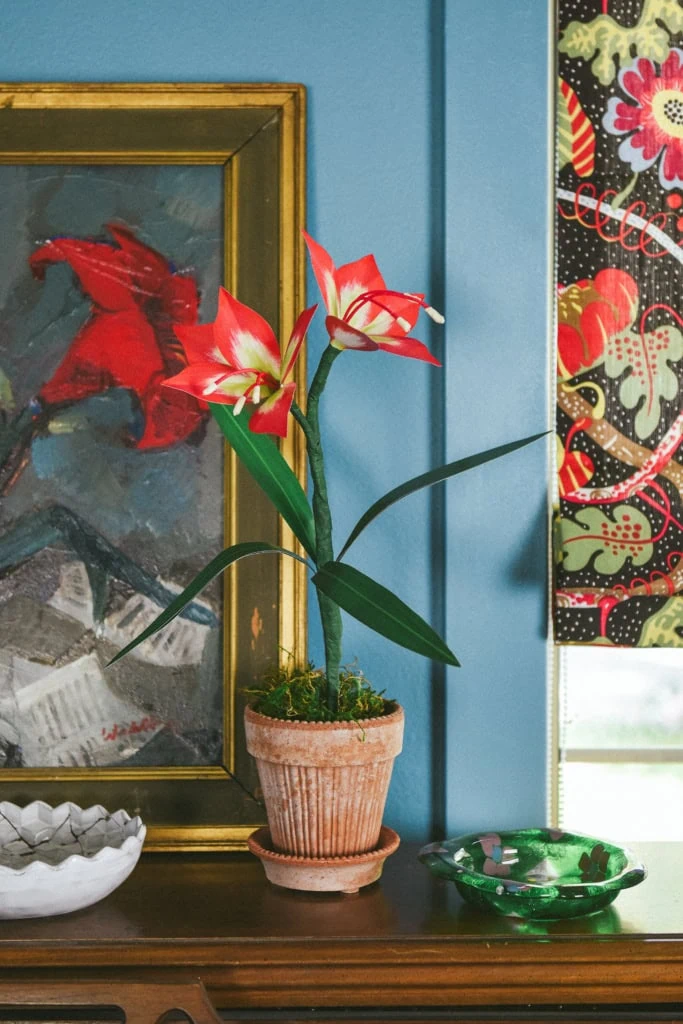
I love having an Amaryllis in my home every holiday season. It’s such an elegant bloom to brighten up the winter months. If you want a version that lasts all season (and beyond), a paper amaryllis is the perfect project! In this tutorial, we’ll walk you through each step of making your own paper amaryllis, from shaping delicate petals to assembling the final bloom. Let’s get started!
Amaryllis Instructions
Difficulty:
Confident BeginnerTime:
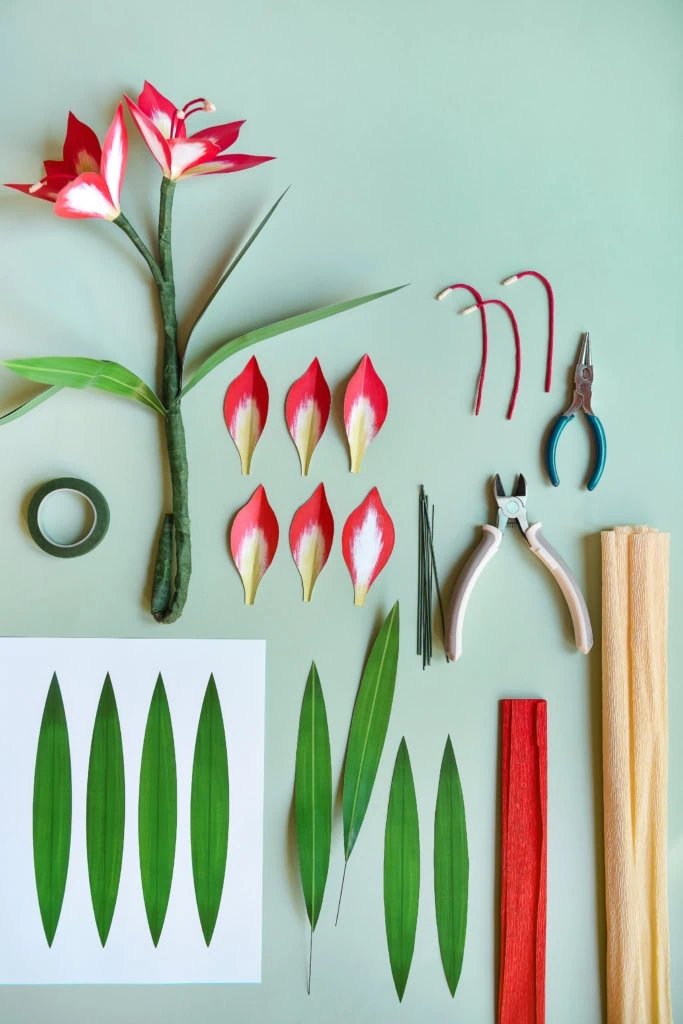
1.5 hoursMaterials
Instructions
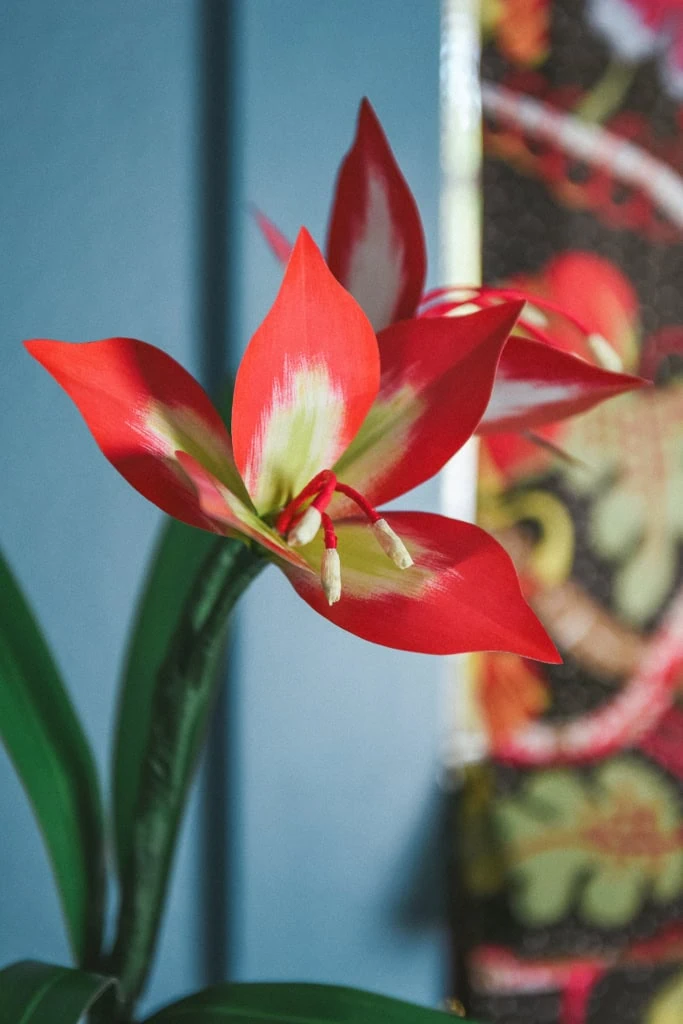
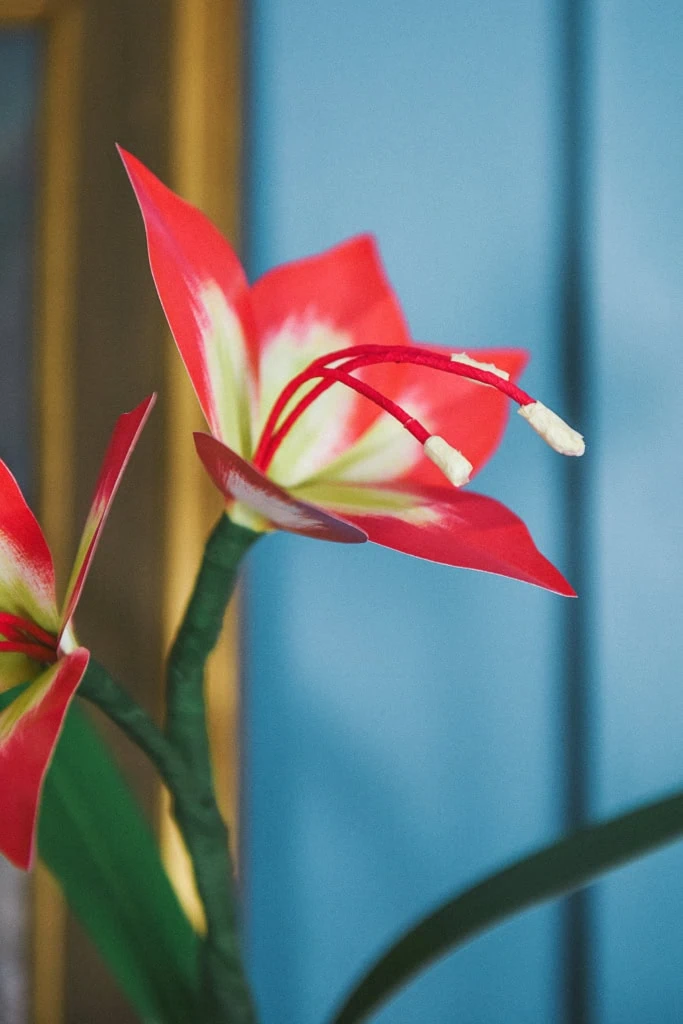
Center of the flower
- Cut 3 pieces of green floral wire about 5 inches long.
- Roll up the light yellow crepe paper until several layers are folded and cut 1/2 inch across the bottom. Do the same for the red crepe paper. This will allow the crepe paper to stretch width-wise and be easy to use for the rest of the tutorial.
- Wrap each piece of wire in red crepe paper, leaving 1/2 inch of the wire exposed. Wrap that final 1/2 inch in light yellow crepe paper. Do this by putting a small dot of hot glue at the beginning and then wrapping and holding it taut and securing at the end with another dot of hot glue.
- Gather all 3 pieces and wrap them together with green floral tape at the bottom. You can wrap the bottom inch.
- Repeat for each flower you plan on making.
Petals
- You can choose if you would like to use the bigger petals or the smaller petals that are in the printable. Print off the petals double-sided flipping on the long edge. Determine how many flowers you want to make and what size petals you will be using and print accordingly. I made mine with 5 petals.
- Cut all of the petals from the Amaryllis printable. Fold them in half lengthwise.
- Gently bend them around a pencil, so they are slightly curled.
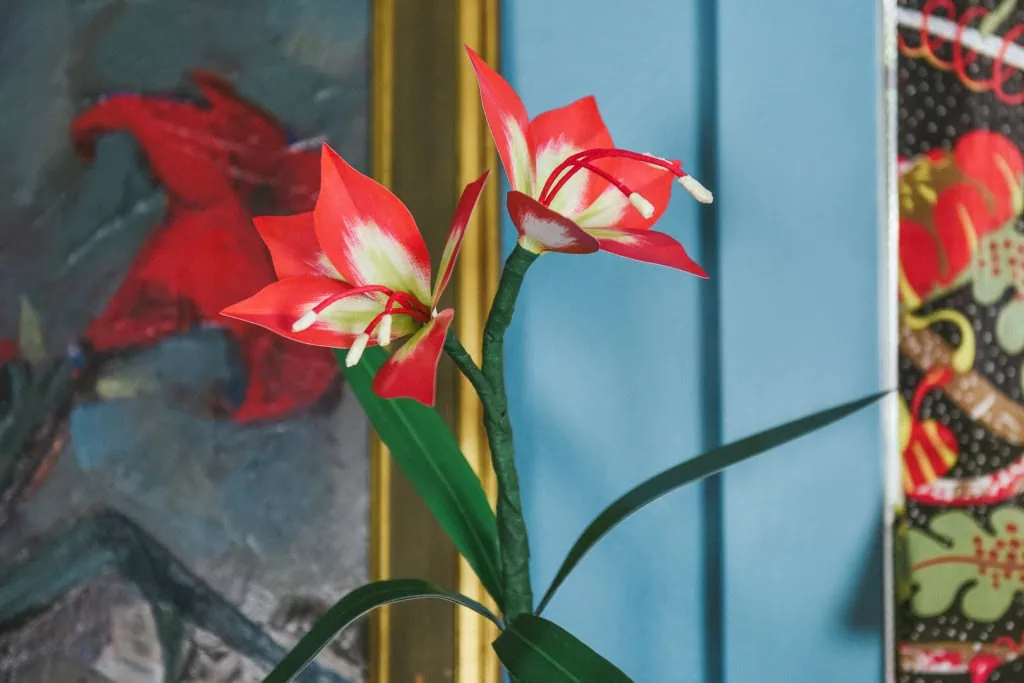
- Hot glue one petal at a time to the wrapped stamen center of the flower. The first three petals will make the first set. Then overlap the next few petals. Gently arrange the petals to bloom out.
- Wrap floral tape around the base of the petals to secure them.
Stems & leaves
- For the stem, cut a piece of thick floral wire/hemp wire about 10 inches long. If you want to make the step thicker you can use very thin pipe insulation or crumpled paper to create extra thickness and then wrap in green floral tape.
- Attach the flower to the stem by wrapping it with green floral tape.
- Print one of each leaf pdf double-sided flipping on the long edge.
- Cut out all of the leaves.
- Cut 3 pieces of green floral wire about 3-4 inches long. Use tape to adhere a wire to one of the leaves, leaving an inch of wire hanging out from the bottom. Then use rubber cement or hot glue to glue a leaf on top of the wire and leaf. The wire should be sandwiched between the leaves. Repeat with the remaining leaves.
- Gently bend leaves and arrange them around the hemp wire. Attach with the green floral tape and wrap the rest of the stem.
Presentation
- Insert a piece of floral foam into a pot.
- Push the wire stem into the floral foam.
- Cover with moss.
- Voila!
Floral projects for Christmas
Once your paper amaryllis is complete, you’ll have a handmade piece that adds a touch of elegance to any Christmas table, mantel, or gift wrap. The best part? These flowers never fade! You can enjoy them year after year or gift them to someone special.
We’ve got plenty of tutorials to help you decorate your home with as many flowers as possible! Check out our list of paper flower tutorials here. Use this paper flower gift topper tutorial to wrap presents with this season. Create this paper poinsettia wreath for your door or this holly & berry garland to hang in your home. If you’re looking to give your potted paper Amaryllis as a gift, check out these 3 ways to wrap a flower. The possibilities with paper flowers are endless!
Be sure to follow our Instagram for Christmas project updates and inspiration!