When it comes to adding meaning into decorating, I find that it tends to be the last thing on my mind. I’m usually so concerned with just making it look pretty with fun colors and patterns that I tend to forget about the people in my life and how to treasure the memories. I know. Awful.
The older I get the more deliberate I’ve become in collecting things into my life that will add value into my life. This holiday season, I’ve teamed up with the brand new company, Preservation & Creation, to create two ways to do this. Preservation & Creation believes that you can preserve and inspire a life with a purpose intended for others through their memory keeping prints, books, and canvases straight from your phone.
I don’t know about you, but I can’t recall the last time I printed a photo. I have over 13,000 photos floating around on my iphone, but not one preserving the memories I’ve made over the year. I wanted to change it up this year so I came up with two ways to preserve memories this holiday: 1) photo card name tags for a table setting and 2) advent calendar photo cityscape.
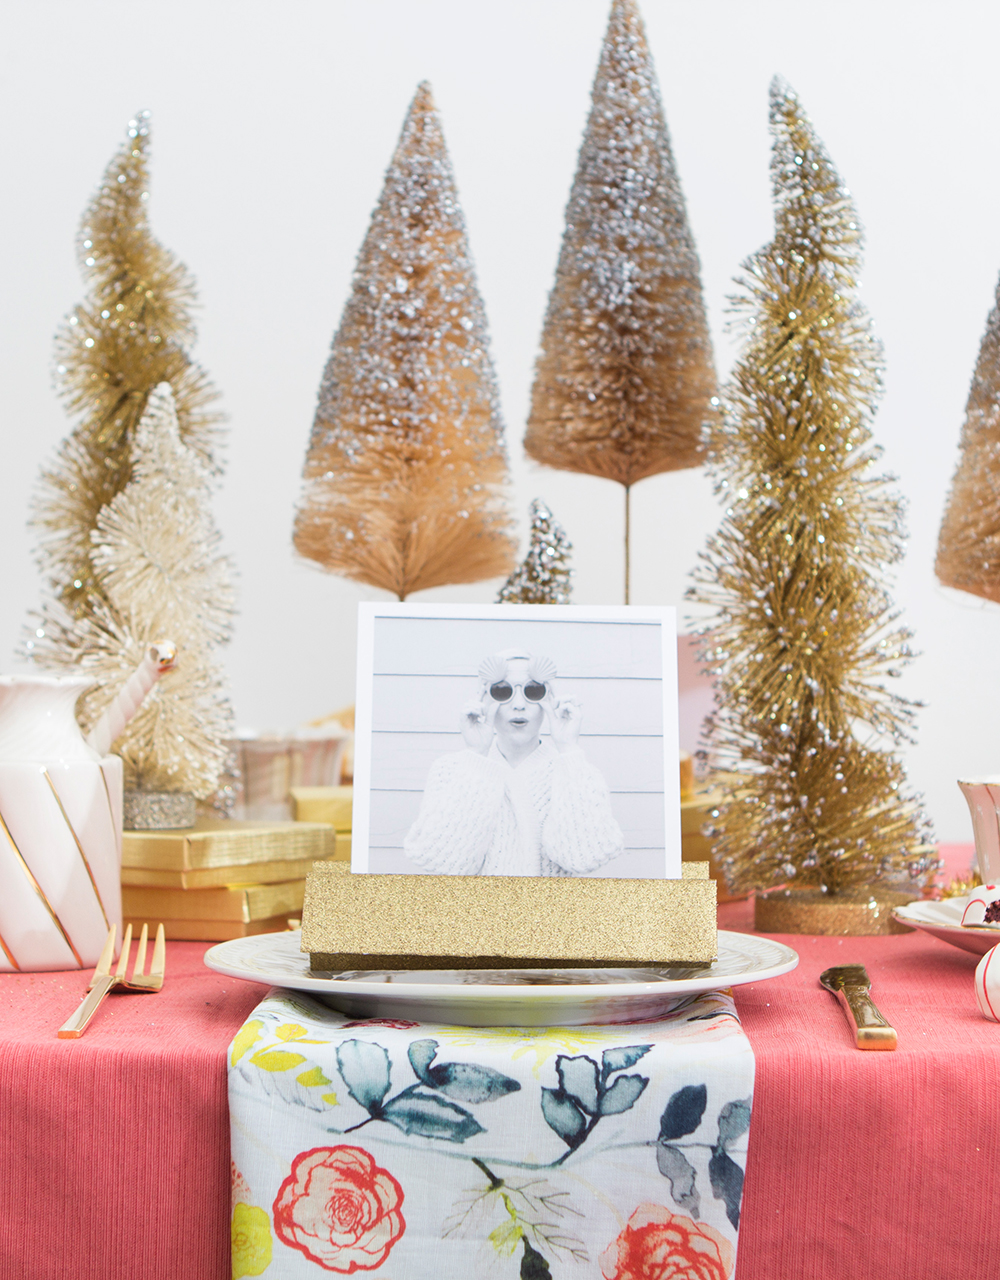
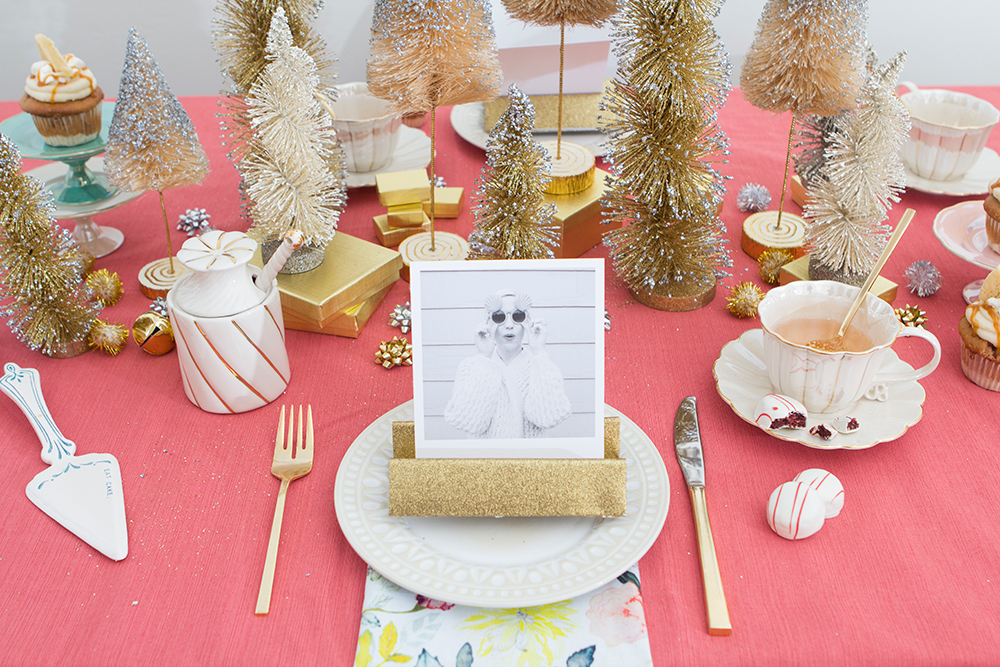
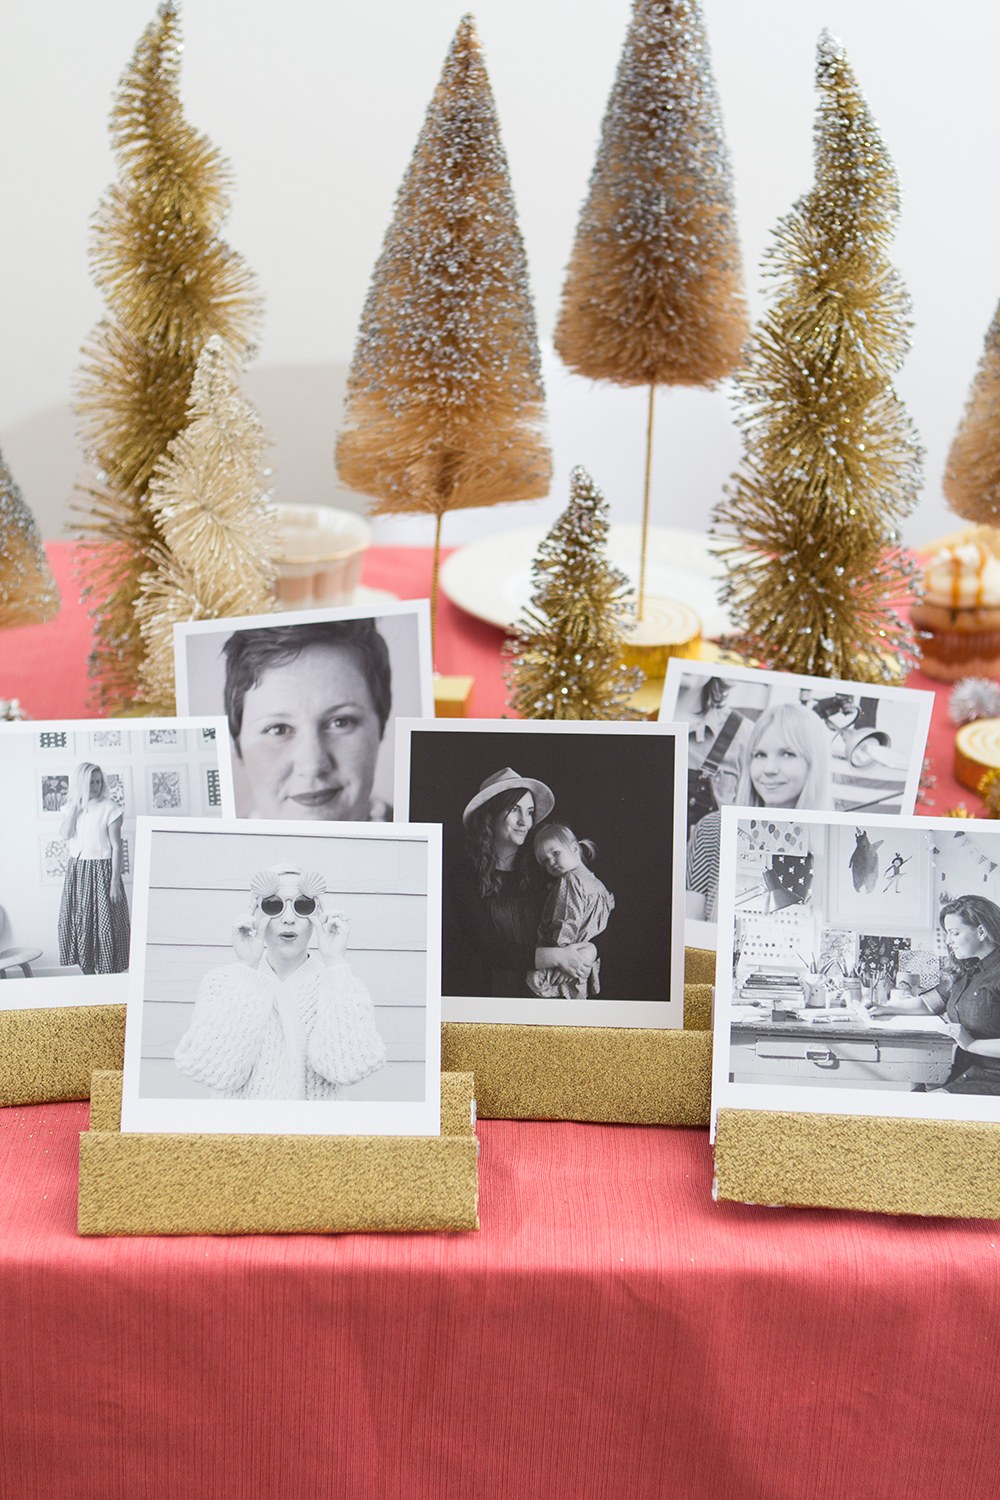
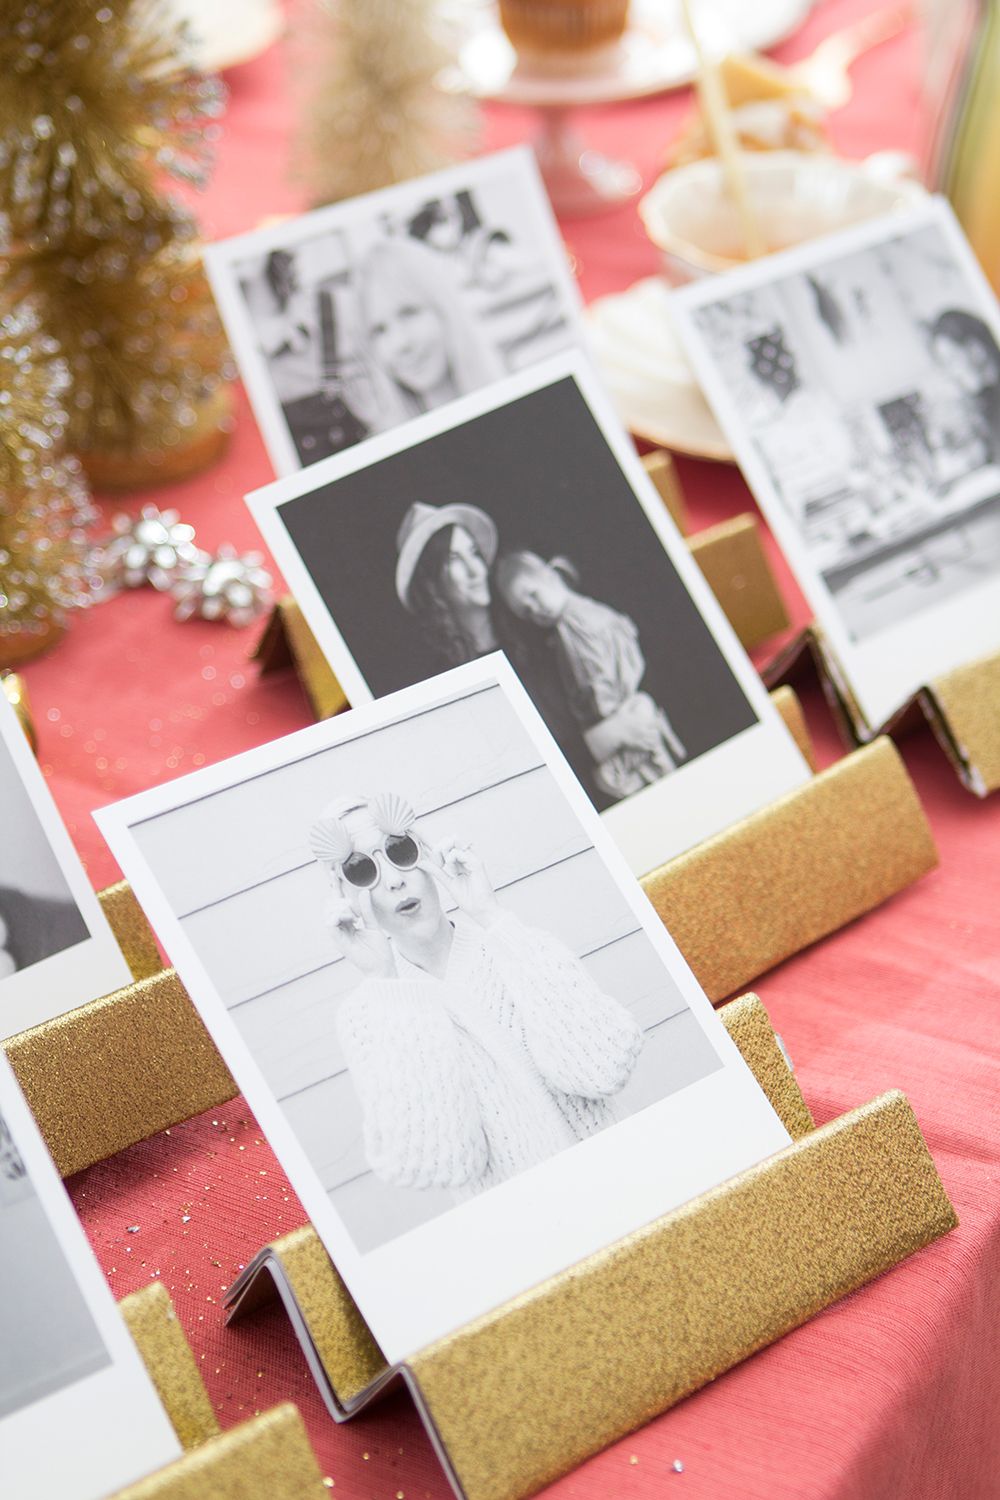
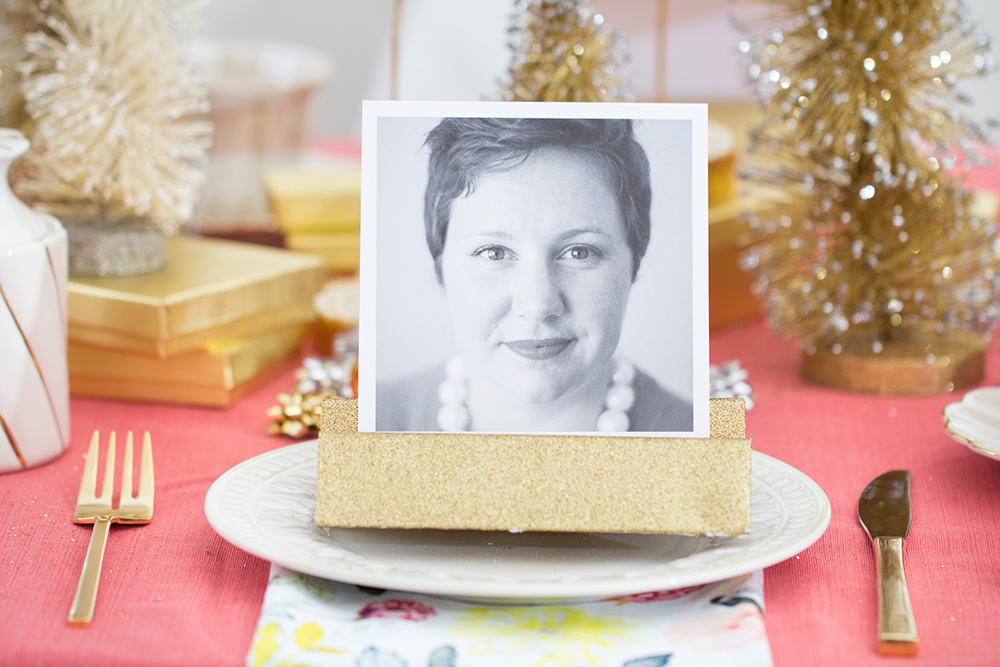
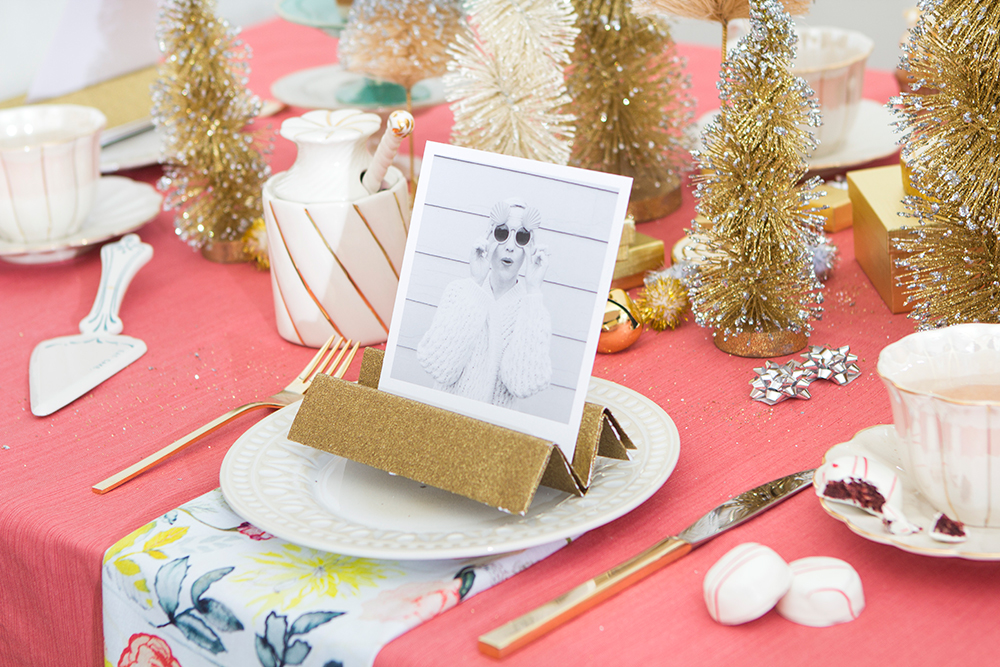
I’m hosting a party for some of my dearest friends and am excited to use Preservation & Creation’s photo prints to use as name tags, instead of writing down their names. The fun part about photo name cards is that they can take it home as a fun favor.
I retrieved my friends’ pictures off of Instagram and Facebook and changed them into black and white so that they would all feel more cohesive. I used Preservation Creation’s easy uploading system to add them into their site and easily print them off.
Sure enough they showed up just a few days later on beautiful heavy matte paper.
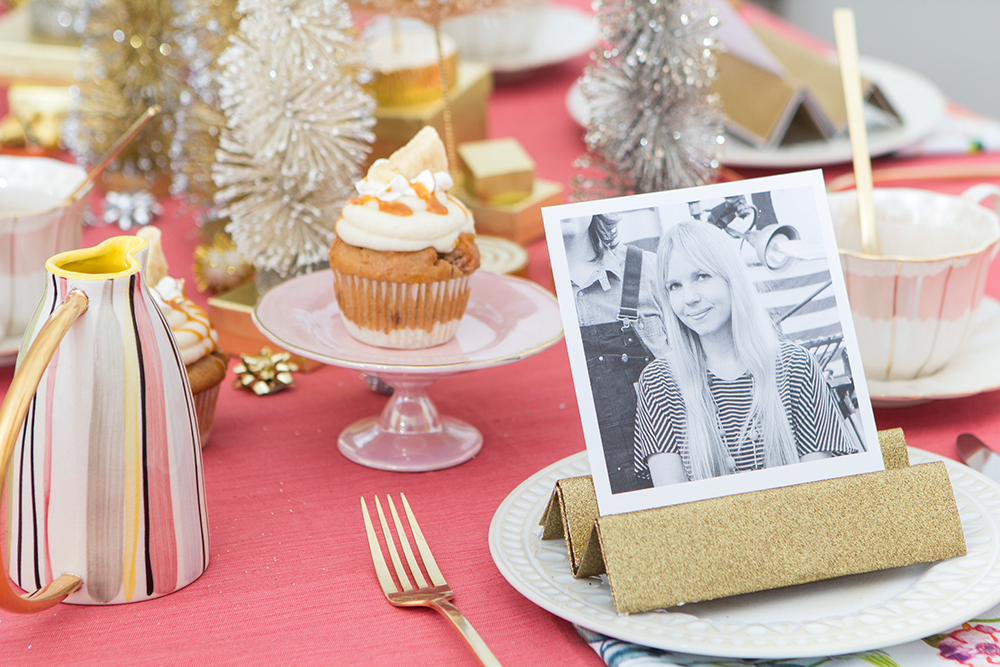
DIY origami name tag holder
Additionally, I added a simple origami name tag holder to each setting with scrapbook paper. They are so easy! And take less than a minute to make.
Materials: scrapbook paper (I used gold), bone folder
- Fold your square paper into quarters creating a smaller square. My paper was quite thick so I used a bone folder to matte each fold down.
- Fold this smaller square in half.
- Holding the crease in your hands, fold one flap back and the other flap forward so all the edges are even.
- Place your photo card in the center.
Each place holder becomes about 6” wide, which fills the plate nicely.
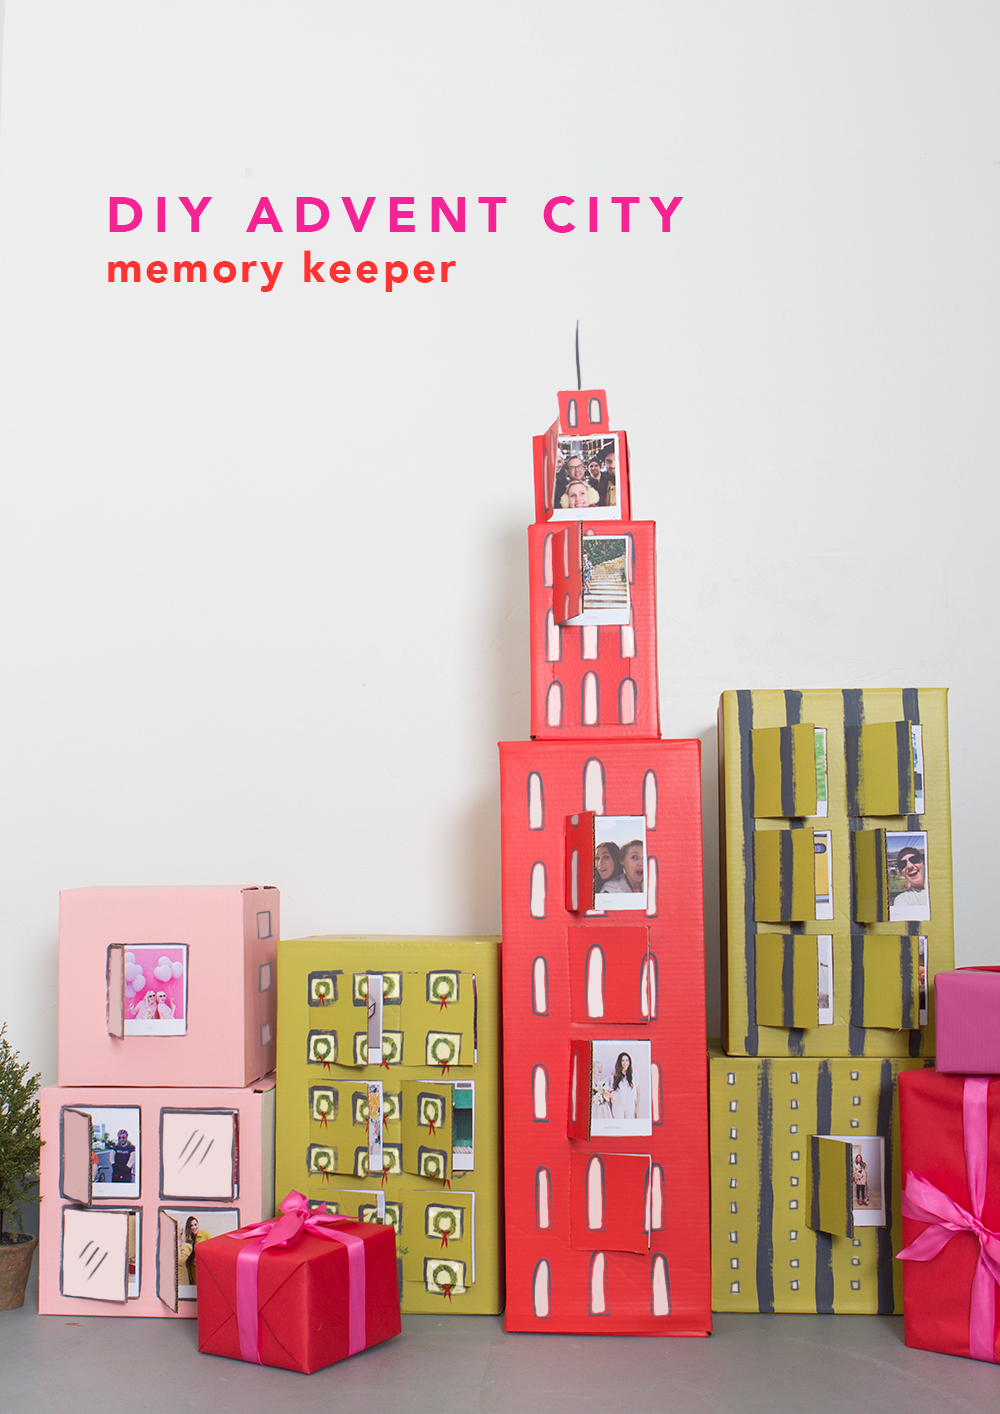
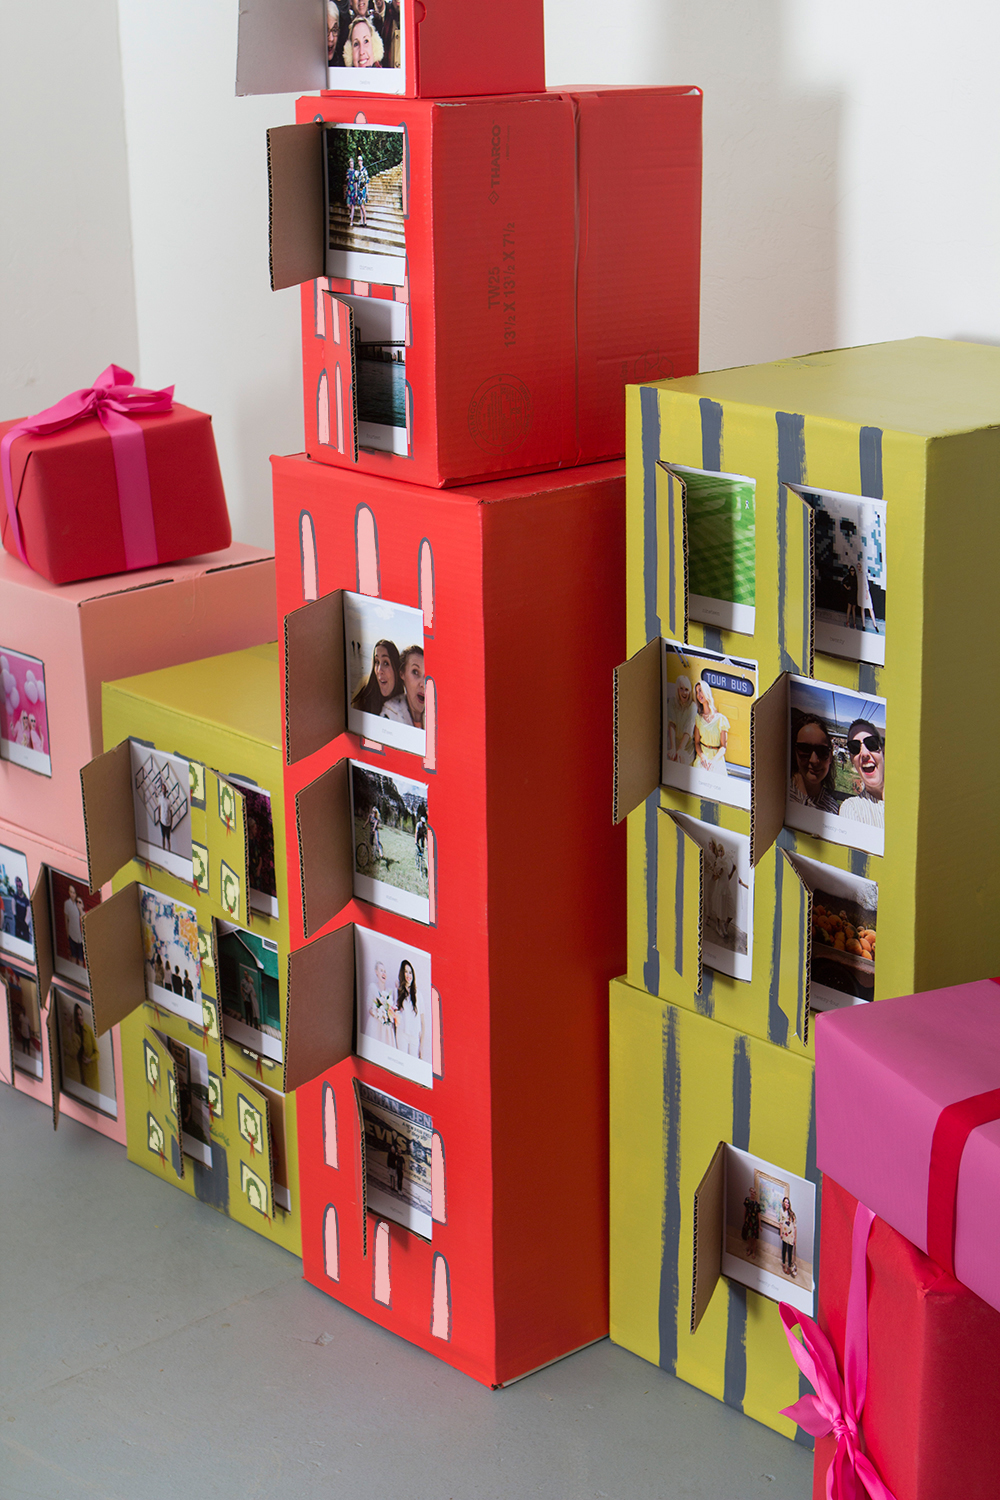
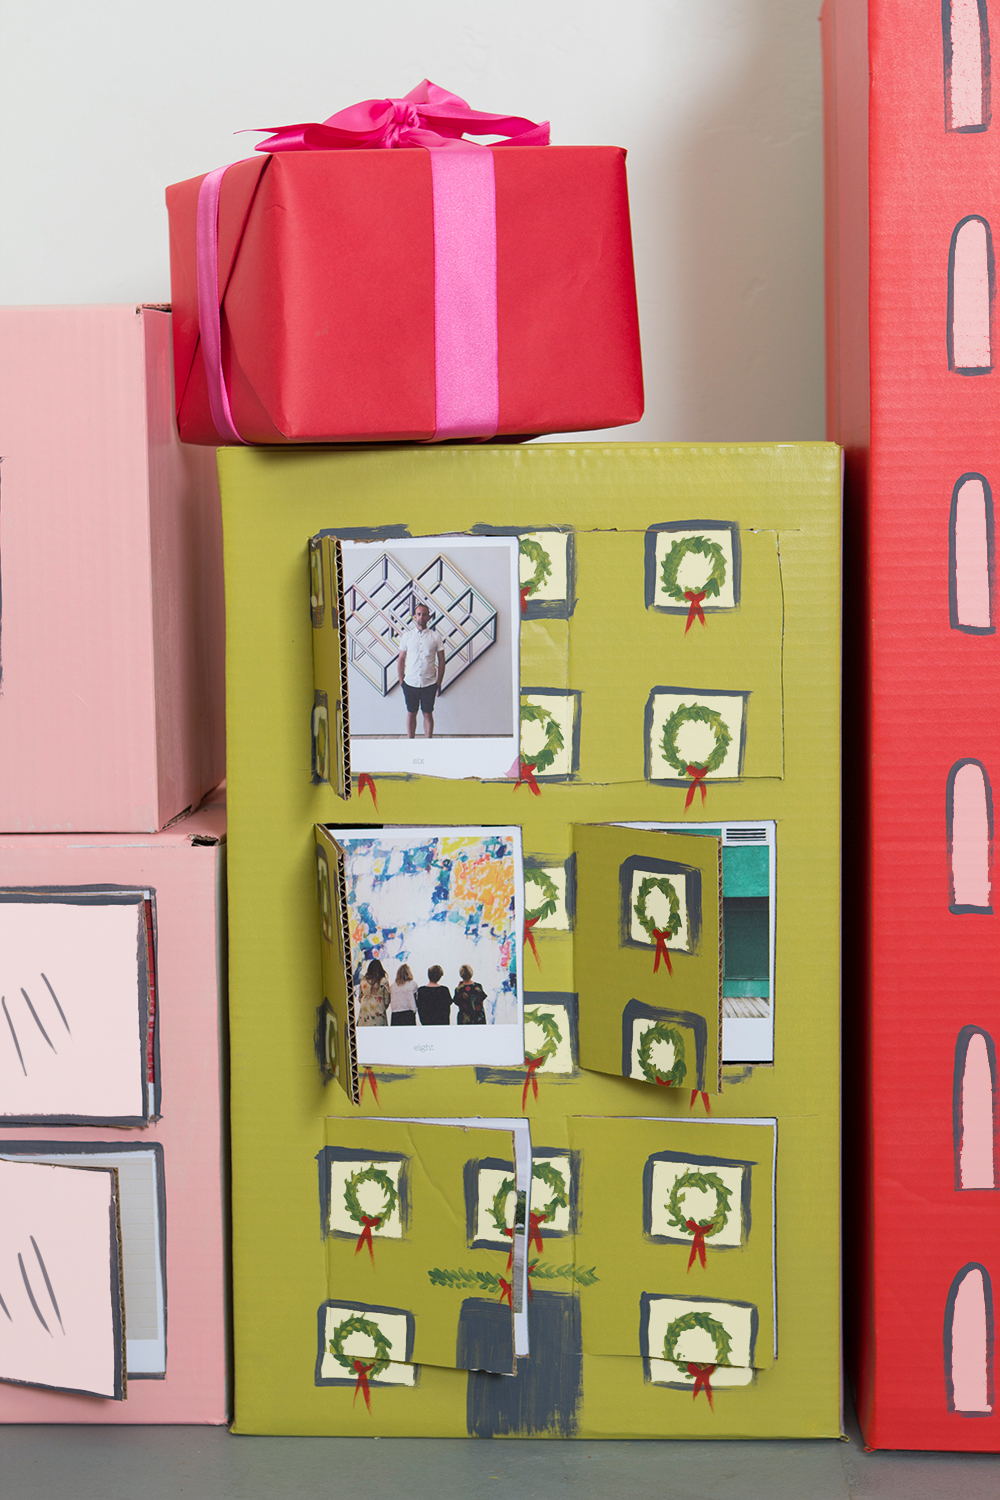
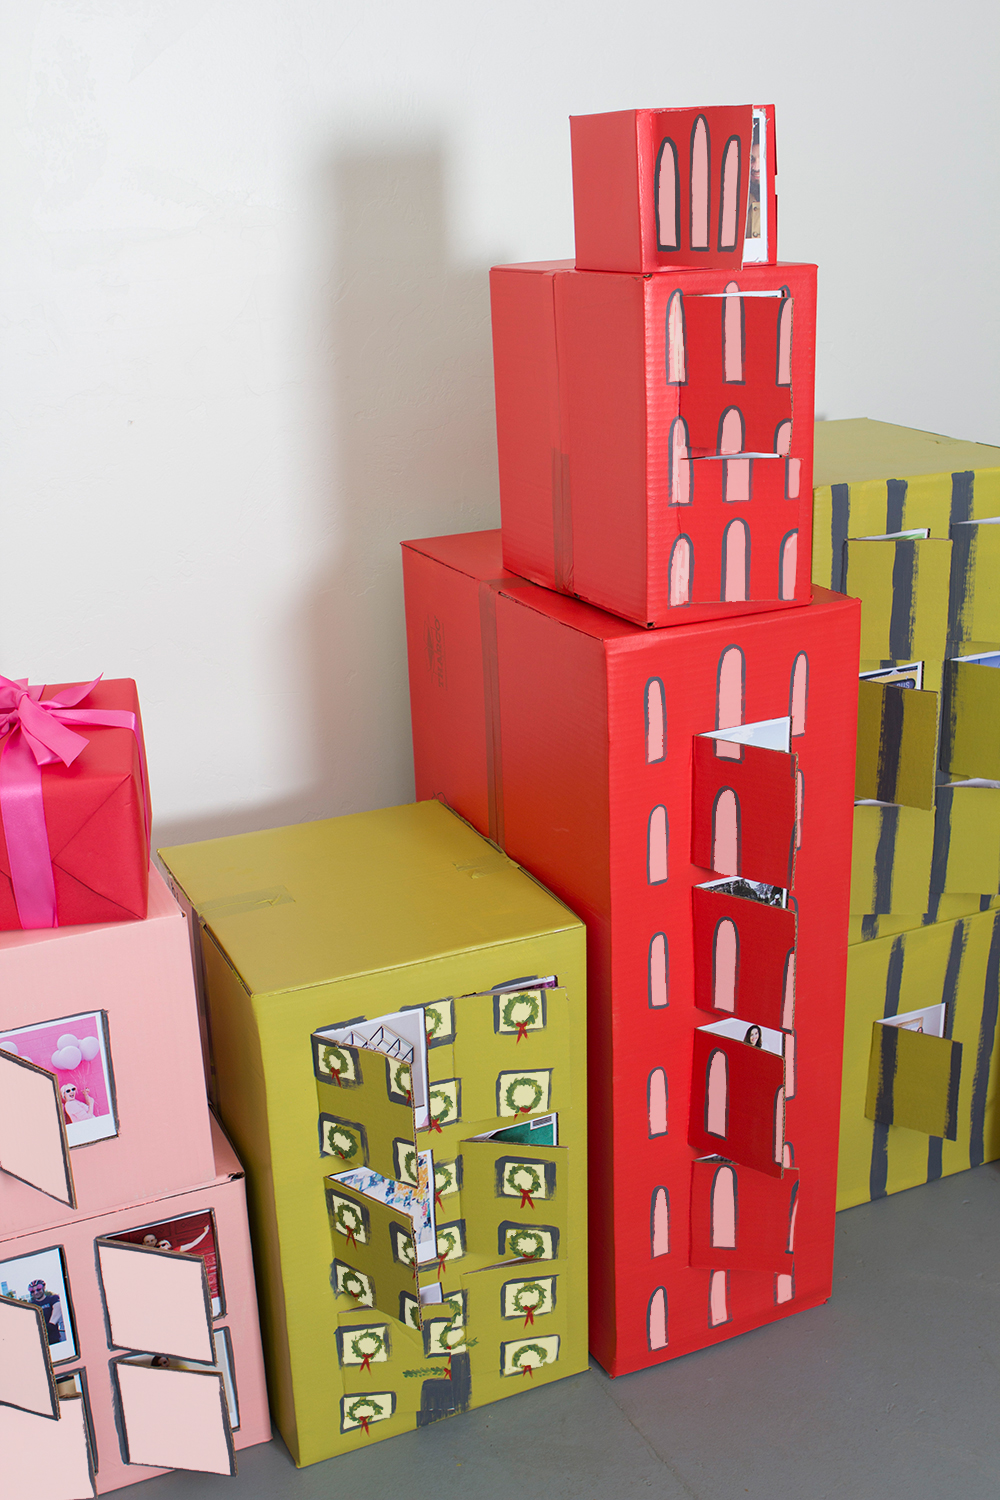
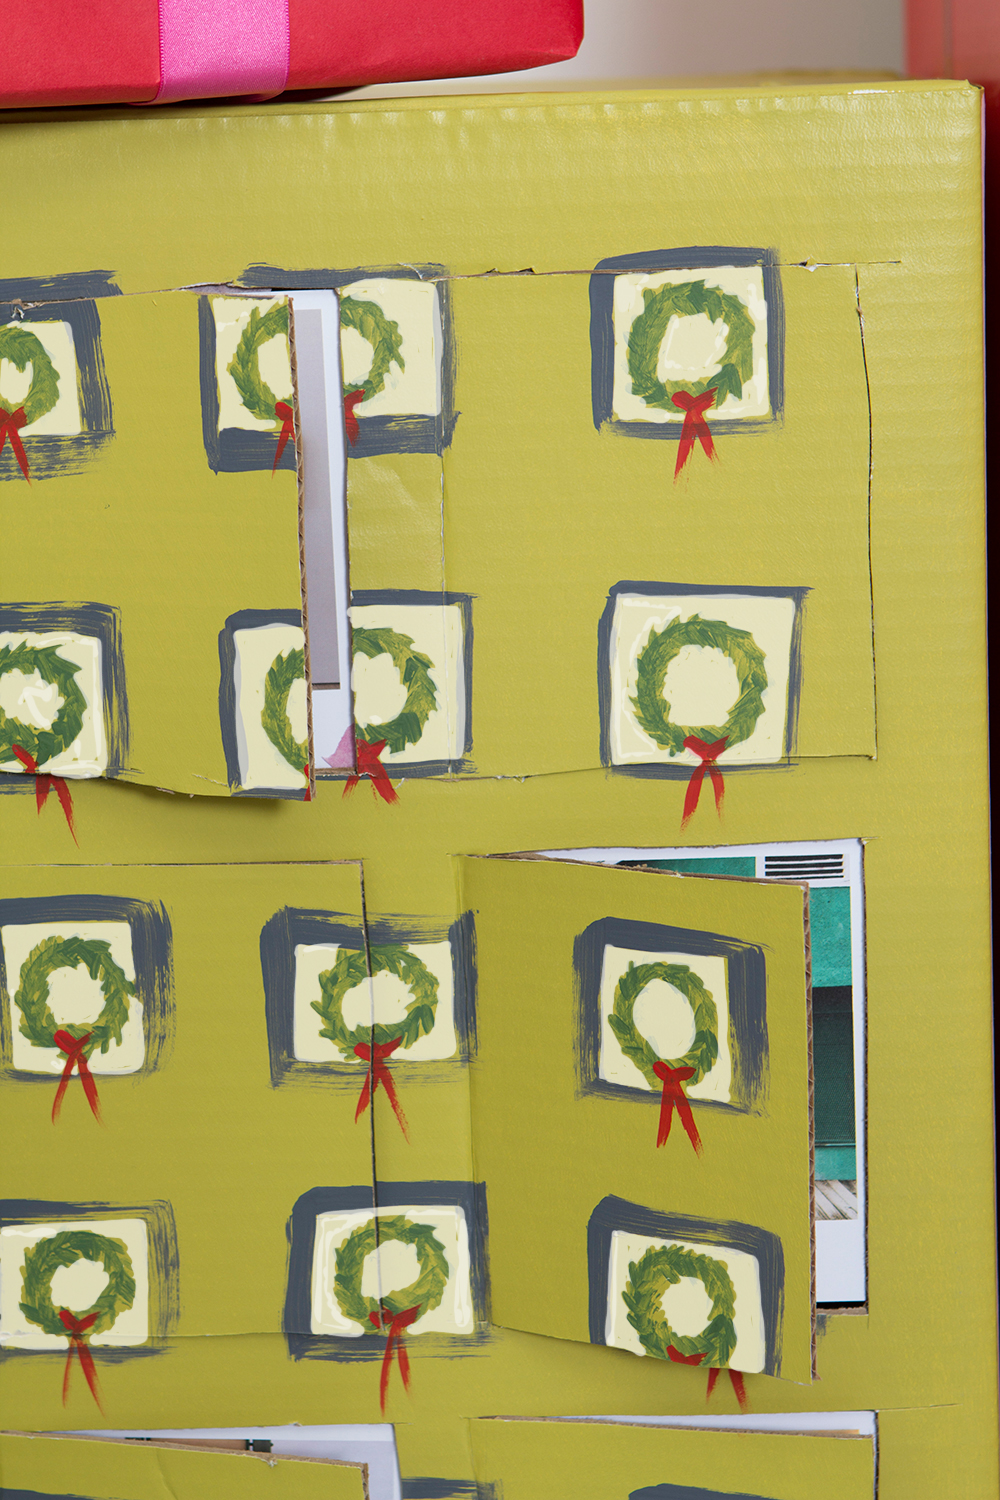
You might remember the cardboard city scape I created here. I’ve been thinking of a way to create a useful purpose for it in my own house so I turned it into an advent calendar, much like the traditional chocolate calendars, but this time it’s HUGE!
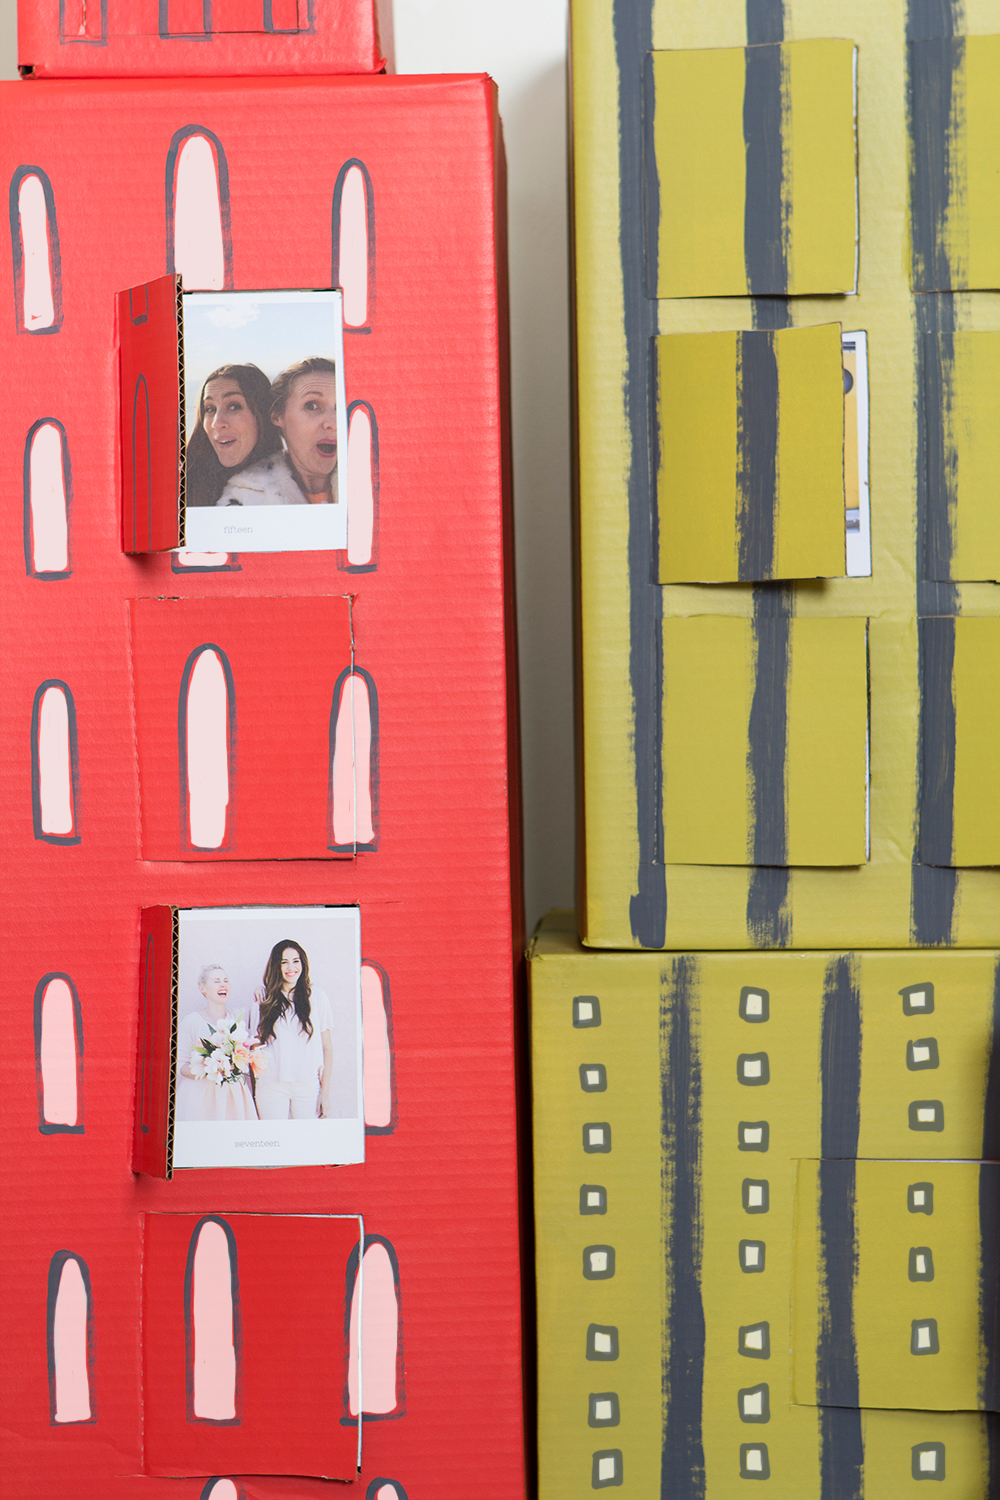
I spent hours going through my iphone photos selecting some of my favorite memories from the past year and printing them off with Preservation & Creation’s Journal prints, which allows you to add text to each photo. I added each day of the advent calendar onto each print, “day one”, “day two”, etc. When it comes time to open up a “window” it would be great fun to be reminded of a fun memory.
Materials: cardboard boxes in a variety of sizes (make sure they stack on top of each other), duct tape, paint (we used house paint to paint the boxes), paint brushes and roller brushes, craft knife, masking tape
- Start by taping up your boxes.
- Figure out what configuration of boxes you’d like and which order you’d like to place them in. Place the photos on top of the boxes, making sure you have enough boxes to fit 25 photos.
- Decide what color each “building” will be.
- Paint each box. You’ll probably need two coats so make sure you give yourself enough time on each. We used roller brushes to paint the boxes so it would go on smoothly.
- Draw your windows on with a pencil and then paint them on. Get creative and use different types of patterns.
- Use one of your photographs as a stencil to know where to cut into each box. You’ll cut around three sides of the photograph. Make sure you cut slightly inside of the lines so that the opening is smaller than the photograph. We lightly scored the left side of the photo so that it would open and close easily.
- Cut a big opening in the back of the box so you can place the photos inside of the windows. Affix each one with masking tape.
With enough space in the house, this is a fun holiday decor and memory keeper.
This post is sponsored by Preservation & Creation. Thank you to the brands that keep Lars moving!


