


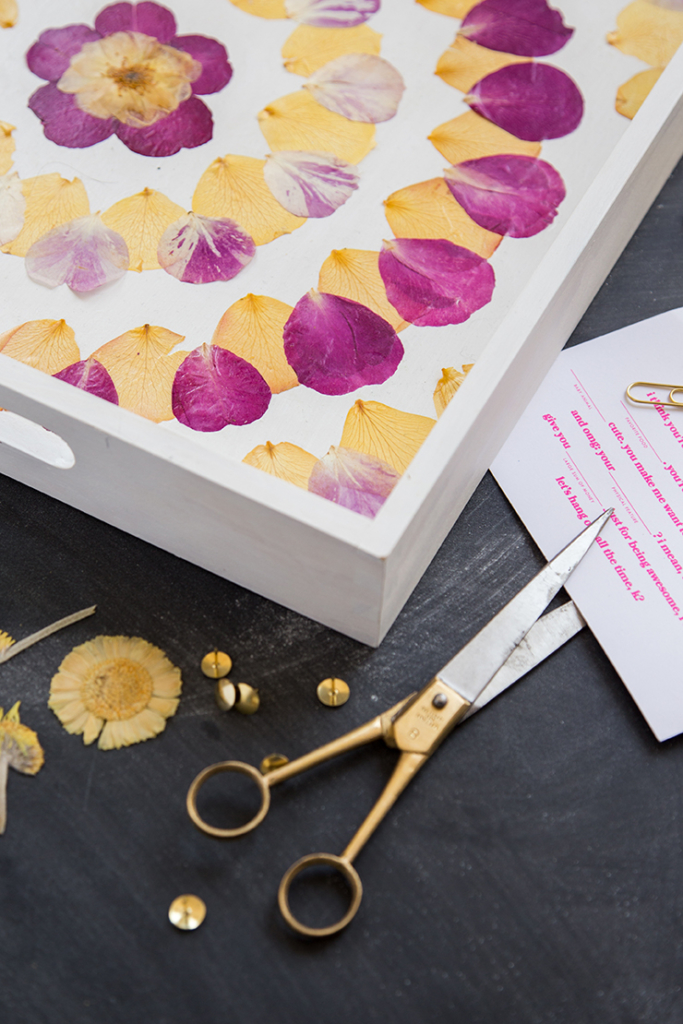
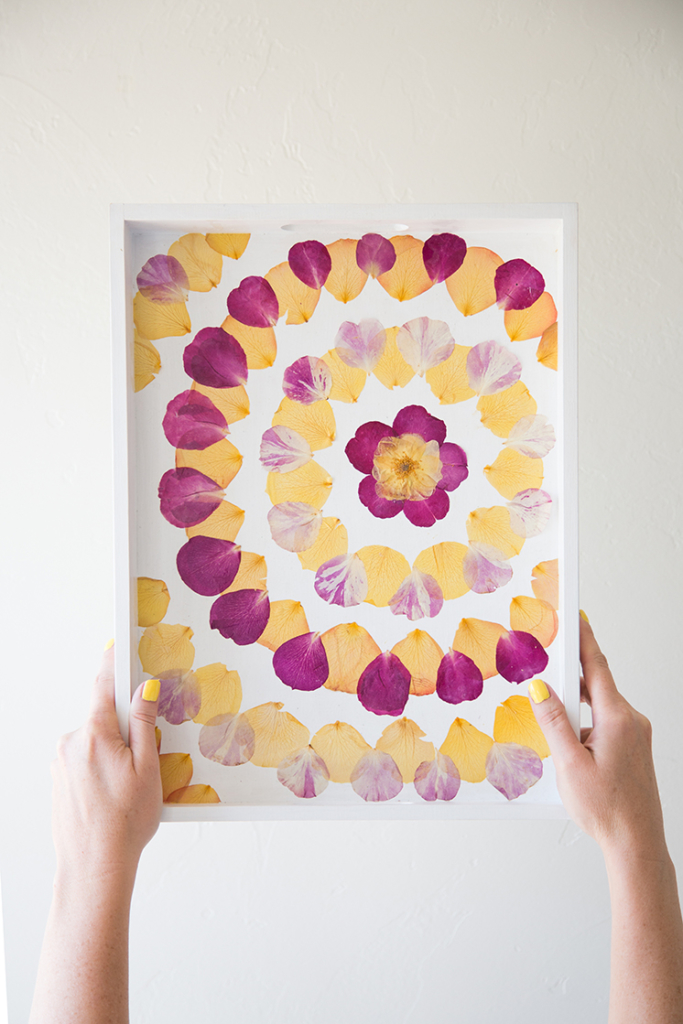
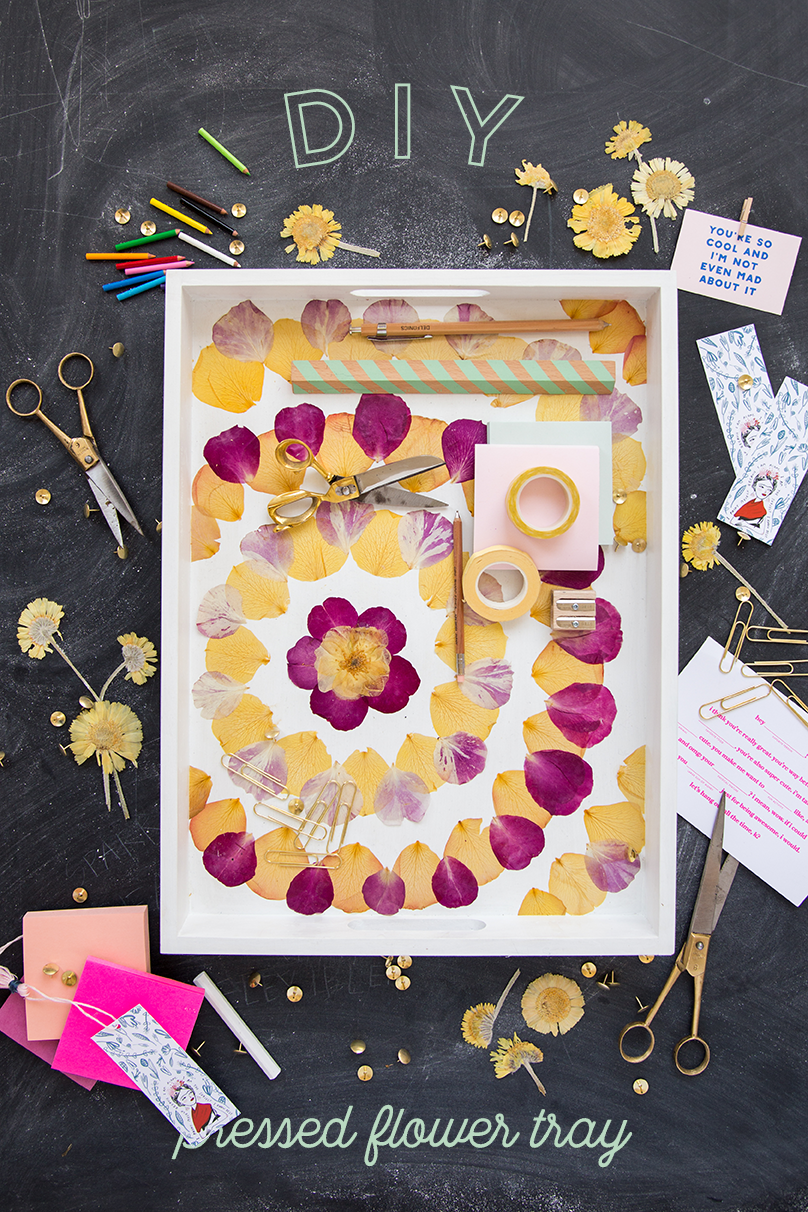
We love a project where you can turn flowers into something even better. This pressed flower tray is one of those projects! If you don’t know how to press flowers, we have this post where we show you three different methods on how to do it. It’s as easy as getting a book or getting to a microwave. Here’s how to turn those pressed flowers into a DIY pressed flower tray.
DIY Pressed Flower Tray
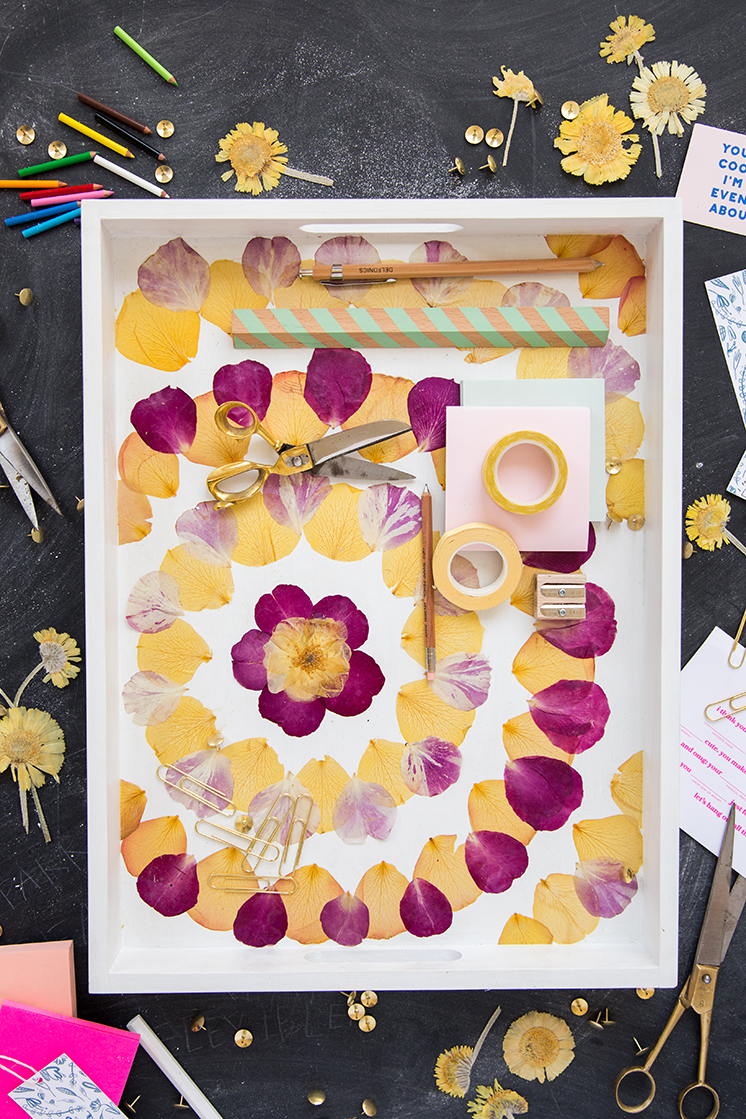
Once you’ve pressed your flowers, now what to do with them? We love a good practical object and this tray is one of them!
Until moving to Portland, Oregon two years ago, I found roses to be a bit cliché or generic. But after living through a dark, rainy winter and experiencing the explosion of flowers in the spring, I’ve come to love the joyful exuberance of roses. Plus, the variety of types of roses grown here in Portland is astounding.
Pressing flowers
Lately I’ve become obsessed with pressing flowers and I’ve found that rose petals hold up very well to pressing. The Microfleur flower press allows you to press flowers by microwaving them for a few minutes—much easier than pressing them in a traditional press for three weeks. Plus, the color of the petals remains so much more vibrant! I created this DIY as a way to showcase the vivid and varied hues of roses.
Feel free to experiment with other types of flowers- a simple arrangement of pressed leaves would be beautiful too! This project is the perfect way to preserve a flower’s fleeting beauty so that it can be enjoyed year-round.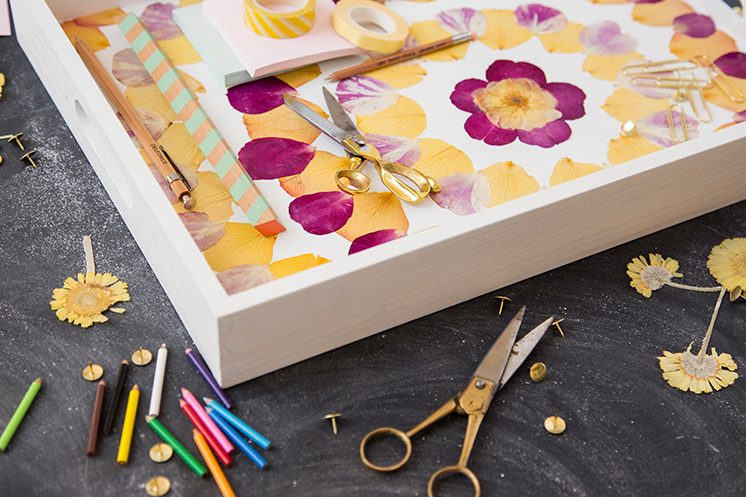
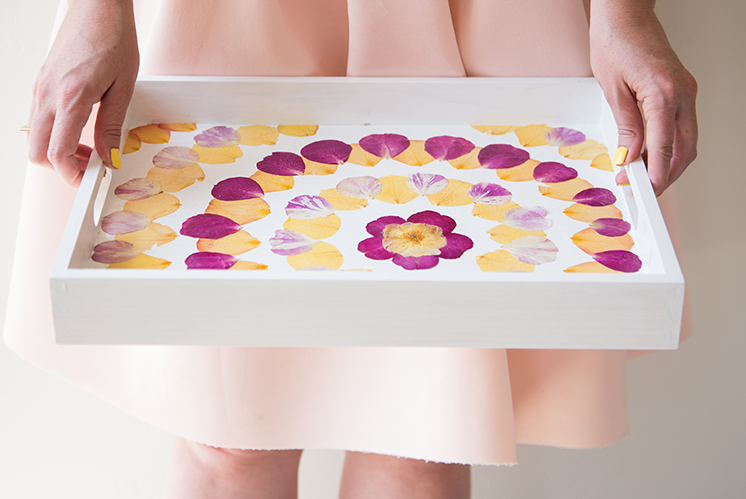
DIY Pressed flower tray
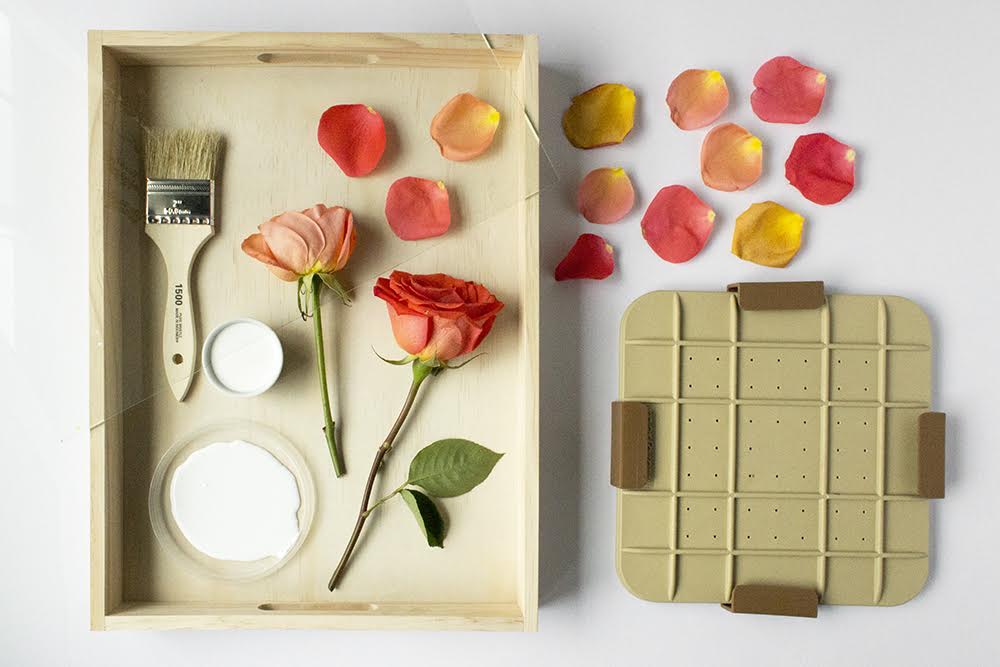
Materials:
- Microfleur flower press (or traditional flower press. See here for three different press flower methods)
- Unfinished wood tray (available at Target or craft stores)
- Glass cut to fit inside tray (can be cut at most hardware stores)
- Matte finish Mod Podge
- White paint (latex or acrylic)
- Chip brush
- Small paint brush
- Scissors
- Roses
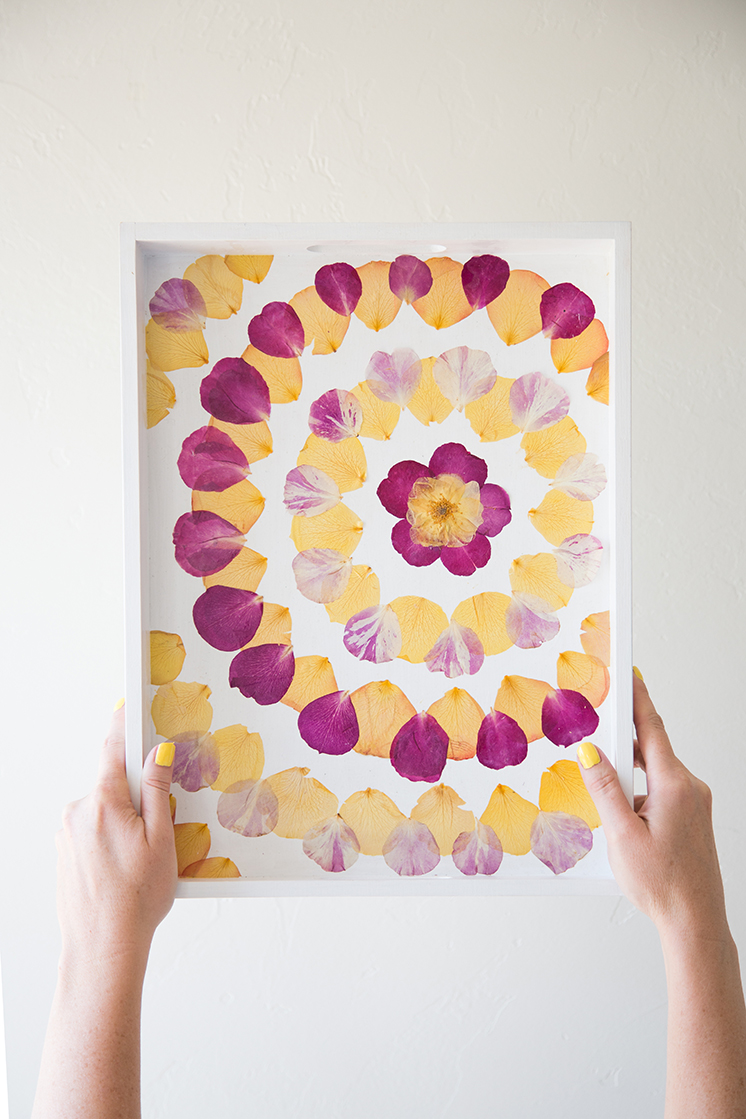
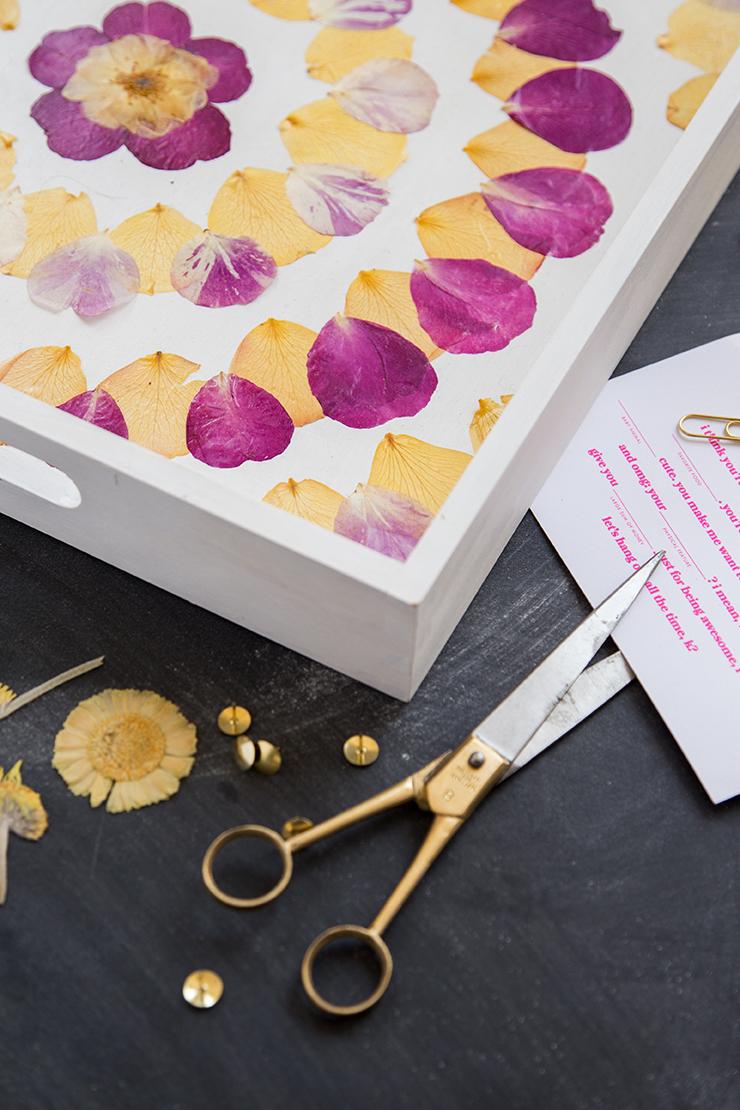
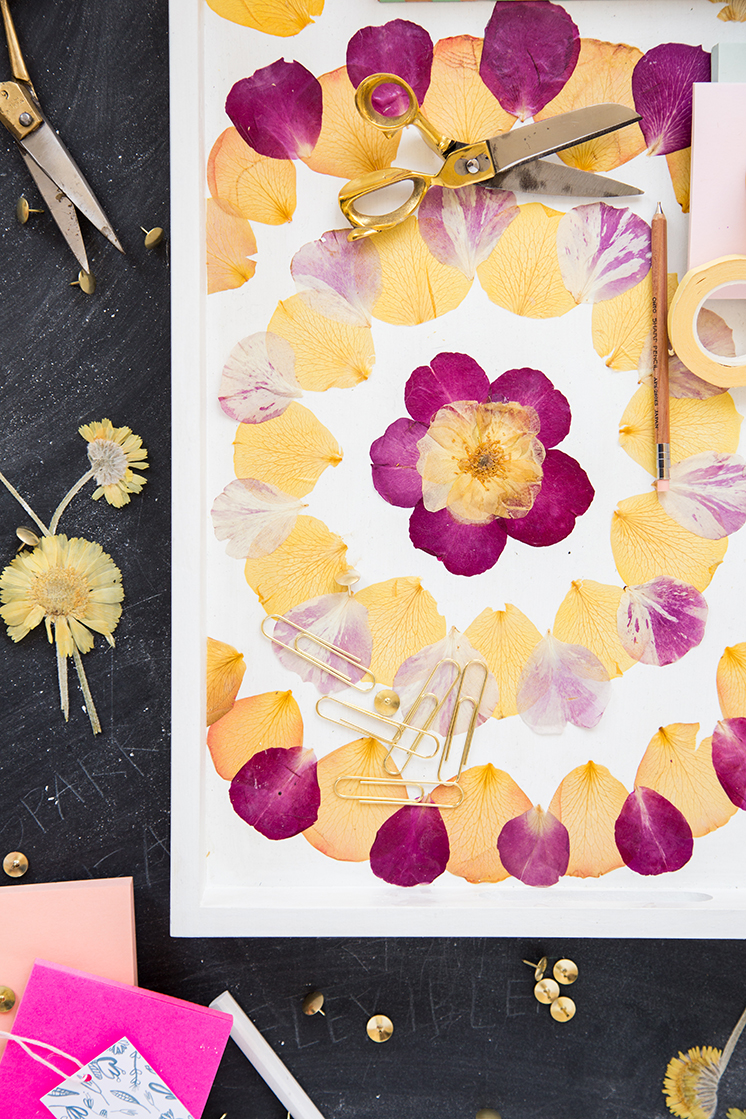
Instructions for press flower tray
1. Paint tray
Using chip brush, paint wood tray with a couple of coats of white paint and set aside to dry.
2. Press flowers:
Carefully pull petals from roses, working with one rose at a time to avoid wilting. Press in the microwave using the Microfleur flower press, following their instructions. If using a traditional flower press (or heavy books), the flowers will need to be pressed 3 weeks before using. Keep petals sorted by color.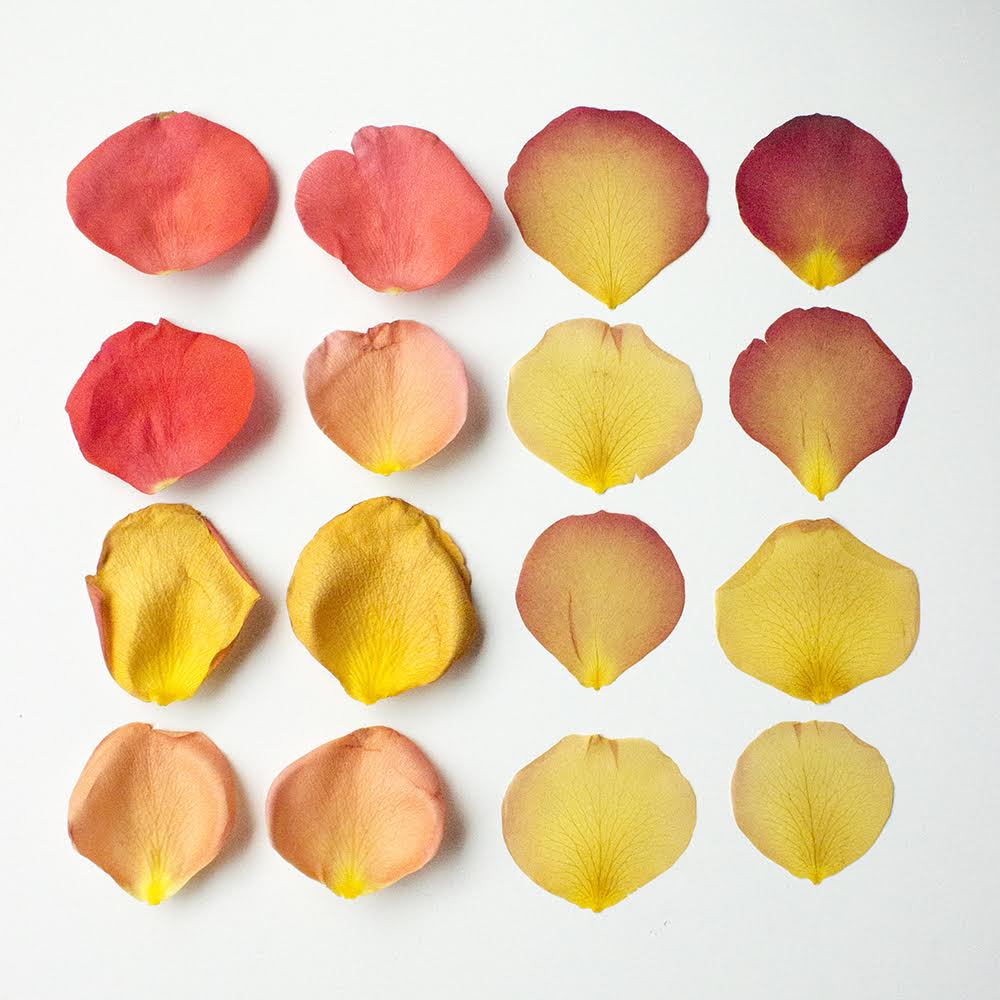
3. Plan design:
Plan the overall design by arranging the petals on the tray and then remove them before glueing. This will help you determine whether you have enough of each color or need to alter the design. Petals will be glued starting in the center of the design and radiating out.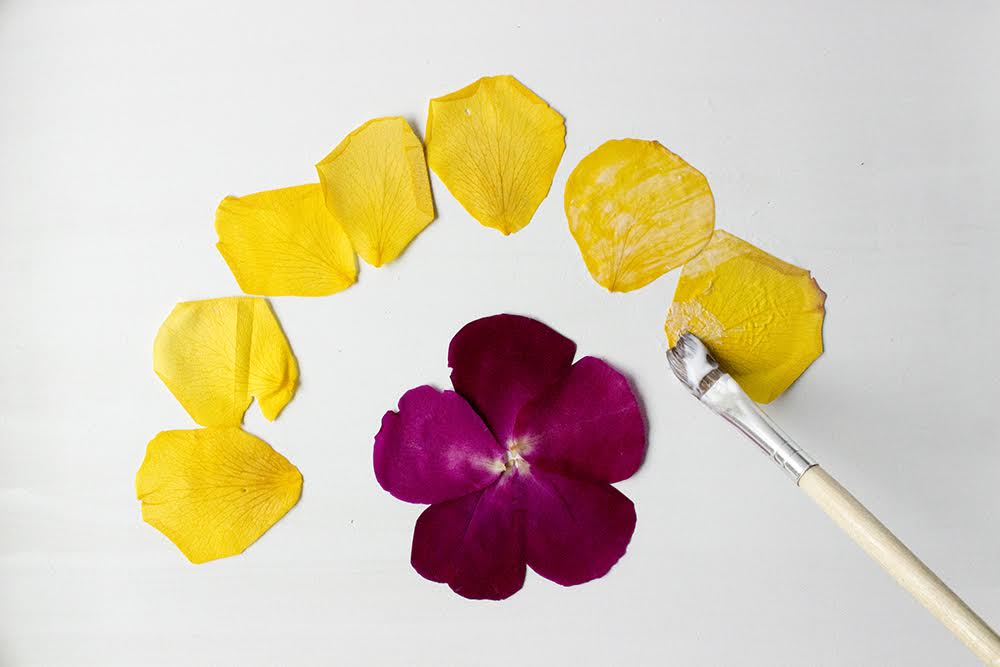
4. Glue petals:
Working in sections, brush Mod Podge onto tray and place petals. After glueing a few petals, brush Mod Podge on top and around the edges. Cover petals completely- the Mod Podge will dry clear.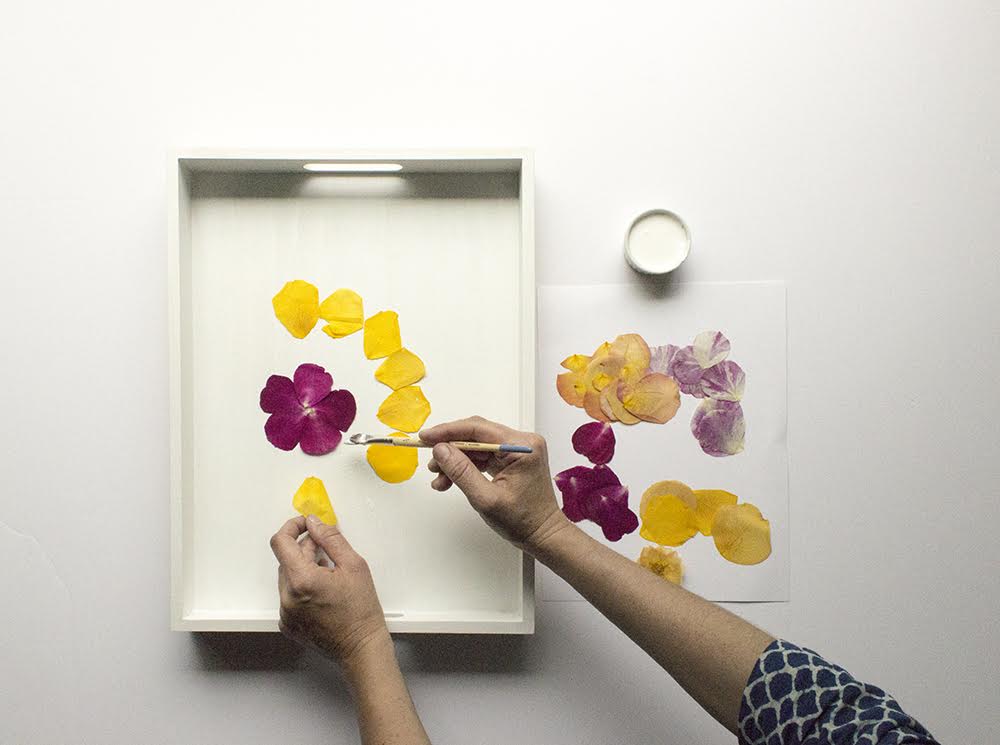
5. Continue attaching petals:
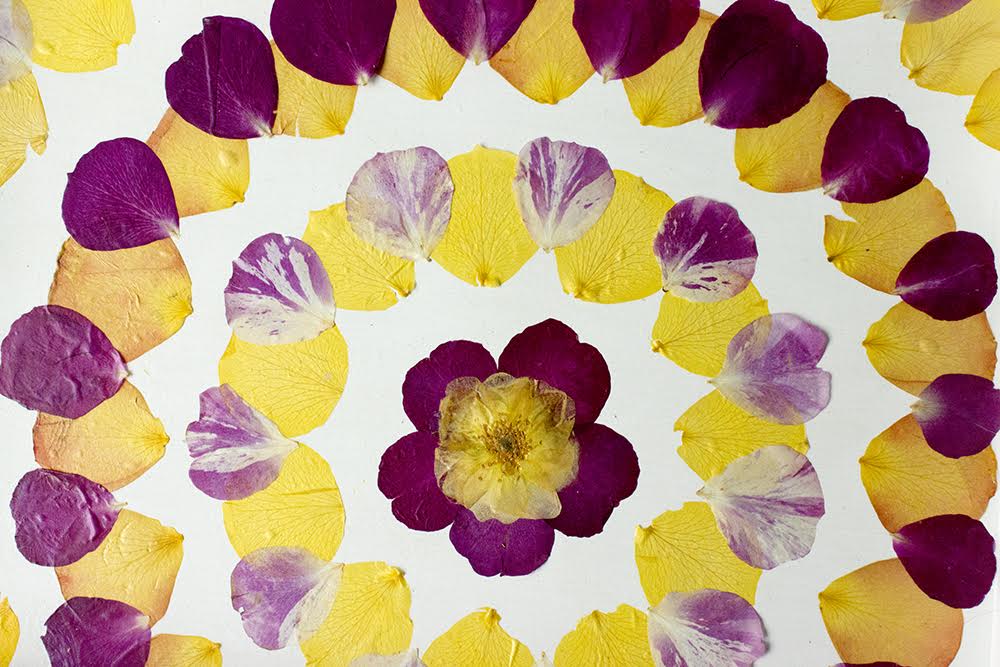
Continue glueing and coating petals until the tray is covered. Petals can be cut to fit where they meet the edge of the tray. If desired, glue a small pressed flower to the center of the design.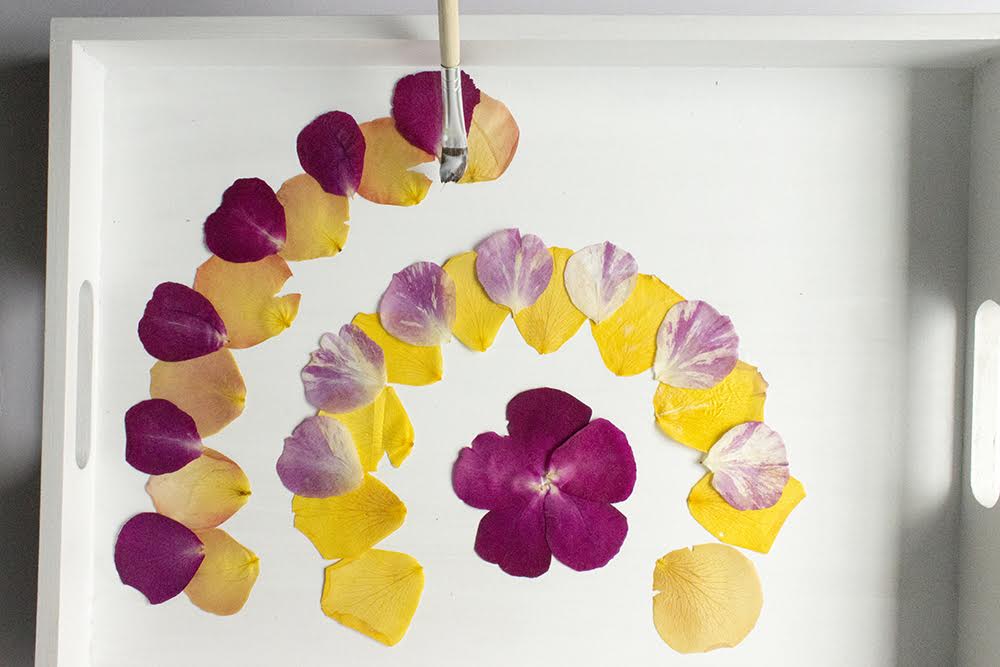
6. Coat finished design:
Brush a top coat of Mod Podge over all of the petals. Allow to dry overnight before placing glass on top.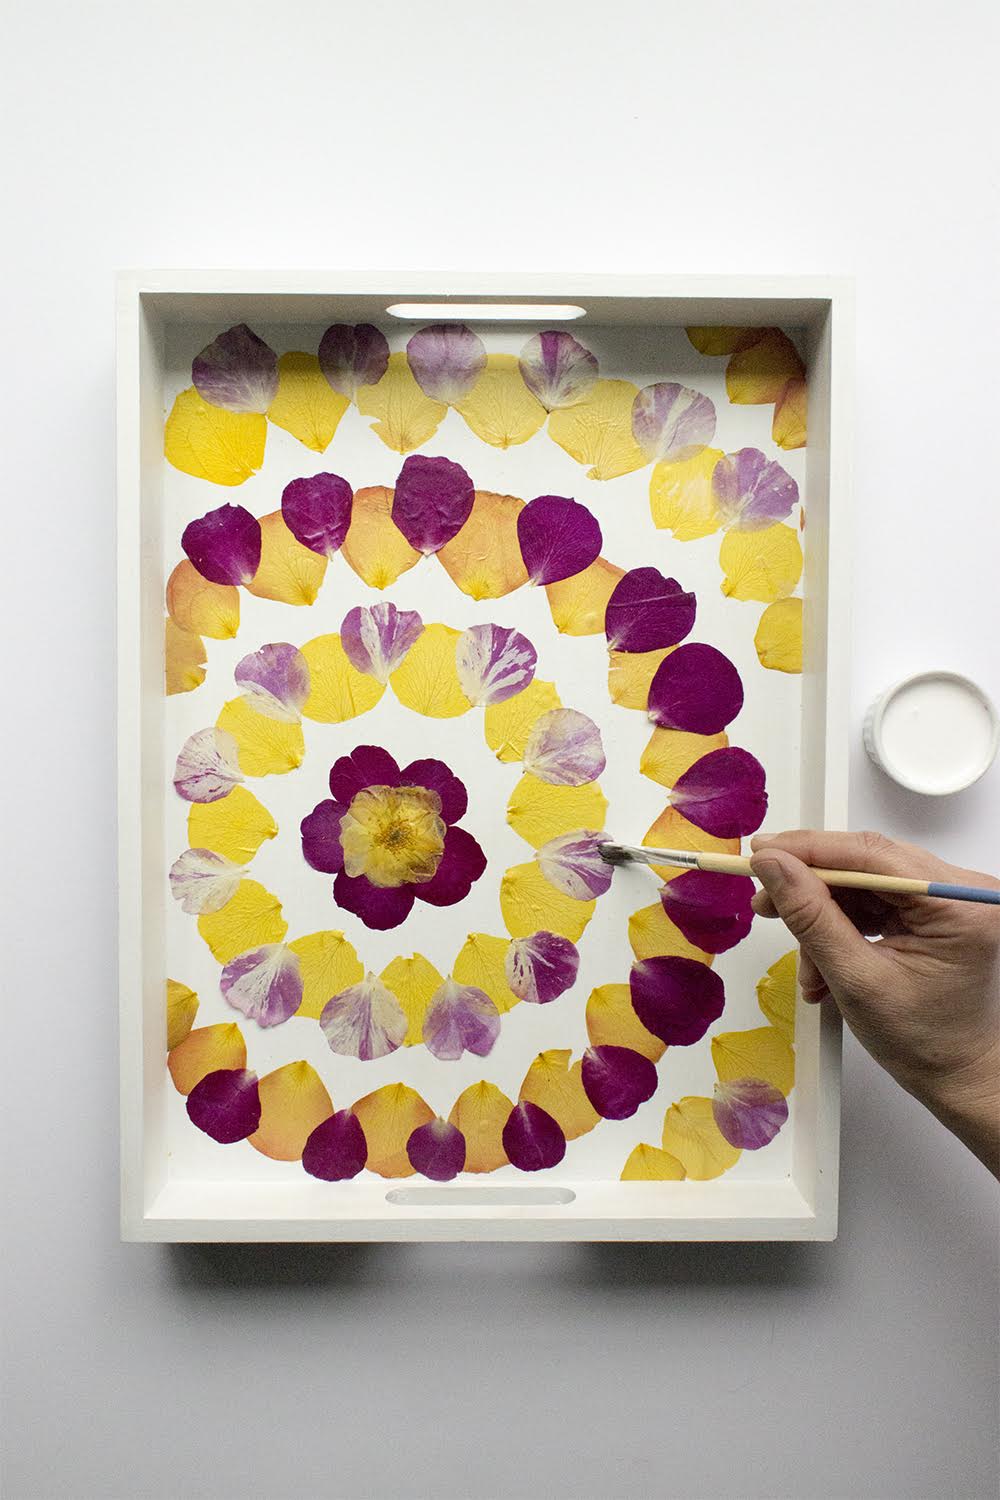
project by Jessica Pezalla of Bramble Workshop | Styling by Brittany Jepsen | photography by Anna Killian
Comments