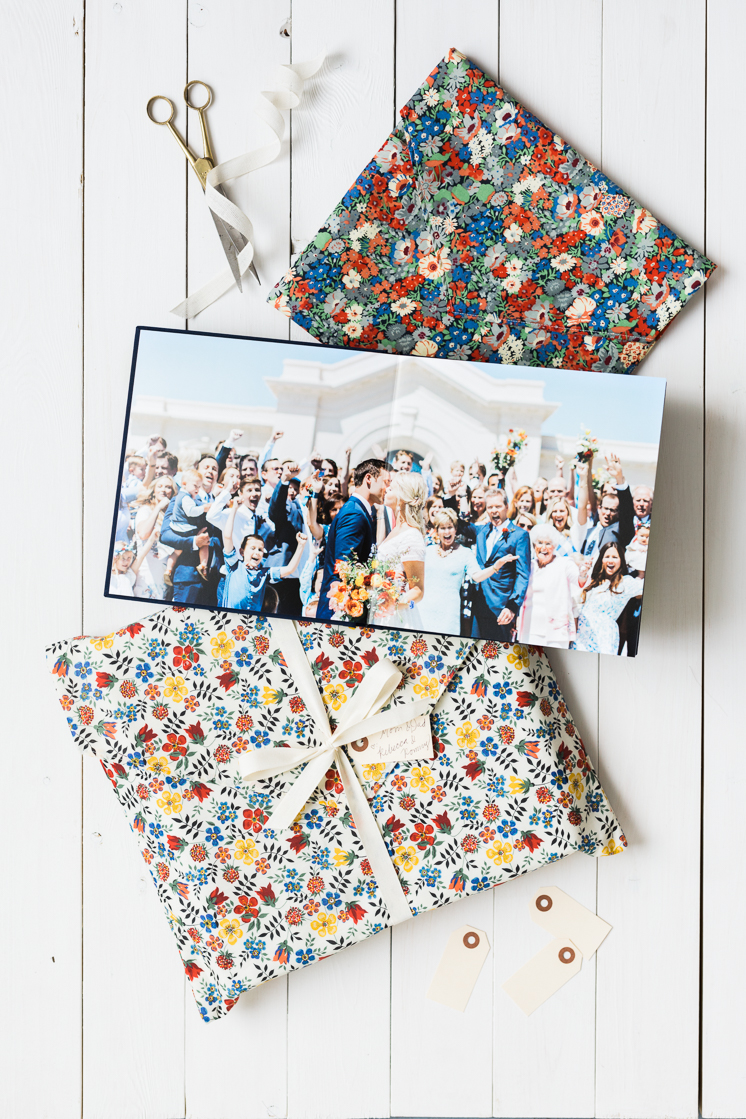
 Did your parents have shelves lined with thick photo albums full of family memories like mine? These days, our pictures often just end up taking space on our phones or sitting in files on our desktops. What’s the fun in that? Don’t get me wrong, I love being able to save, store, and share my photos online, but there is something so special about having tangible photos. Especially when it comes to the really important events: vacations, family gatherings, new babies, and of course, weddings!
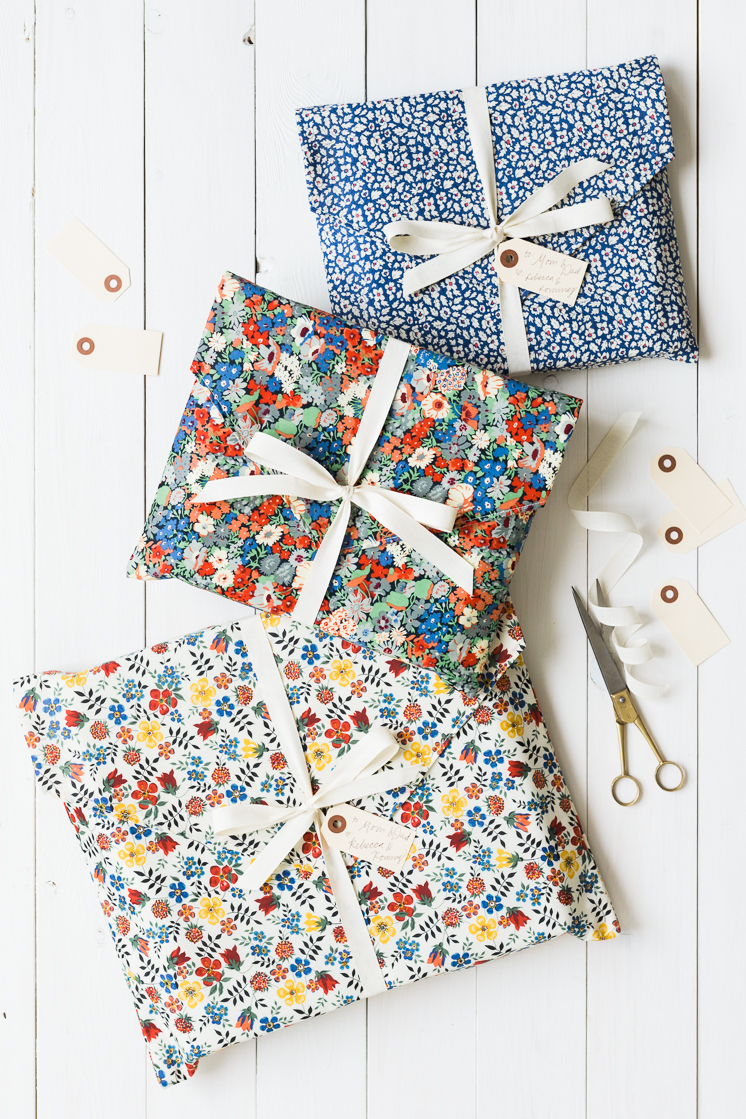
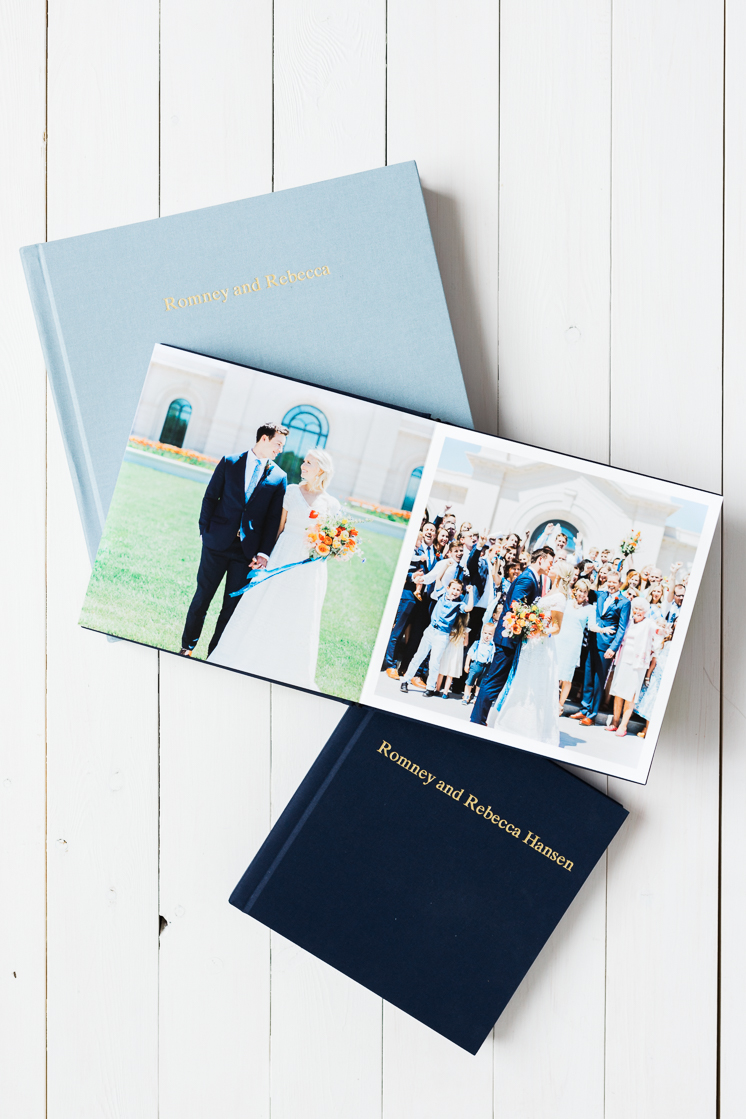
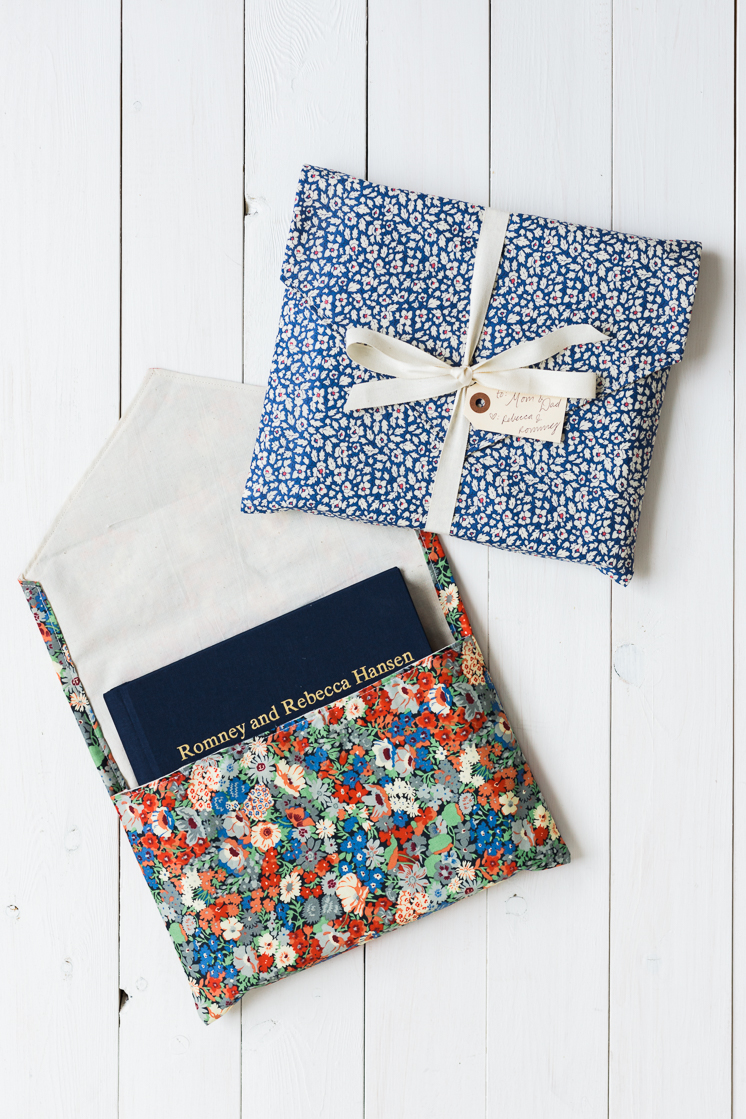
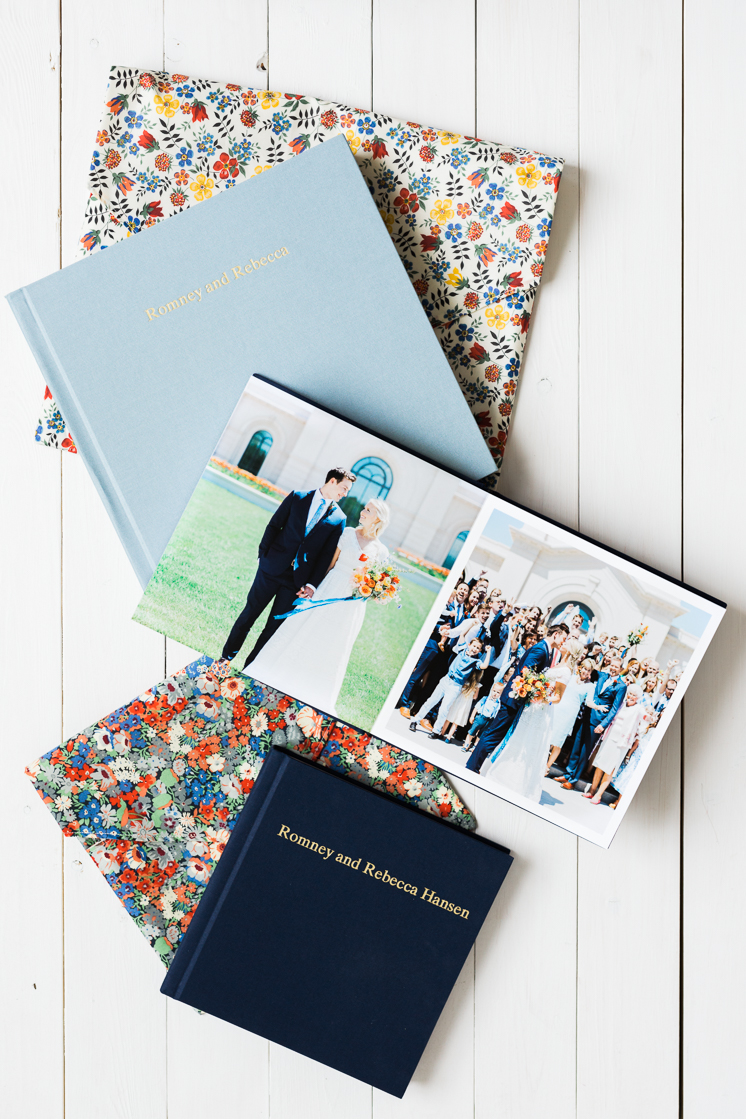
Which is exactly why I jumped on the opportunity to preserve my wedding photos in the Wedding Albums Collection by Artifact Uprising. They offer the most custom print experience for your photos, grouping together their beautiful products so you can celebrate your special day for years to come. The minute I saw them, I knew immediately these would become family heirlooms. They’re THAT GOOD. From the foil-stamped cover to the ultra-thick luster paper, I can’t get enough of it! Looking through the pictures makes me so giddy, and makes me appreciate everything and everyone that was involved in our wedding. Every bride and groom should put this at the top of their wish list. Wrap them up in a pretty fabric envelope to ensure they’ll stay pristine throughout the years!
Read on for all the details and the fabric envelope tutorial!
The Wedding Albums collection is built with legacy in mind. You design the perfect wedding album to keep as your own and create two additional parent albums to share with your family. So you’re getting 1 couple’s photo album and 2 parent photo albums. My mom was just as anxious about seeing my wedding photos as I was, so I know that she will be thrilled to receive the book. The intention of this collection is to offer the most custom print experience for your wedding photos.
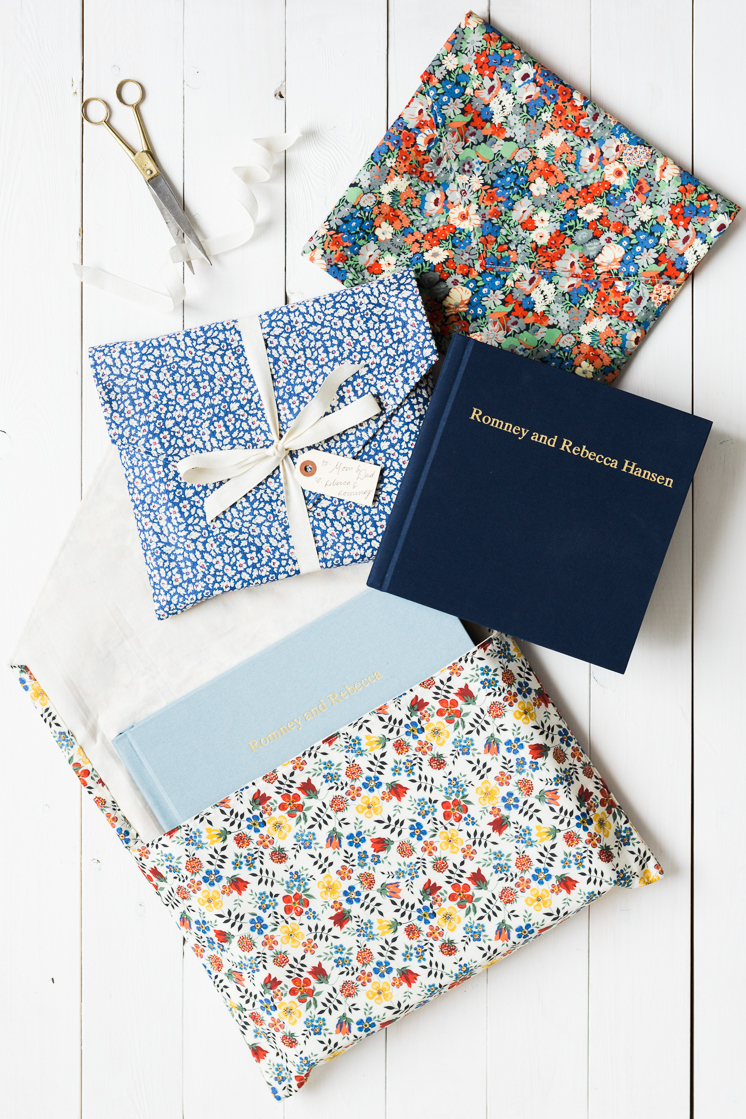
I love all the options Artifact Uprising offers to customize your books. You begin by picking between collection options: The Standard, The Classic, and The Premium, shown here. Each personalized collection includes the 3 books, saving you time and cost by grouping together Artifact Uprising’s most coveted wedding products. You choose the cover fabric color, the photo layouts, adding text, and the size of the book. For the books for my parents and In-laws, I wrote a note of gratitude on the inside cover and focused the photos on their respective families.
 Wedding Albums Collection offers 3 options:
You’ll receive 10%-20% savings on your purchase depending on which collection you choose! How do the collections work? You simply select the package that suits you, purchase the collection upfront at a discounted rate, and receive gift cards via email to use on each of the books in your collection. The codes never expire, so feel free to let the wedding chaos die down before diving it. But if you’re like me, you’ll want to get started right away because they are so beautiful!
Artifact Uprising also offers a Wedding Essentials Collection, which bundles up to six photo goods to complement every stage of the wedding planning process, and includes a layflat wedding photo album! We’re talking a one-stop shop for all your wedding needs! This package includes:
- Wedding Guest Book
- Wedding Photo Album
- Save the Date Cards
- Thank You Photo Cards
- Brass Easel & Calendar (The Classic option only)
- Float Frame (The Premium option only)
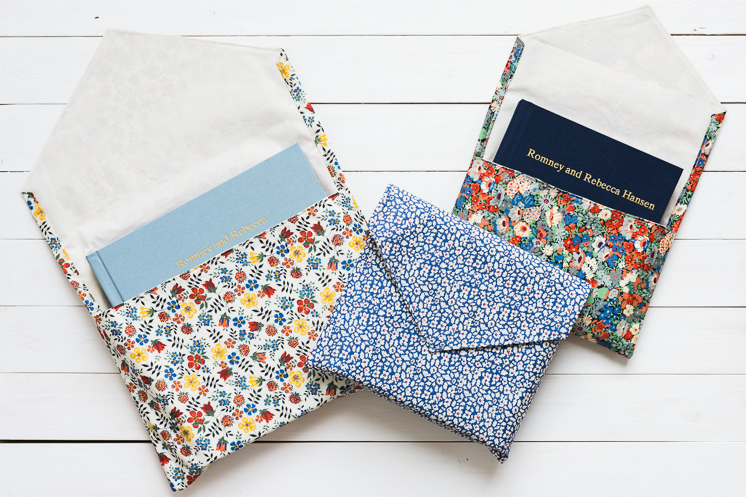
I can’t wait to share our Artifact Uprising book with our future family, so we wanted to create something to ensure that it maintains its lovely quality for years to come. I found the most beautiful Liberty of London fabric to create fabric envelopes to safely store the books inside. When you’re done reminiscing, simply slide the book inside and set it aside for another day. It’s a very simple sewing project, perfect for a beginner seamstress!
Fabric Envelopes
Materials:
- Cotton for the main fabric
- Muslin for the lining fabric
- Fusible interfacing
- Thread in coordinating color
- Sewing machine
- Iron and ironing board
- Straight pins
Instructions:
- Pin the template to the cotton fabric and cut out. Repeat with lining and interfacing. Trim the interfacing about 1/2″ on all sides.
- Place the interfacing on top of the lining, fusible side facing the wrong side of the lining. There will be a small border of lining all around since you trimmed the interfacing. Fuse the interfacing to the lining by pressing a hot iron onto the entire area.
- Pin the interfaced lining to the main fabric, right sides together. Sew all around the perimeter with a 1/4″ seam allowance, leaving a 5″ hole so you can flip the fabrics inside out.
- Once you’ve sewed around the exterior, iron the seam allowances open to seal the seam. Flip inside out through the hole. Iron edges flat.
- Topstitch around entire exterior, closing the hole. Stitch 1/8″ from the edge.
- Fold up the bottom edge so that about 2/3 of the book will be showing. I positioned mine so that our names would still be visible when you open the flap.
- Pin and stitch the sides with a 1/2″ seam allowance then press with an iron.
- This will leave the top edges extending past the lower edges. Simply fold the edges in so it creates a continuous line, press with an iron, and slip stitch. You could also use fabric glue to tack those edges down.
Photography by Anna Killian | Crafting by Rebecca Hansen


 Wedding Albums Collection offers 3 options: